Solving a need with stuff we didn’t need!
The previous owner of our house left a fair amount of wood scraps in the garage. The really good stuff I cut up for various projects and the bad stuff I burned as part of our summer and fall fire pit evening extravaganzas.[1]
That left the mediocre stuff. The stuff you look at and think, “I’ll definitely use it eventually, but not today- and certainly not on this project.”[2]
I mean, the distressed, rustic wood look on a farmhouse-style kitchen table is cool but not if the wood looks like it came from a haunted house!
My aversion to using mediocre wood scraps resulted in me doing two things I typically detest:
- Spending money on things I don’t technically need. With the exception of a few planks of premium pine given by a friend, all of my projects last year used wood purchased from a store.
- Holding on to things that don’t have a clear use. It’s part of what I call “The Hobbyist’s Curse” and the clutter drives me crazy.
So with the days growing short and my scrap pile increasing, I set out to reverse these bad habits and use up before I paid up.
I decided to call this project “The Ultimate Scrap Challenge” after actually looking closely at the scrap wood I had; it would be a lot more difficult to make something than I had expected![3]
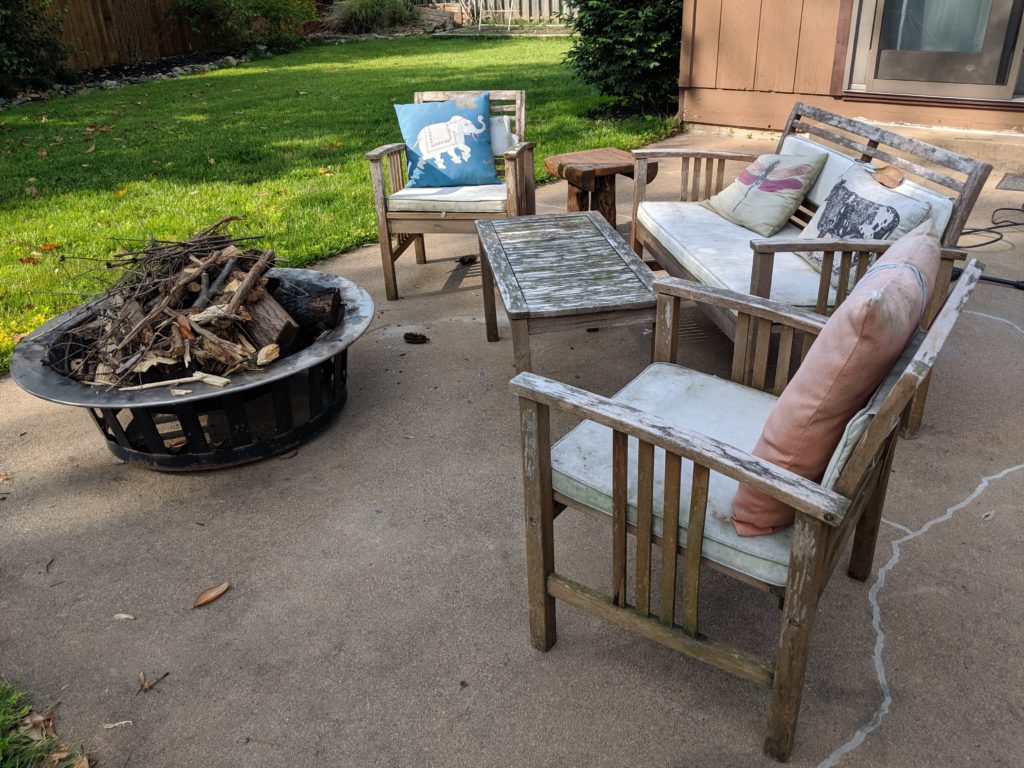
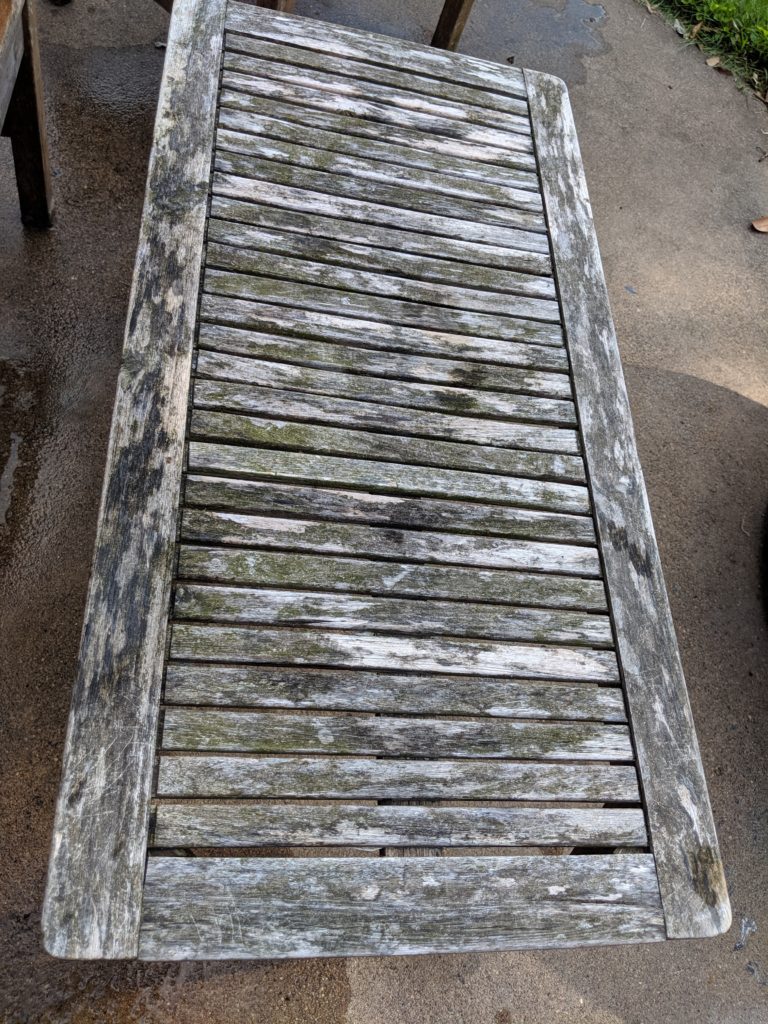
I had a few 2x4s that had seen better days, some oddly cut plywood and 4x4s, some very small leftovers from my dresser, shelf and various desk projects, and some seasoned logs that were intended for the fireplace.
I mulled things over for a few days. I thought of building a birdhouse, a bird bath, an art project[4], or just throwing in the towel and throwing the scrap in the fire.
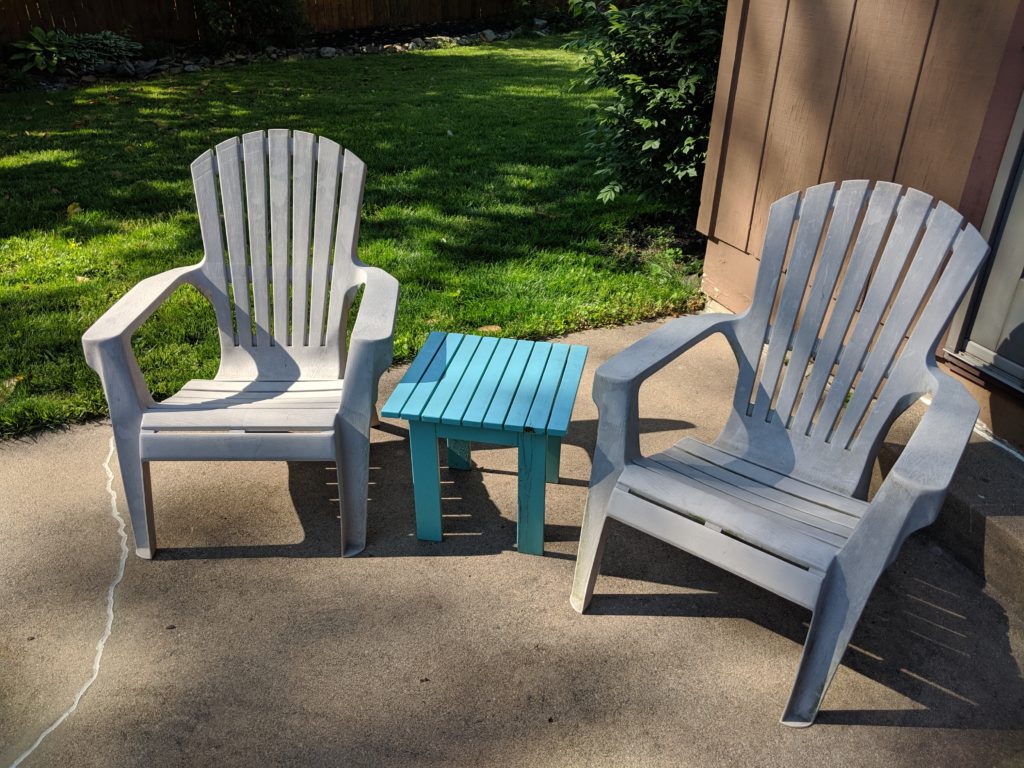
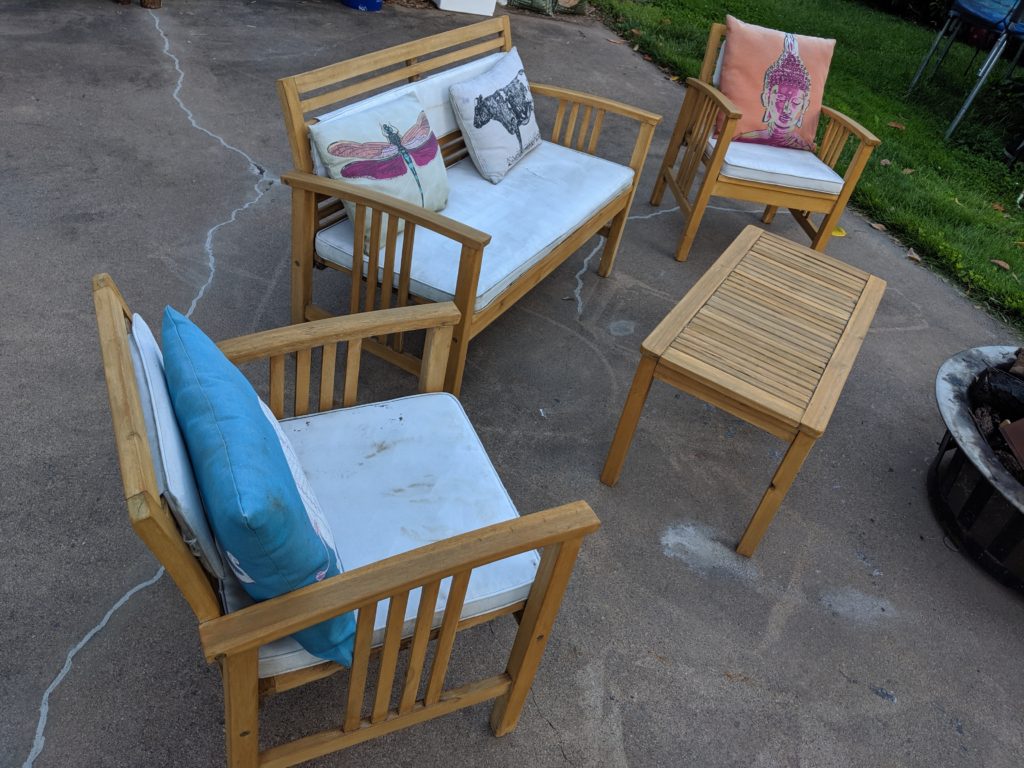
But one evening, sitting in a hard plastic Adirondack style chair by the firepit, I realized I had nowhere to place my craft root beer and fire-licked hot dog. And thus, The Muses sang.
Ultimate Scrap Challenge #1 would be an outdoor side table.
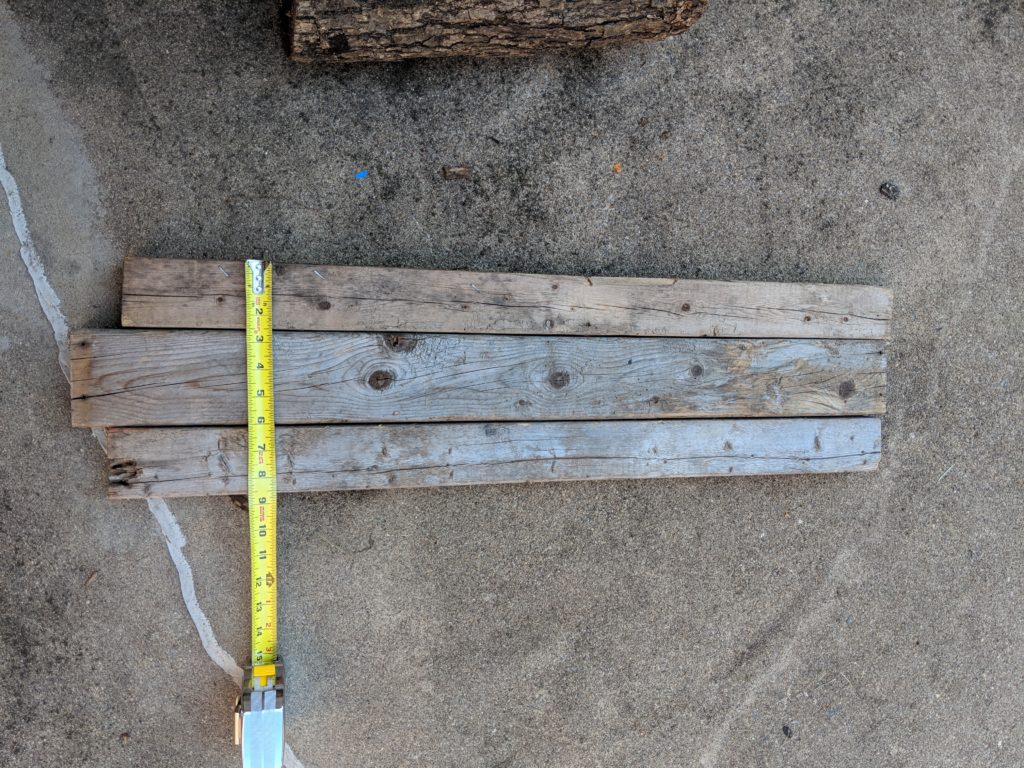
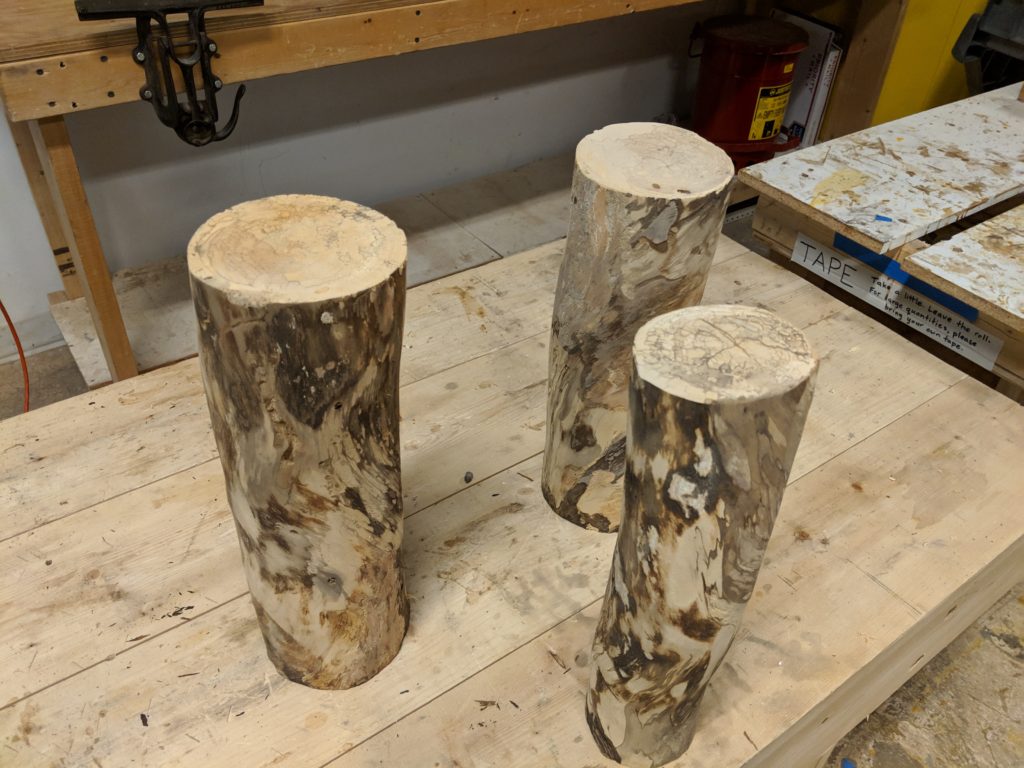
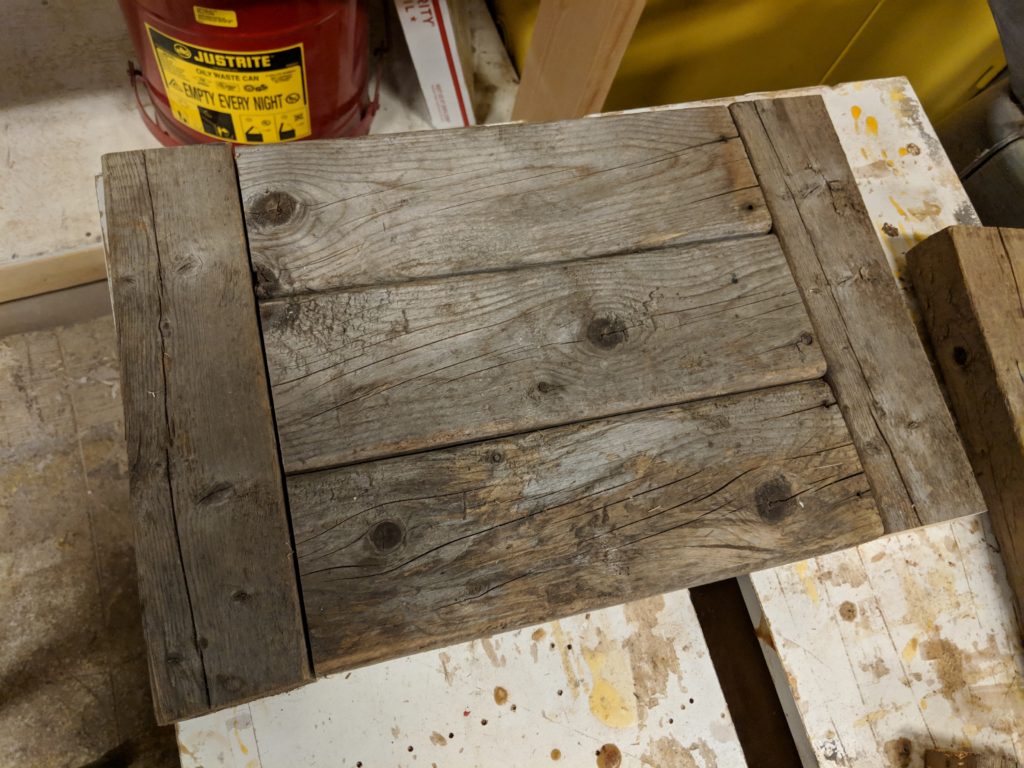
I grabbed the nicest 2×4 pieces and sized them up. I didn’t have enough 2x4s or 4x4s for legs, and decided that logs for legs would be sweet.
I did some dry fitting and some placing in my head. You can see the evolution of the design in my planner:

With a final design in mind, I went to the wood shop and chiseled off as much bark from the logs as I could. I then sanded the logs and the 2x4s with an orbital sander. The logs ended up looking kind of marbleized which I did not expect:
After cutting the 2x4s to size I used pocket hole screws and wood glue on the 2x4s to make the top:
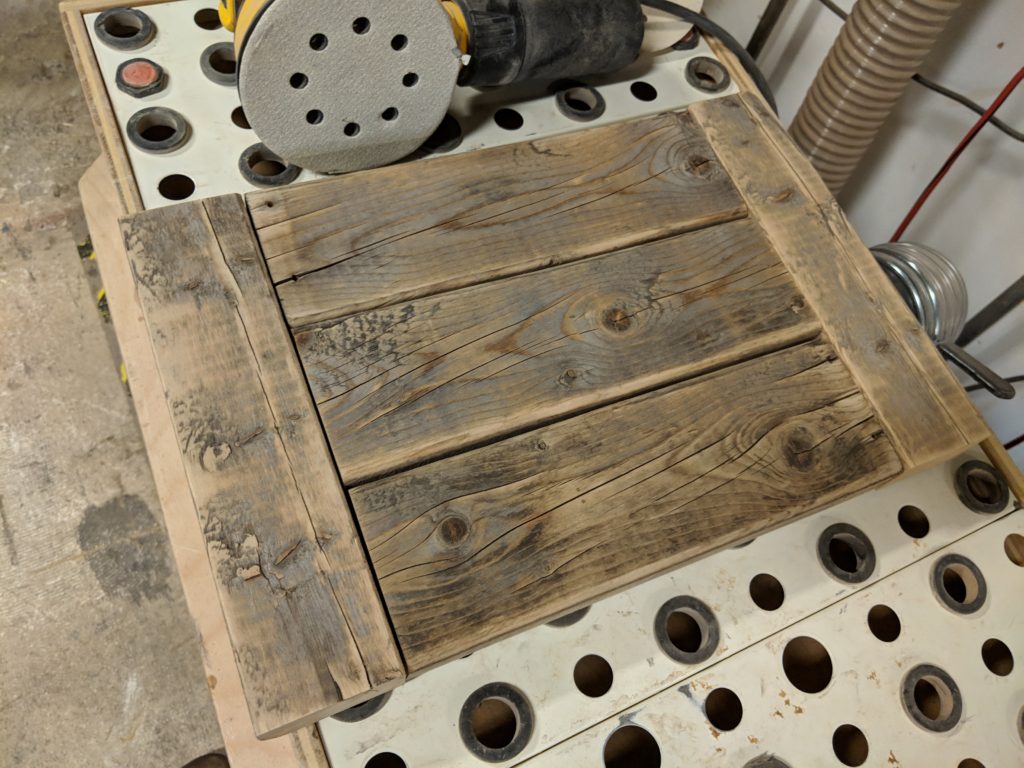
I decided to sand it down a little to provide a smoother table surface as well as to prevent splinters:
Unfortunately, when I went to dry fit the legs I realized that one leg wasn’t going to work: with the bark on it had looked fine, but while taking the bark off I found a large section had gone soft and the log was too bent and misshapen to balance well.
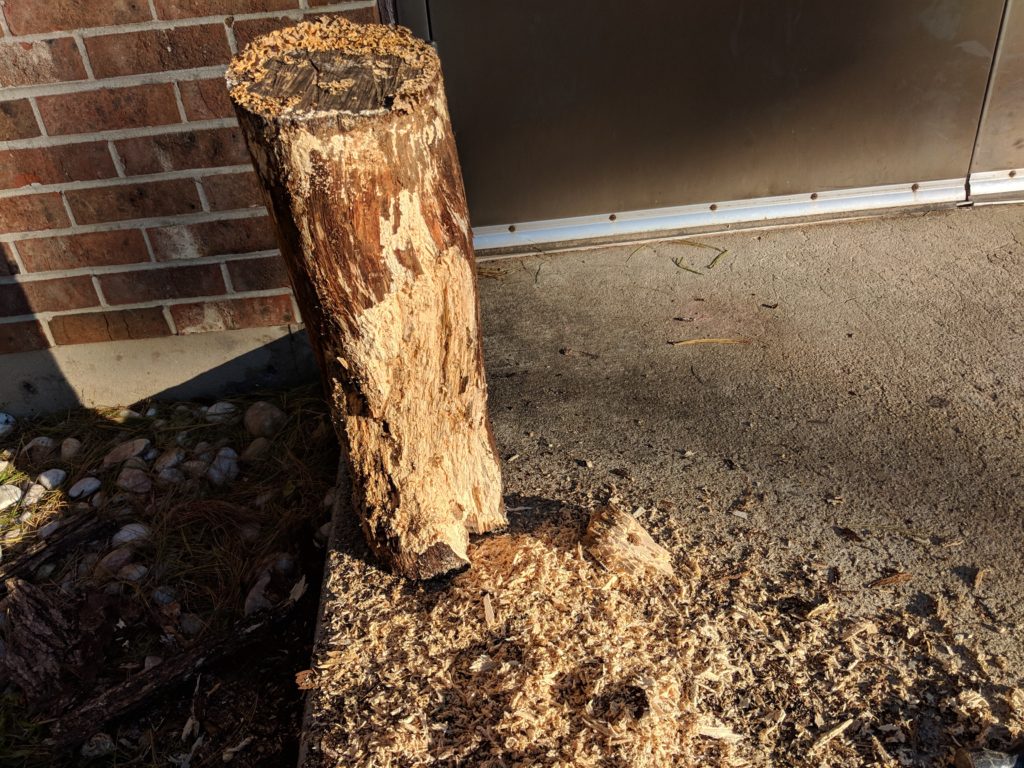
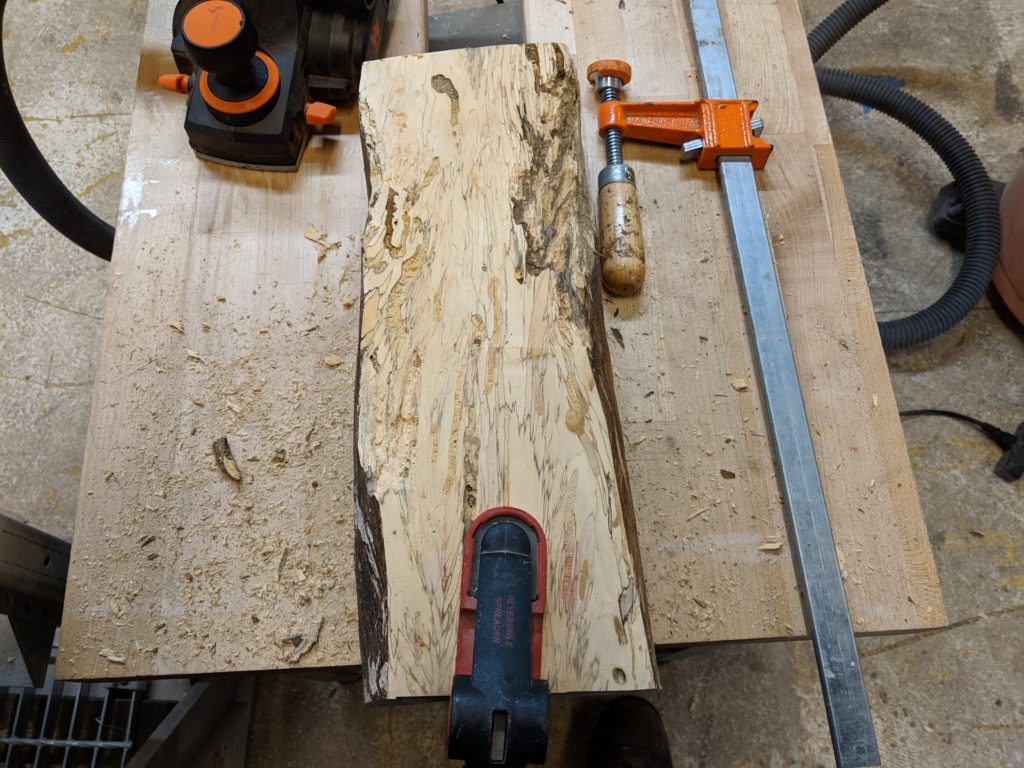
After getting ideas from wood shop folks[5] I decided to cut the offending log in half and attach the pieces onto the side of the table for a “log wrap around” look. After cutting the semi-rotted log on the bandsaw I used an electric hand planer to trim it down so it lined it up with the table top:
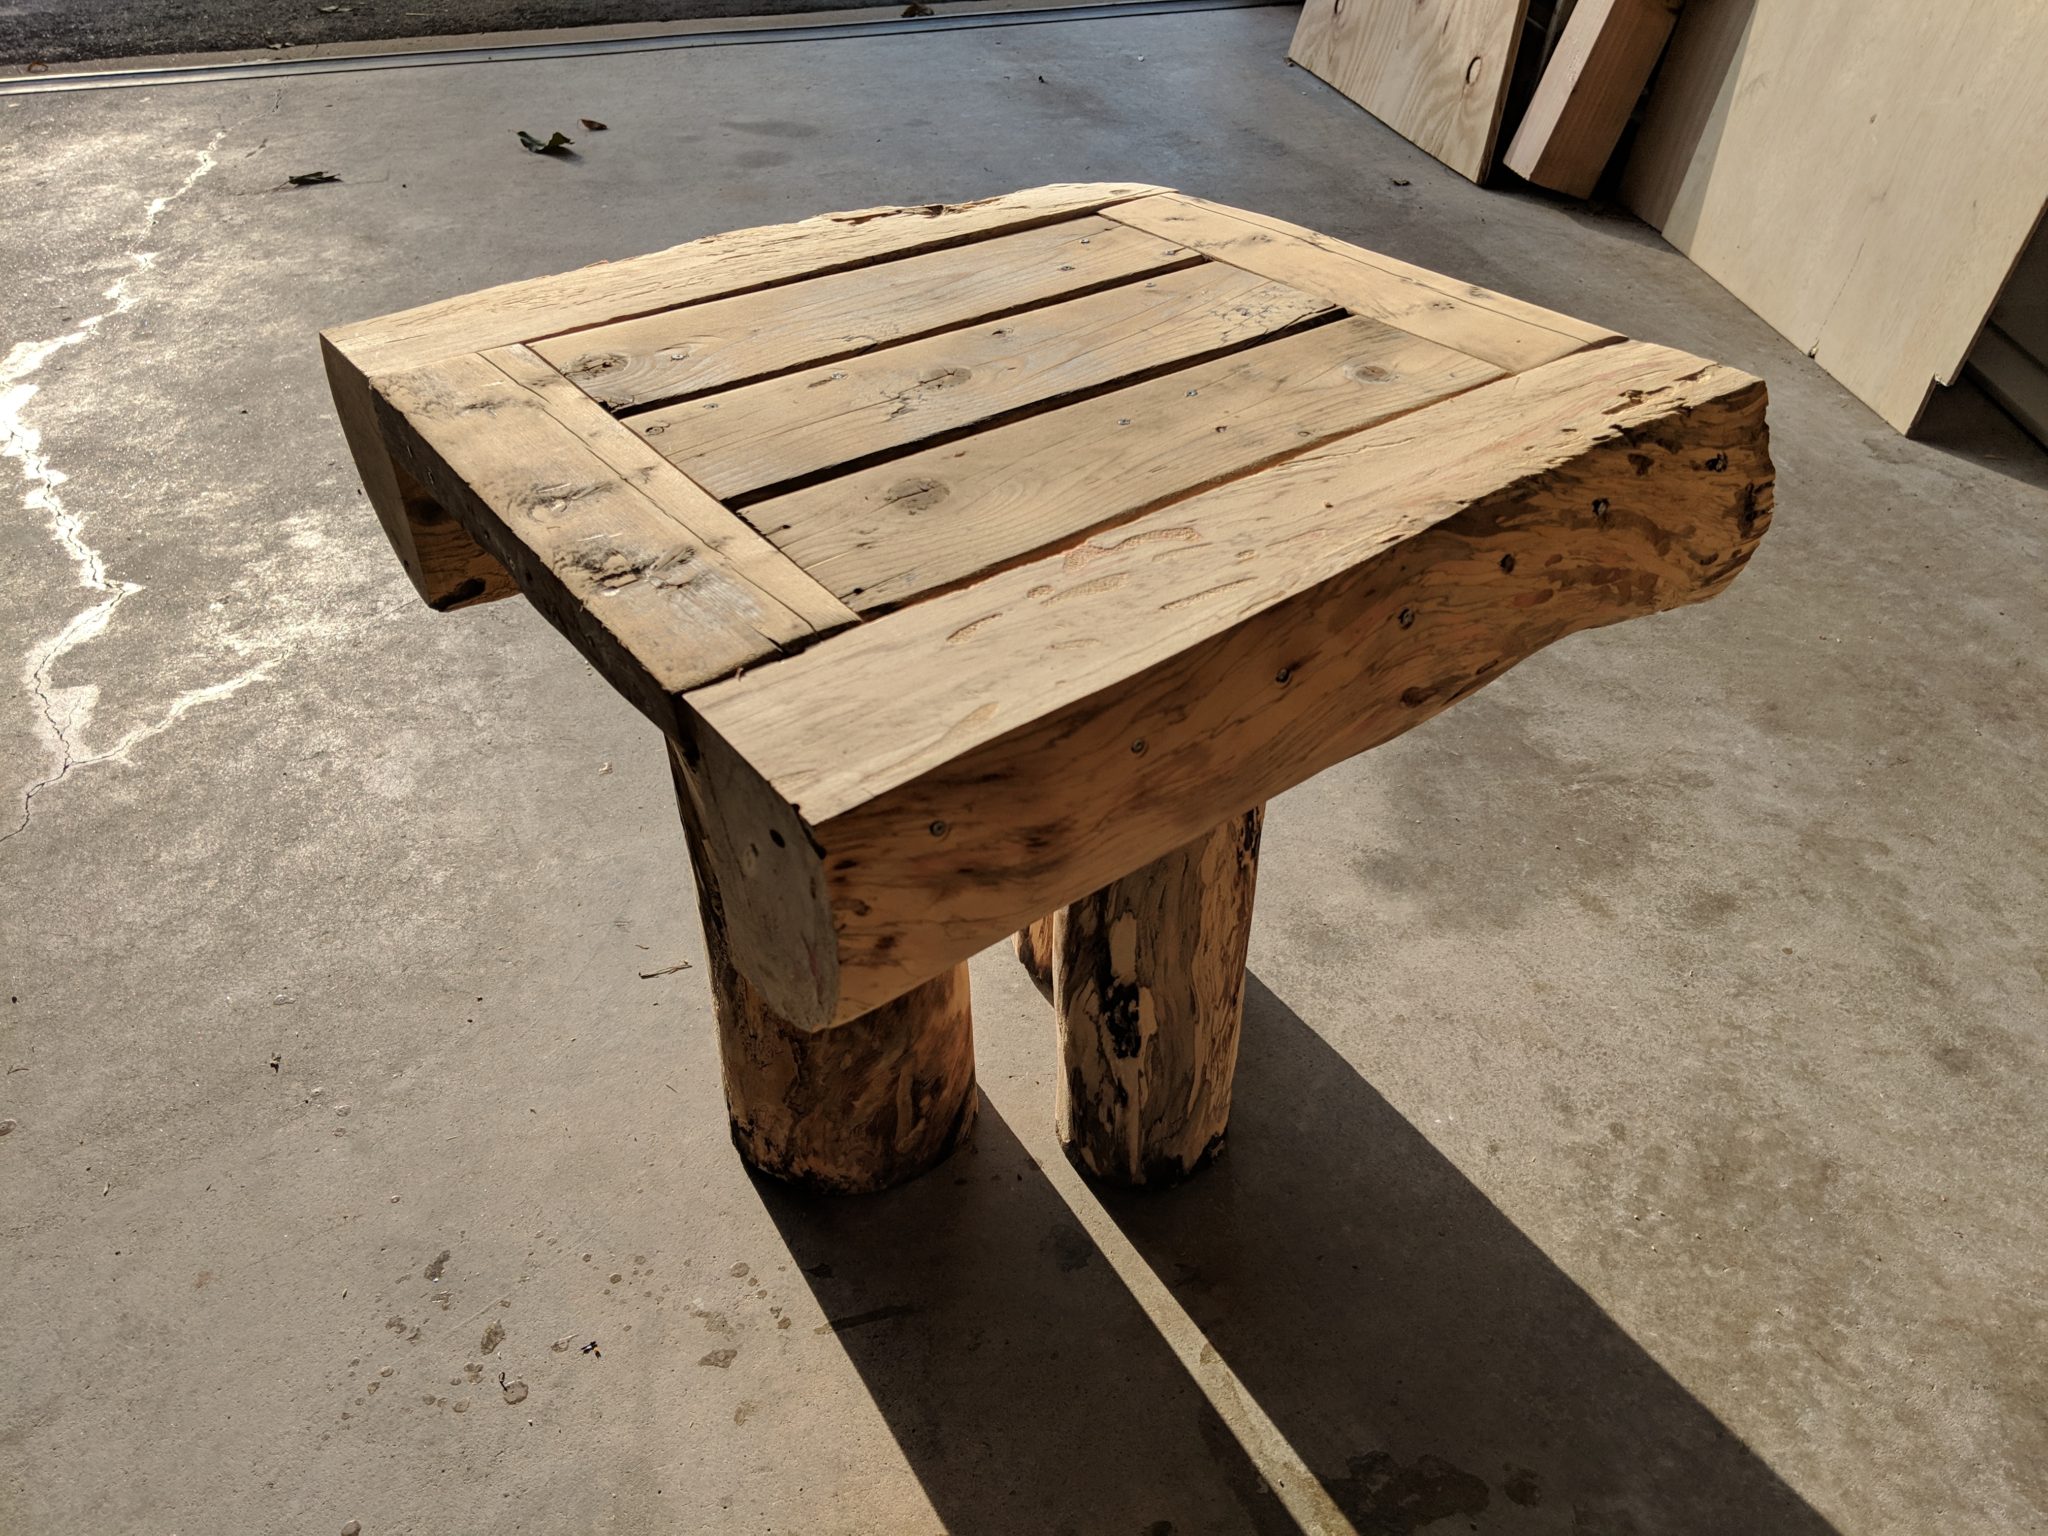
I then used nails to attach the remaining three legs in a tripod fashion and boom, we had a table!
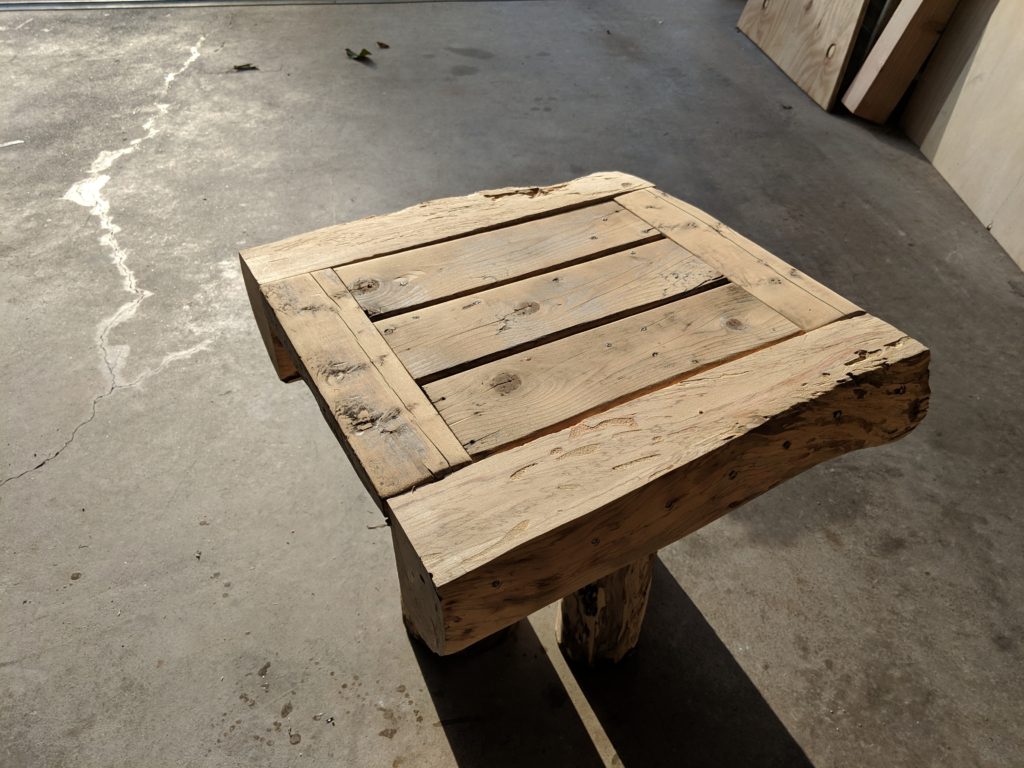
The extra space from the side logs was a welcome bonus; admittedly, the original top lacked adequate space but that was fixed once the log ends were attached.
To finish the patio table I doused the whole thing (legs and all) with several coats of tung oil. It gave the wood a nice uniform color that tied the patio table together:
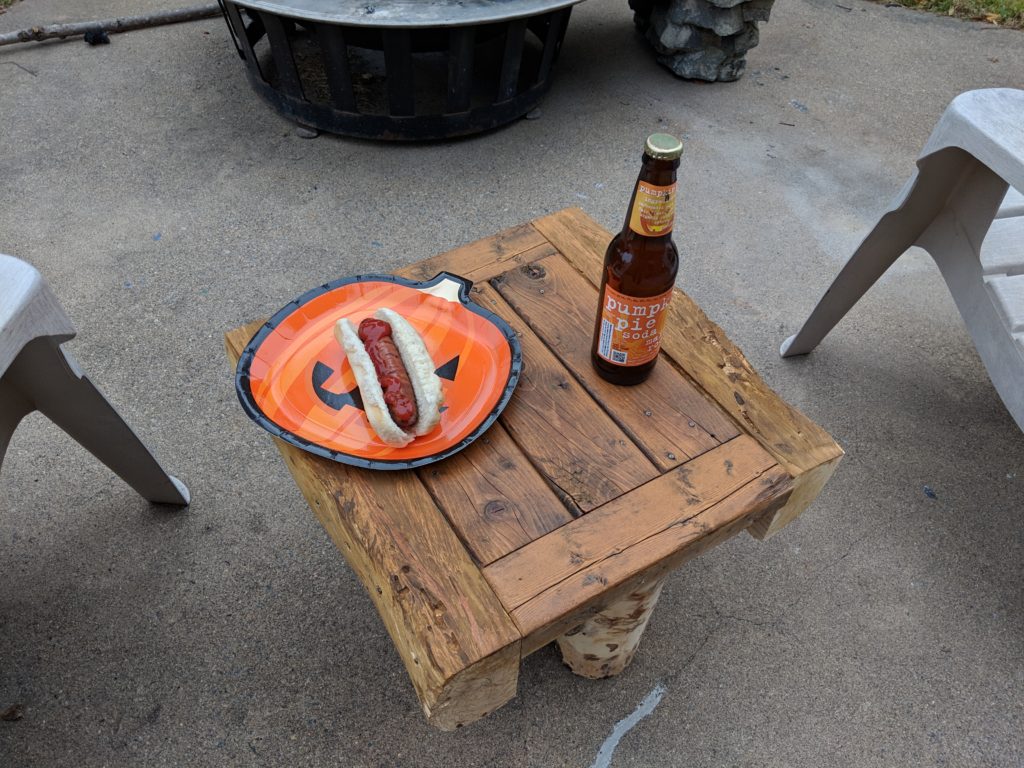
Eight months after finishing the table it’s still looking great, so I declare this Ultimate Scrap Challenge a success.
A closing note on care taking: I leave it out during the rain, but during winter I brought the table into the garage since we aren’t on the patio very often in winter. I also plan to re-apply tung oil each year to keep it looking great.
[1] No really, they’re THAT amazing.
[2] Admit it, you do this too.
[3] This name is probably already taken by some group or another, but I hadn’t heard of it and thought it sounded just over the top enough to be fun and serious.
[4] I am NOT artistic. So this would have been a real stretch for me.
[5] Some solicited, some not.