The Child is Born
This project was a lot of fun to do, not only because The Mandalorian is an amazing show, but because I had the extra challenge of keeping it a secret from my family while I built it so it would be a fun Christmas surprise.
And not only that, in true Ultimate Scrap Challenge fashion I only used leftover wood in my garage to make it!
So let’s dig into the steps I took to make this Mandalorian Nativity Set:
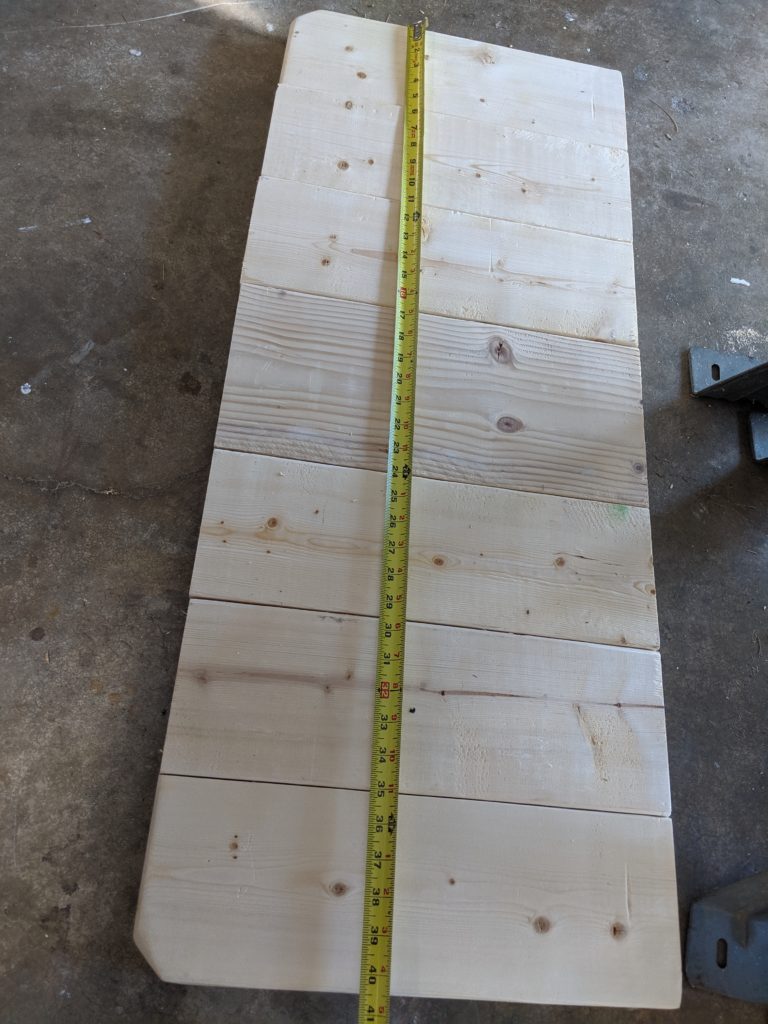
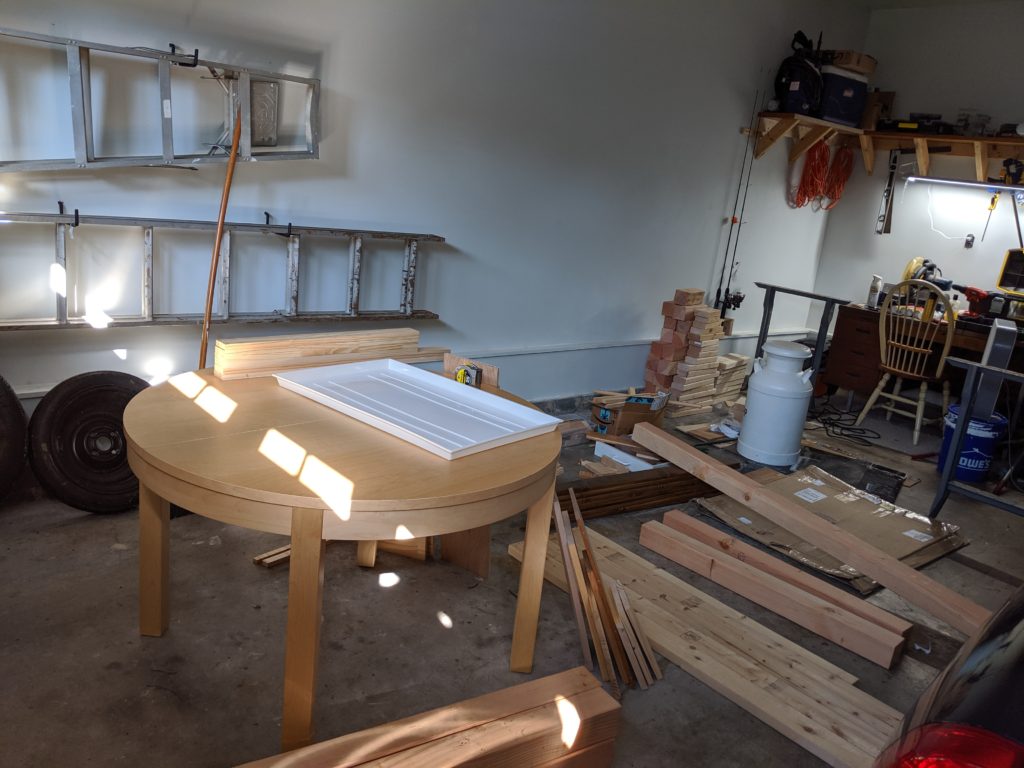
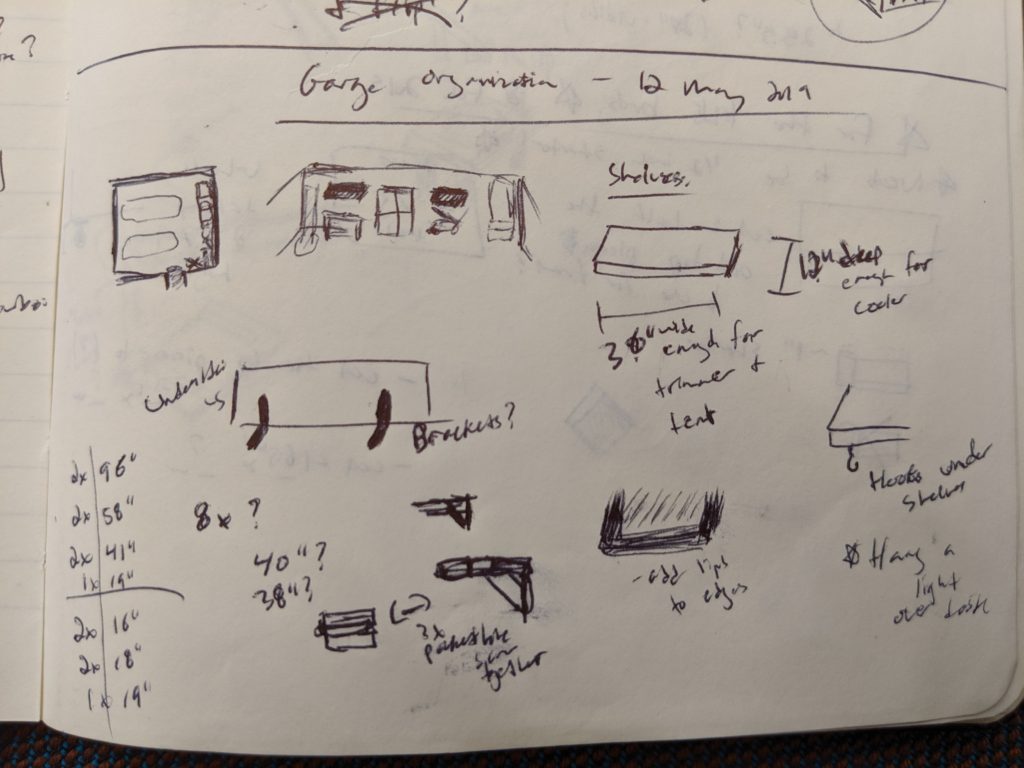
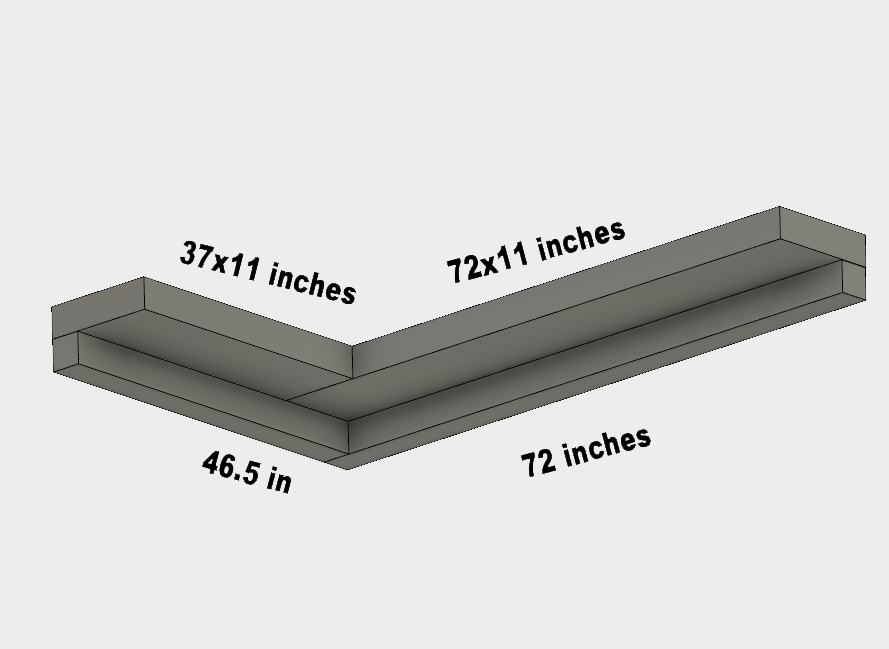
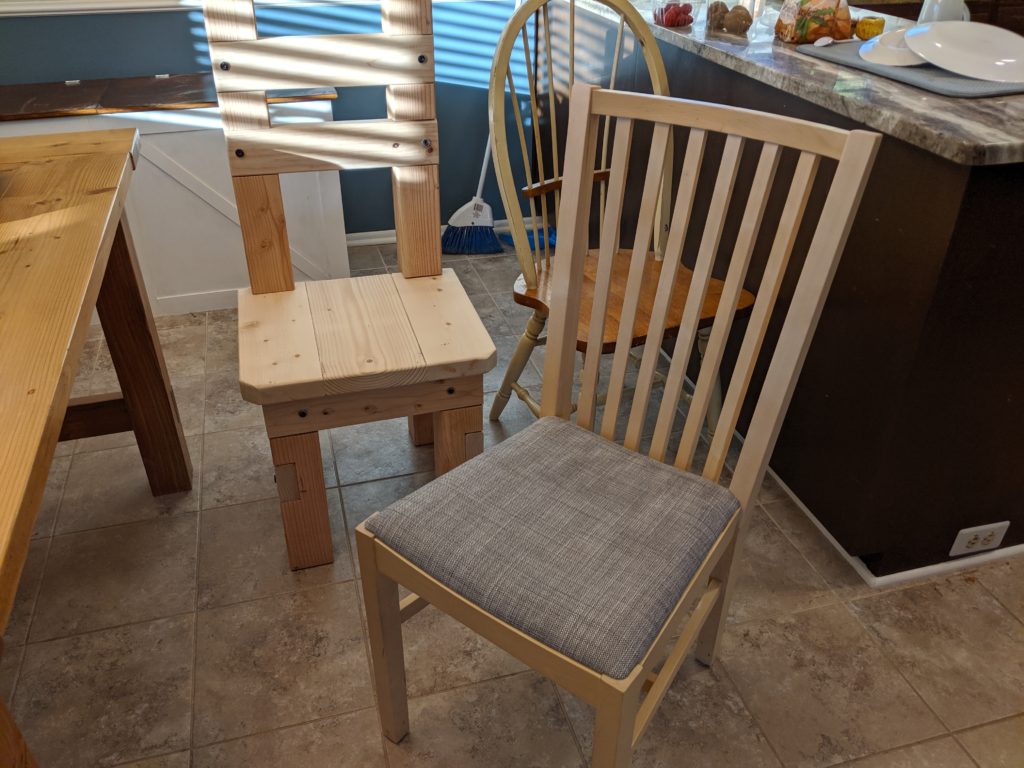
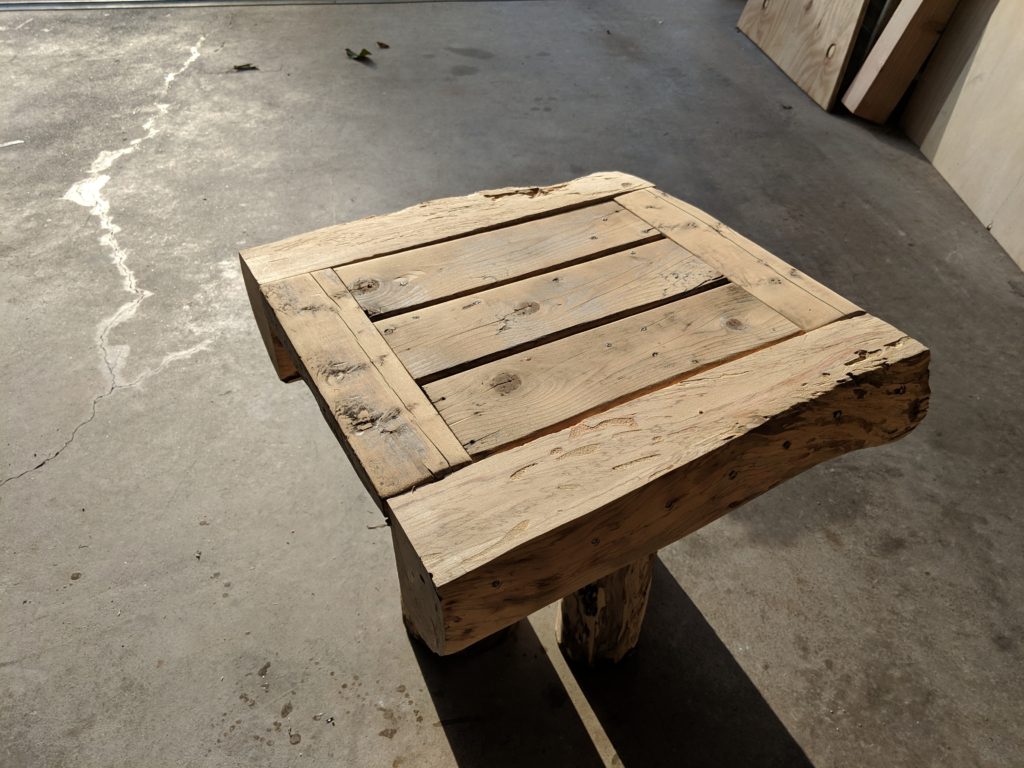
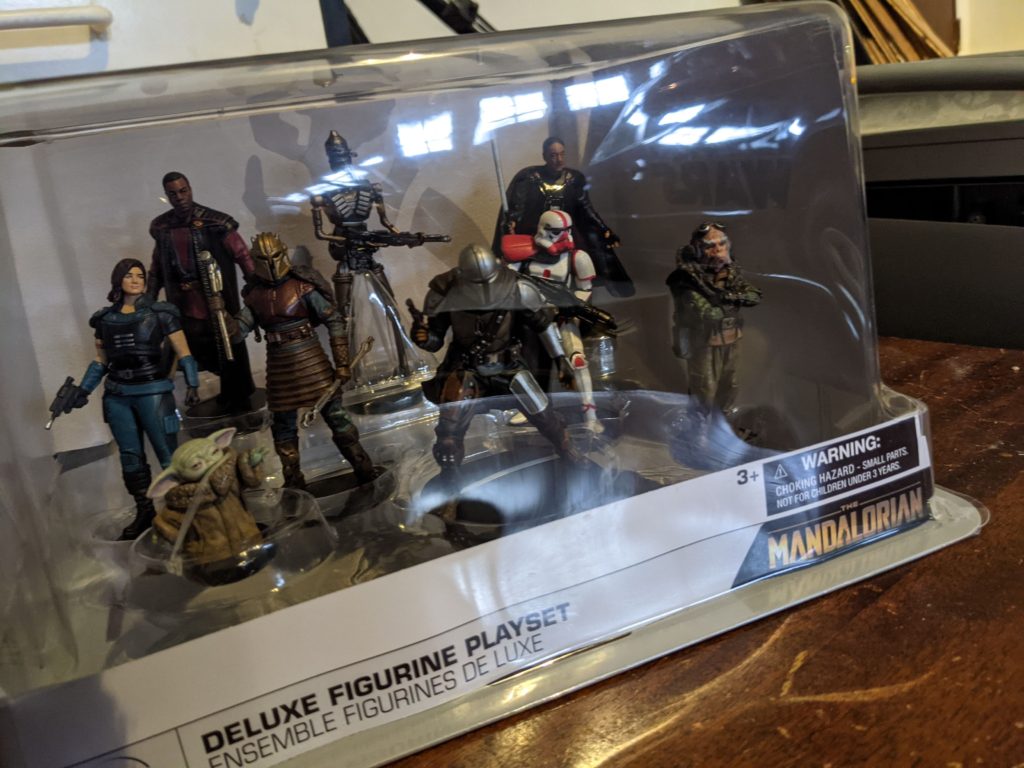
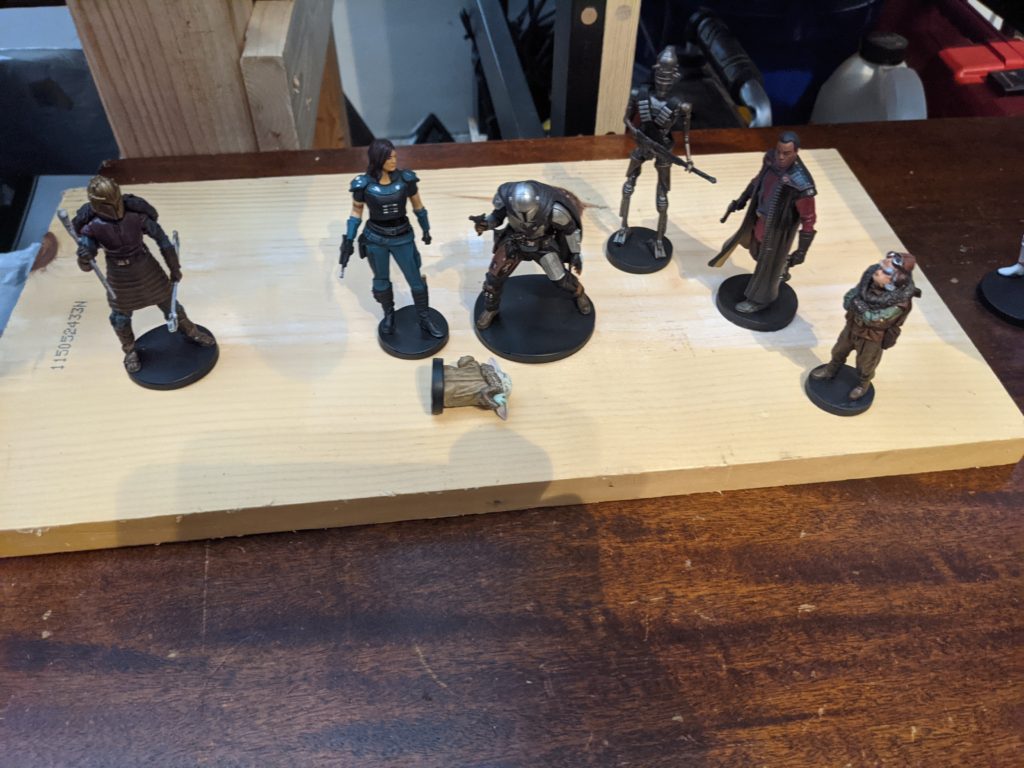
First, I got the season 1 Mandalorian toy figures and laid them out on an old coffee table I’m going to upcycle into an entryway table. I spaced them out where I wanted them and measured for what size of a base I’d need.
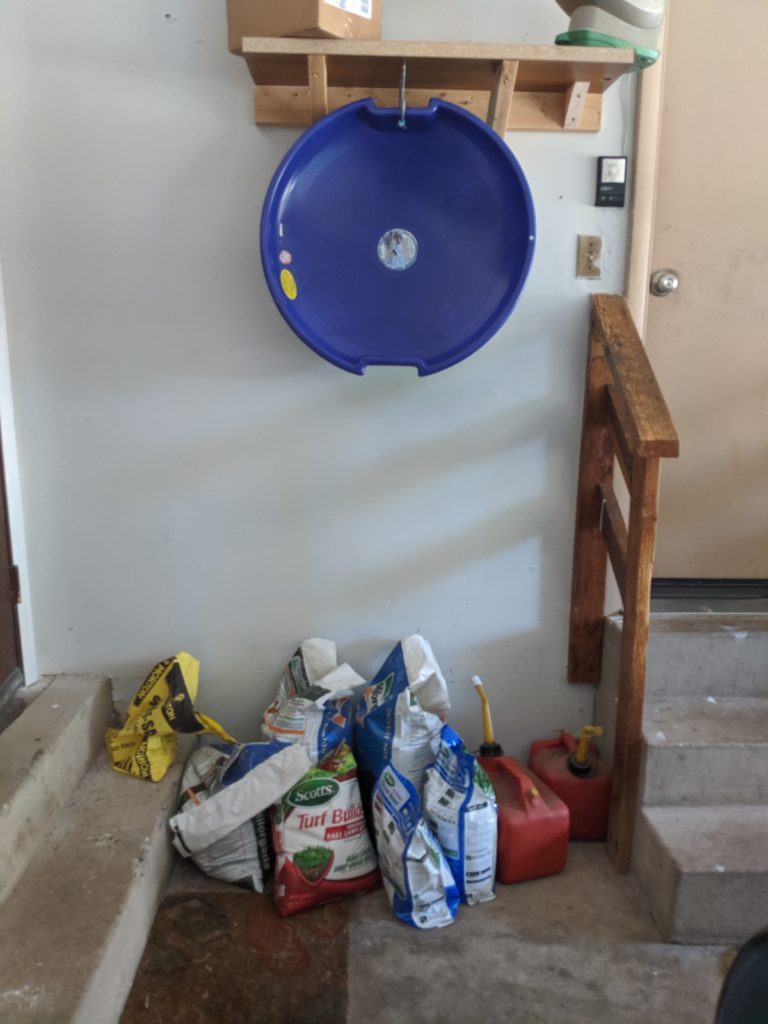
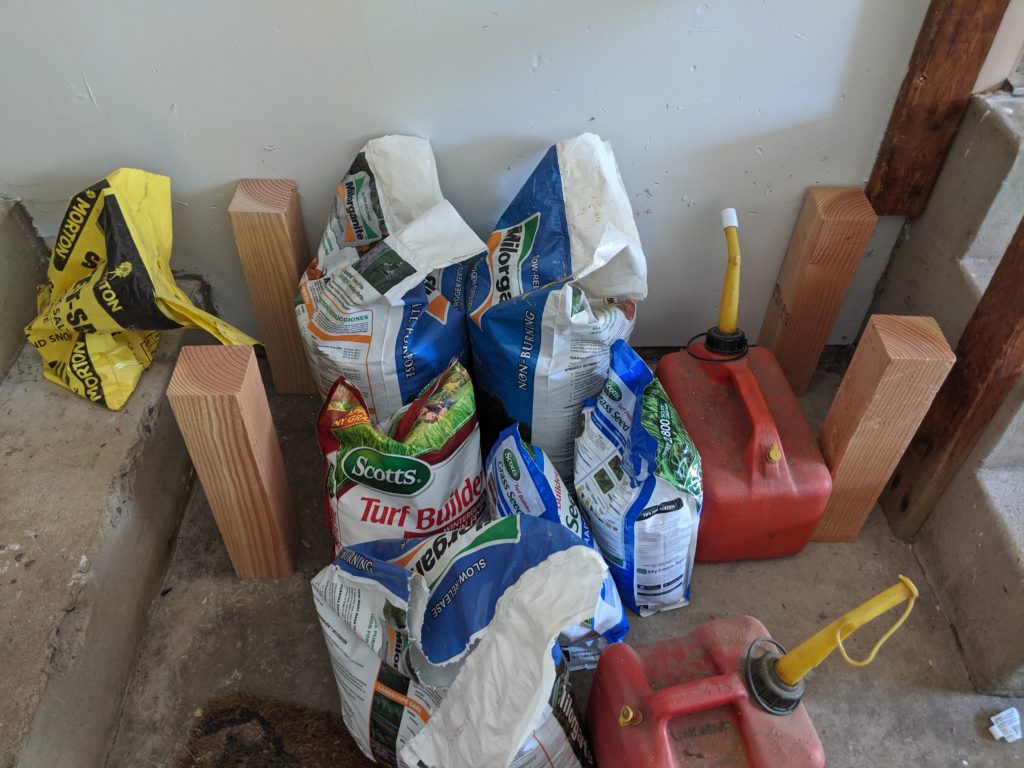
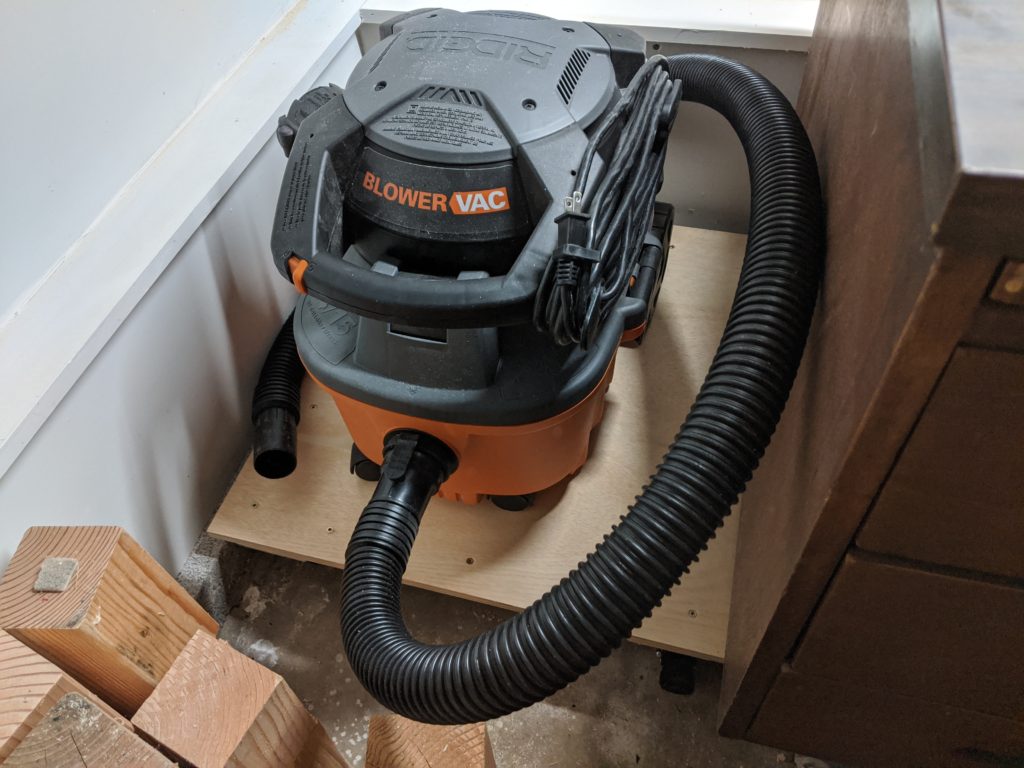
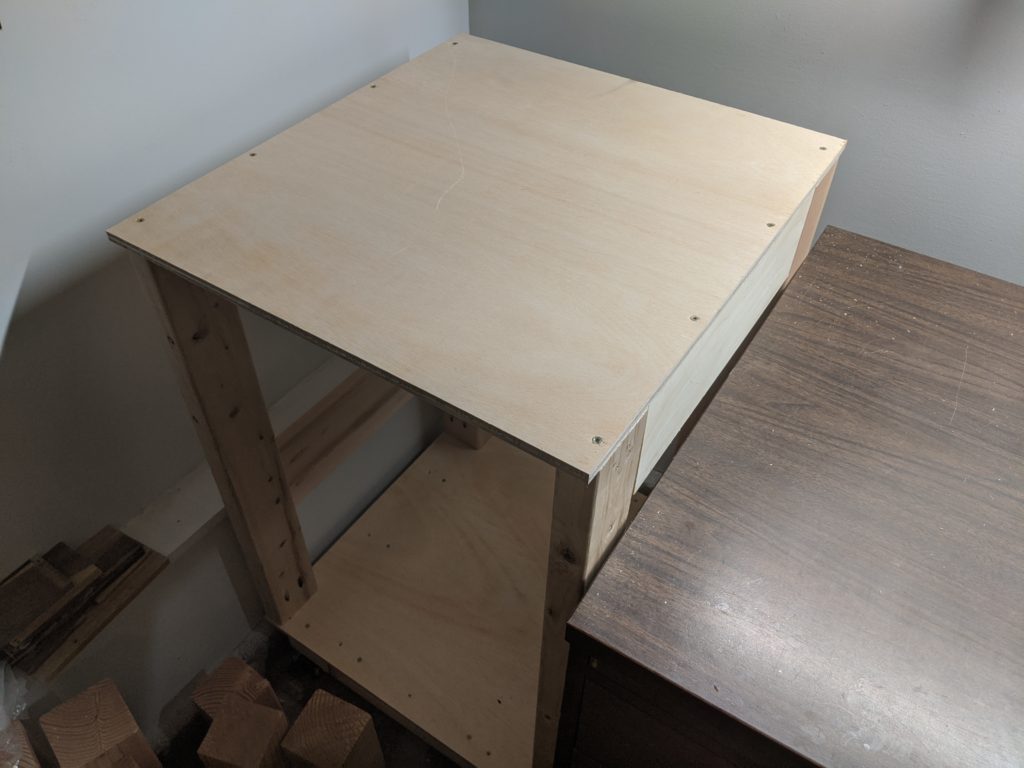
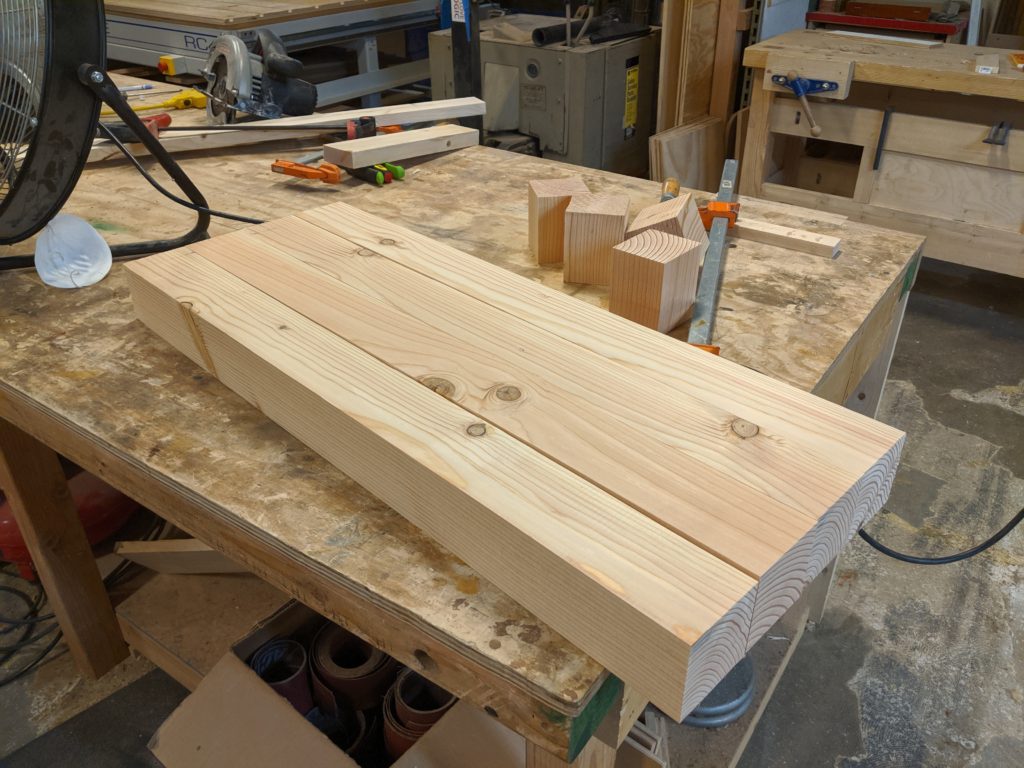
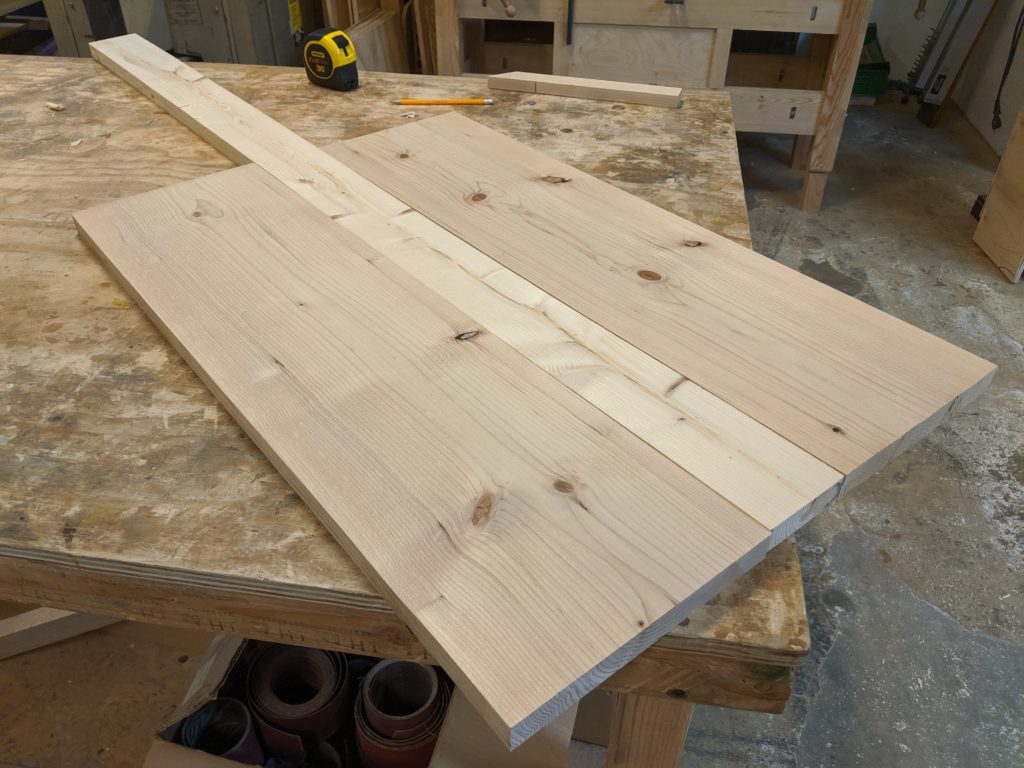
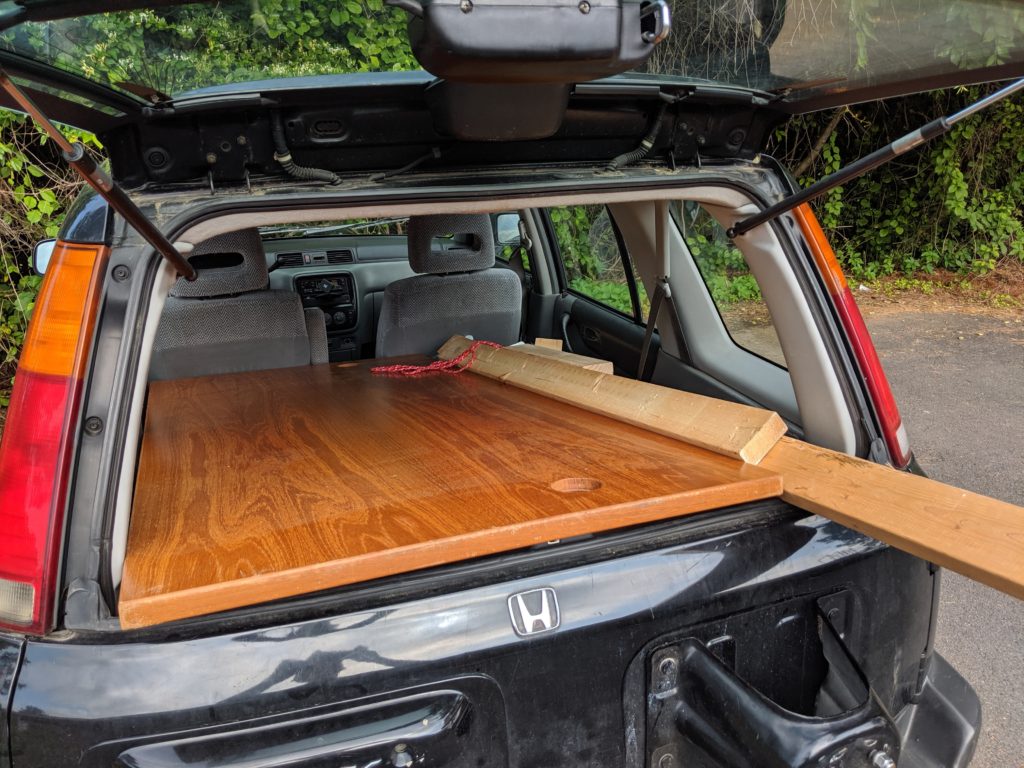
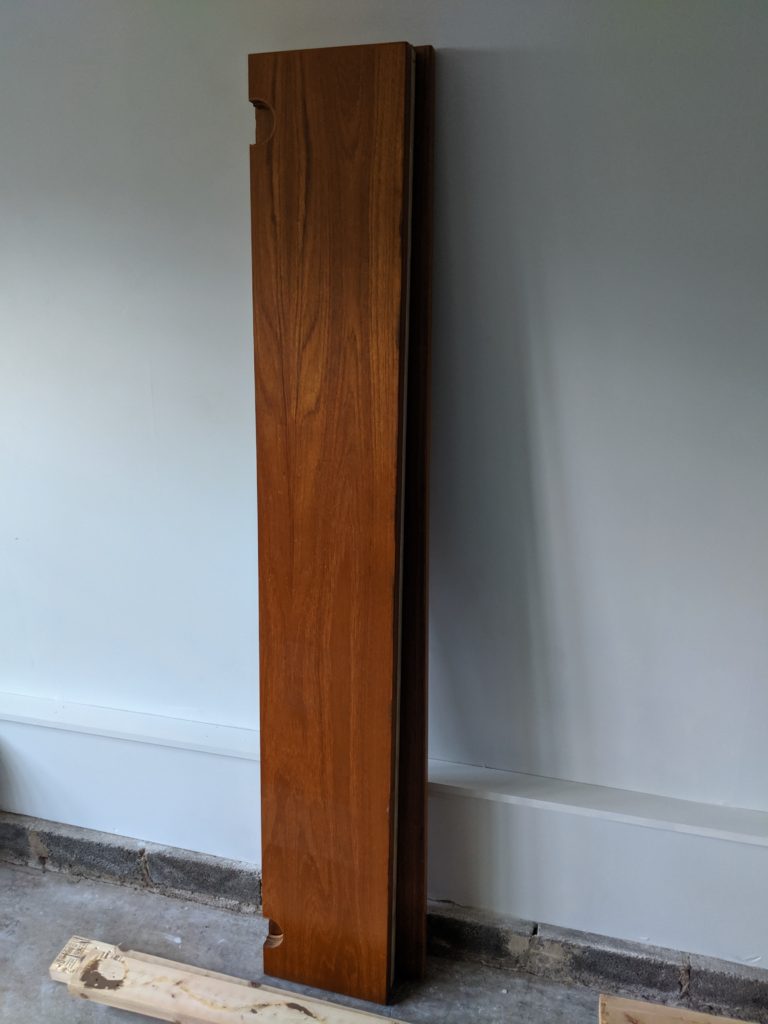
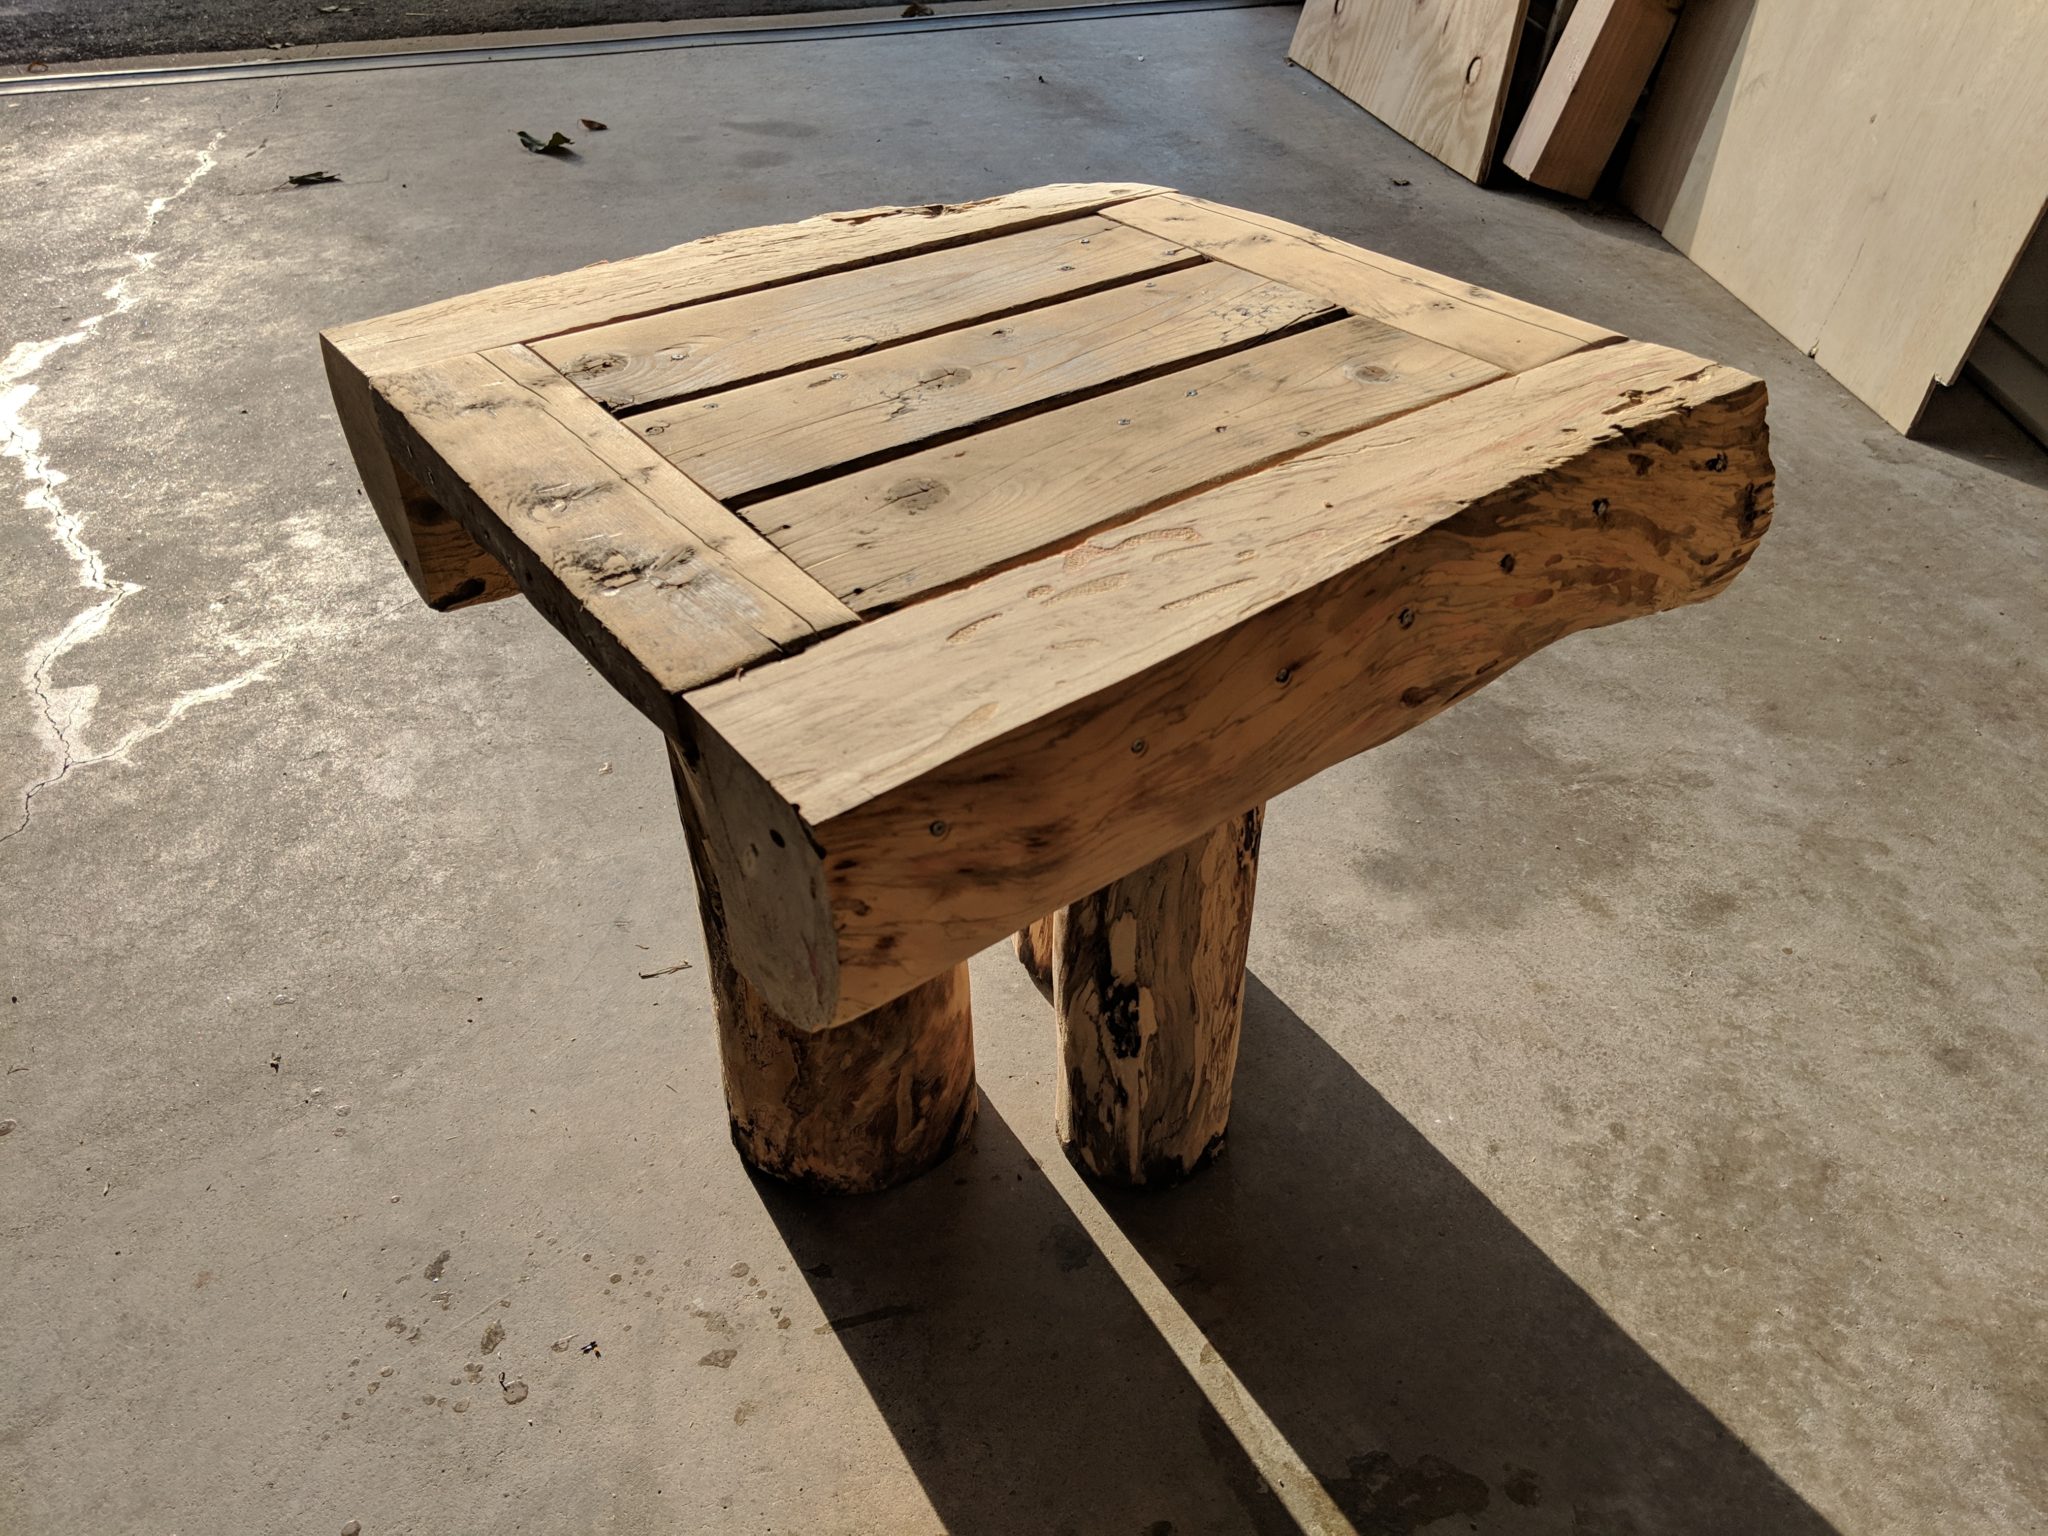
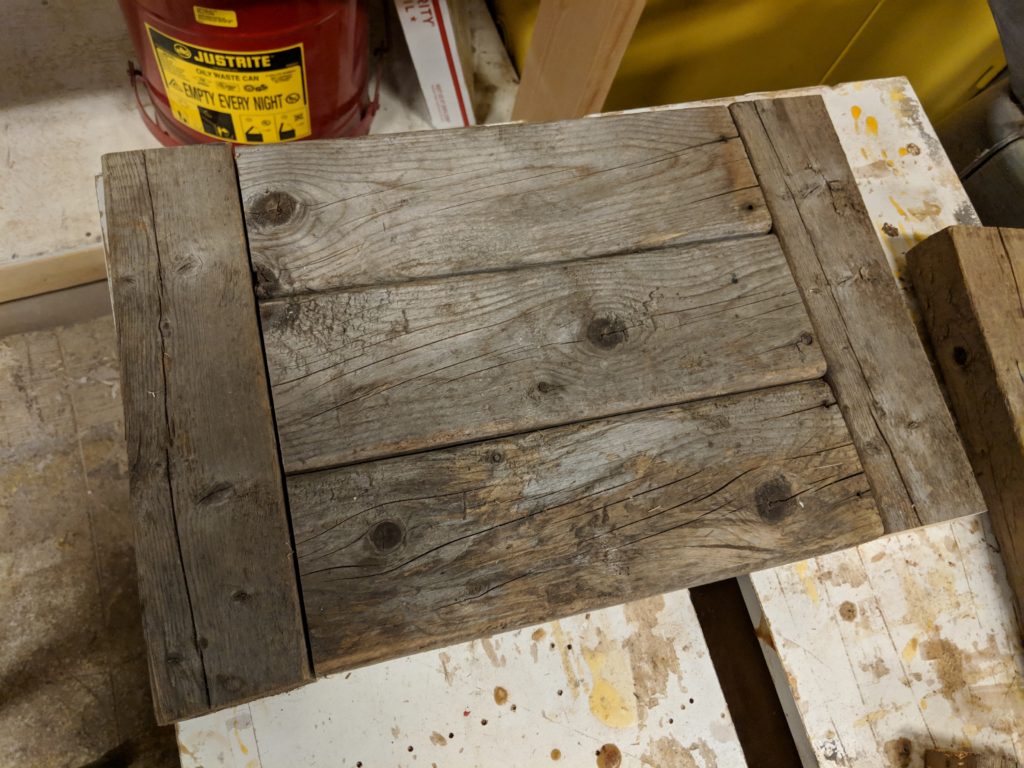
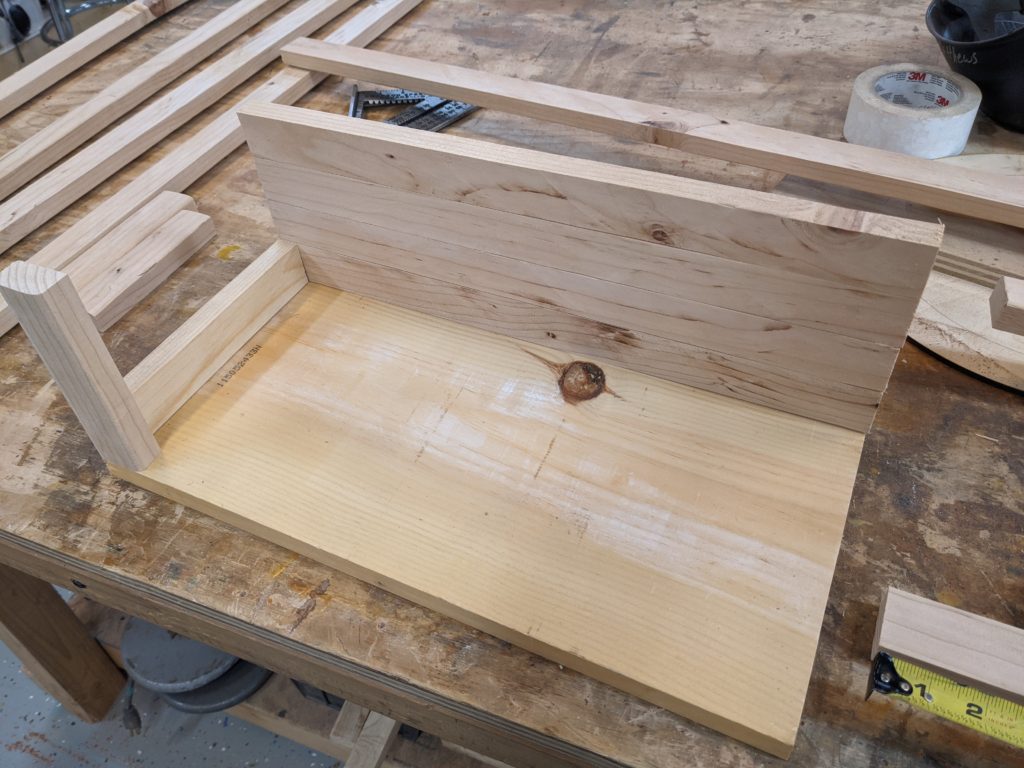
Once I had those measurements, I poked around in the garage and luckily found a base piece that was the perfect size!
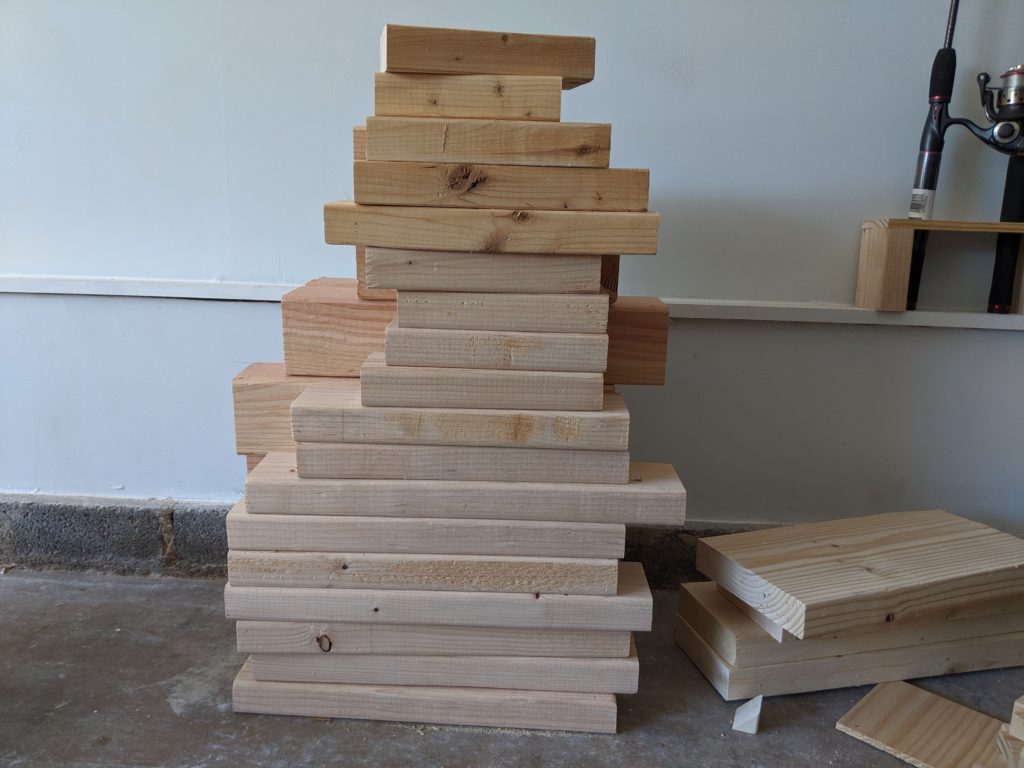
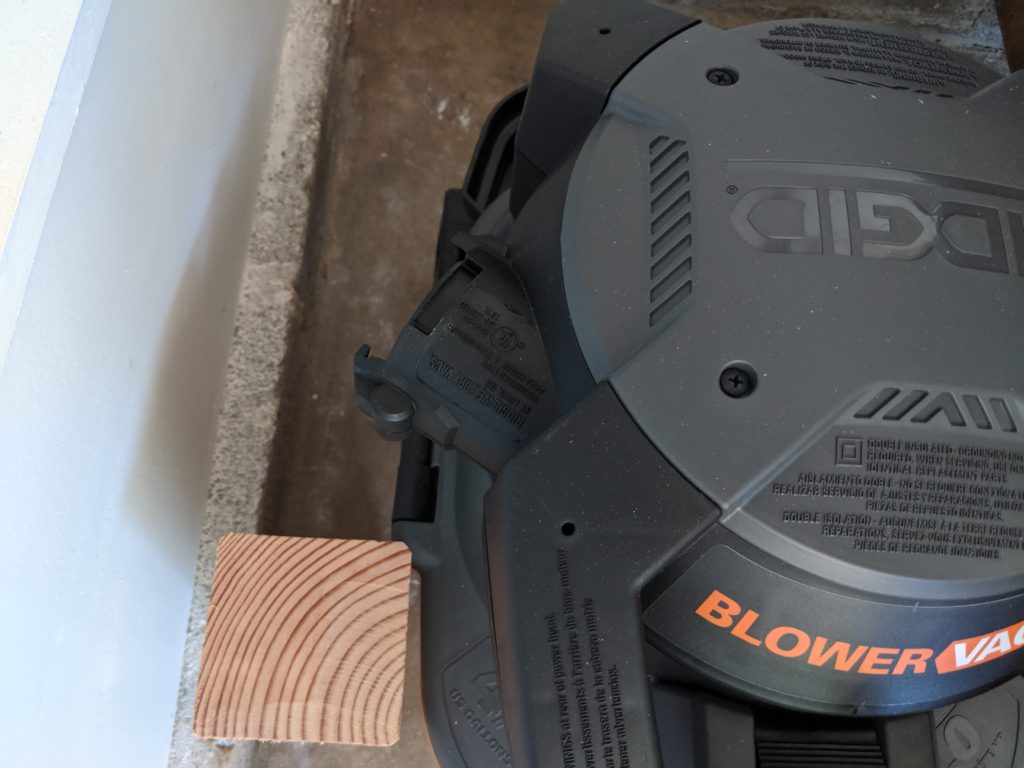
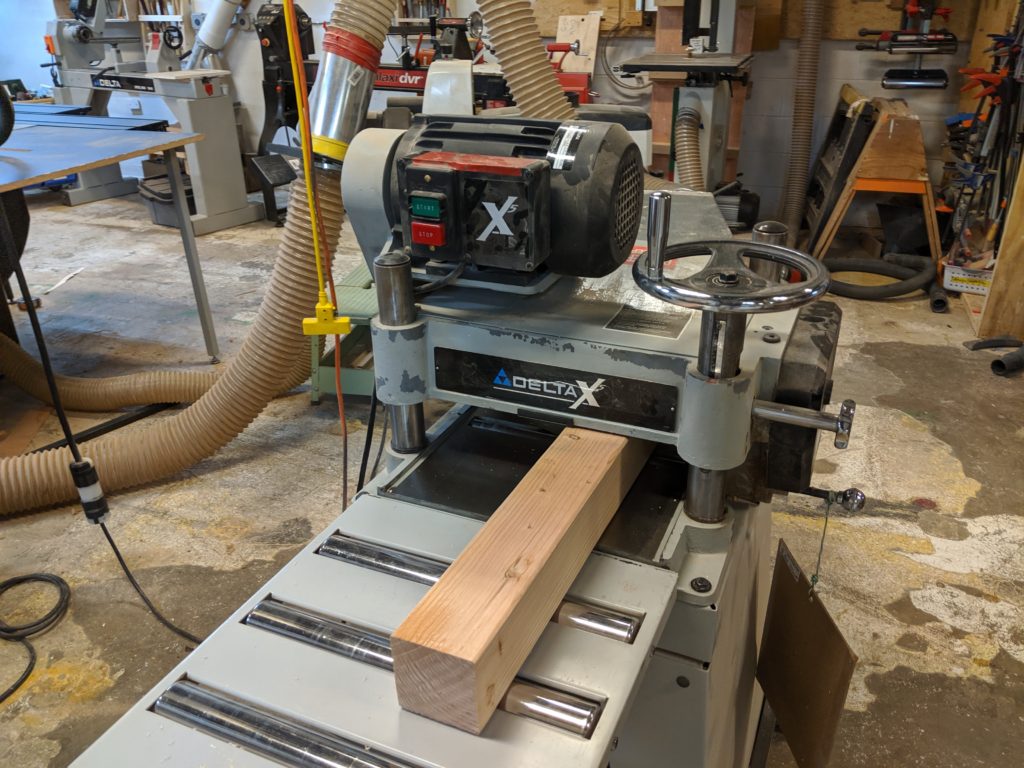
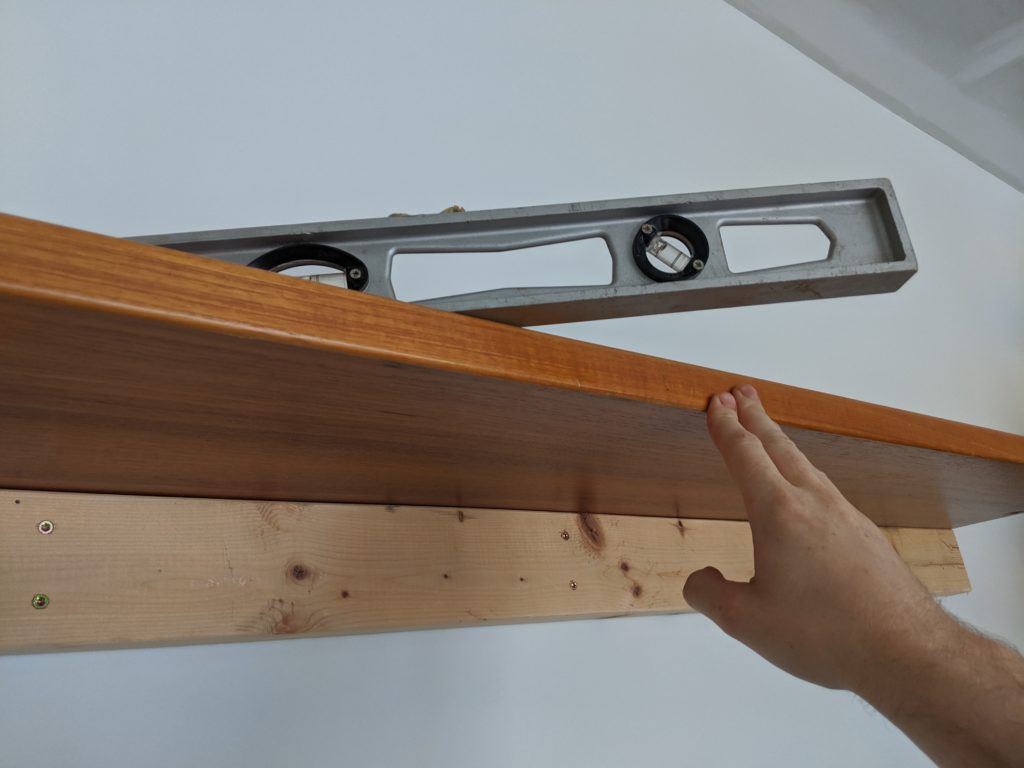
The base piece was a tiny bit uneven so I used my electric hand planer to even things out. I then looked around at the wood available in my garage for the rest of the nativity set.
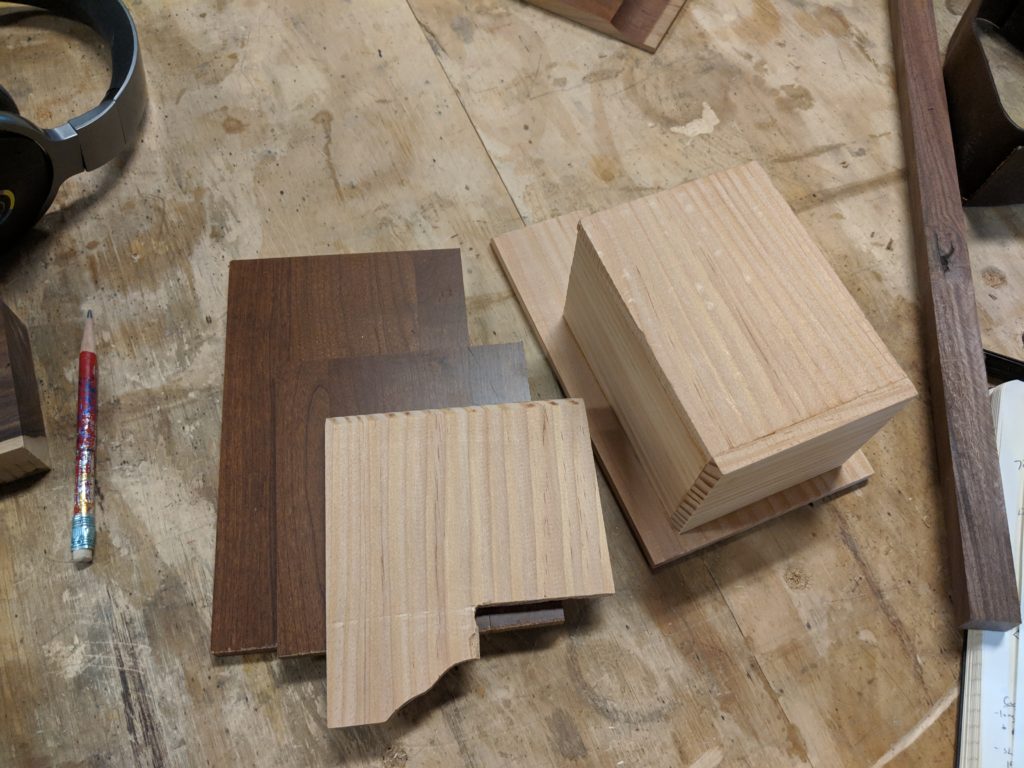
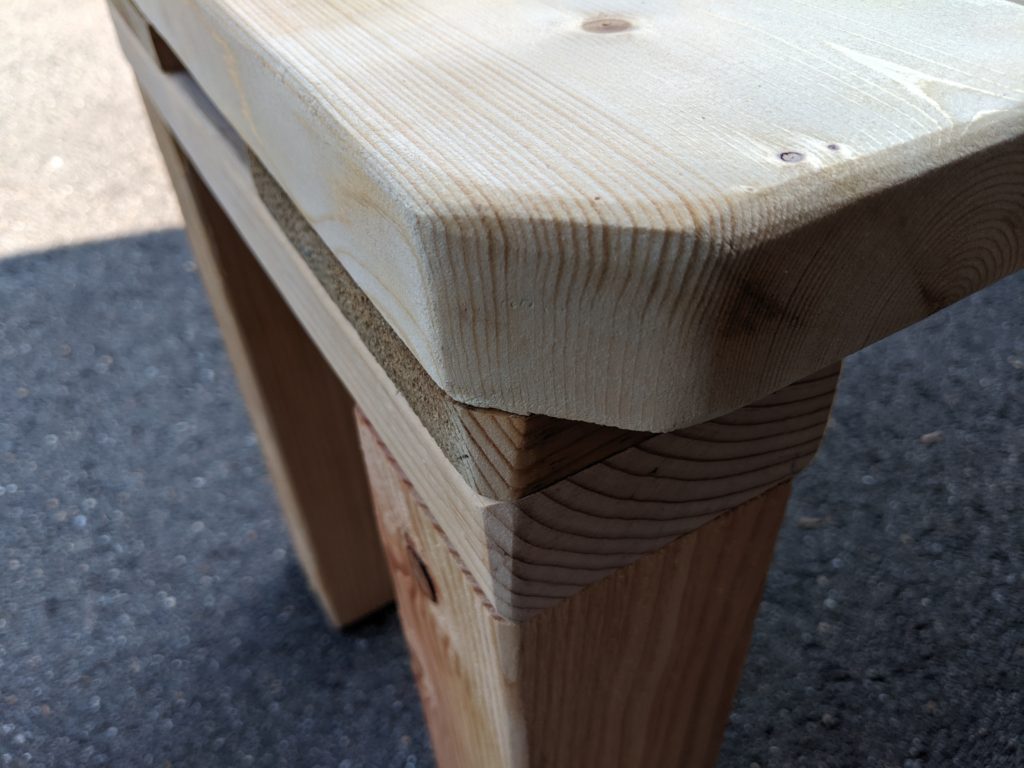
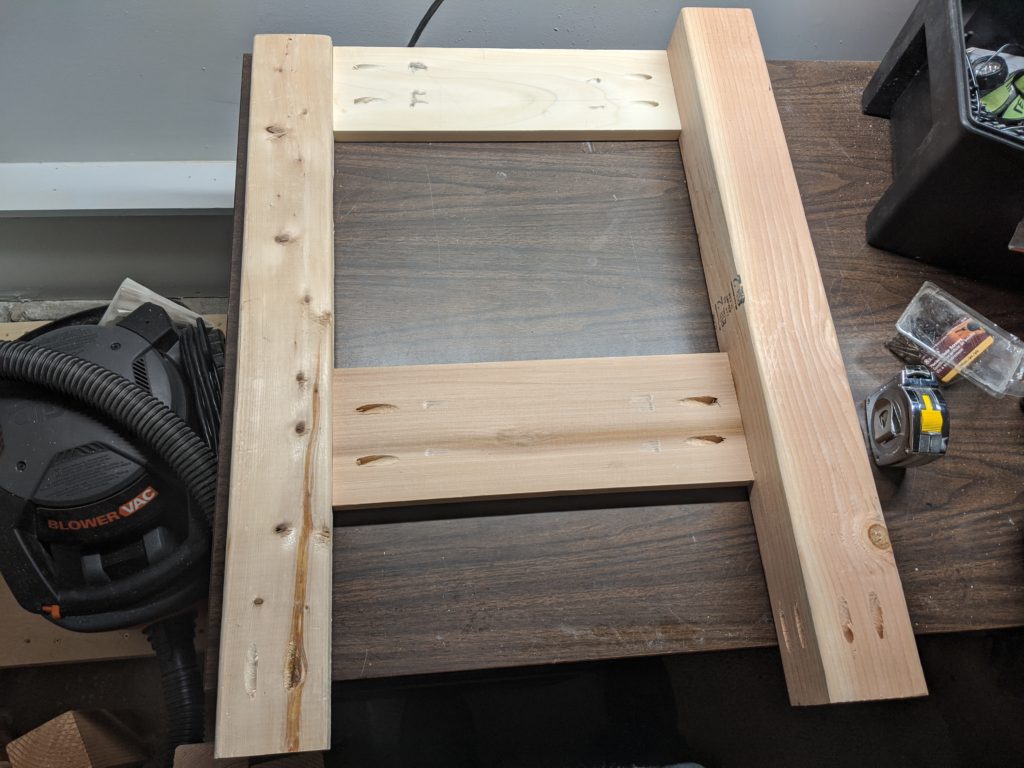
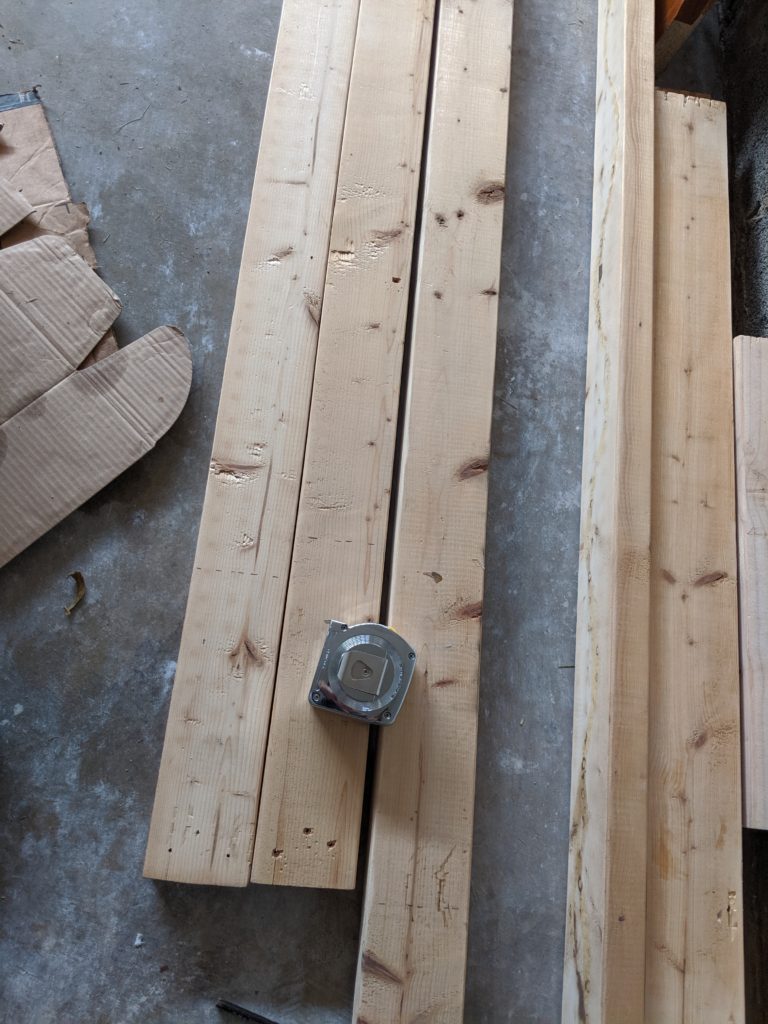
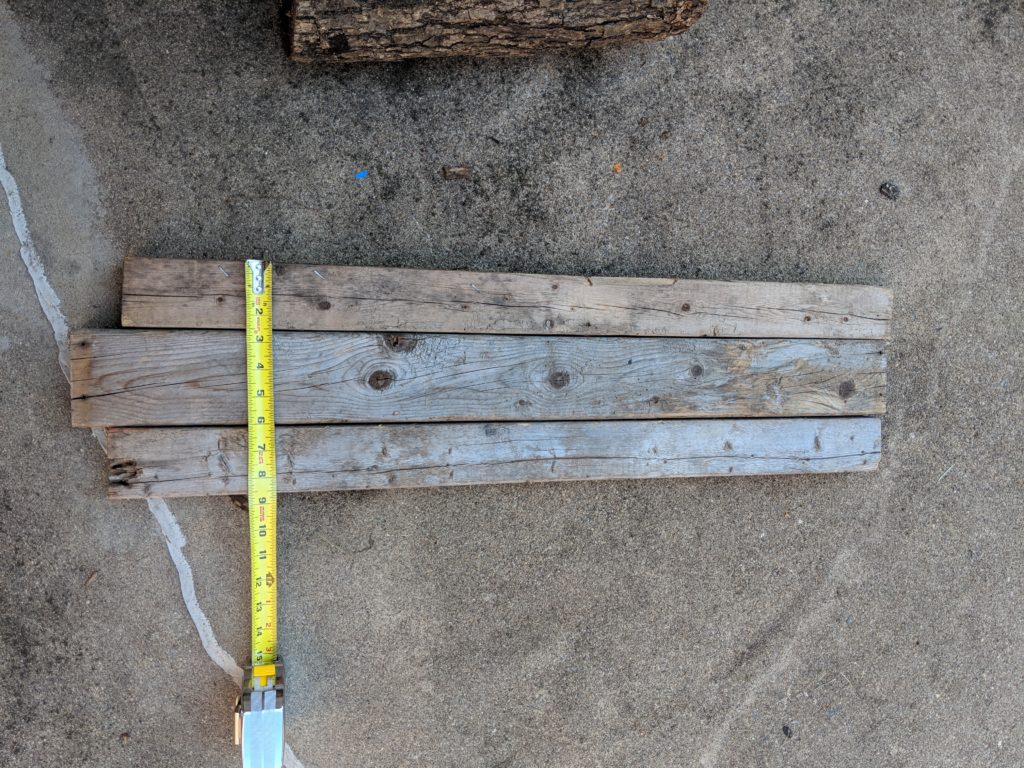
I found several pieces that had been cut off from the sides of 2×10 boards I’d used for the top of a farmhouse style kitchen table I’d recently finished for my sister, and when placed together on theirs sides it would look rustic which was perfect.

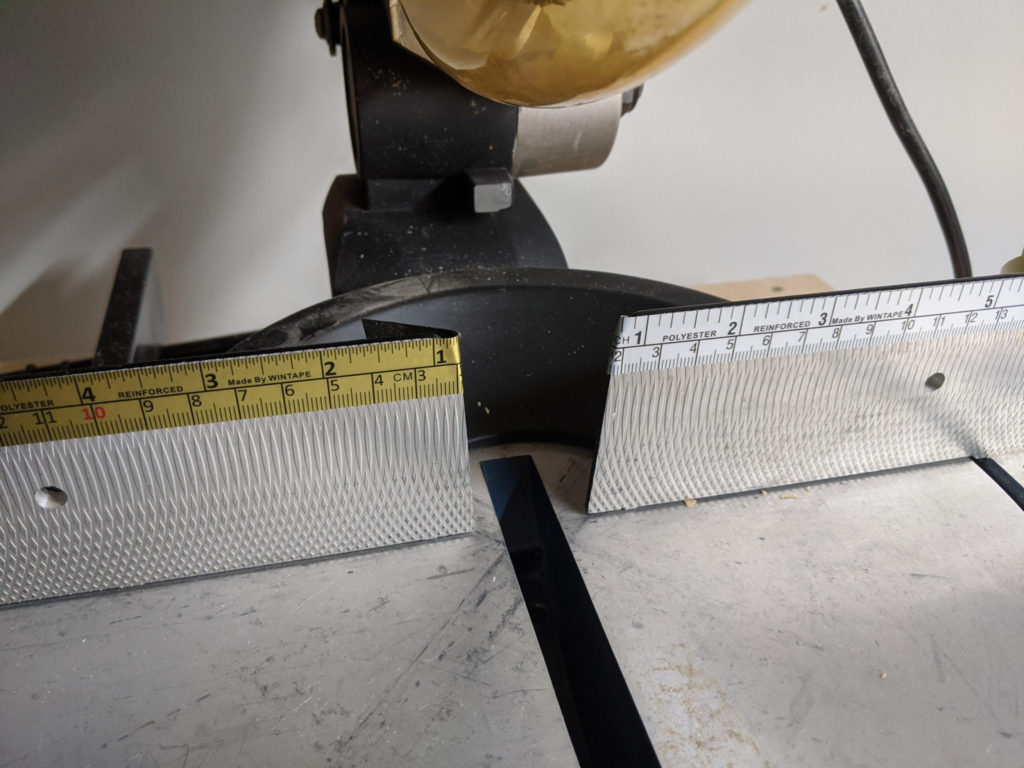
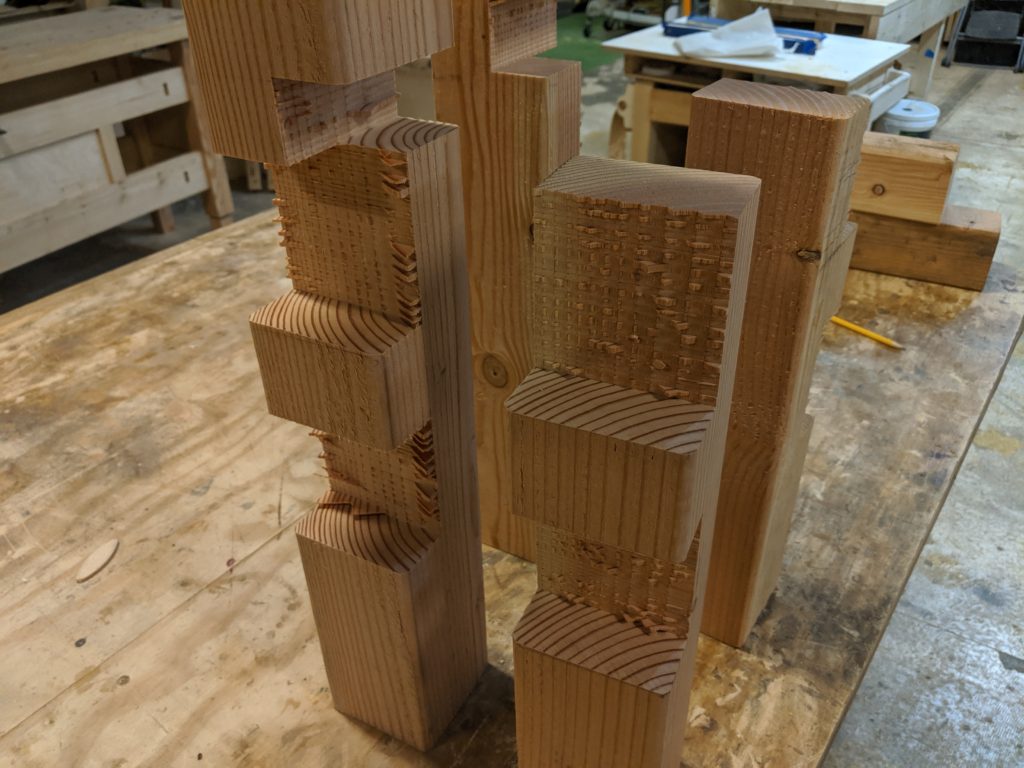
I cut them down into front, size, and back pieces using my miter saw (use a guide so you get perfectly matched cuts) and then glued the first layers onto the base piece.
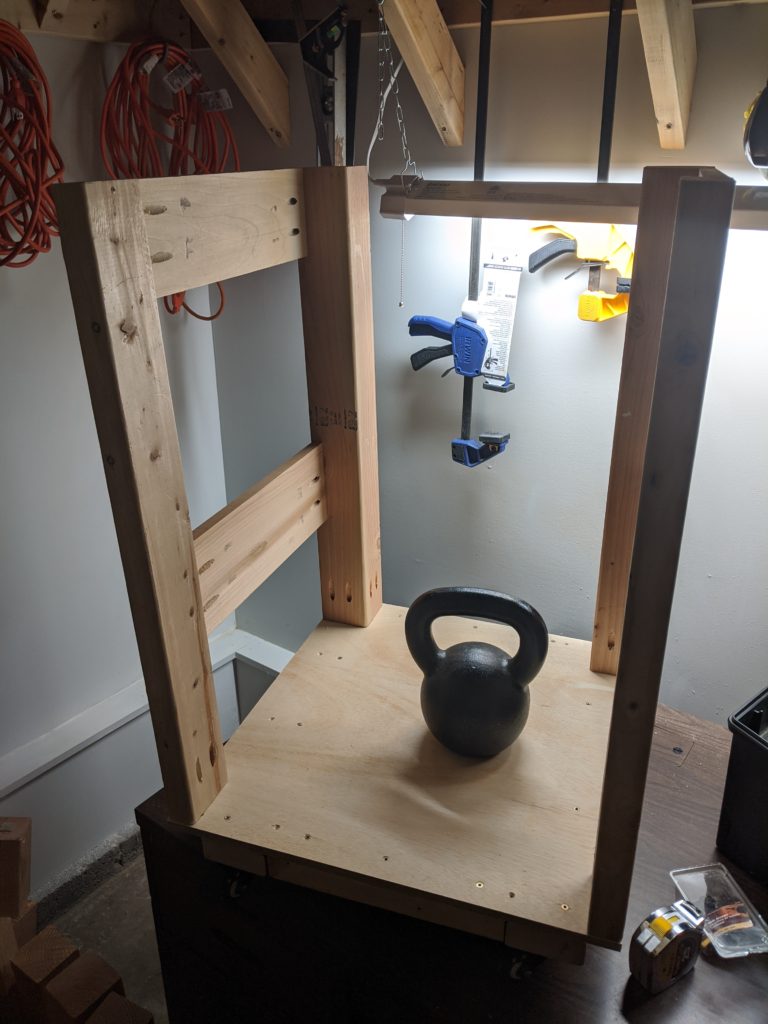
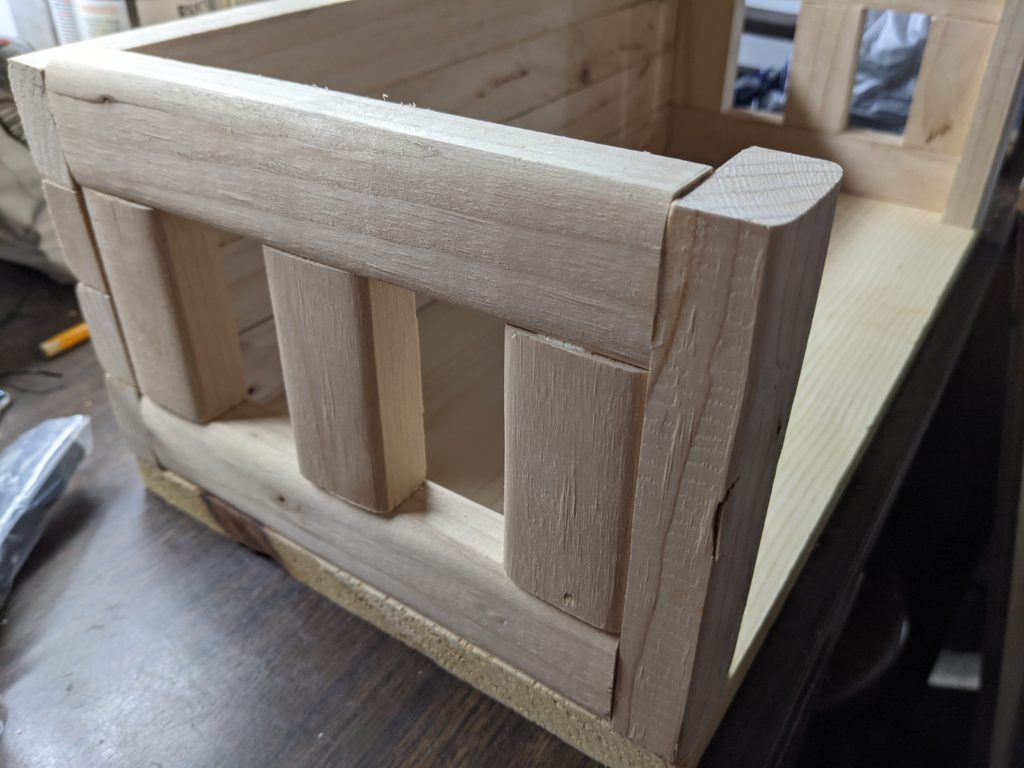
Once they dried I kept gluing more pieces on until I had all of the walls done. I also decided to changed things up slightly mid-build to add windows on the side:
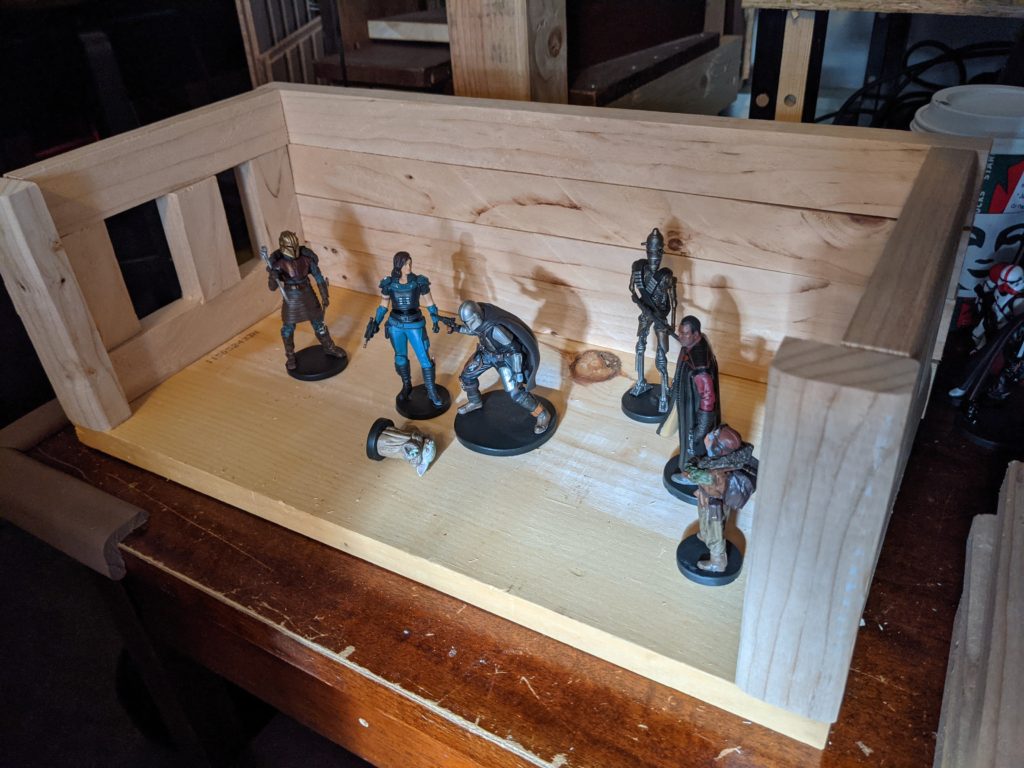
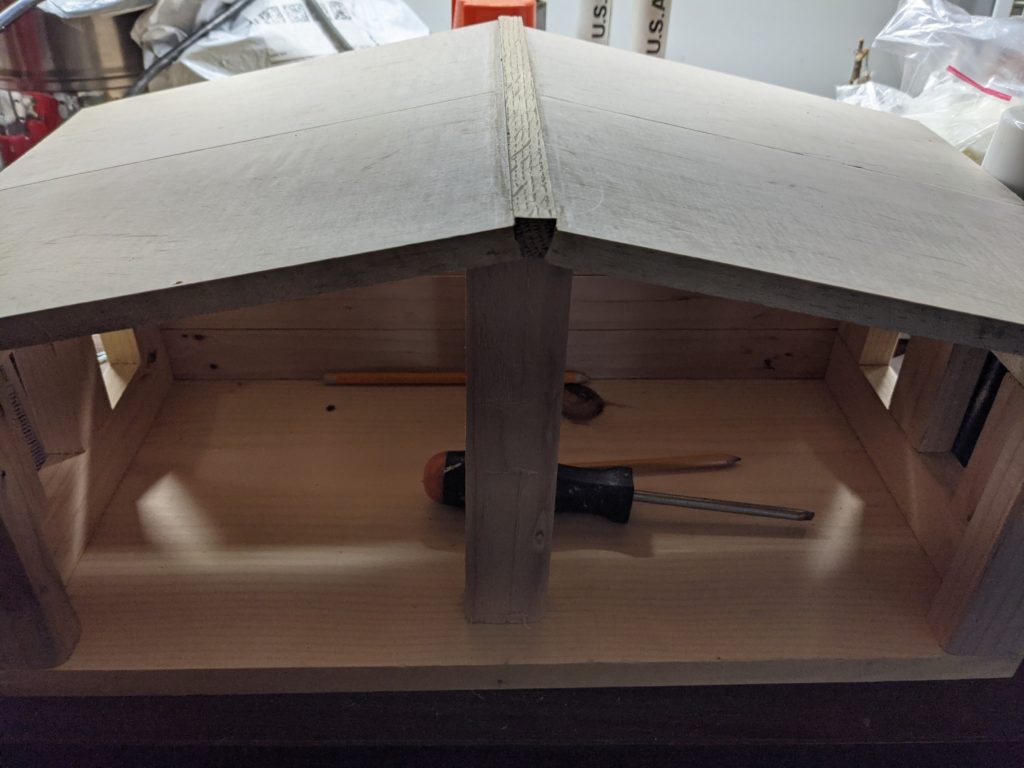
I then set up the figures again to make sure the spacing was what I wanted, as well as to dry fit the roof pieces (I didn’t want Mando to hit his helmet on the ceiling).
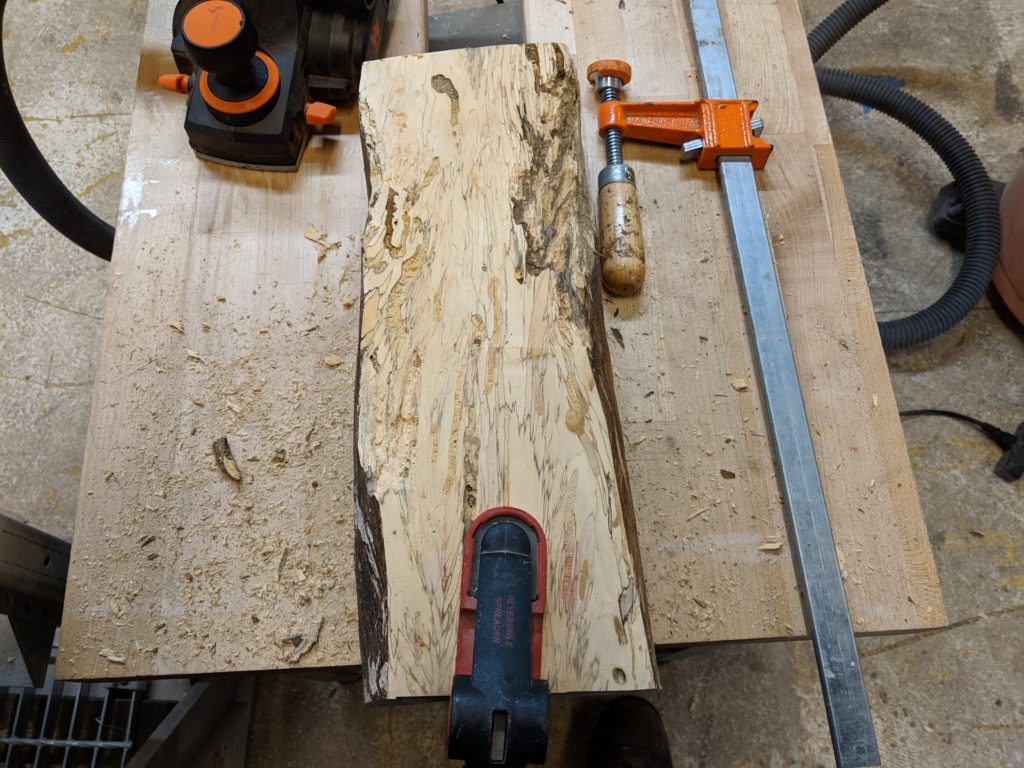
For the top, I found an old cherry piece that would cover the top perfectly when cut into 4 pieces which were then grouped into a rectangle.
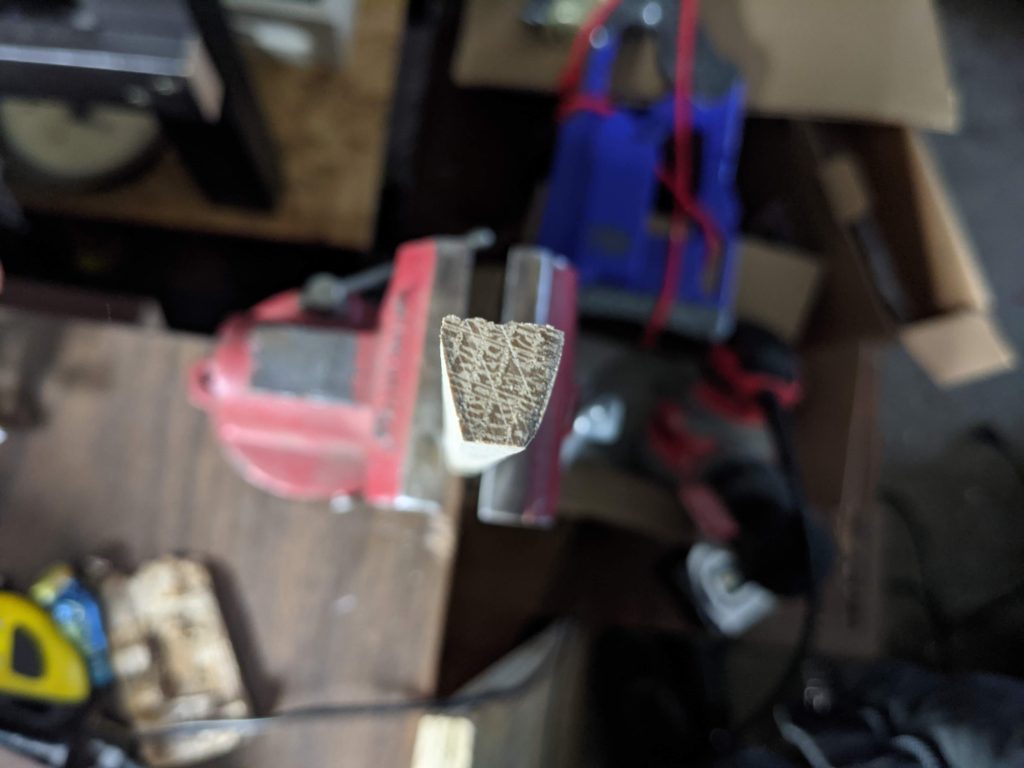
Since the angle was going to be tricky, and the length a tiny bit less than ideal, I found a thin piece of leftover oak and used that as the apex of the roof:

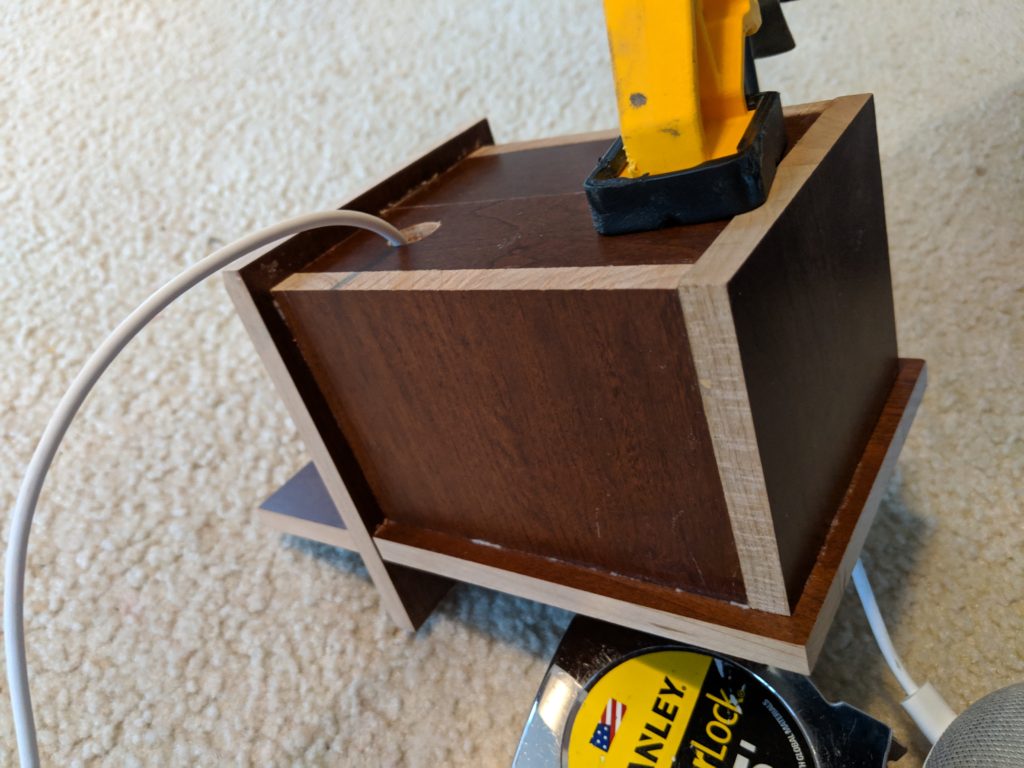
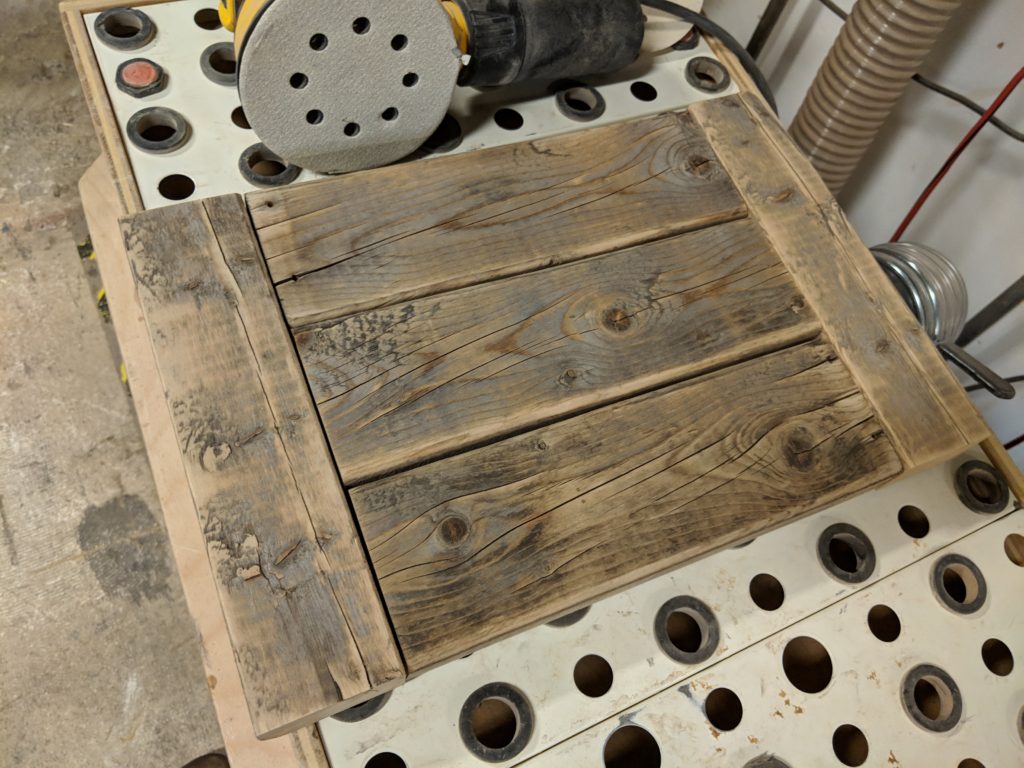
I used my orbital sander with 80 grit sandpaper to give the roof pieces an angle by clamping it and going to town.
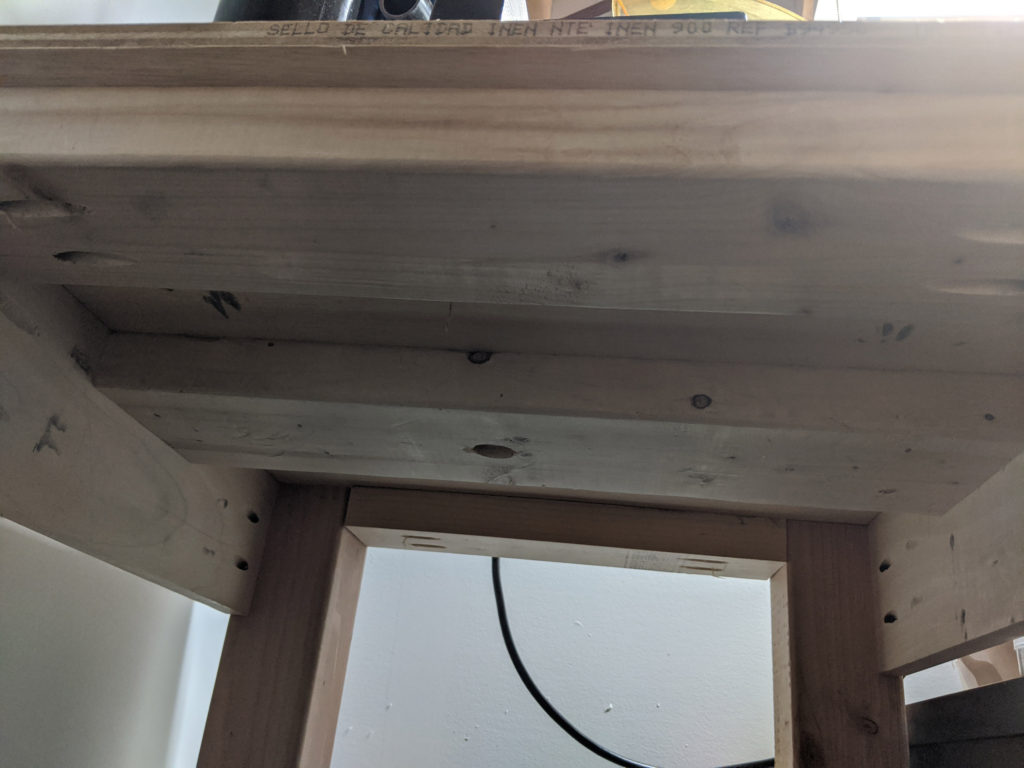
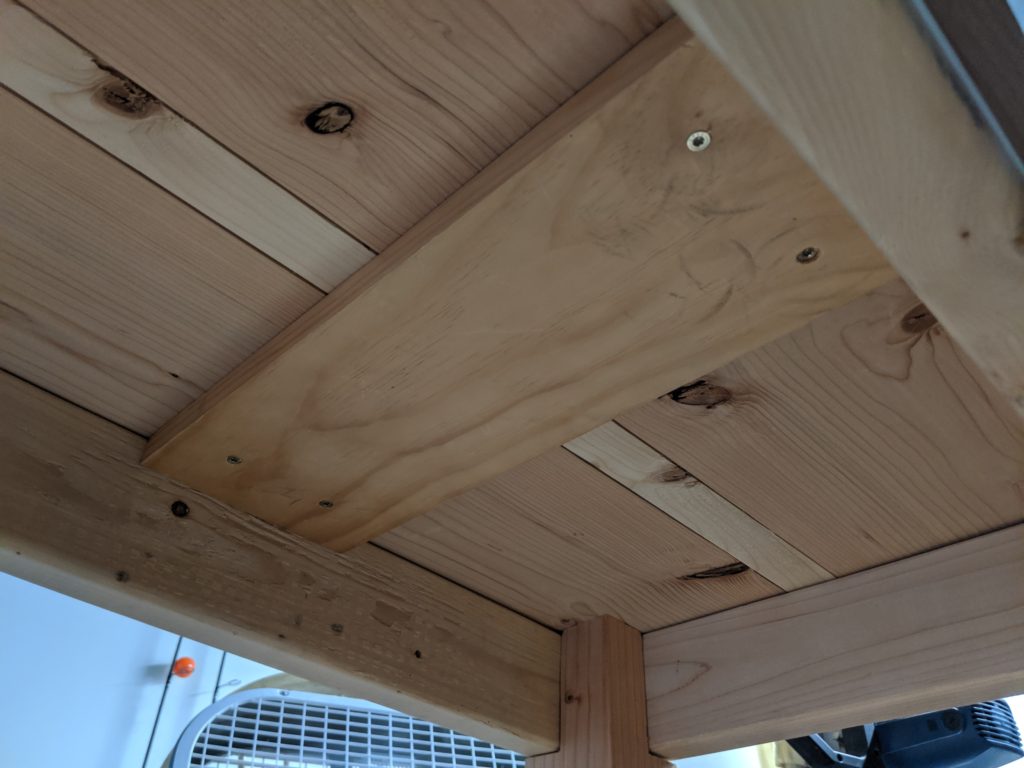
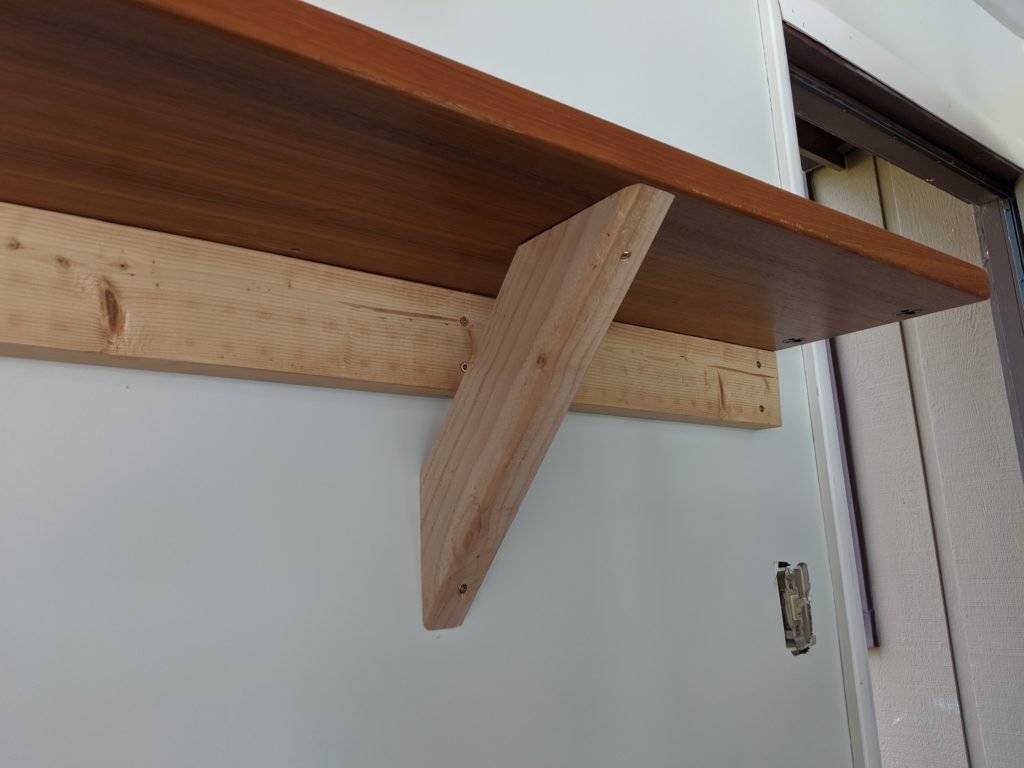
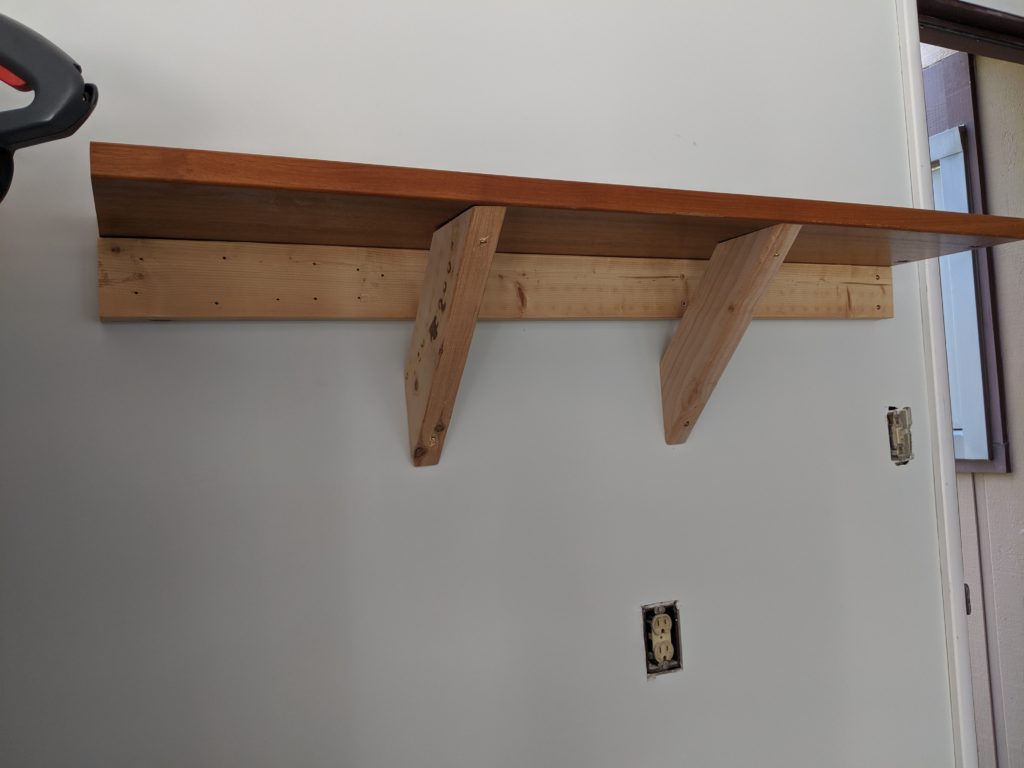
I put supports under the roof pieces and glued the roof together (but not to the walls yet).
After the roof had dried, I placed it on its back side on top of some spare wall pieces which I’d glued together and then traced the outline of the roof onto those wall pieces. I then used my jigsaw to cut the outline which gave me a piece to fill the gap between the walls and the roof on the back wall.
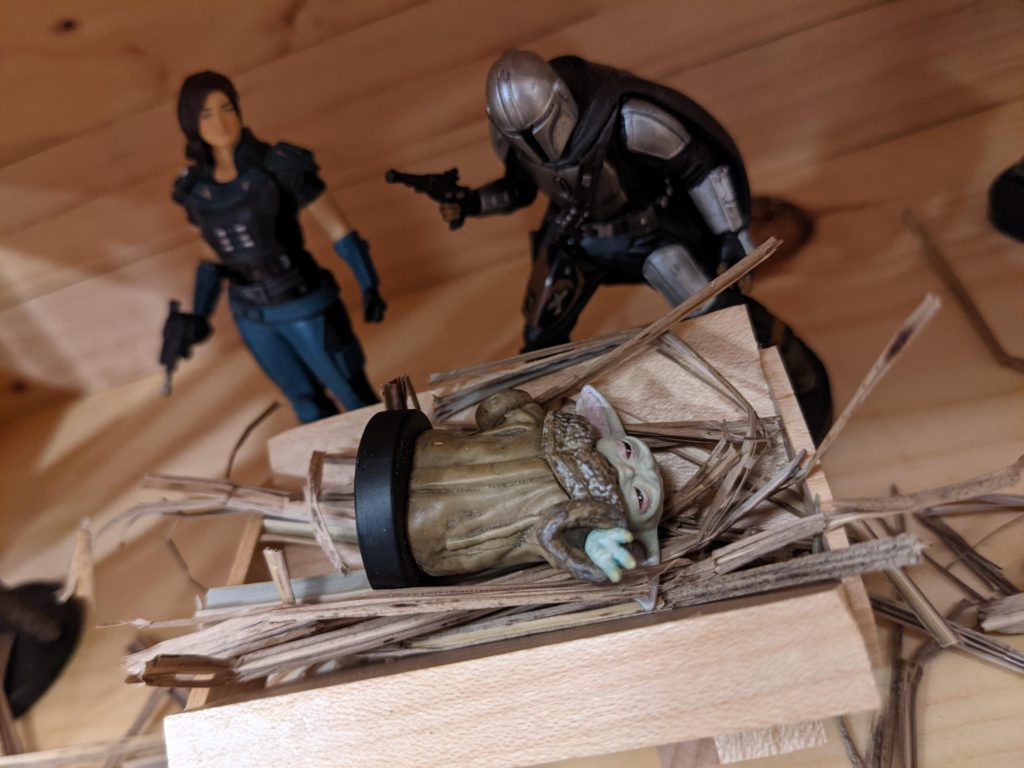
I then glued everything together- but Baby Yoda needed a manger!
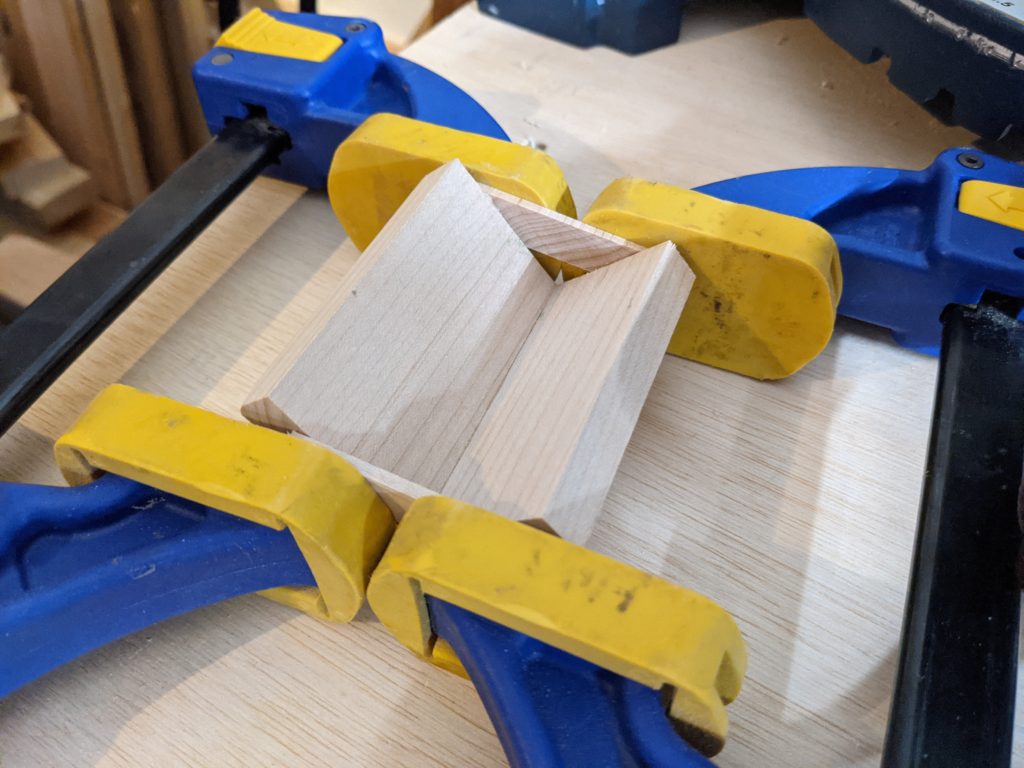
For this, I grabbed the leftover cherry from the roof cuts and cut it down into the manger pieces, legs, and side supports.
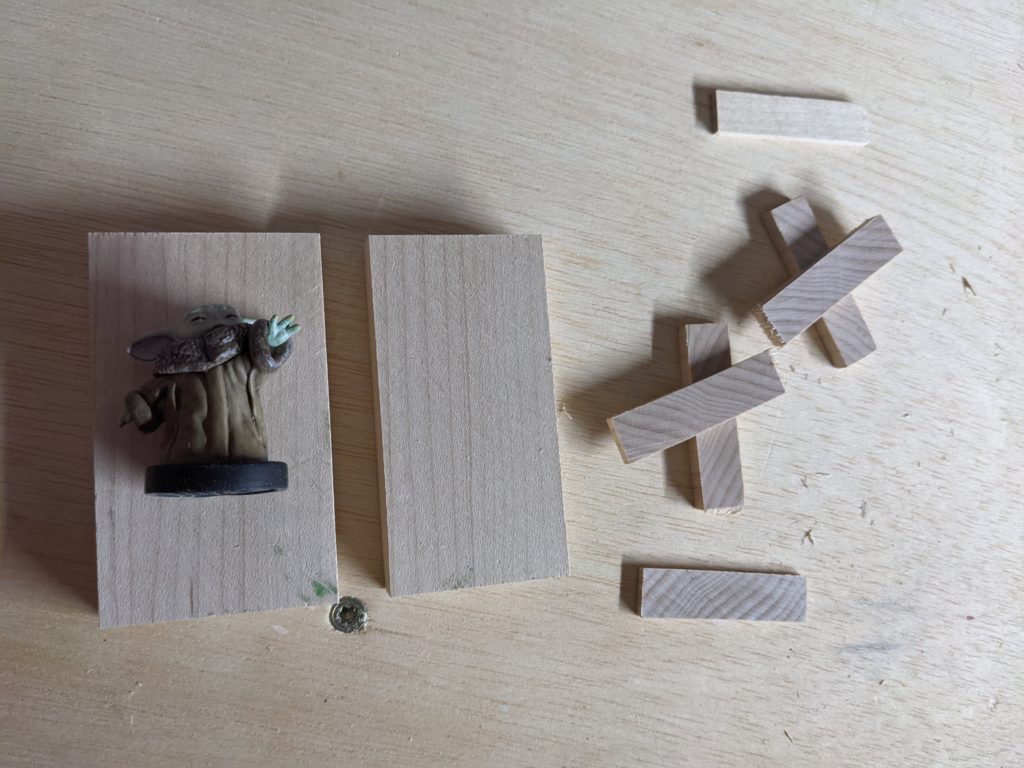
I glued them all together and then sanded down the bottoms of the legs so it would sit better without tipping over.
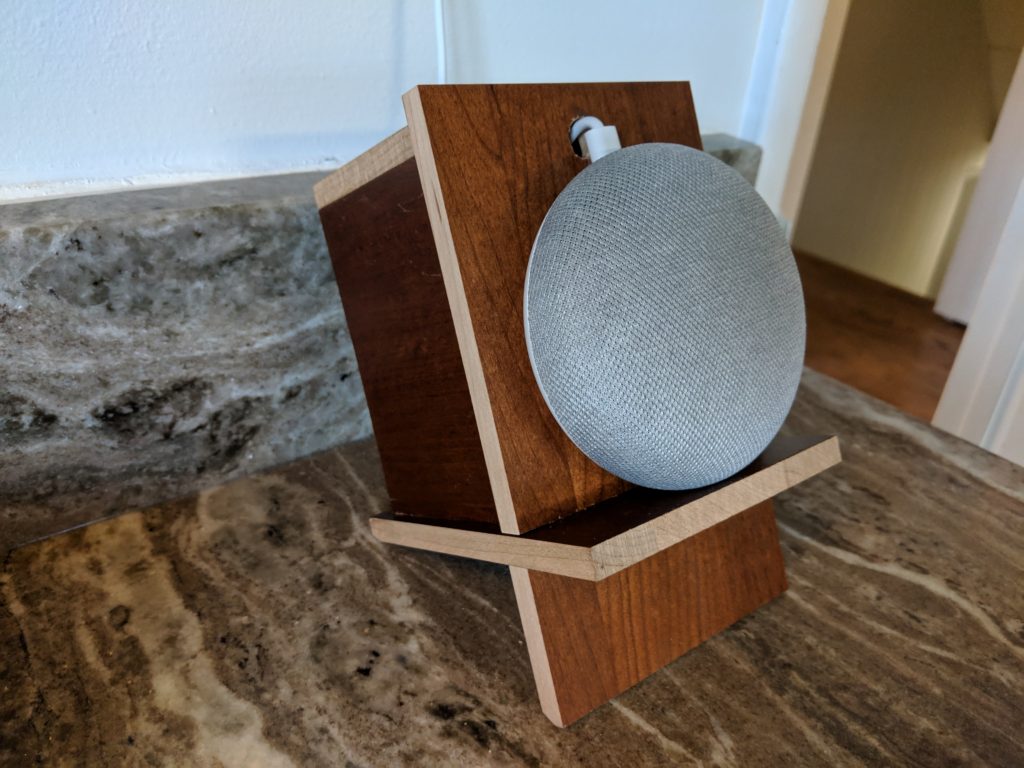
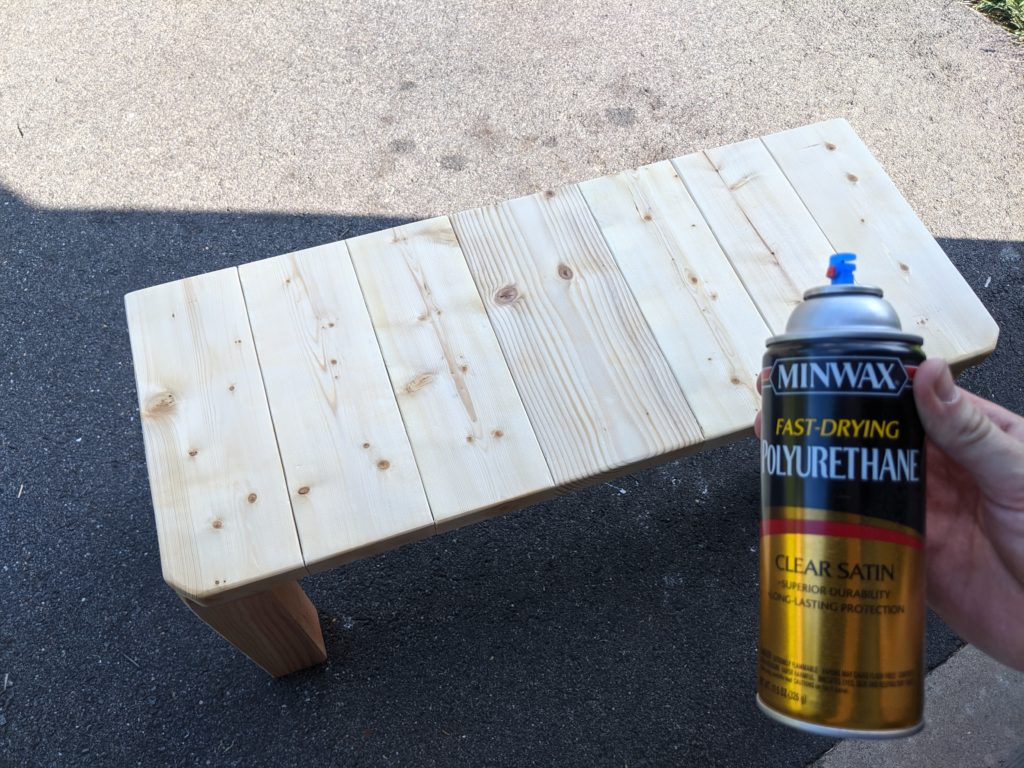
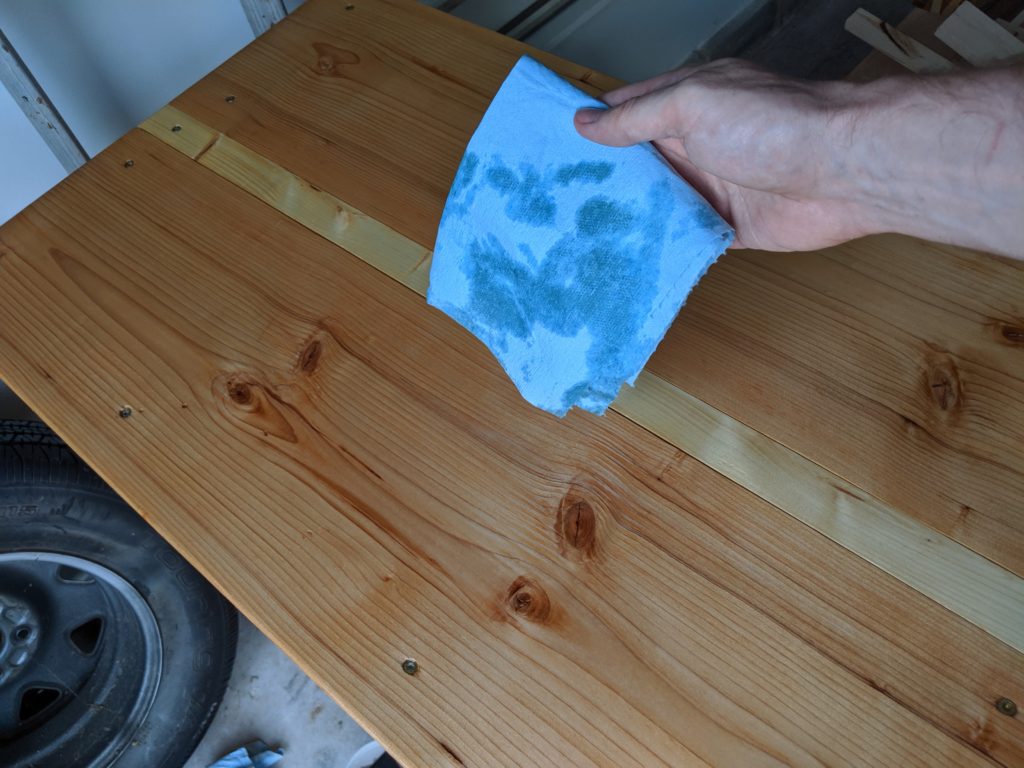
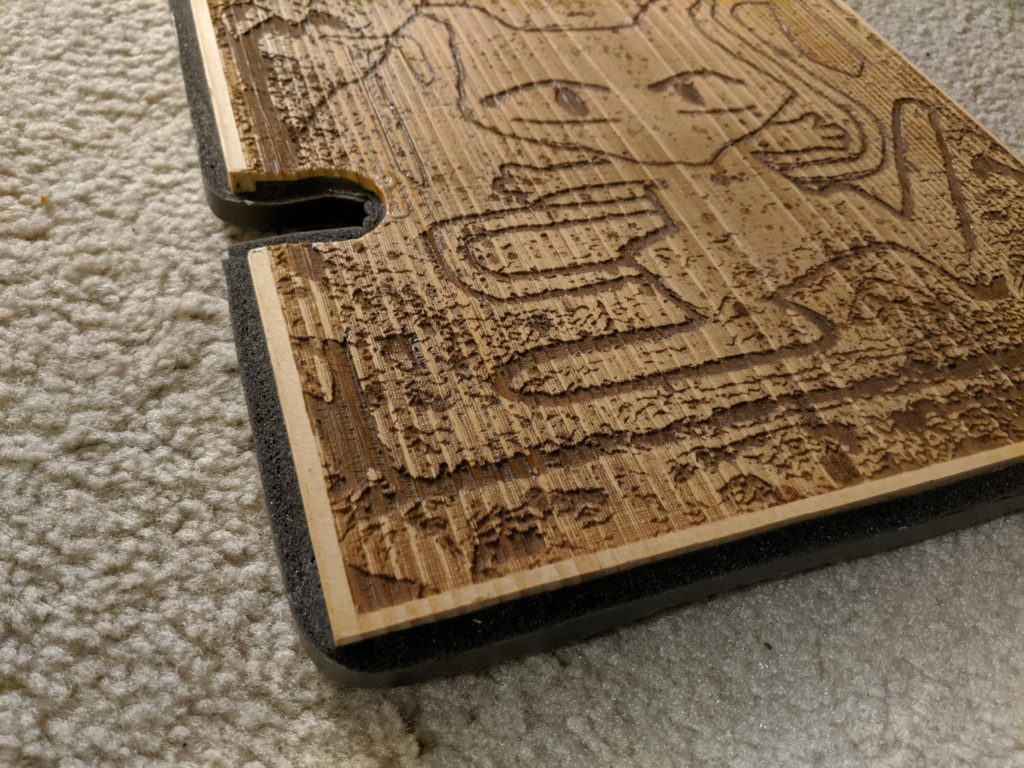
Once the final touches were done I sealed everything with a few coats of Minwax clear satin polyurethane (I used the spray since I wasn’t up for doing all the nooks and crannies with a rag).
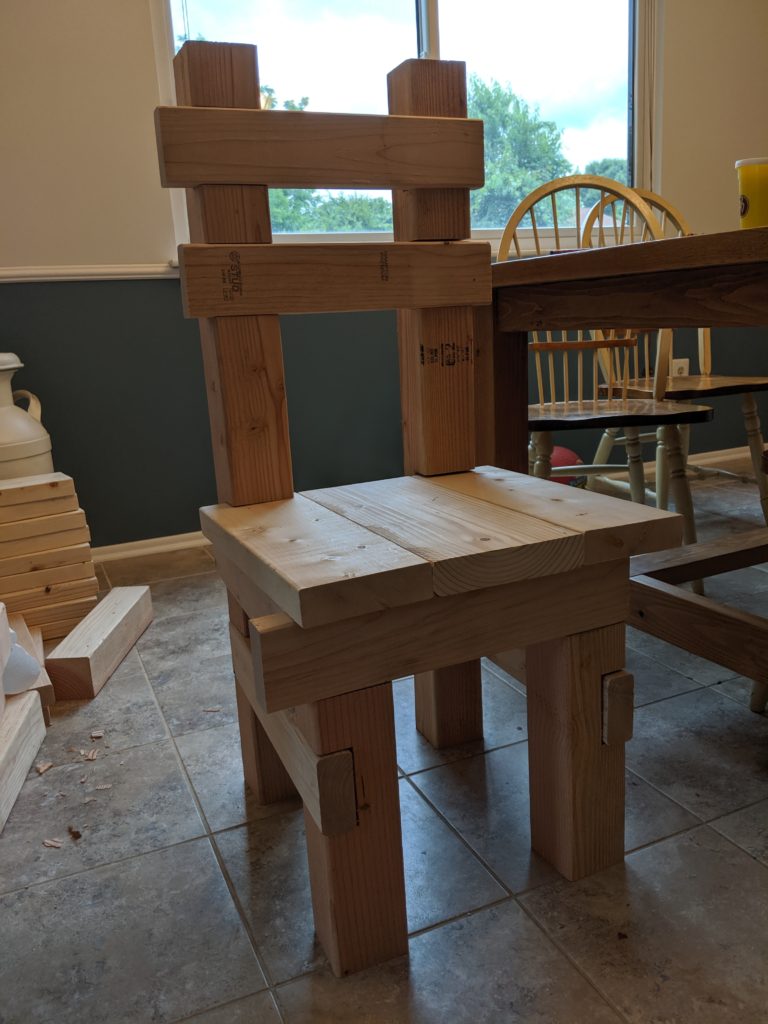
I did a final test fit and was blown away by how good it looked!
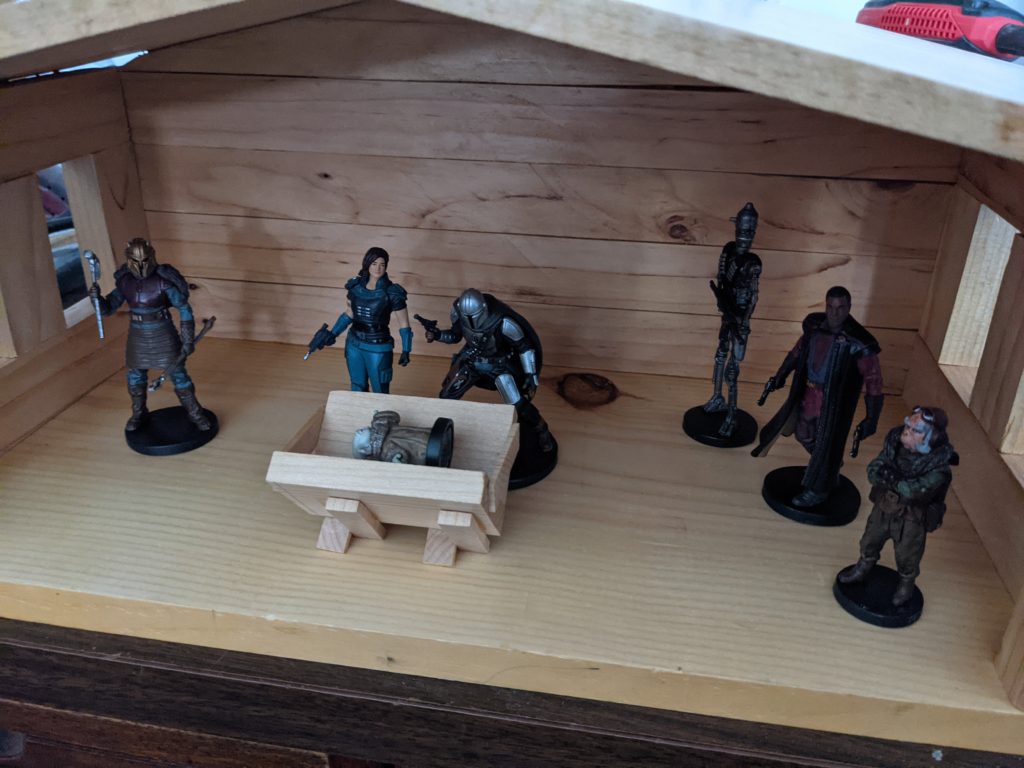
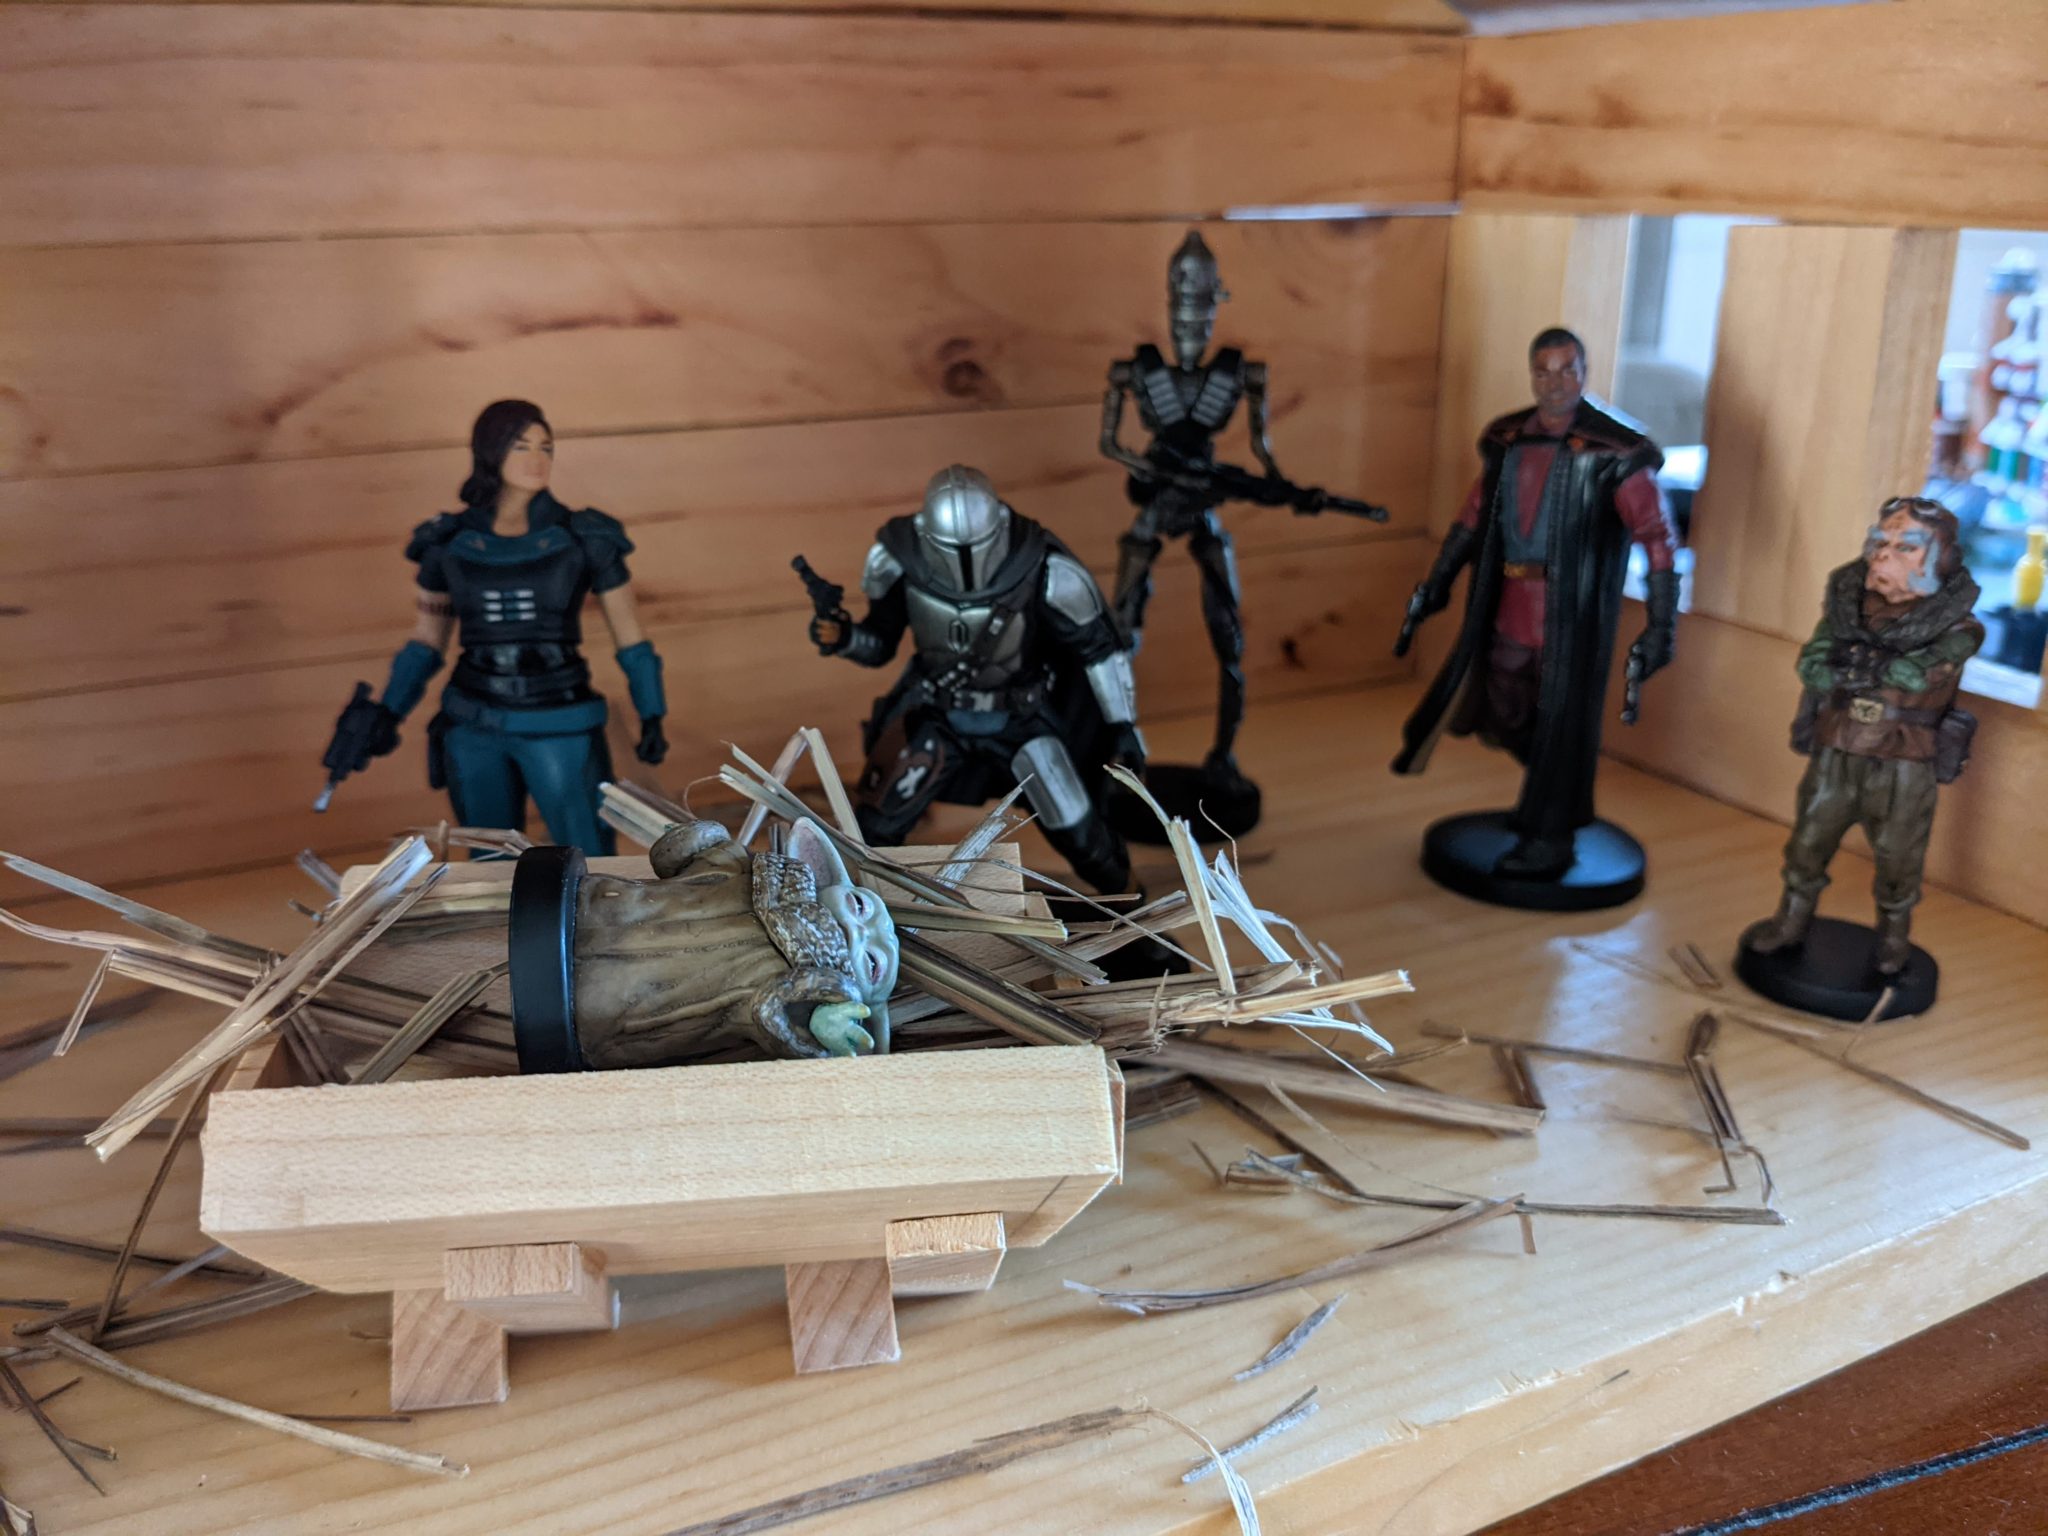
Then I grabbed some hay from a bush in the backyard and set it up inside the house for the family to see!
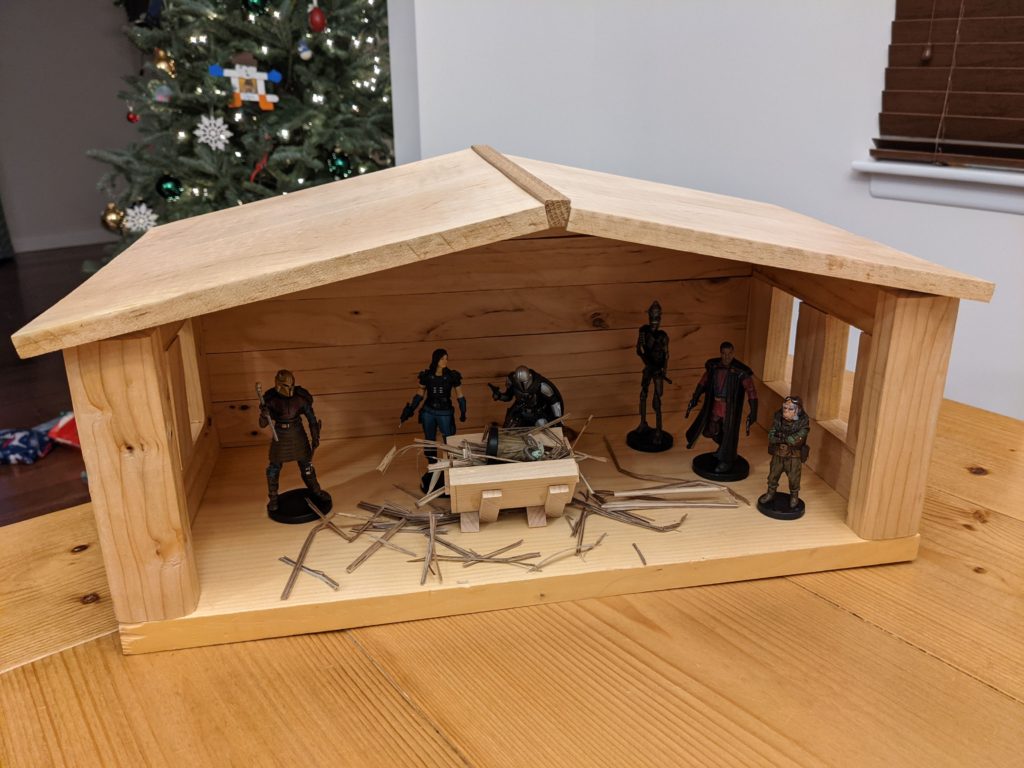
Here’s a close-up view of The Child in his manger:
All in all, making this Mandalorian Nativity set took less than a week and needed nothing more than scrap wood and tools/supplies I already had from previous projects.
This is the way!