Category: Living

An Ode to Desks

an ode to desks

Desks are the fields and factories of our time.

As civilization turned to cultivation, mankind moved from forest to field. As the industrial revolution overtook farming, mankind moved from field to factory.[1]

And as civilization turned to corporations, mankind moved from factory to furniture.[2]

Desks play a huge role in our lives. You’re at work? Probably at a desk.[4] In school? Desk. Arrived at a hotel? Check in at the front desk.[5]

And even within those desk activities you can notice various displays of intra- and interpersonal behavior; the obsessed desk decorator from HR, the kid doodling the cool S thing on a school desk, that weird feeling of having your personal space invaded when someone stops by and leans on your desk.

So below will follow a story—my story—of desks.

When my older brother left for college and I moved upstairs to his old room then a tall, dark wood desk with many drawers and shelves became mine. It smelled like a countryside cottage, not old but well seasoned; it contrasted sharply with its location in a suburban home’s upper floor. Further, it was stately and grand and quite unlike anything else I’d had.

I proceeded to make that grand desk reflect me and my interests; action figures, my Lego creations, awards, interesting finds from the nearby river and woods, and other odds and ends adorned the desk and its attached shelves.

Some of my favorite memories from the time I spent in that room include that desk; sketching, drawing, writing, playing music or a riveting game of Sid Meier’s Alpha Centauri or Medieval: Total War on the Pentium 4 computer at its center. Snowy days looking out the window by that desk watching the evergreens in the backyard blanketed white and heavy.

Then seasons changed. Snow days turned to summer days and with the change of the seasons comes the passing of years. As my older siblings had left and I’d inherited the desk, so too I left and passed the desk on when I went to college. I don’t believe I’ve seen that desk since.

College dorms aren’t known for their magnitude, and I got used to a small rickety end table that was lying about being a desk. A bad sneeze would have knocked its legs off.

Then a few years later, while walking to my slightly larger newlywed apartment, I found an old desk put out for the trash. It had a certain charm that my particleboard desk lacked, and I spent an hour lugging it the rest of the way home myself:

The desk in all its glory. In hindsight, I should have left it for the trash.

We took that desk with us across a few states but ultimately had to leave it on one coast when we flew to the other (sadly, I wasn’t in love with that desk enough to pay for movers).

So to fill a hole in my heart the size of a desk, I looked around in the garage for some spare wood. I challenged myself to make a desk without buying lumber; it was a true Ultimate Scrap Challenge. Plus, I had the added challenge of not having any woodworking tools other than a drill and an old circular saw which I had to borrow from my parents. And as you’ll soon see, I didn’t have any woodworking experience, either.

Making this desk was…a good try. Yeah, we’ll call it a good try:

Ignore my (lack of!) cable management. And my lack of skill.

Fine. It was merely a try. How that desk never fell apart I’m really not sure (especially since I had not yet discovered the magic of pocket hole screws).

About two years later I saw this picture and decided to do something like it for my kids:
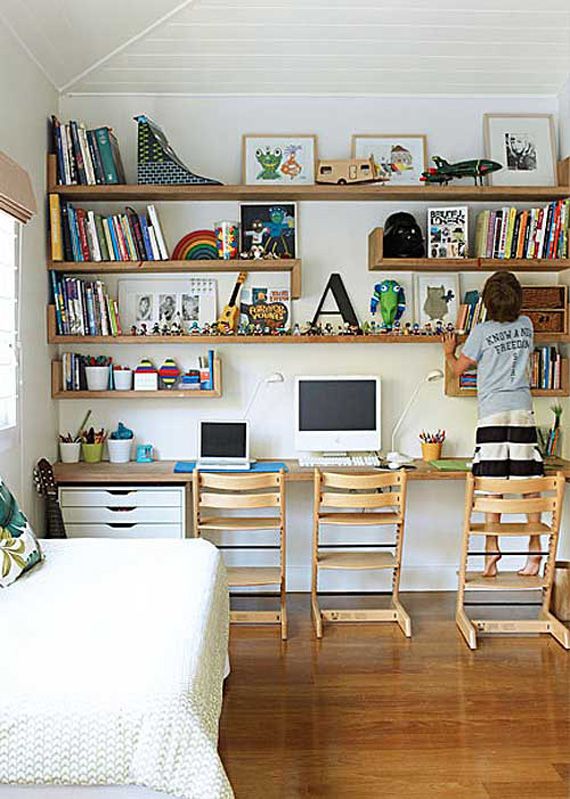
If I build them a desk, they’ll do their homework without me asking, right?

It resulted in my first trip to IKEA, which is an interesting place (the meatballs are extremely overrated). ALEX drawers for the win!
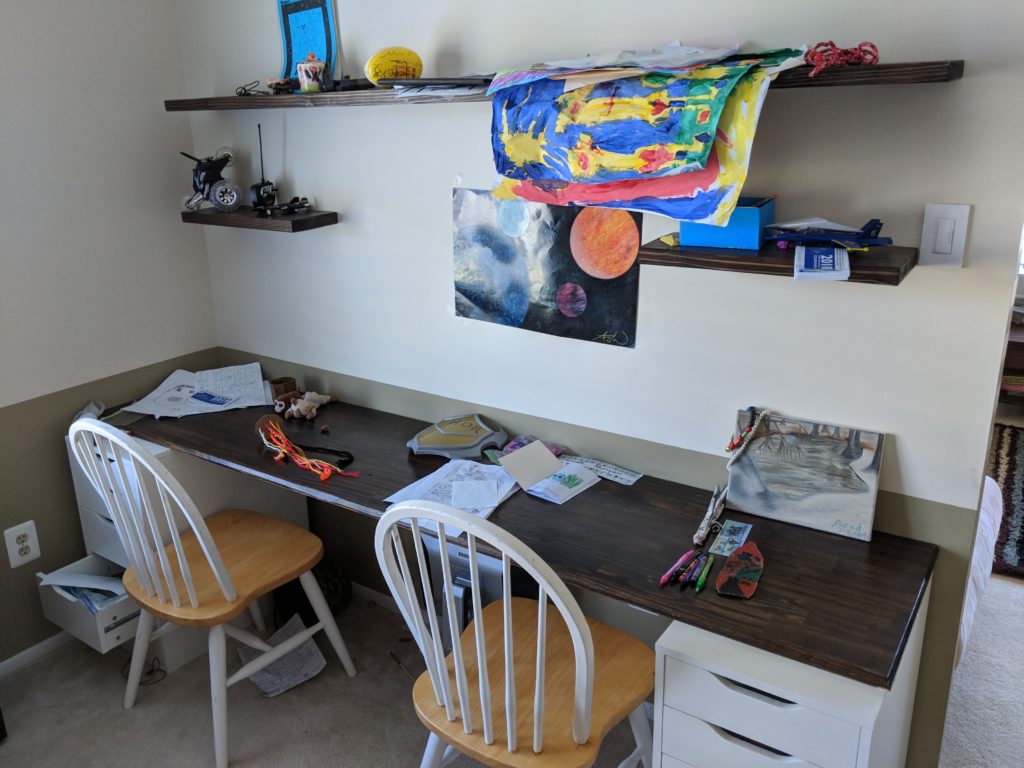
Kinda messy, but it worked!

Soon after the kids’ desk then I made a desk for my wife to house her PC and the printer (which was either on the floor or took up half of her desk space before I made her this desk):
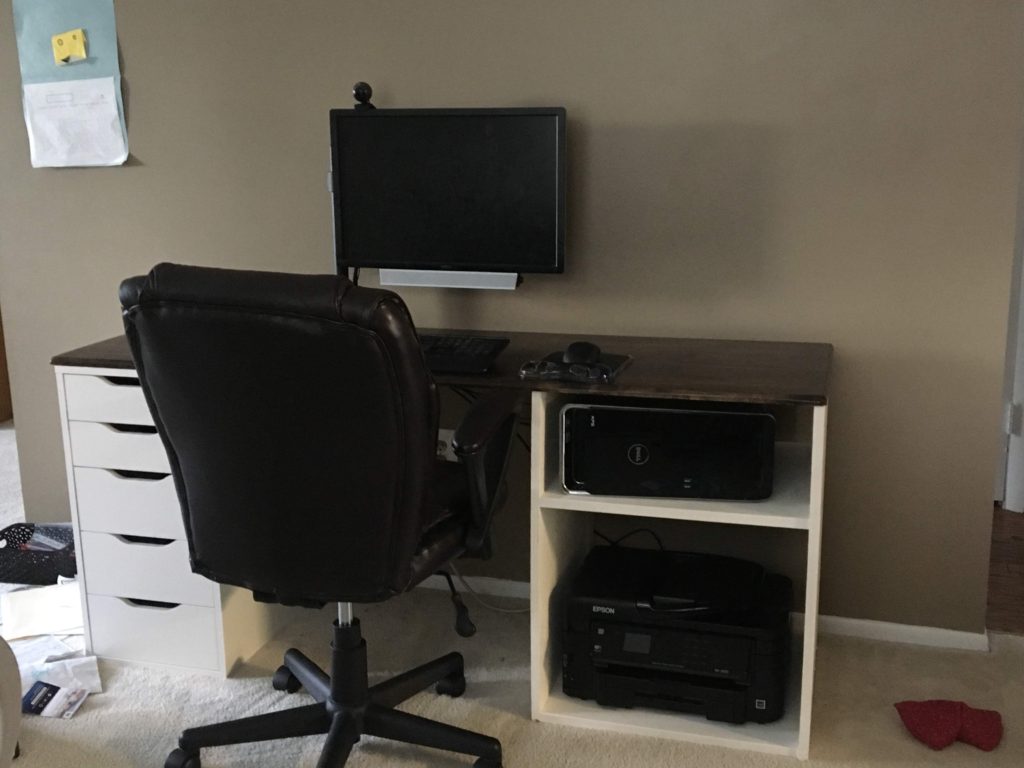
Not too shabby- plus my skills are improving!

At this point my rickety desk was starting to wobble and I started looking for a replacement before it collapsed entirely. I longed for a grand desk like what you’d see on Downtown Abbey, and reading A Gentleman in Moscow intensified that desire- who wouldn’t want a stately desk, full of history, with secret compartments for gold coins?!

After looking into grand desks I realized they weren’t as appealing as I thought, in part due to their cost but also their immense size and weight. Of course, if gifted such a desk I’d gratefully accept it and baby it, but buying one was out of the picture.

So with three years of woodworking experience that followed my first desk creation attempt, I was ready to make another try.

What resulted is this:
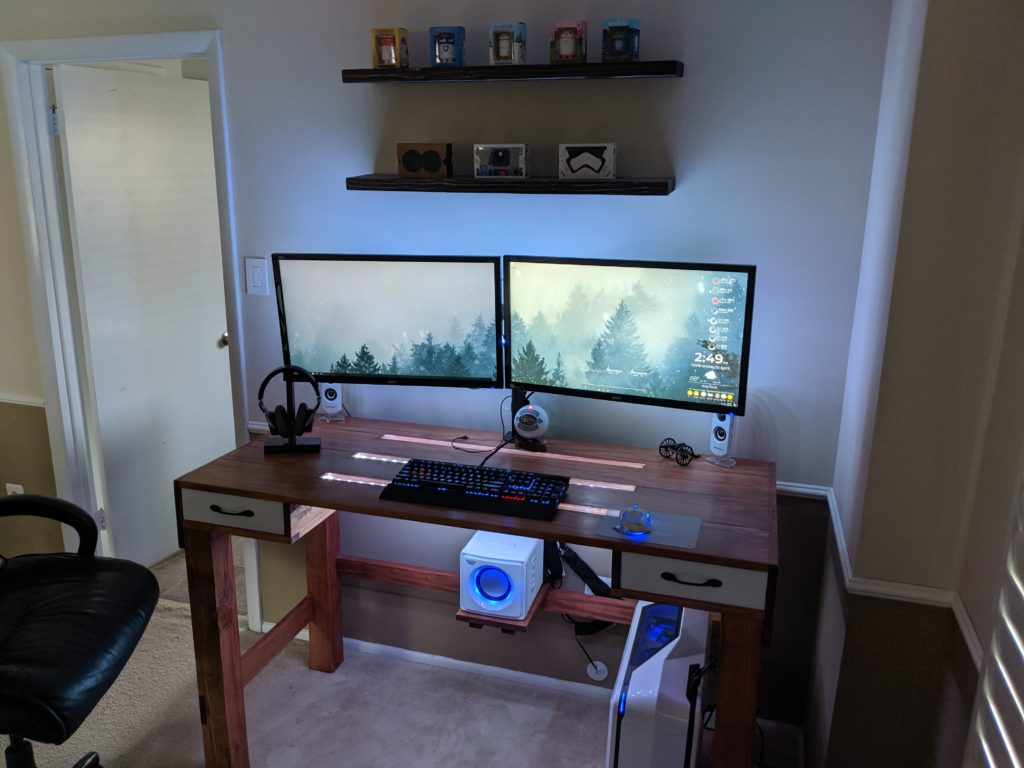
Resin? LEDs? MUCH better!

I’m writing up the whole process of creating this desk, but it’s an amazing thing to have completed for someone like me, who was still fairly new to woodworking.

May your desks be strong and your productivity high!

[1] This is a generality; of course not every single person moved from one to another. There are still forests, and farms, and factories.

[2] I would have said “mankind moved to desks” but I had to keep going with the F words.[3]

[3] That F word is NOT what I meant!

[4] I see retail/food checkout and service areas as long desks.

[5] I used to work at the front desk of a hotel and I still don’t know where the other desks are. Is there a back desk? A side desk? No one knows!
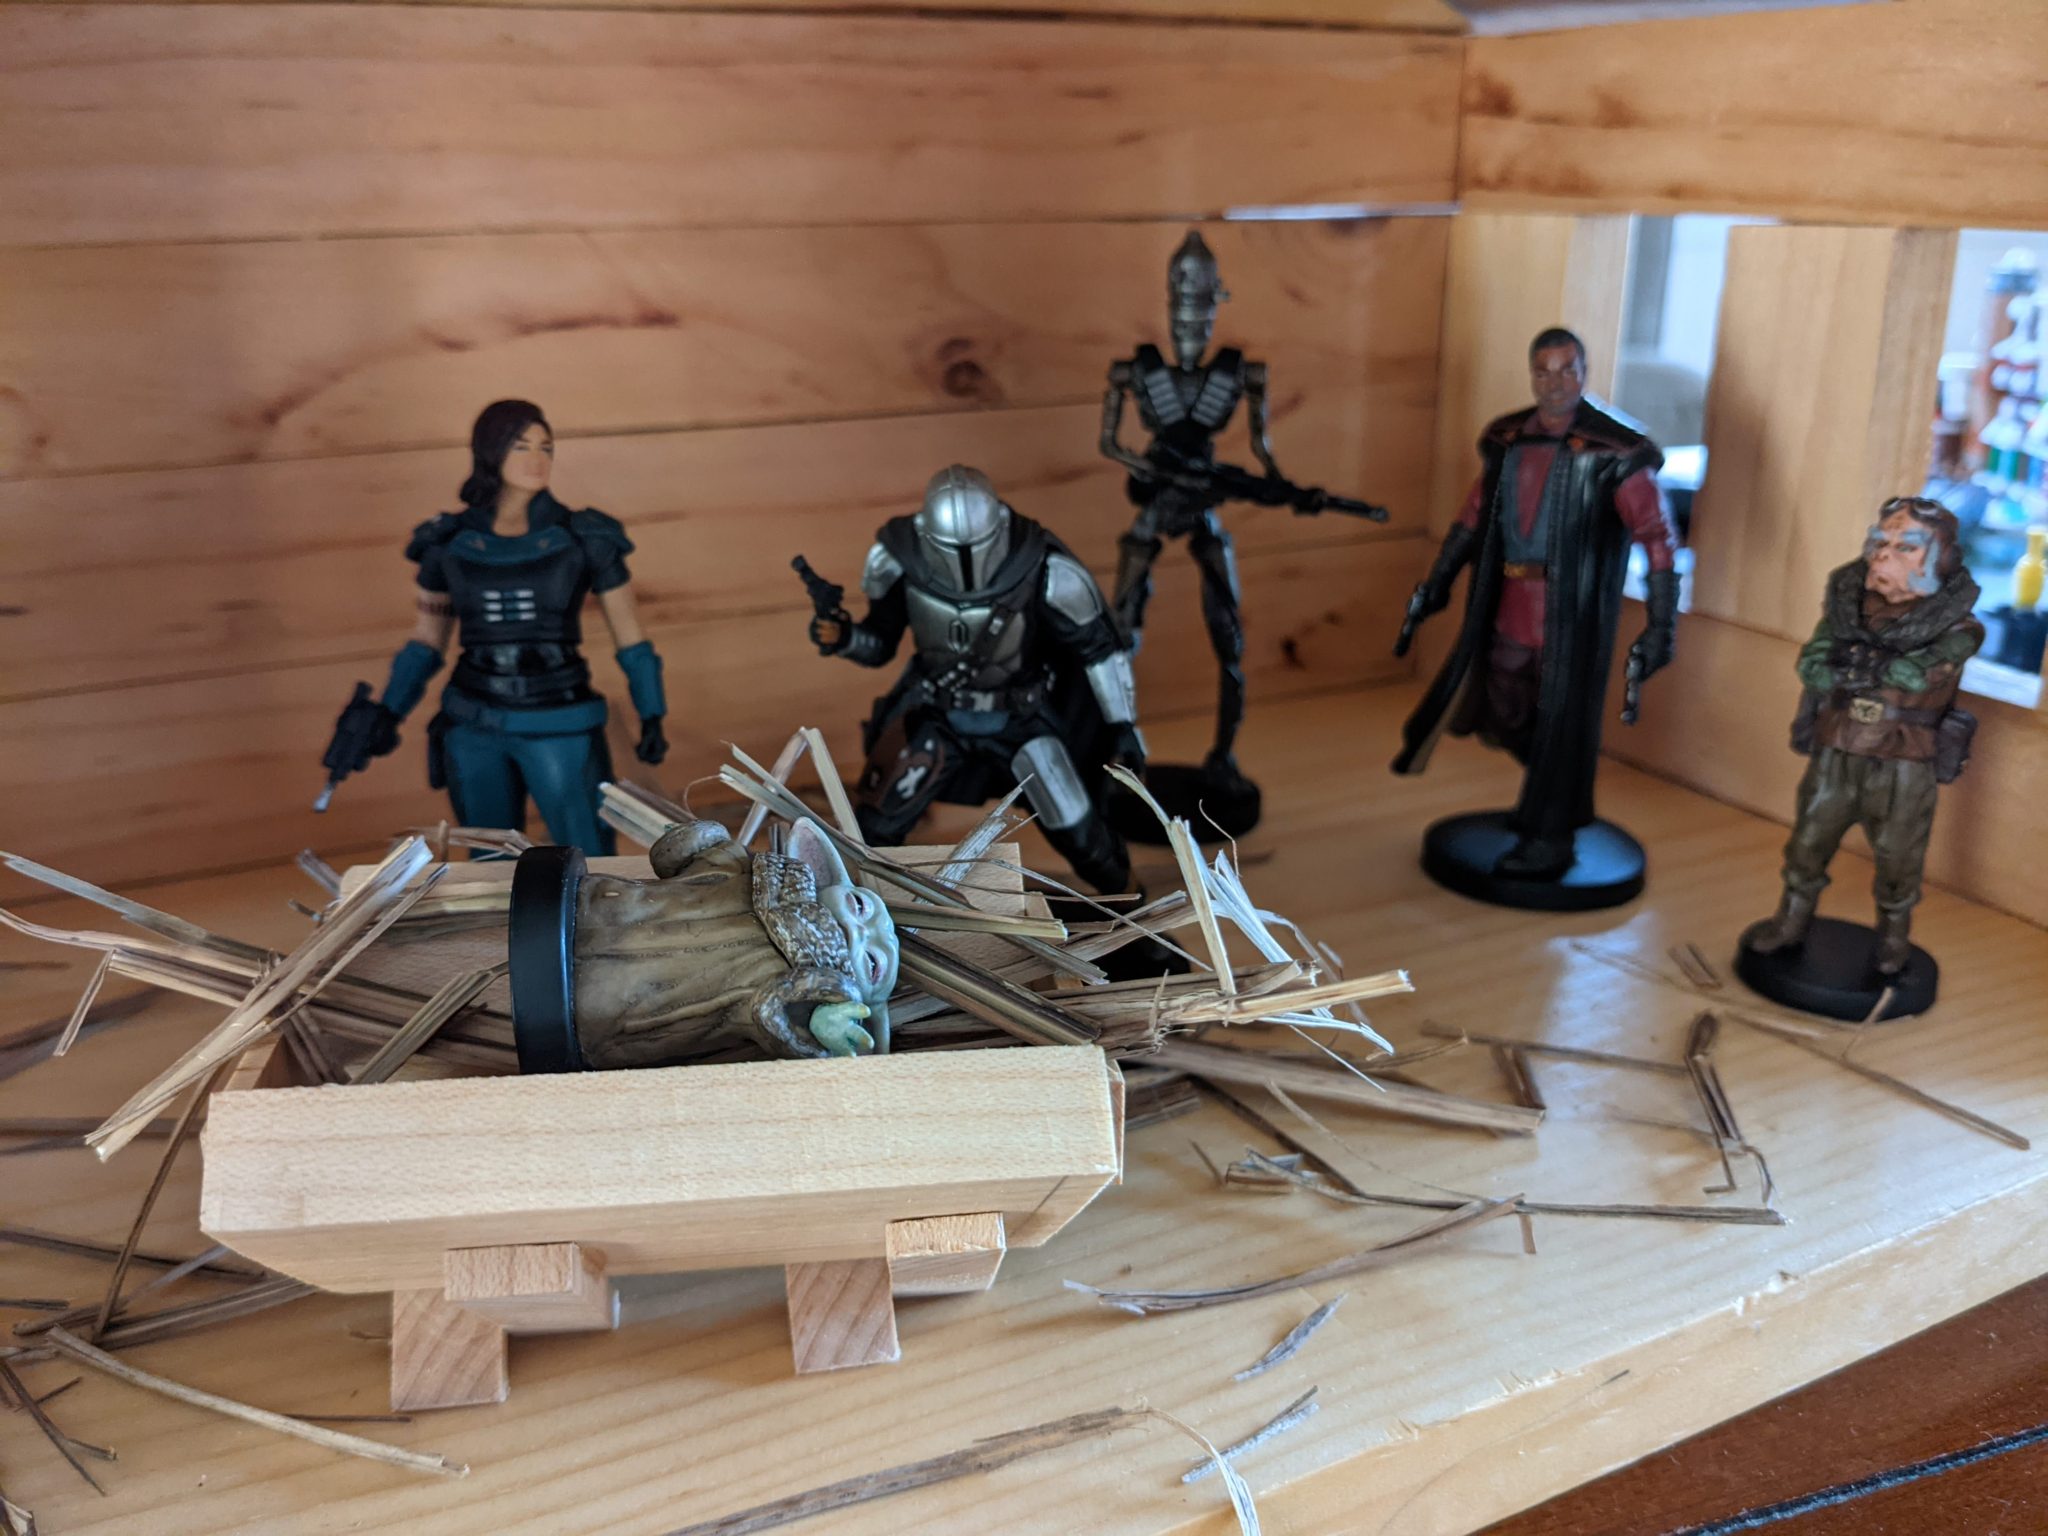

DIY The Mandalorian Nativity Set

The Child is Born

This project was a lot of fun to do, not only because The Mandalorian is an amazing show, but because I had the extra challenge of keeping it a secret from my family while I built it so it would be a fun Christmas surprise.

And not only that, in true Ultimate Scrap Challenge fashion I only used leftover wood in my garage to make it!

So let’s dig into the steps I took to make this Mandalorian Nativity Set:

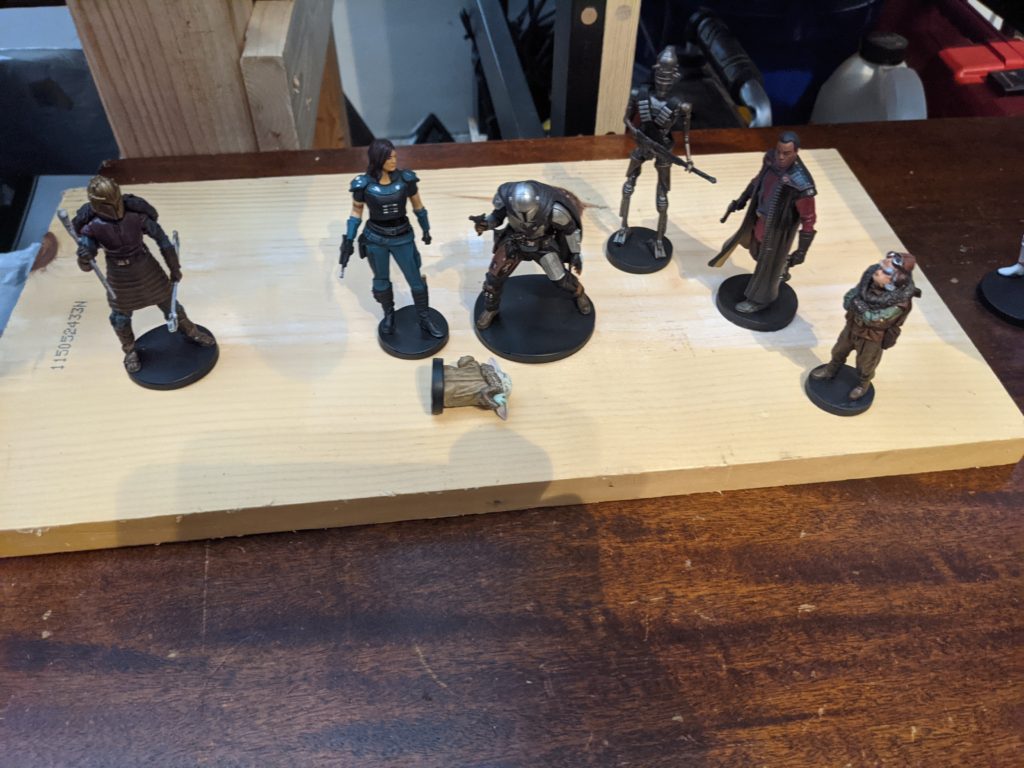
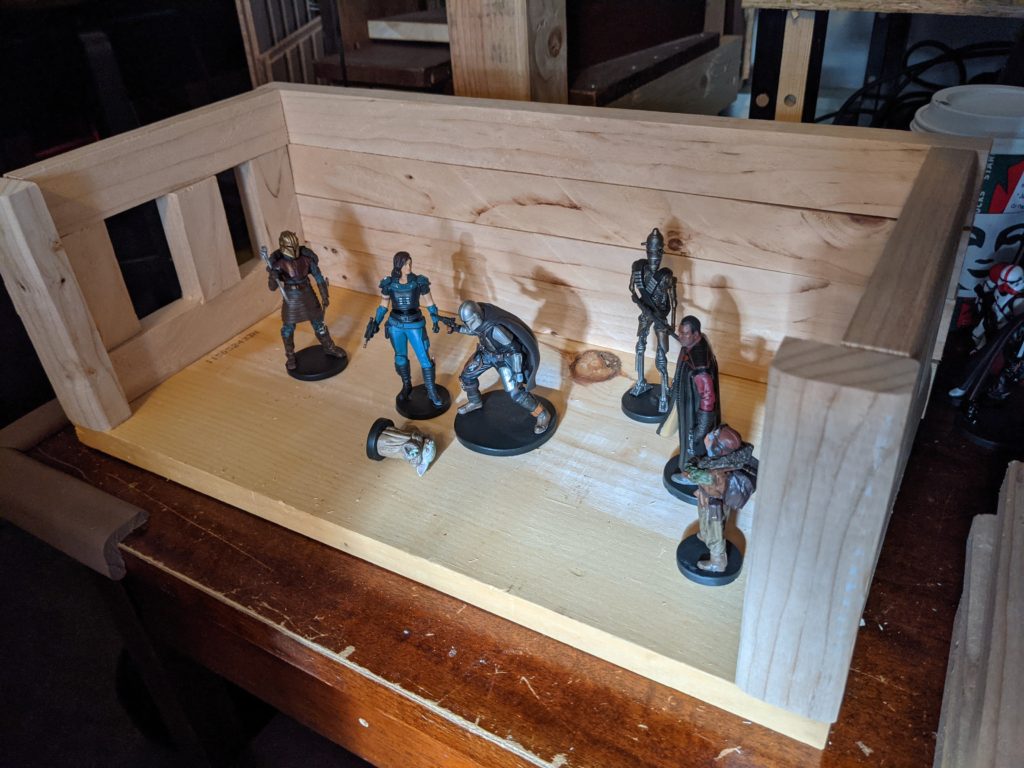
First, I got the season 1 Mandalorian toy figures and laid them out on an old coffee table I’m going to upcycle into an entryway table. I spaced them out where I wanted them and measured for what size of a base I’d need.

High quality figures at about 4 inches high, they’re perfect!

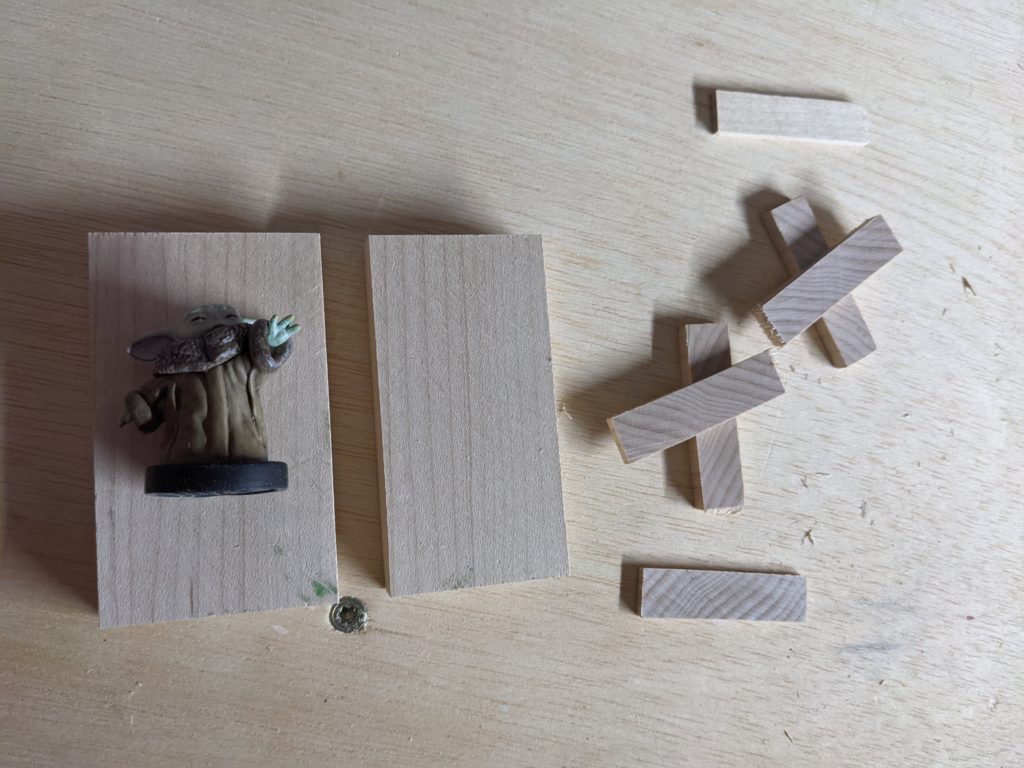
Once I had those measurements, I poked around in the garage and luckily found a base piece that was the perfect size!

Mando and Cara look so proud

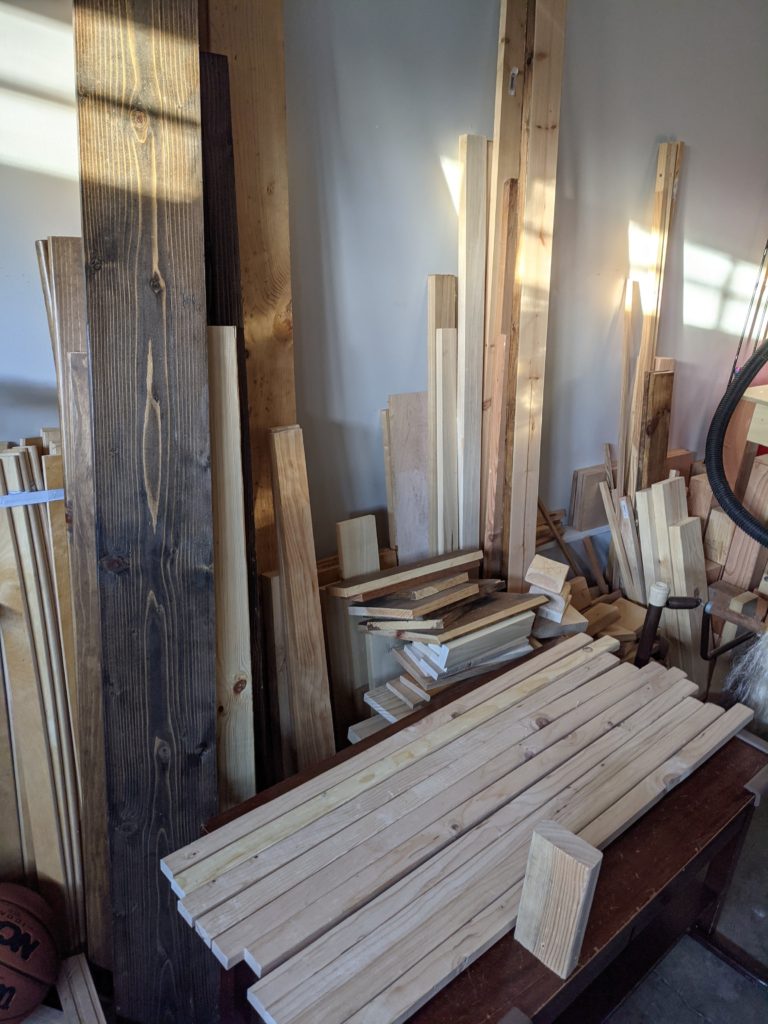
The base piece was a tiny bit uneven so I used my electric hand planer to even things out. I then looked around at the wood available in my garage for the rest of the nativity set.

I found several pieces that had been cut off from the sides of 2×10 boards I’d used for the top of a farmhouse style kitchen table I’d recently finished for my sister, and when placed together on theirs sides it would look rustic which was perfect.

I know, I know. What a beautiful mess!

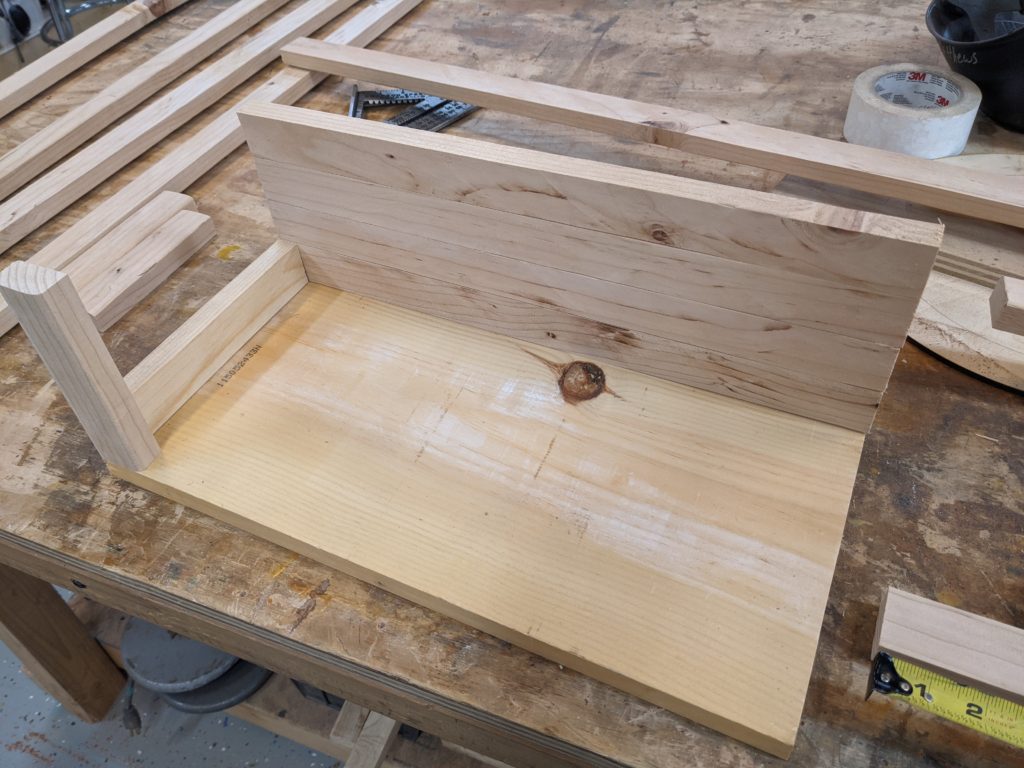
I cut them down into front, size, and back pieces using my miter saw (use a guide so you get perfectly matched cuts) and then glued the first layers onto the base piece.

This is a dry fit; before gluing I sanded the top of the base piece to look nicer

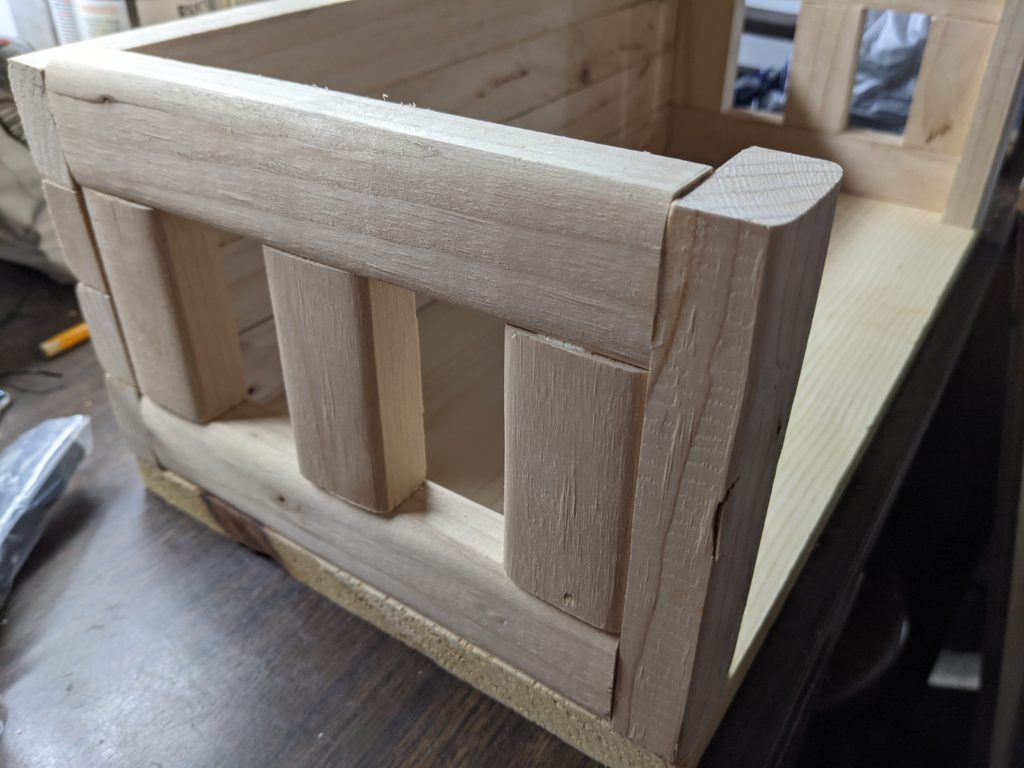
Once they dried I kept gluing more pieces on until I had all of the walls done. I also decided to changed things up slightly mid-build to add windows on the side:

Rustic windows are perfect for a Nativity long ago in a galaxy far, far away

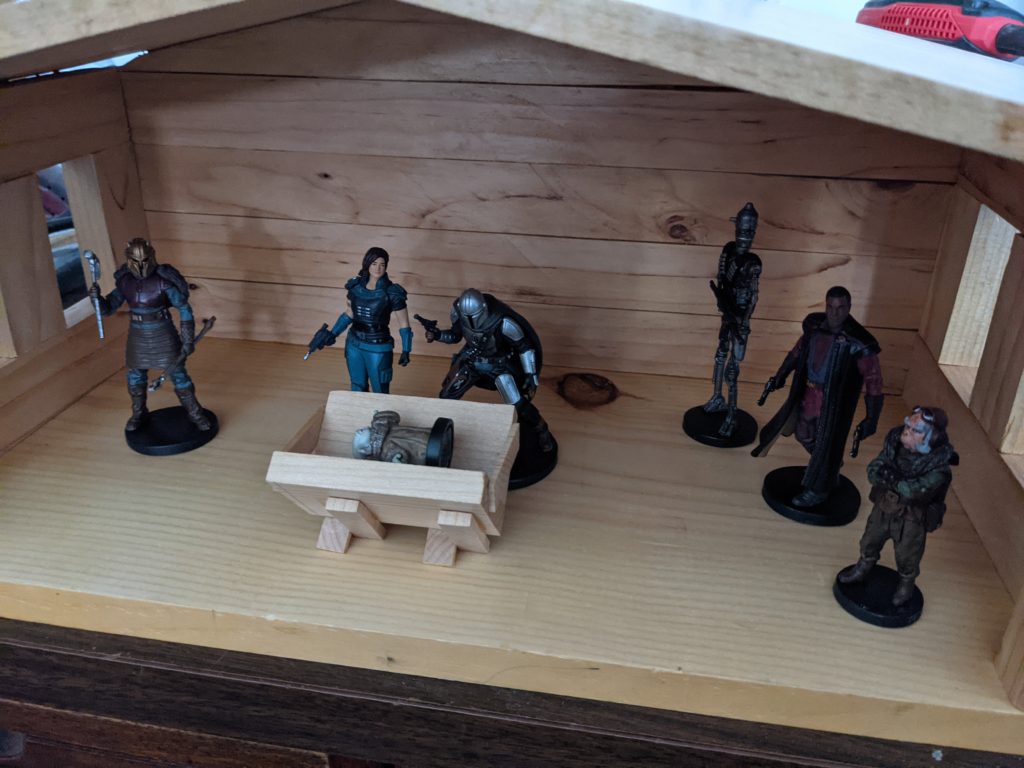
I then set up the figures again to make sure the spacing was what I wanted, as well as to dry fit the roof pieces (I didn’t want Mando to hit his helmet on the ceiling).

Get that baby a manger!

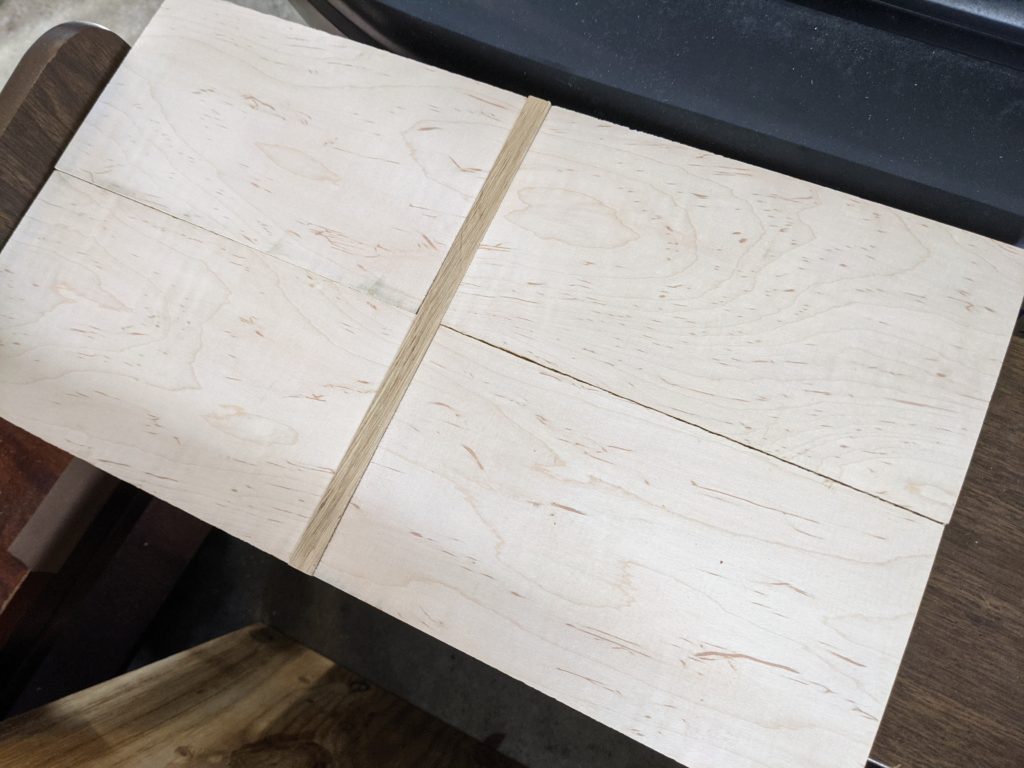
For the top, I found an old cherry piece that would cover the top perfectly when cut into 4 pieces which were then grouped into a rectangle.

Since the angle was going to be tricky, and the length a tiny bit less than ideal, I found a thin piece of leftover oak and used that as the apex of the roof:

Plus I love the contrast of cherry and oak

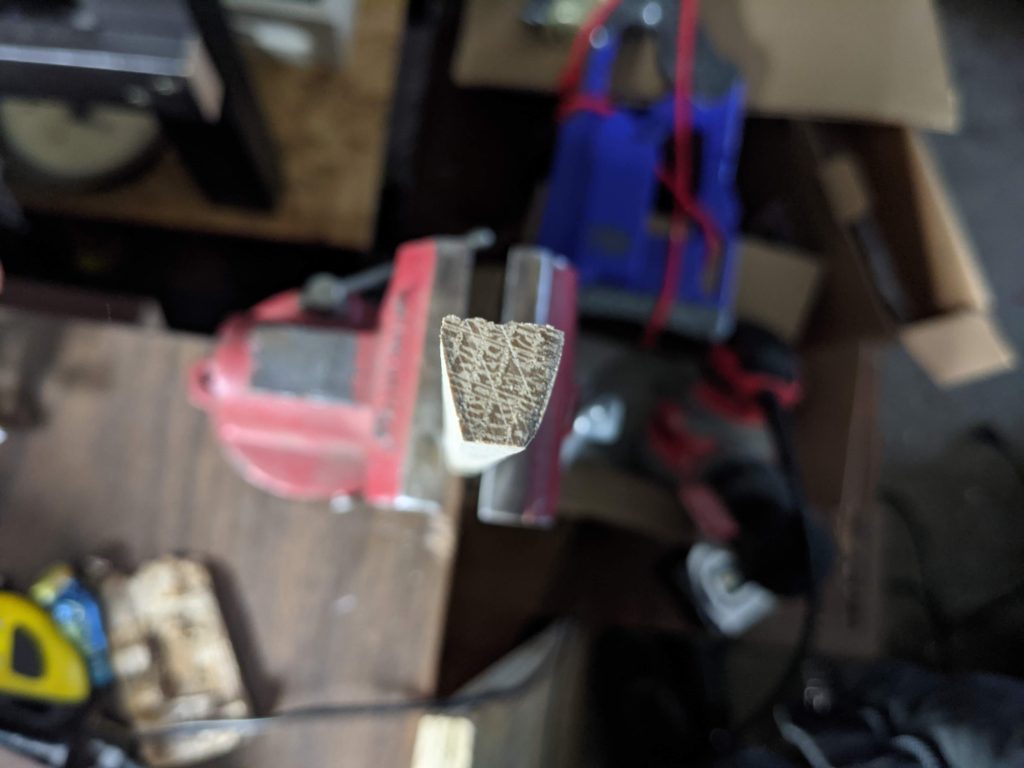
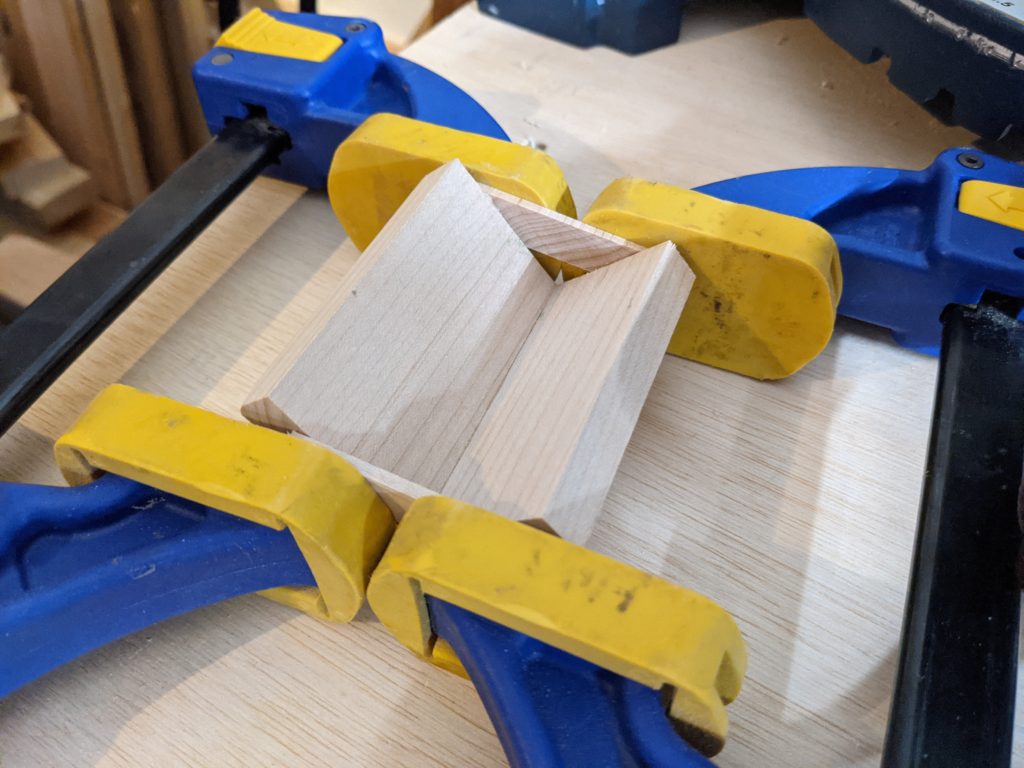
I used my orbital sander with 80 grit sandpaper to give the roof pieces an angle by clamping it and going to town.

This clamp saved my hands from the 80 grit sandpaper

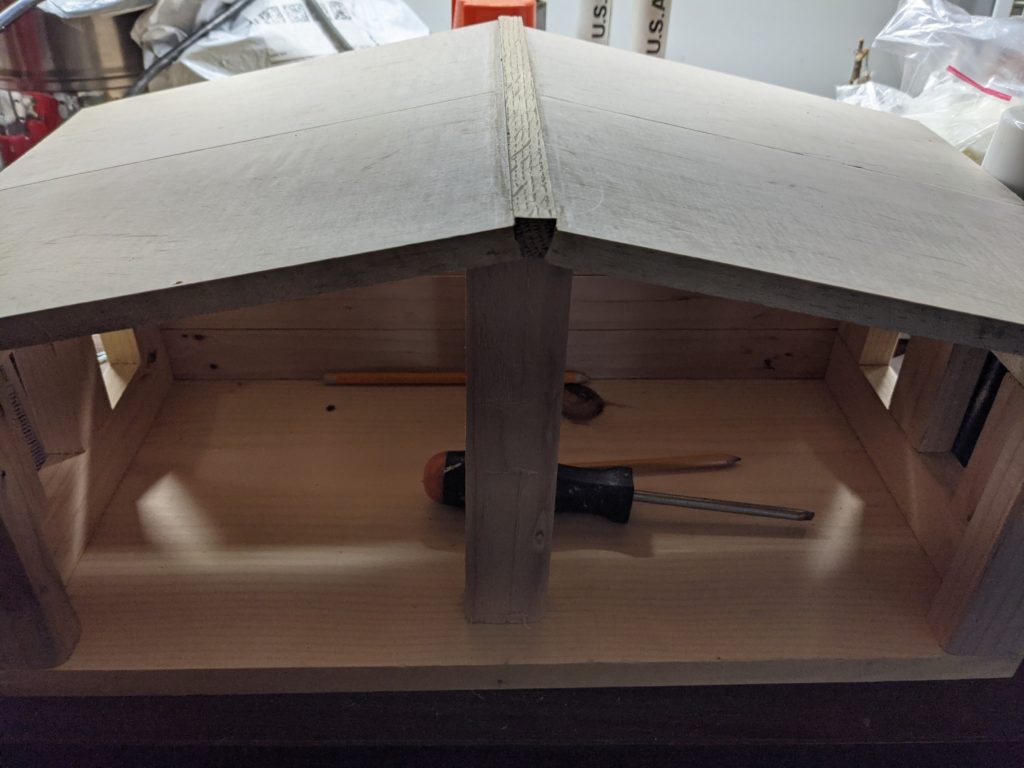
I put supports under the roof pieces and glued the roof together (but not to the walls yet).

Supports and pencils and screwdrivers oh my!

After the roof had dried, I placed it on its back side on top of some spare wall pieces which I’d glued together and then traced the outline of the roof onto those wall pieces. I then used my jigsaw to cut the outline which gave me a piece to fill the gap between the walls and the roof on the back wall.

I then glued everything together- but Baby Yoda needed a manger!

For this, I grabbed the leftover cherry from the roof cuts and cut it down into the manger pieces, legs, and side supports.

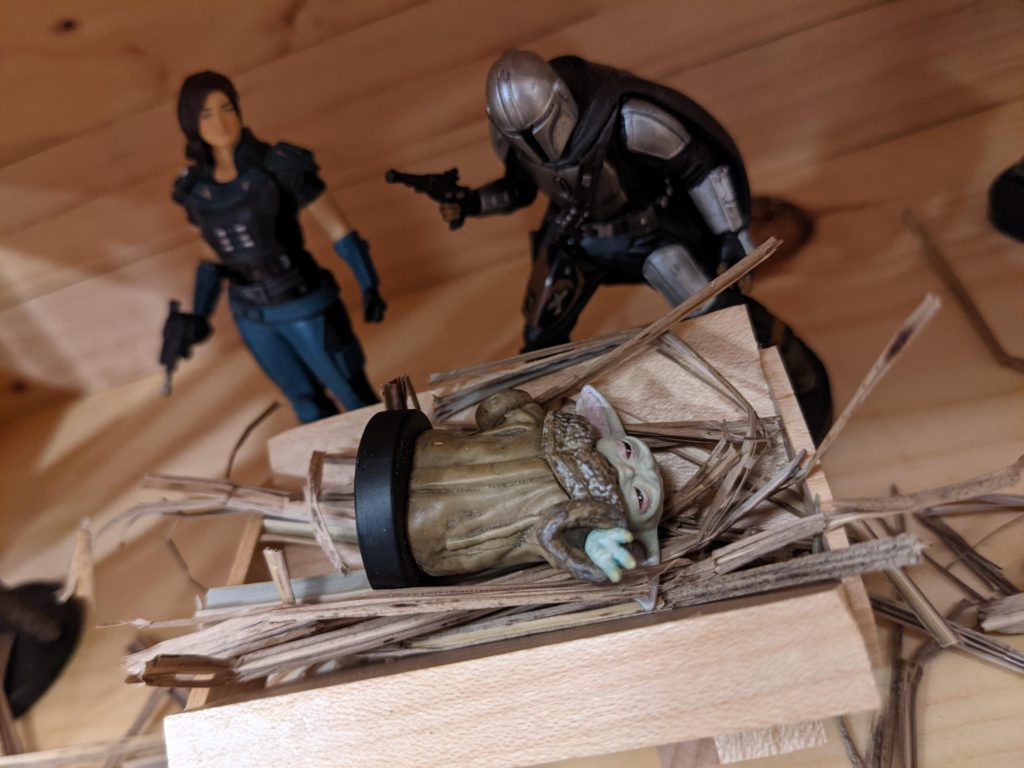
The Child reaches out with the Force for Mando

I glued them all together and then sanded down the bottoms of the legs so it would sit better without tipping over.

This new ‘glamping’ is all the rage: “glamorous clamping”

Once the final touches were done I sealed everything with a few coats of Minwax clear satin polyurethane (I used the spray since I wasn’t up for doing all the nooks and crannies with a rag).

I did a final test fit and was blown away by how good it looked!

“I can take you in warm, or I can take you in cute.”

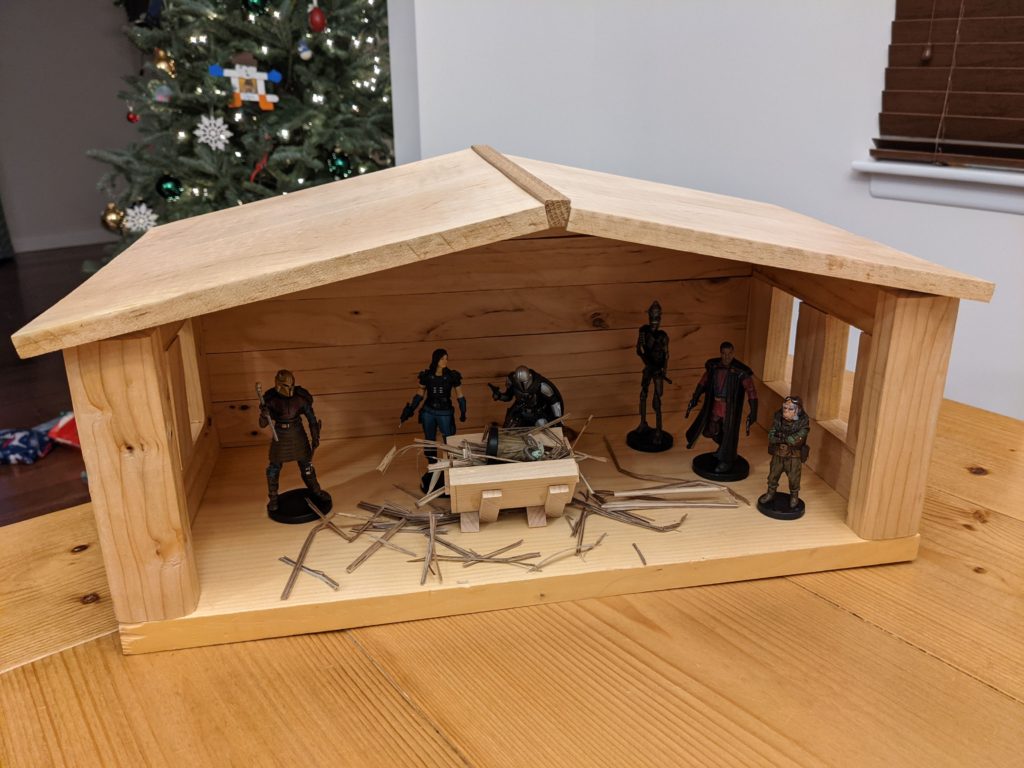
Then I grabbed some hay from a bush in the backyard and set it up inside the house for the family to see!

I added the Star of Alderaan to the top

Here’s a close-up view of The Child in his manger:

He looks so cozy!

All in all, making this Mandalorian Nativity set took less than a week and needed nothing more than scrap wood and tools/supplies I already had from previous projects.

This is the way!

Landfills: A Love Story

This is probably the only ode to landfills, ever.

I love going to the local landfill. I remember my family dropping things off once when I was young, and how amazed I was at the immense possibility of what could be made from stuff I saw lying around; I envisioned robots, go karts, an epic treehouse. Unfortunately we couldn’t take anything from the junk piles, but the sense of wonder I felt in that landfill stuck with me.

Where I currently live the landfill is close enough to go there and back in well under an hour, yet far enough that I don’t smell anything. Huge win win.

I will note that on my first several trips to this landfill I was unaware of how pricing worked, and as a result paid more than expected…which took away some of the magic. The first time I was one bag over the lowest price tier, and on another visit I didn’t know I could have asked to pay by weight instead of by bag (which would have been nice since I was dropping off lightweight insulation batting). But never fear! I’ve now optimized my landfill approach and the magic is back.

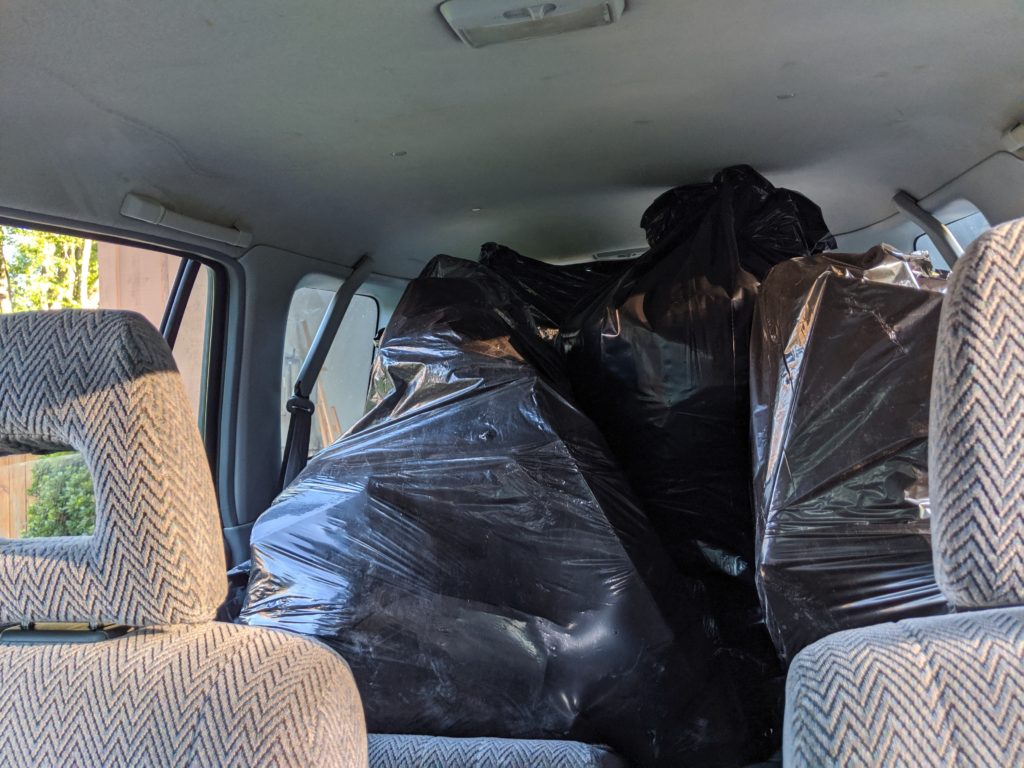
My current approach is to wait until I have the maximum number of bags allowed under the lowest payment tier. With all of the home improvement projects and ultimate scrap challenges I’ve been doing, it doesn’t take long before I’m loading bags in my CRV for another lovely trip to the landfill.[1]

These bags have old garage junk, a long vinyl dryer vent hose that was a fire hazard, some old stove pellets, and stuff the recycling truck rejected (among other things)

My preferred time to go is in the early morning, right at open. The sun and cool air make going to the dump almost a poetic experience, which is probably a brand new sentence (at least in this context).

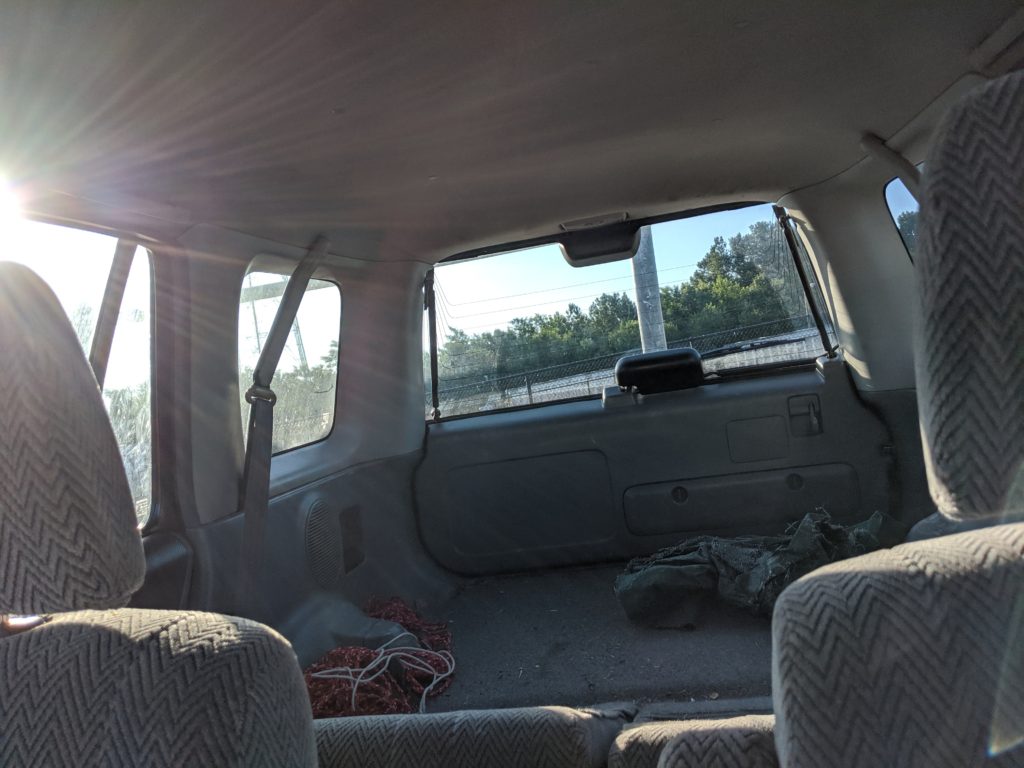
Empty car! Feels like sipping Sprite on a swing in spring

And I know it sounds weird, but every visit has been like taking a huge weight off literally and figuratively.[2]

Call me odd but nothing quite matches the feeling of driving home in an empty car, a brilliant sun coming over the trees, to a house that’s more free from unneeded items and clutter.

So take a look around and consider what you could improve by what you could remove, and do that. Start small; fill just one bag. Then fill another. Call your local landfill and ask about pricing, and when you hit the limit for the lowest price make a quick trip and see how you feel, too!

[1] This once again proves the magic of CRVs. All sorts of stuff goes into the bags, and a ton of bags go into the CRV.

[2] Ha. Ha. Ha.

Making a Mew Drain Cover

A fun Easter egg for the next family who moves in 🙂

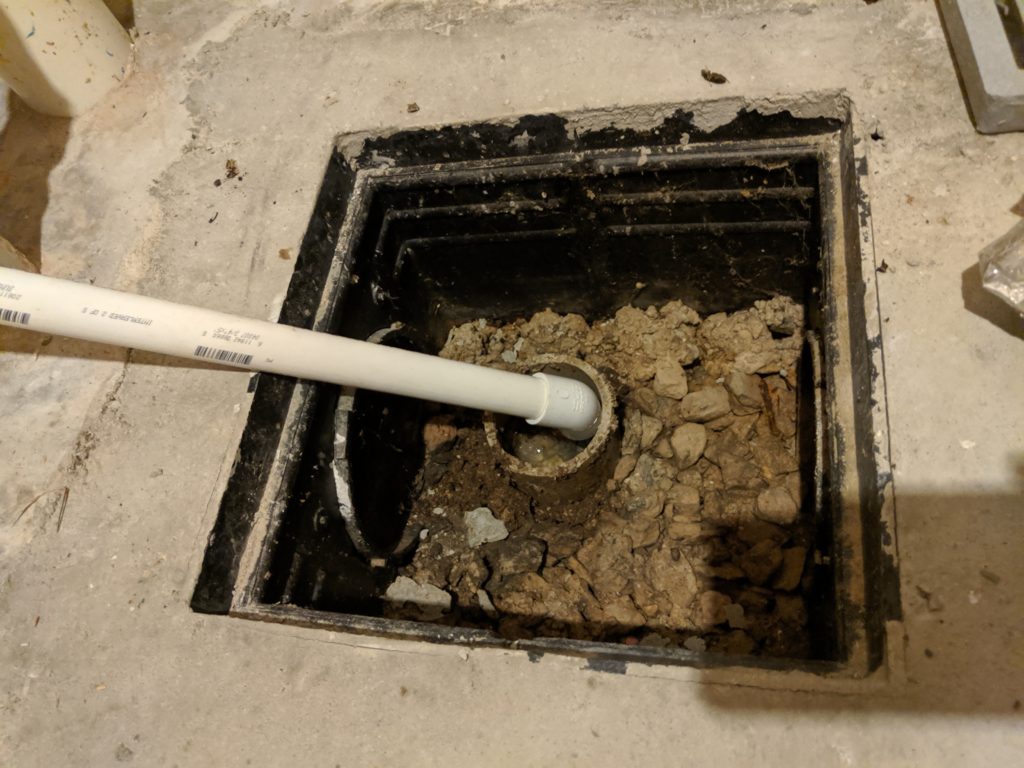
Our basement has a strange, almost exactly 12 inch x 12 inch hole in the cement floor that, as far as I can tell, is only there for air conditioner drainage. It was “covered” by a hard plastic grate with large slits.

The drain

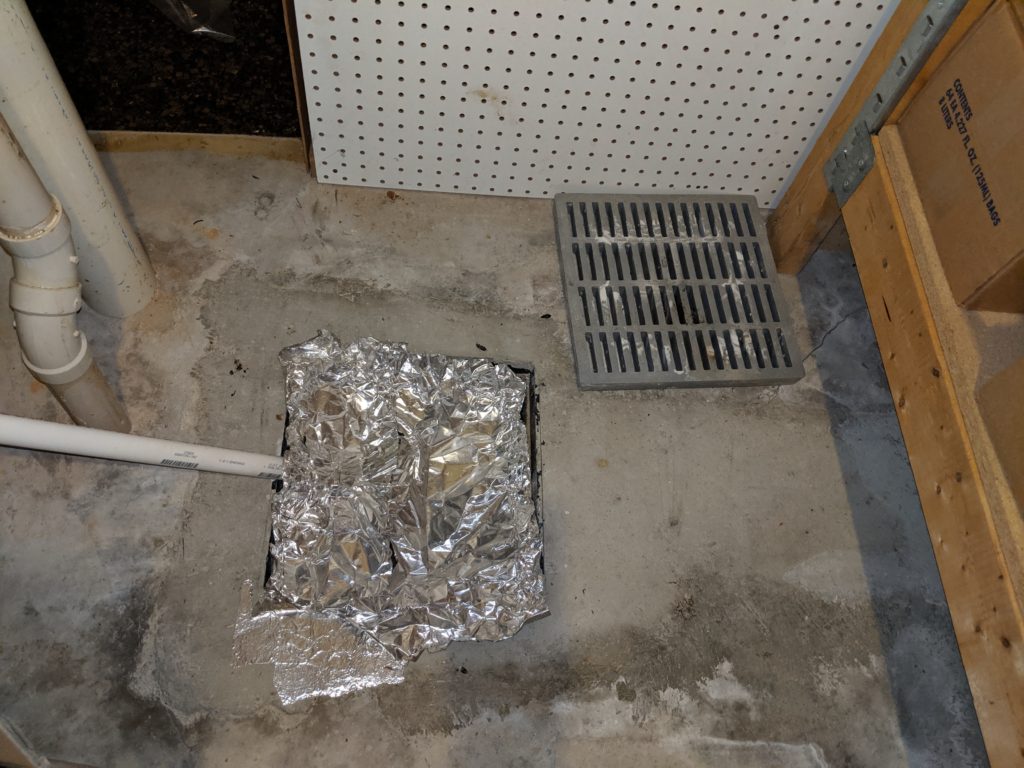
A few months after moving in we noticed small gnat-like creatures appearing in our basement. Research pointed to the drain as their source, so I smothered the drain with Boric Acid powder and covered the opening with foil tape (it was left in the garage by the previous owners, was rigid enough to cover the space without collapsing, and I was lazy):

Foil tape cover (after a few years) in all its ugly glory

No more gnats!

A few years passed and all was well…until the beetles came. Like the gnats that preceded them, they starting showed up in the basement. Research again indicated their source was the drain.

Pulling up the foil tape I found several beetles stuck to the adhesive where they had tried to get out of the drain. Bingo.

I set out for a better drain; a drain that let a pipe in, but didn’t let bugs out. Several hardware stores and even the mighty Amazon.com let me down.

It was time to go rogue.

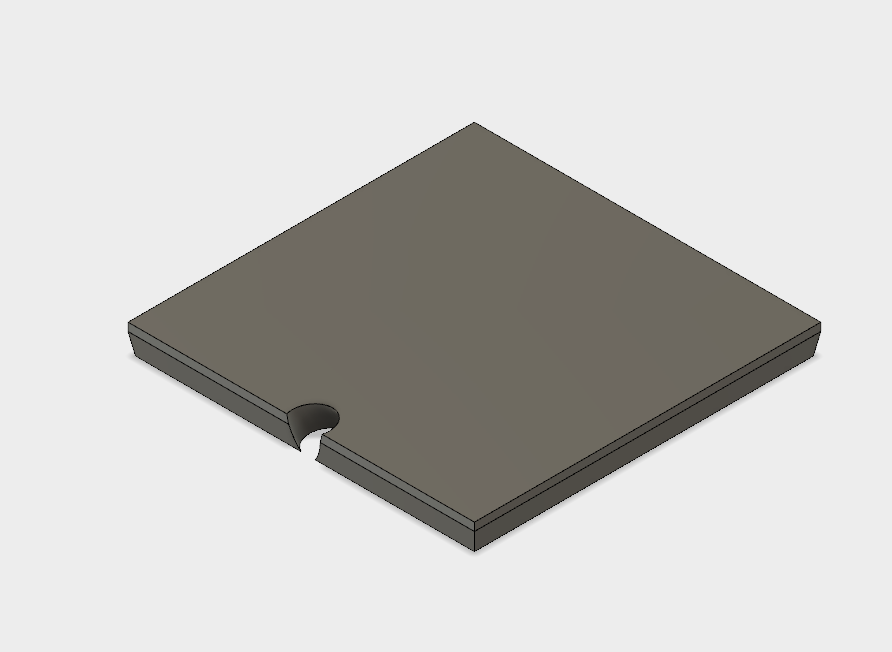
At first I thought of 3D printing my own drain cover. I designed the cover in AutoDesk Fusion 360 (which is amazing, mad respect) and included an entrance for the A/C drainage pipe. I even beveled (chamfered?) the edges to match the concrete opening for that 10/10 fit:

I LOVE AUTODESK FUSION 360

I decided it needed something…more. Something both unexpected and exciting. No sir, this would not be your Average Drain Cover. It needed an Easter Egg.[1]

After some debate and soulful Google Image searching I found the ultimate Easter Egg: the Mew carving from ‘Pokemon The First Movie‘ (1999):

Purrrfect[2]

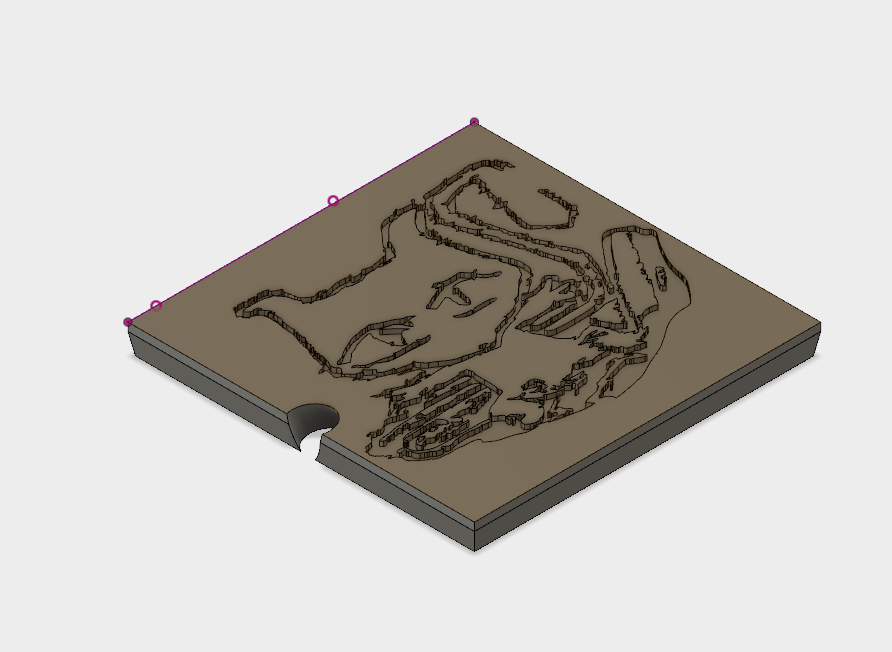
I found a way to embed the carving into the surface of my 3D model and we were ready to go:

However, I tried and failed to find a 3D printer with a large enough print bed. I experimented with a slightly scaled down version (closer to 11 inches) on the largest printer at the local maker space, but had issues with bed adhesion so scrapped it.

I debated a re-design that would make an interlocking set of 4 pieces…but ultimately decided laser engraving wood would be easier.

I found a few leftover wood boards that fit the bill, fired up Photoshop, and got to work.

First I had to convert the Mew image into a bitmap. Going back to the source image I traced out Mew, removed a lot of the fuzzy details (for a cleaner engraving), and then added in some marks with the brush tool to improve the “old stone engraving” look:

Lookin’ good

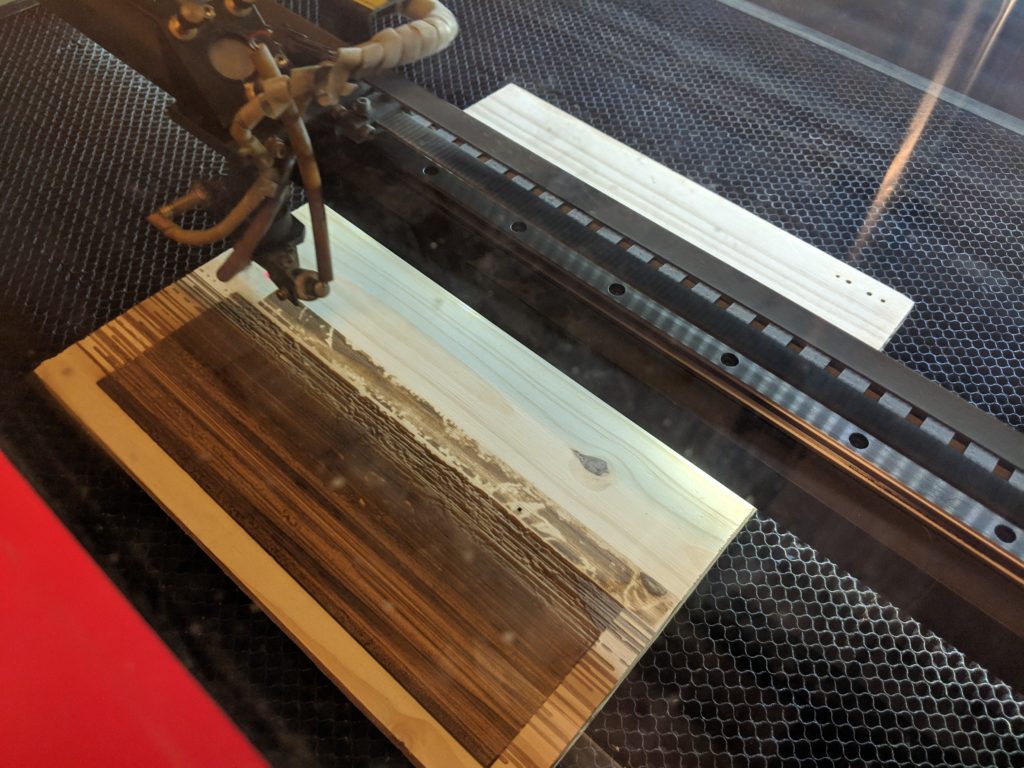
My first laser engraving attempt was a huge fail. The laser cutter was an 80 watt beast and my settings were way too high, resulting in a brown mess:

I’m also pretty sure I had the grain the wrong way

I took a huge step back and looked at engraving tutorials. I ended up using this one for my remaining engraving attempts: https://www.instructables.com/id/How-to-Laser-Engraving-Photo/

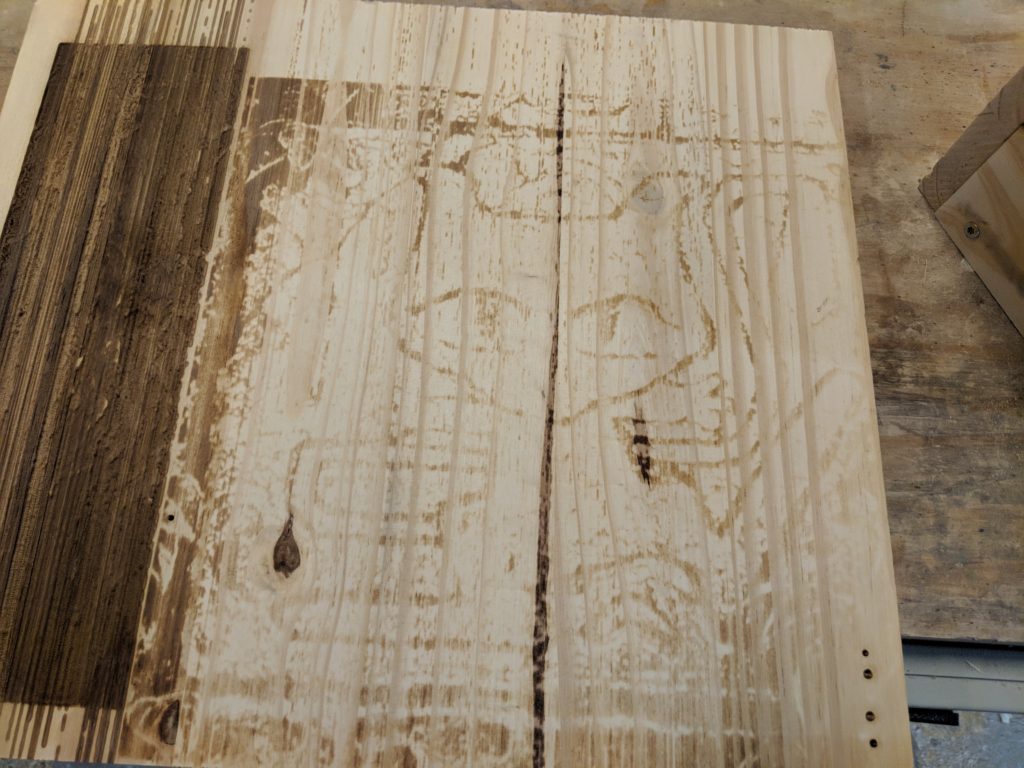
Using the tutorial’s settings gave me a much better result, however it looked too washed-out for what I had in mind:

Yes, I re-used the first piece of wood. I’m frugal.

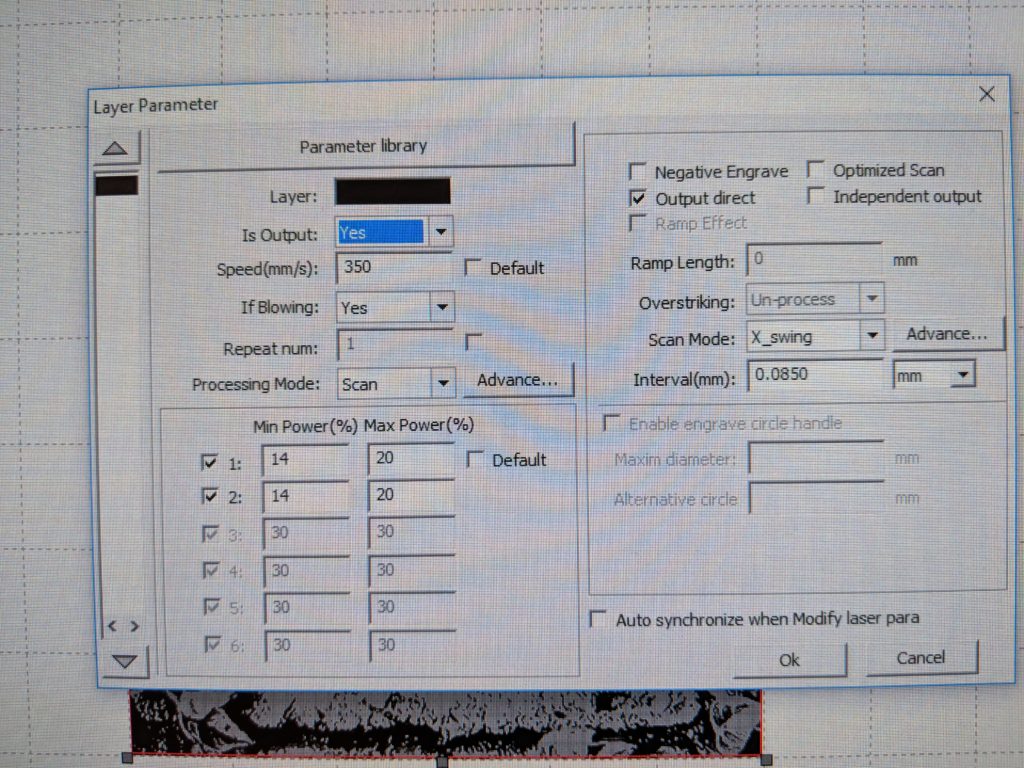
I tried again. Keeping in mind it was an 80 watt laser cutter I got another board and adjusted the settings to:

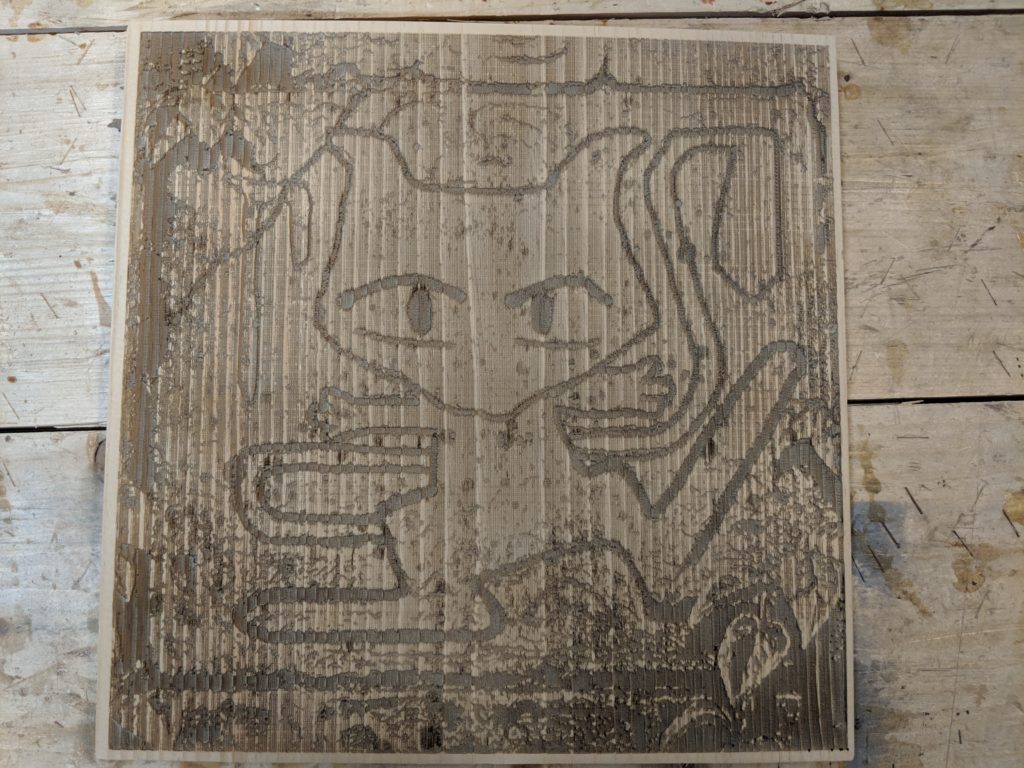
And it gave me this:

Purrrfection

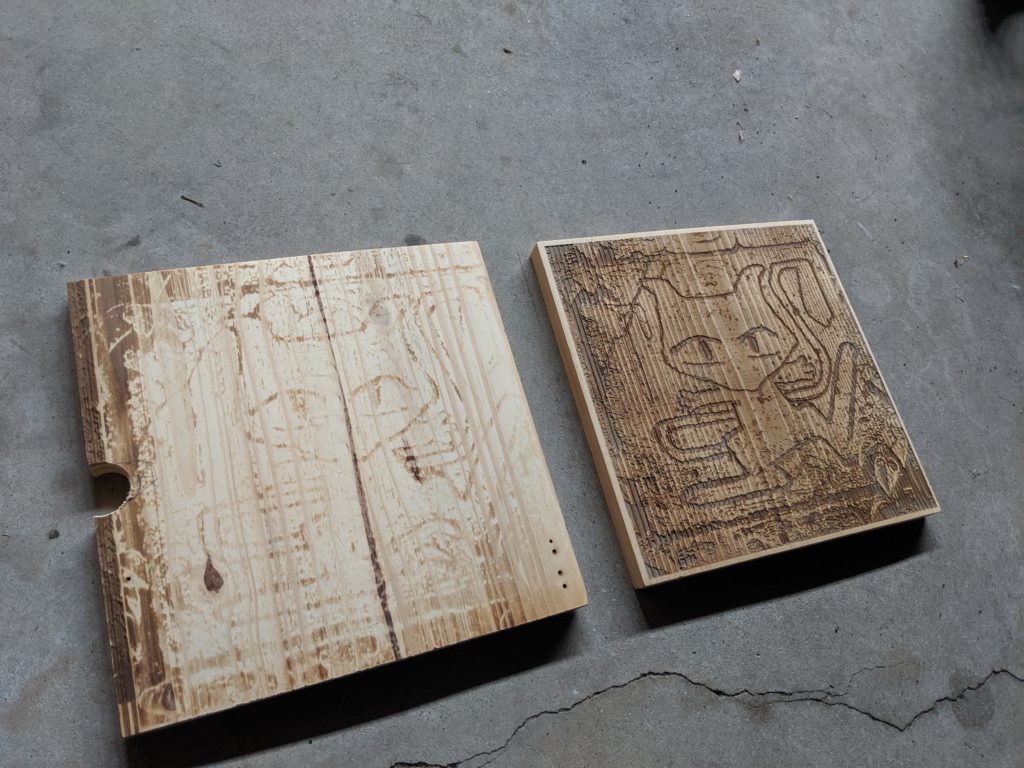
Comparing side by side:

I test-fit the first one to make sure it would work, hence the hole in the side

Once I had cut the engraved board to the right dimensions I lightly sanded with 220 grit sandpaper and gave it several coats of Minwax satin finish polyurethane. I normally don’t use spray poly, but did this time as I wanted to avoid missing crevices or it pooling unevenly.

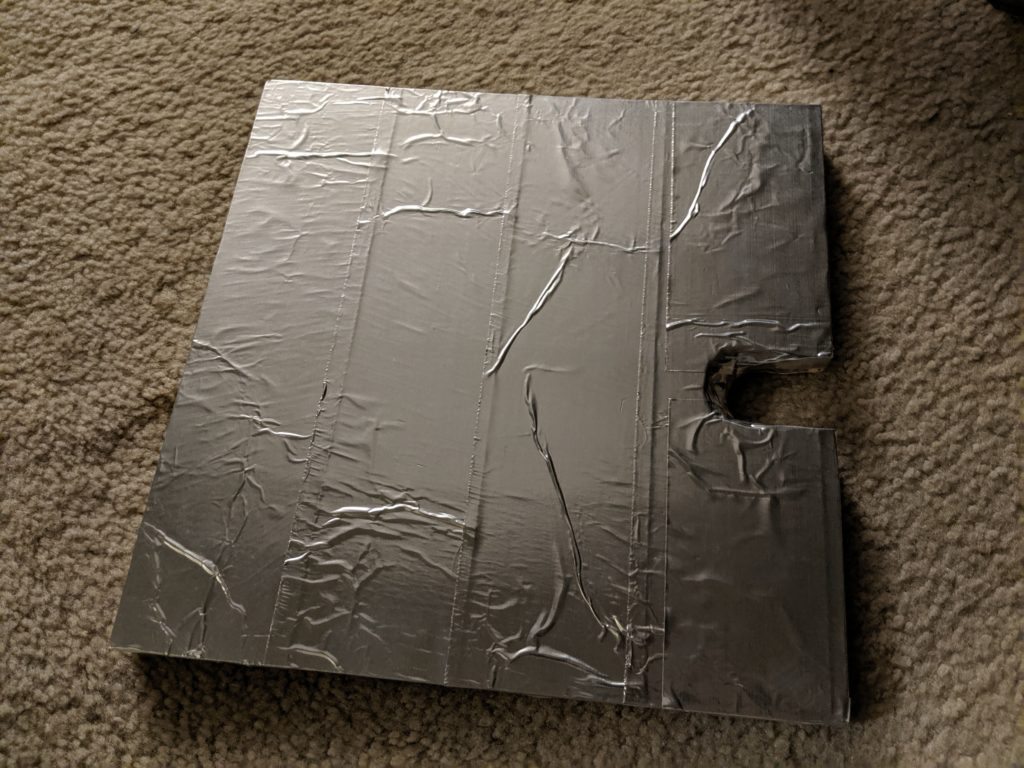
To protect the bottom from moisture I found the original roll of foil tape[3] and applied it in overlapping strips, making sure to bring it up the sides as well:

Shiny

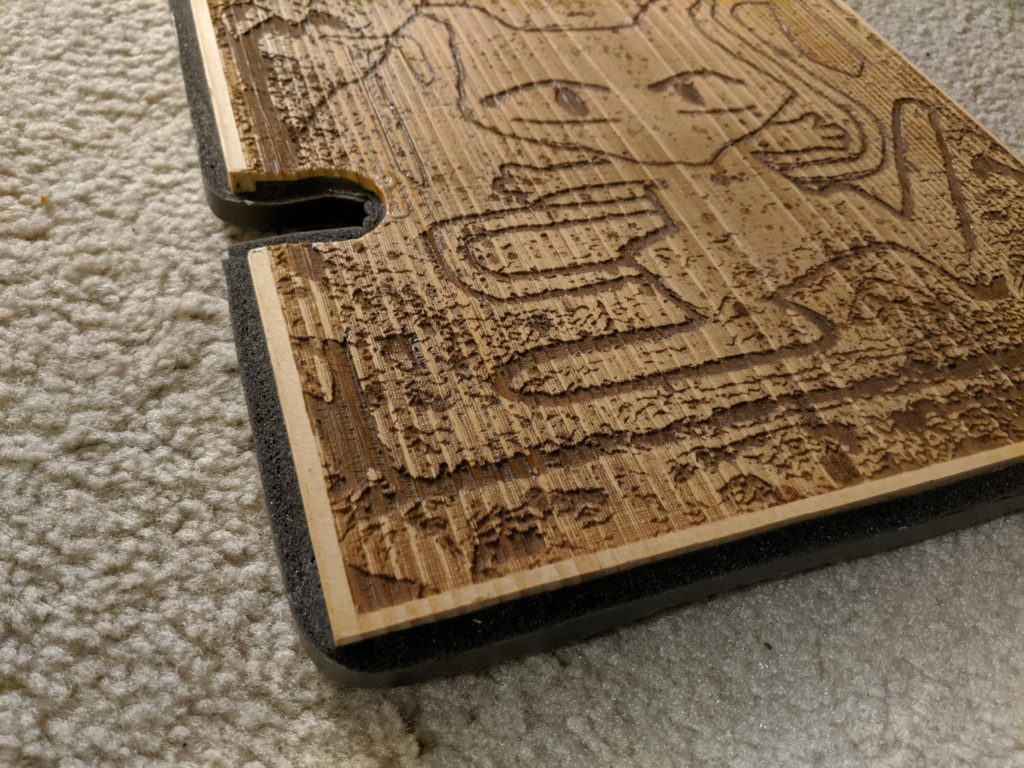
The final step was to run weatherstripping foam around the edges for Extra Sealing Power(TM). Luckily I had leftover weatherstripping from a previous weatherproofing project so we saved a few bucks:

Yay frugality!

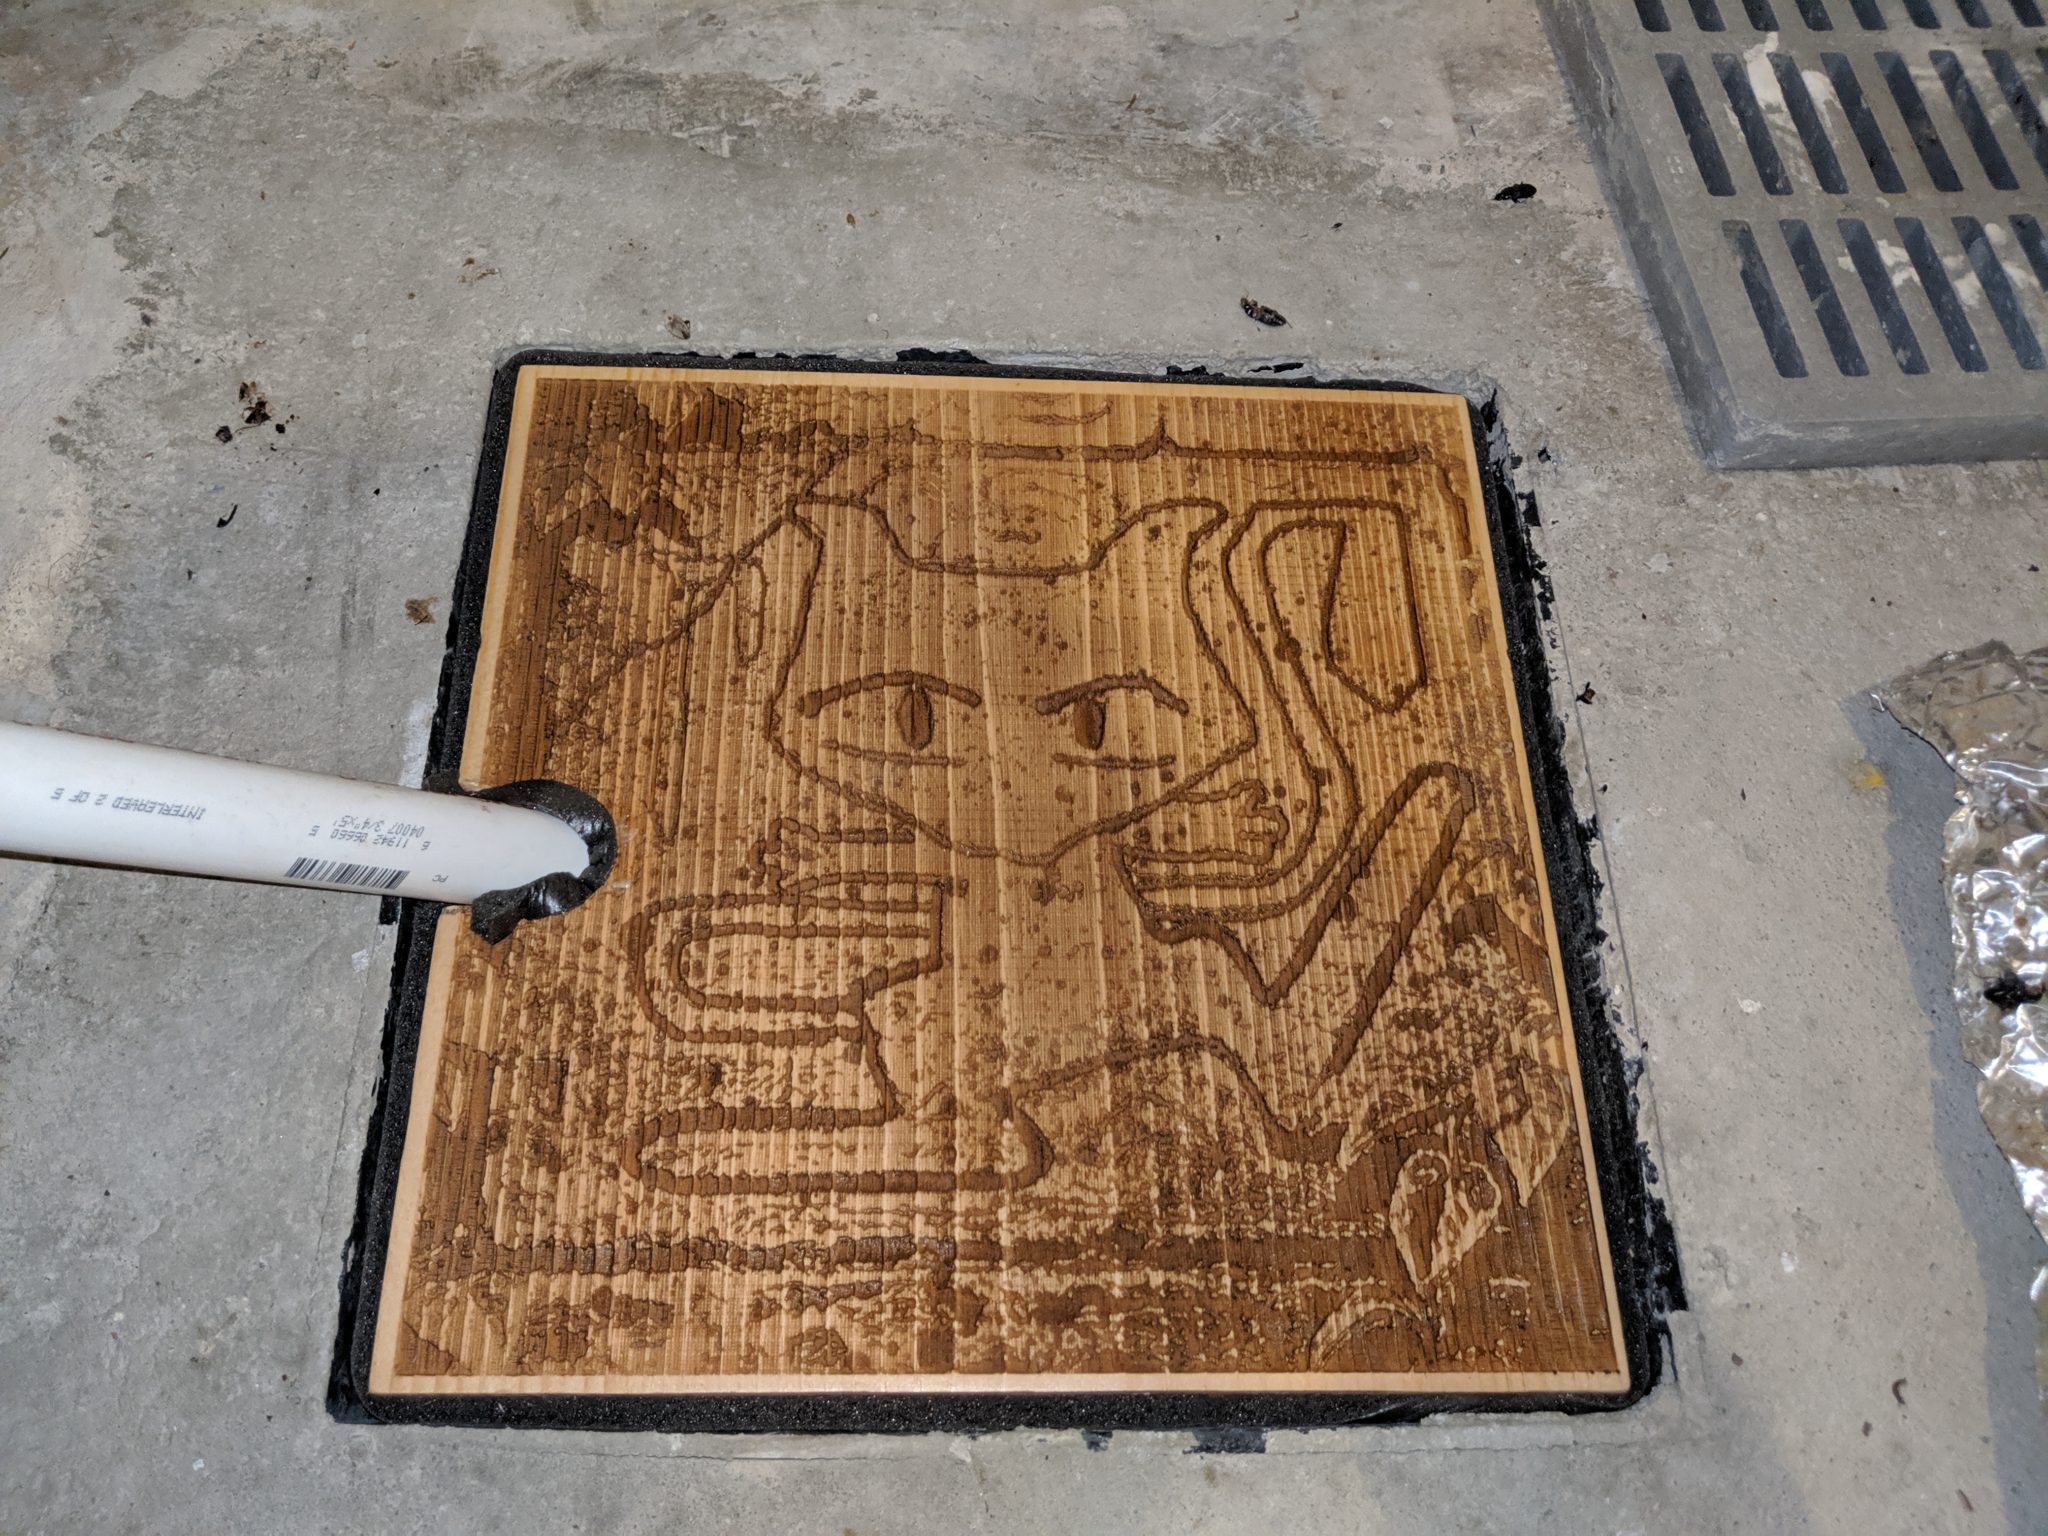
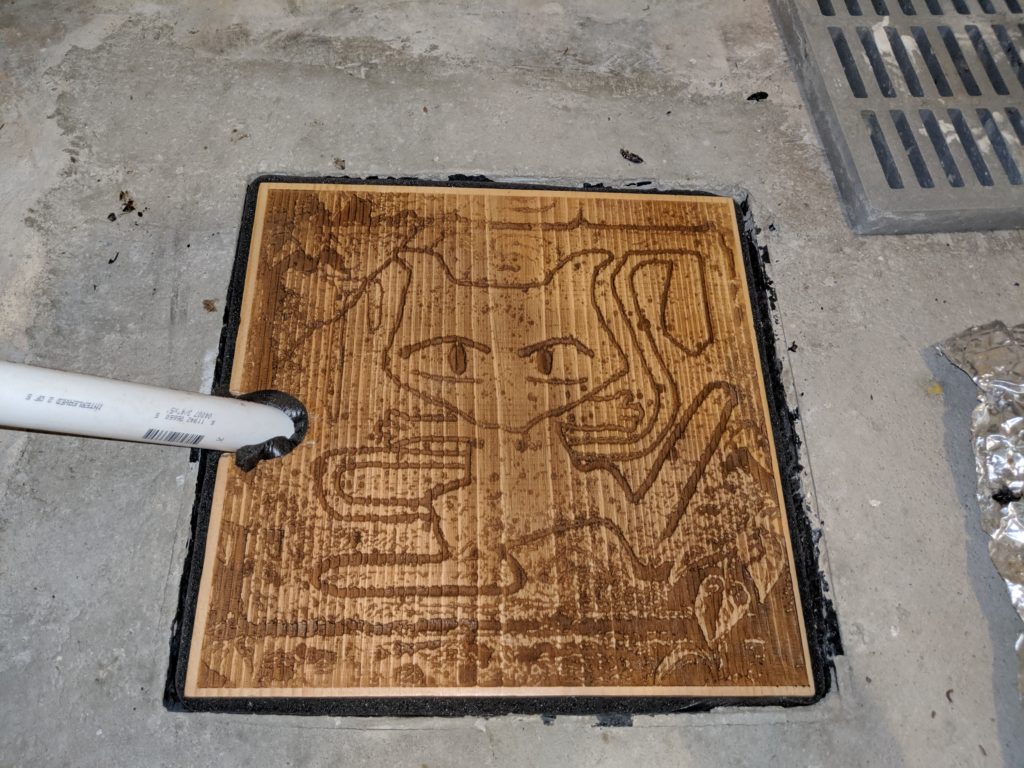
And here’s the finished result!

You can see the original cover in the top right corner

I’m not going to lie, it turned out much better than expected.

If anyone else wants to do this I can upload the bitmap and RDWorks file. Please share a pic if you use them so I can see your cool Easter Egg too.

Thanks for reading, I hope you enjoyed it!

[1] Not the colored bunny kind

[2] Yes I know Mew isn’t a cat. But that tail! And that face!

[3] I actually have no idea if this will work in practice, but my research said it should. Guess we’ll find out the old fashioned way!