
This project put me in physical therapy for weeks, but was completely worth it.
Part of my frugality quirk includes looking for stuff that I would totally buy, but am willing to wait a long time to get for free.[1]
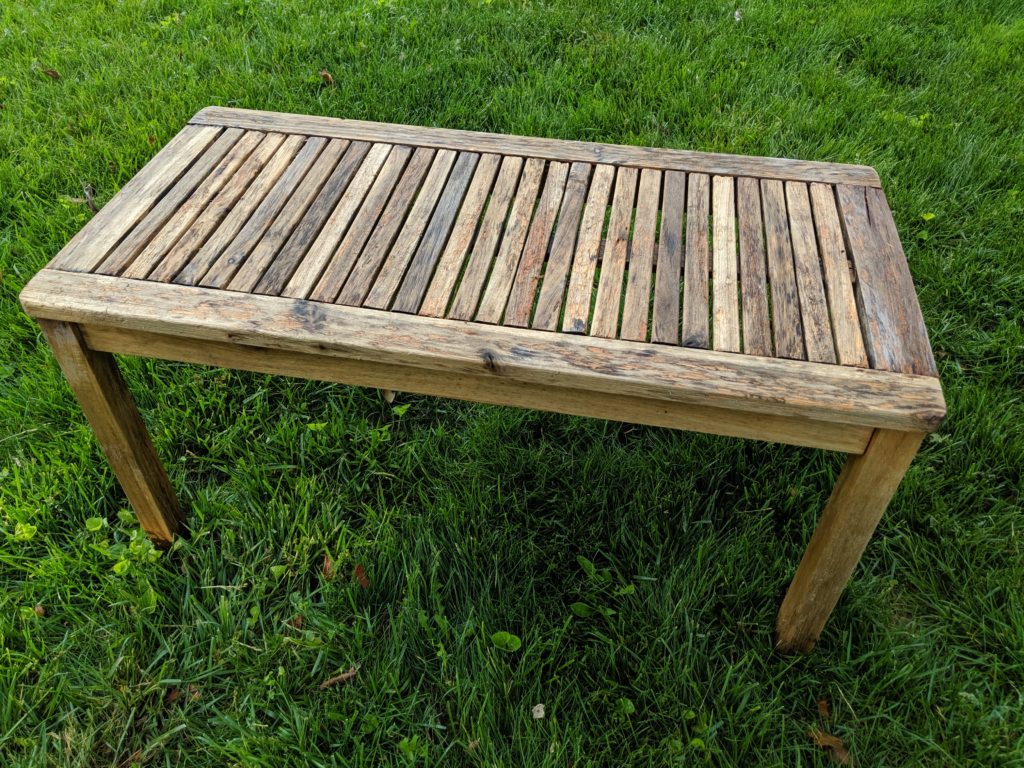
I’ve previously posted about an outdoor patio side table I designed and built from leftover wood as an “ultimate scrap challenge.”[2]
And add to that, the former owner of the house next door gave us two Adirondack-style hard plastic chairs before she moved out:
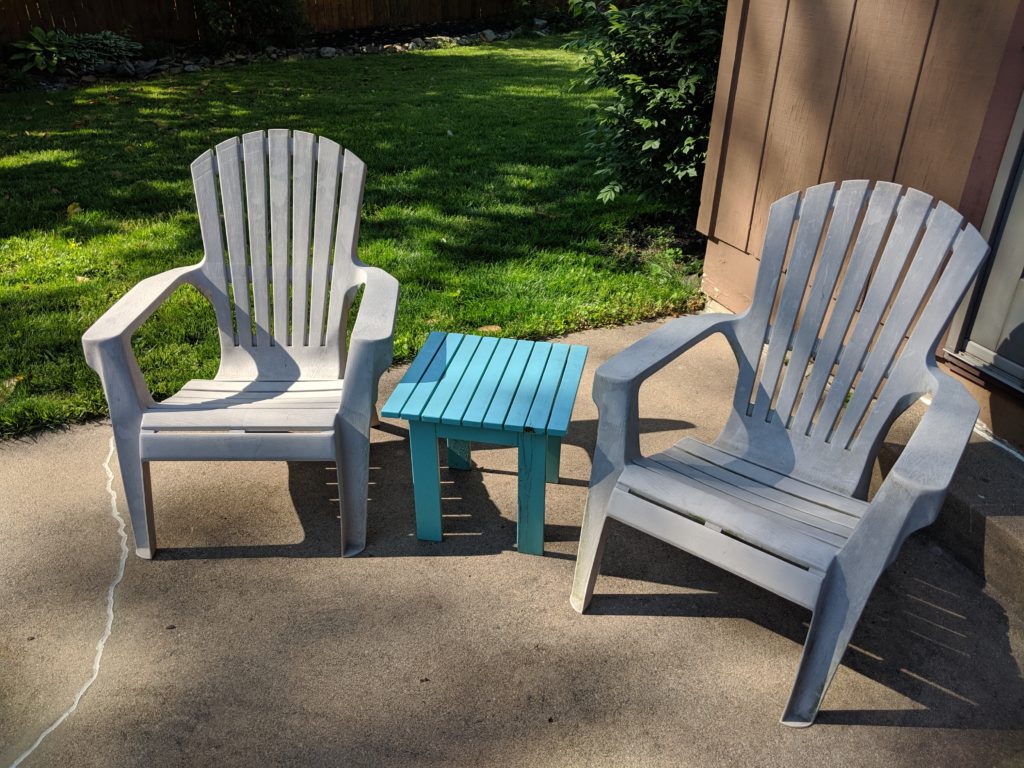
Not too bad for free patio furniture. However, we were about to up-level our patio furniture game by 1,000.
As I often do, I pulled up Craigslist and browsed the free listings. One called “Free outdoor furniture” caught my eye. It was a sweet, stylish teak patio furniture set. Even though it was old and had mold, I was excited about restoring it to its full glory!
In the pictures the furniture didn’t look very good, and I mentally confirmed I’d purchased a new, working nozzle for our power washer before asking if it was still available. The next day and one quick trip later, the teak patio set was ours.
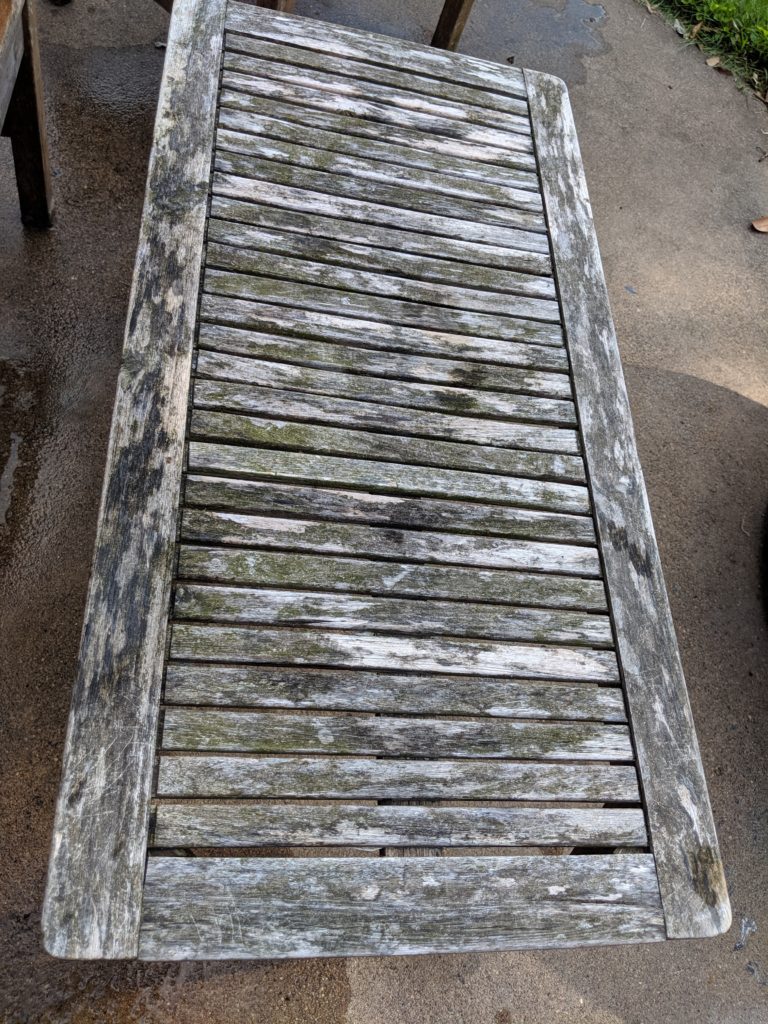
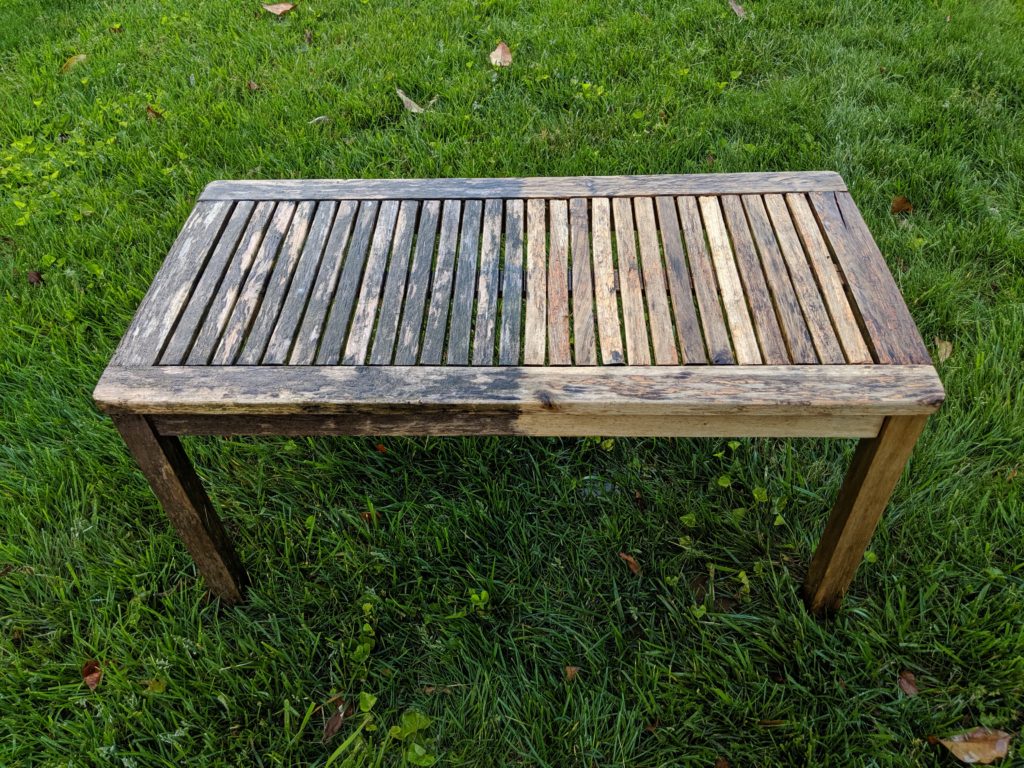
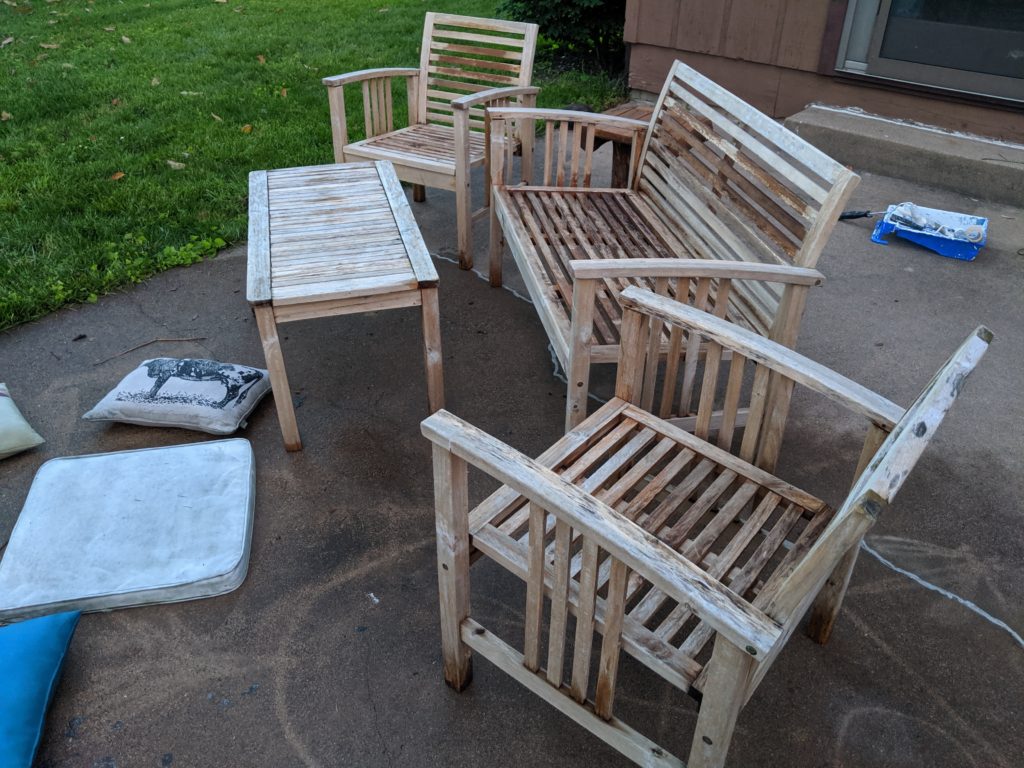
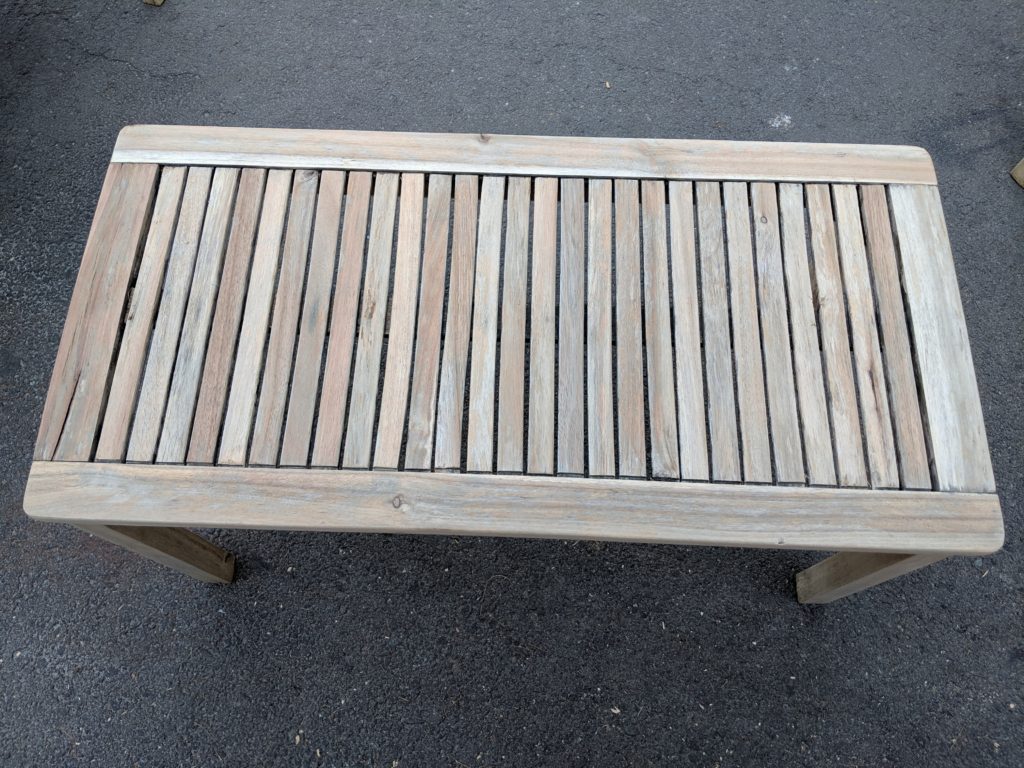
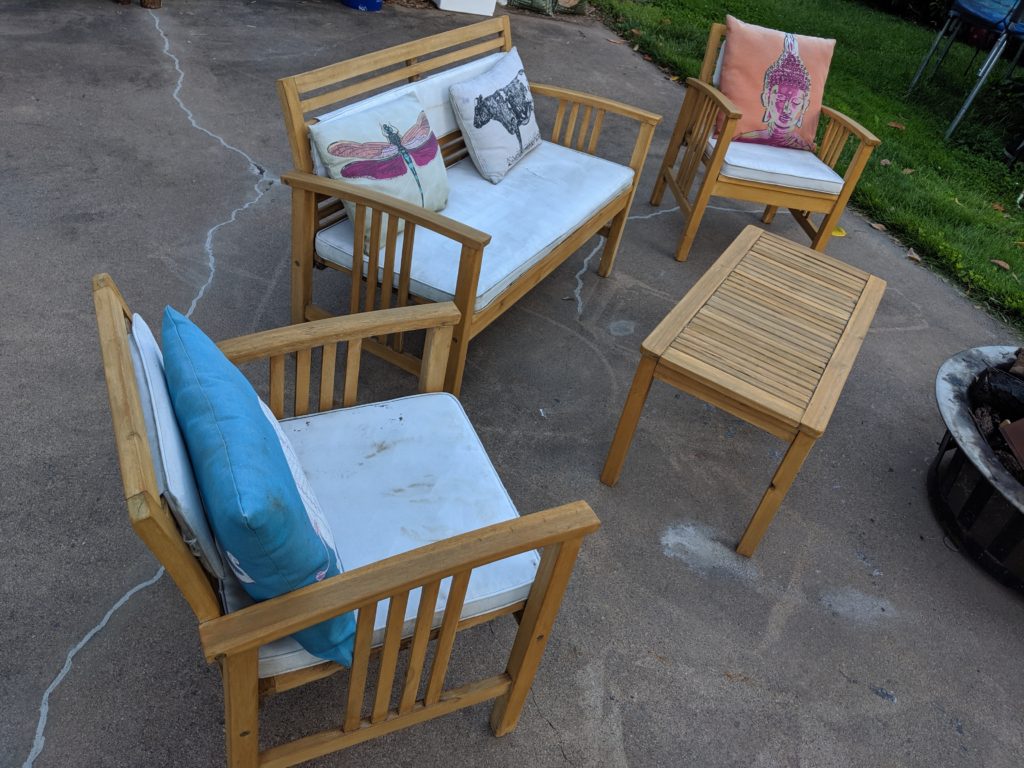
Here is what the patio set looked like after making it back to our place:[3]
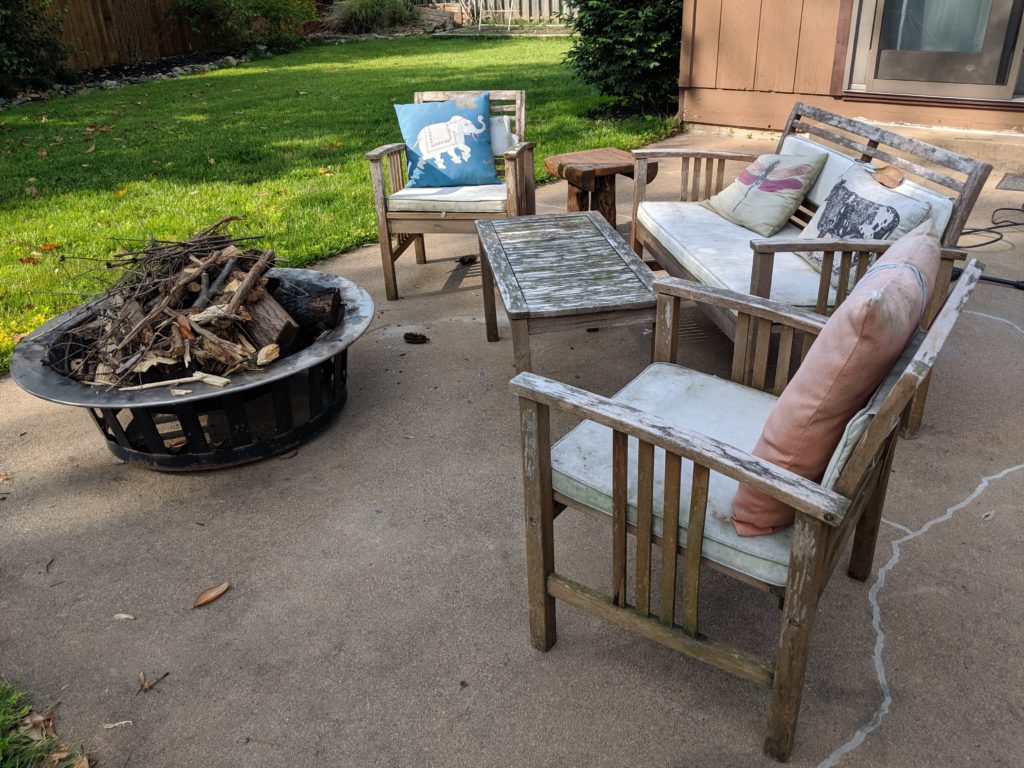
Yikes. Some breaks and rot but overall not impossible to fix…but I knew it would take a lot of work.
First came power washing:
Oh yeah! That’s the stuff.
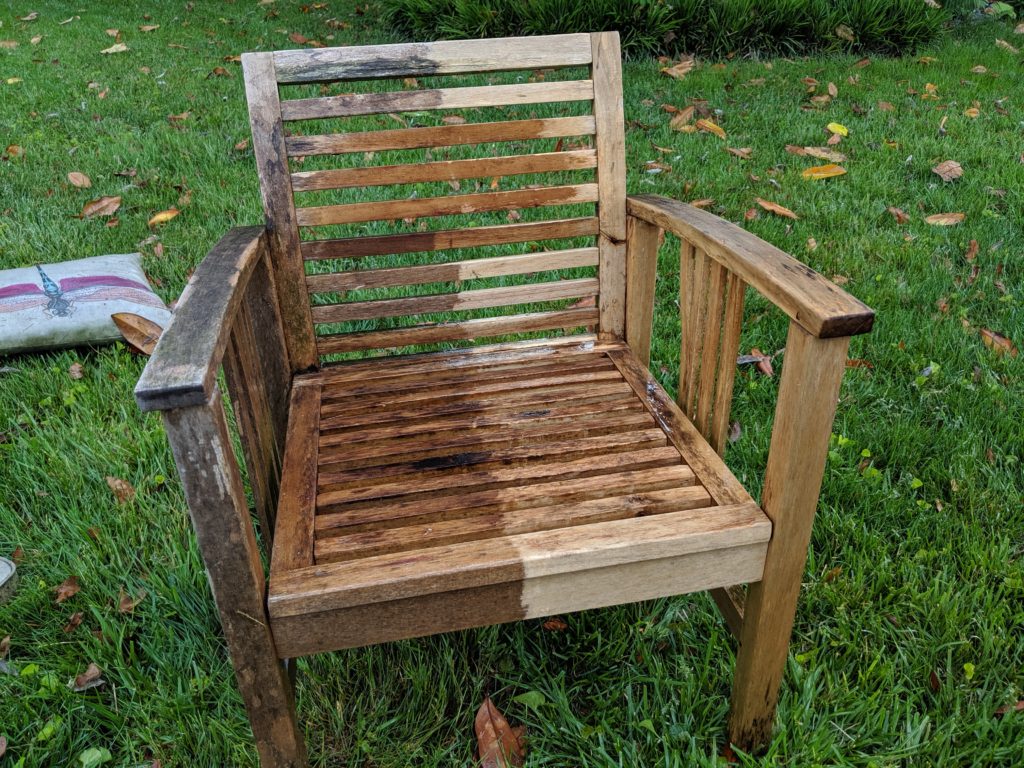
Bonus point to me for thinking to move the furniture onto the grass for some free watering.
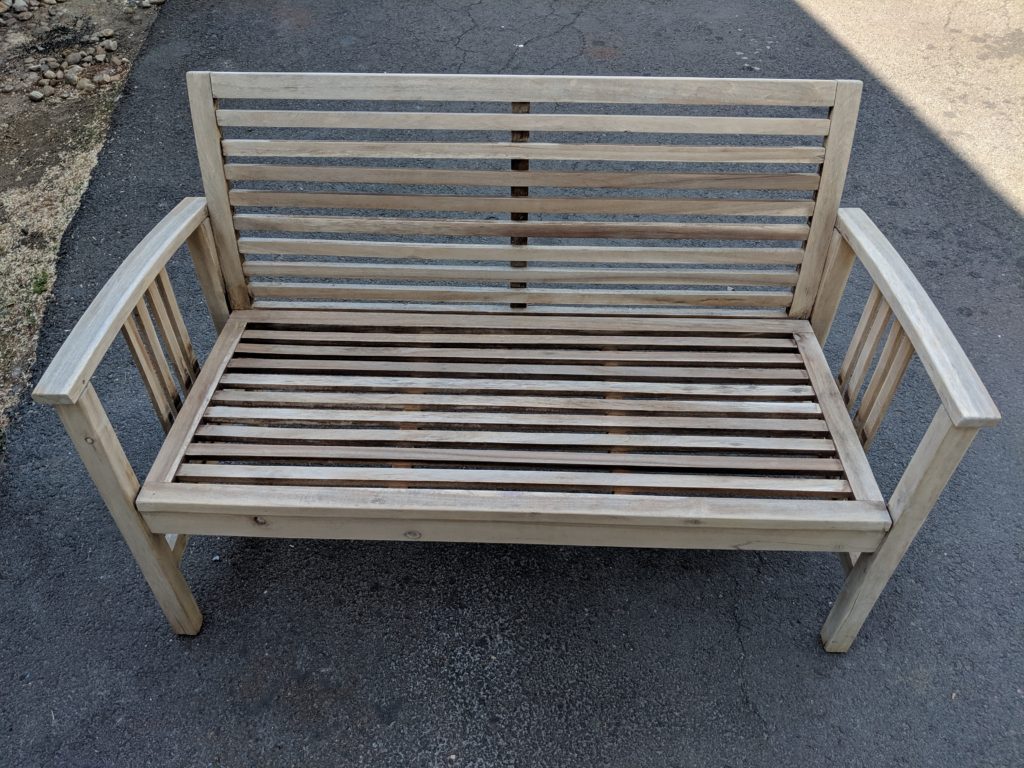
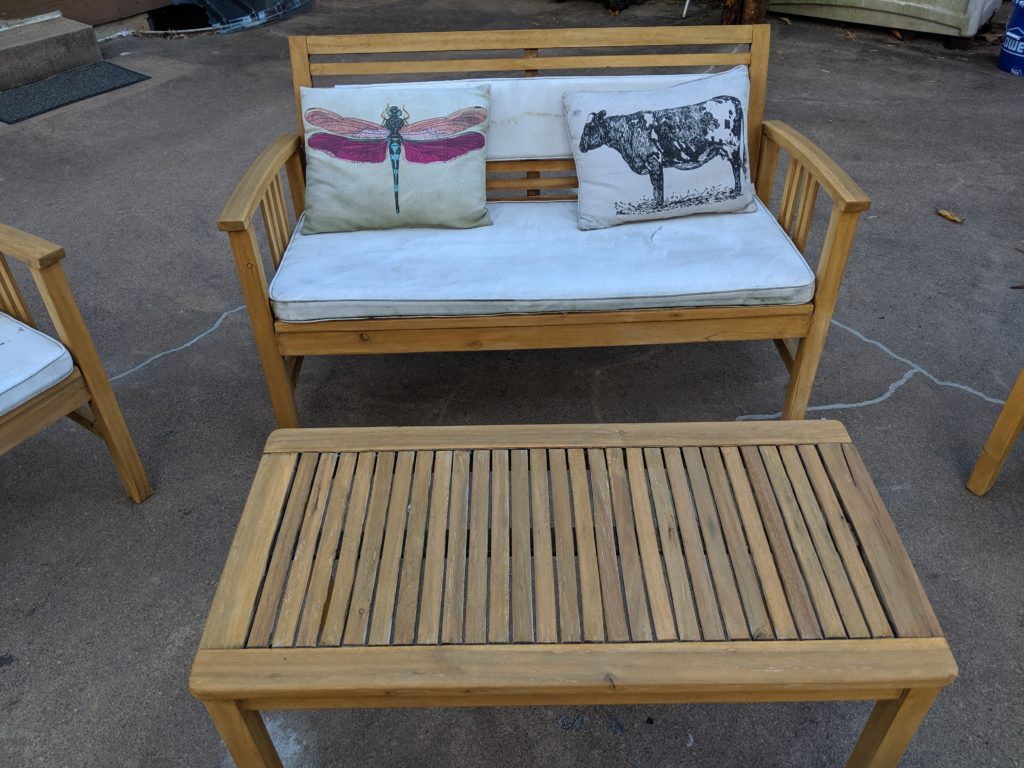
All done with power washing the wood:
And here is the set back on the patio for comparison:
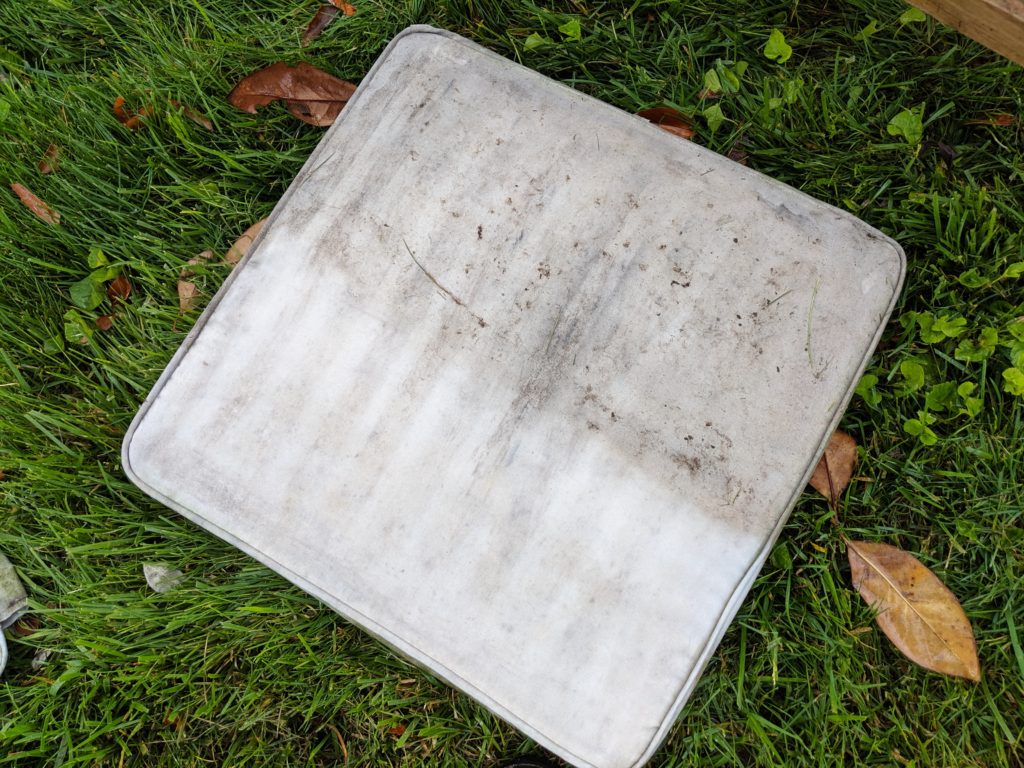
I didn’t forget about the pillows! There was a LOT of dirt/algae(?) on them:
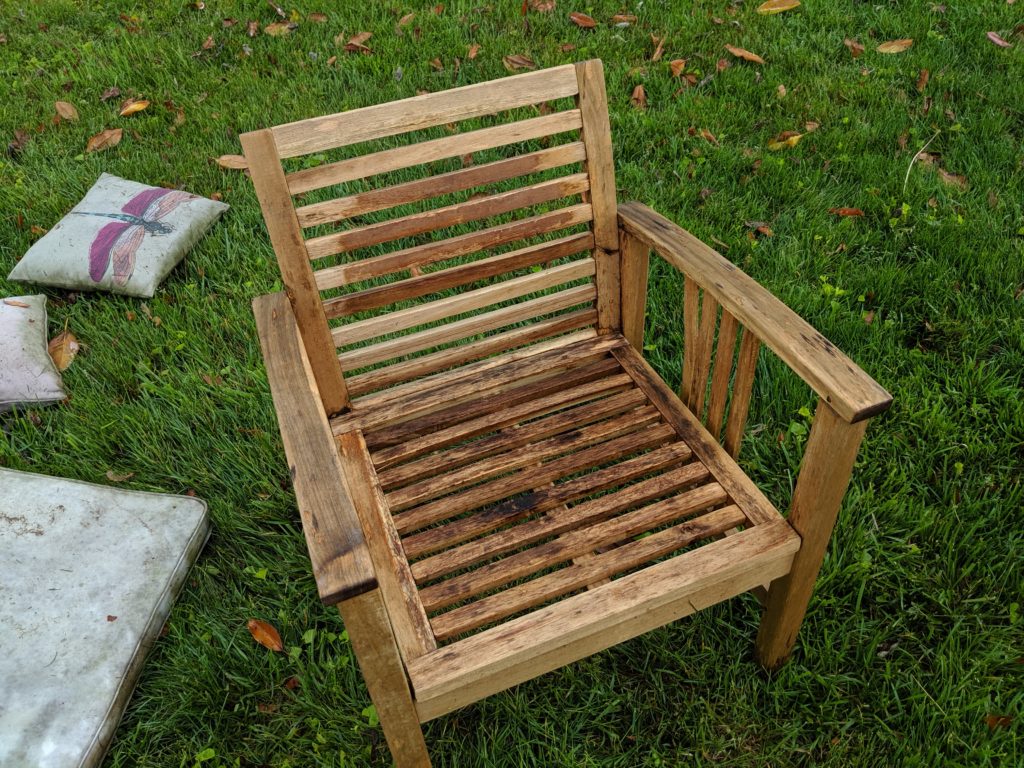
Next I sanded the wood with a random orbital sander and 120 grit sandpaper:
After I was done sanding then my wife and I got some rubber gloves, lint-free rags, and teak oil and went to town on the freshly sanded patio set.
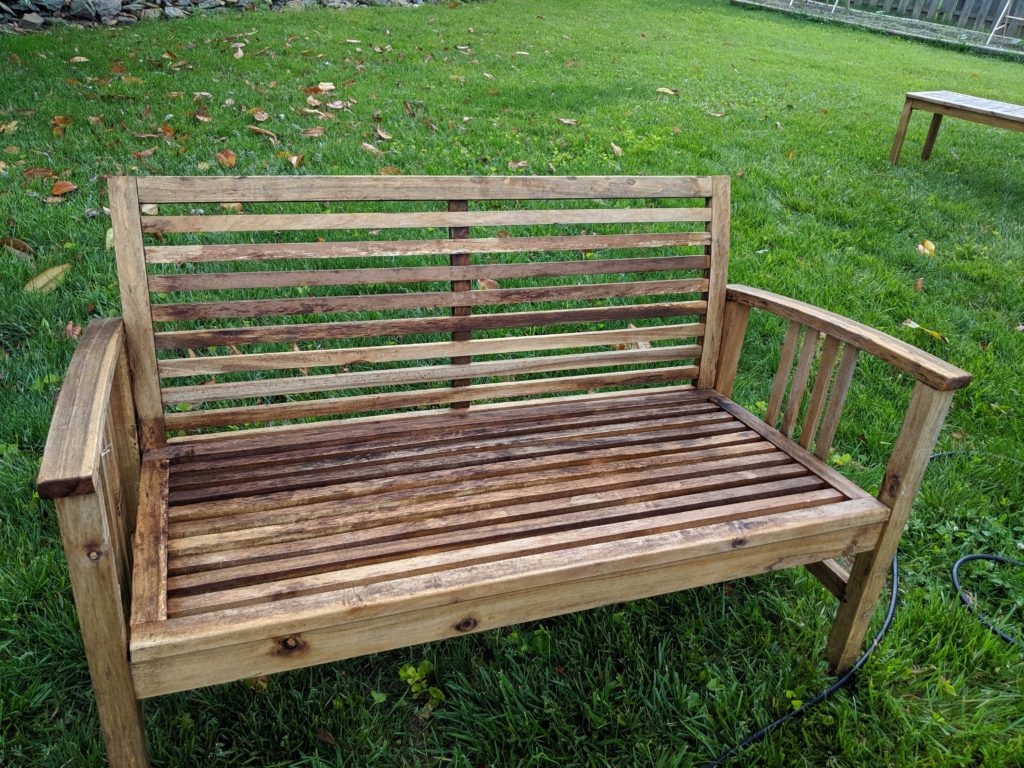
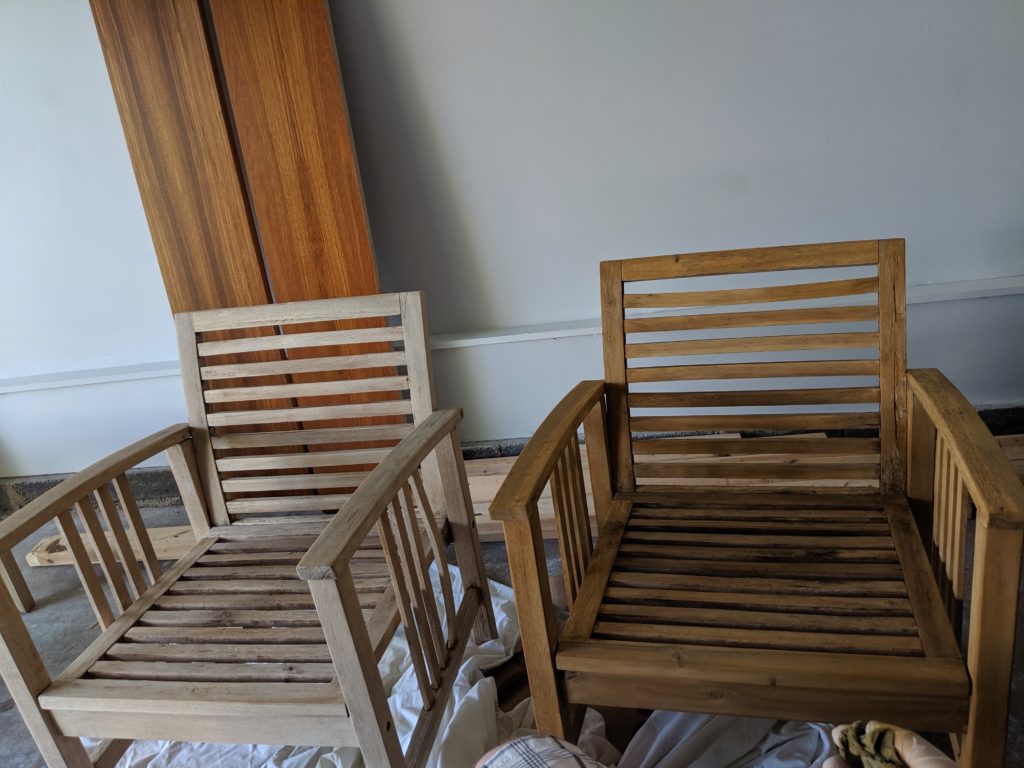
Two coats of teak oil later and this is the result:
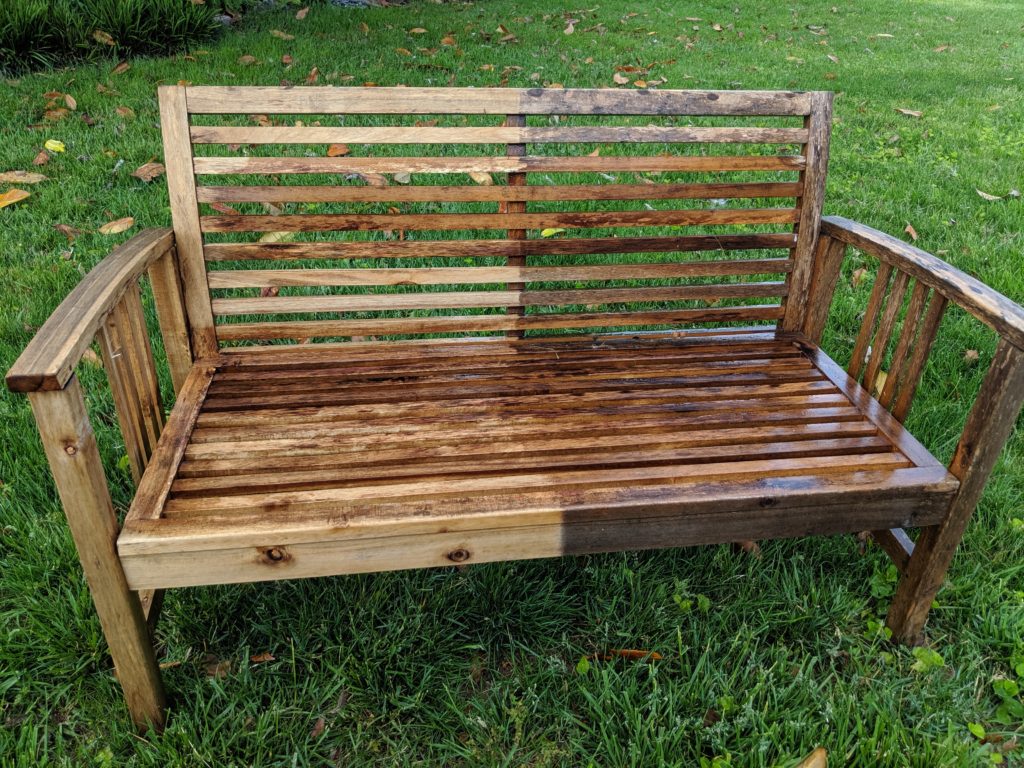
And here you can see the difference between no teak oil vs one coat:
We were all amazed by the results; I will always remember my kids’ jaws dropping when they saw the finished product:
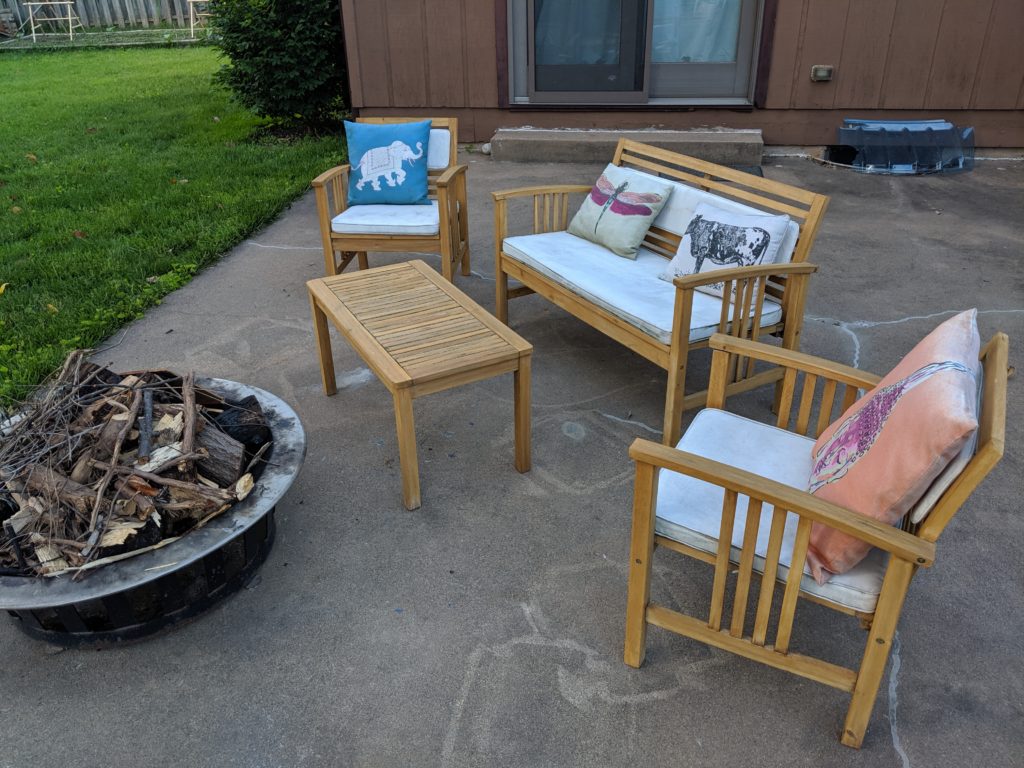
And from the other side:
I’ll include a note of caution: I definitely strained my lower back with all of the lifting, bending, and repetitive motions involved to power wash, sand, and stain them. So take that into account and don’t hurt yourself! It took me three separate, sequential afternoons to do all of this and my back is still sore several days later. Yeah, guess I’m old after all.[4]
[1] There are worse quirks..
[2] I highly recommend Ultimate Scrap Challenges. I doubt I started the practice but would love to see what you make!
[3] This all fit in our 1998 Honda CR-V. That car is magical and can fit anything.
[4] Update a few months later: the pain didn’t go away so I ended up in physical therapy :/