A fun Easter egg for the next family who moves in 🙂
Our basement has a strange, almost exactly 12 inch x 12 inch hole in the cement floor that, as far as I can tell, is only there for air conditioner drainage. It was “covered” by a hard plastic grate with large slits.
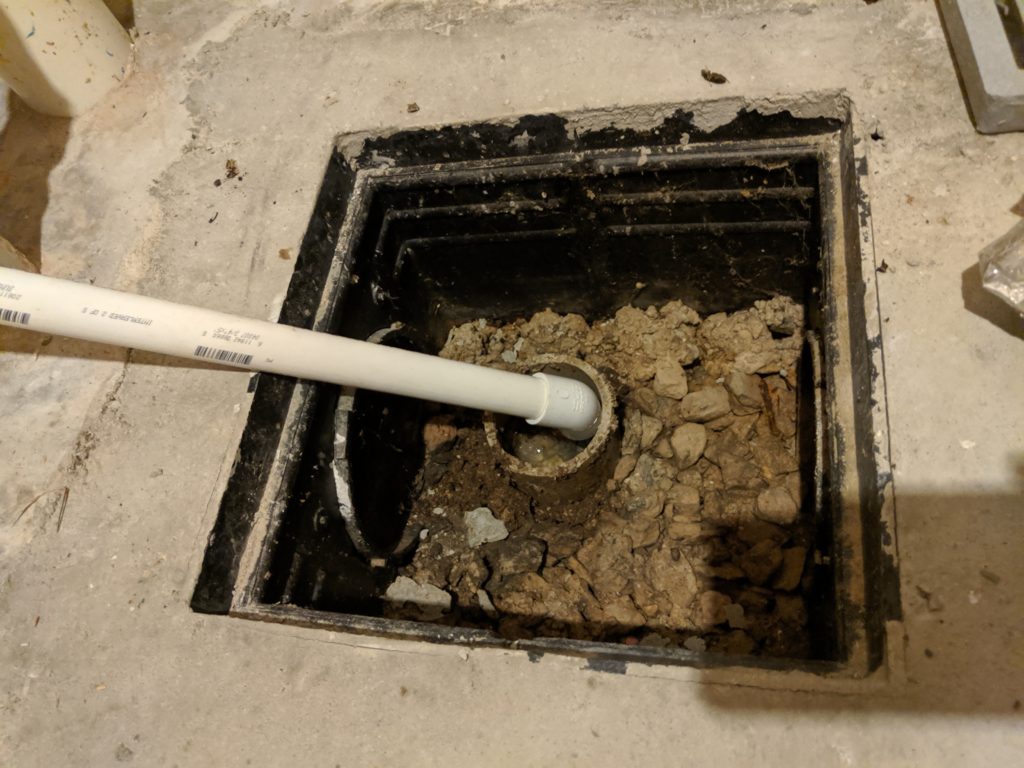
A few months after moving in we noticed small gnat-like creatures appearing in our basement. Research pointed to the drain as their source, so I smothered the drain with Boric Acid powder and covered the opening with foil tape (it was left in the garage by the previous owners, was rigid enough to cover the space without collapsing, and I was lazy):
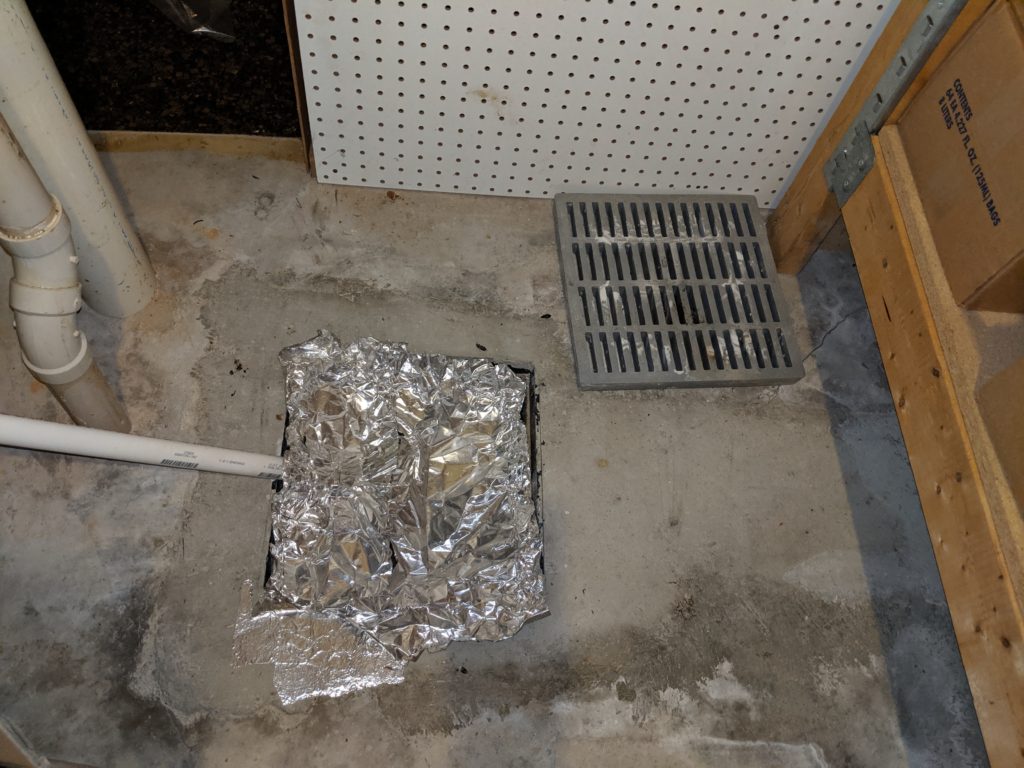
No more gnats!
A few years passed and all was well…until the beetles came. Like the gnats that preceded them, they starting showed up in the basement. Research again indicated their source was the drain.
Pulling up the foil tape I found several beetles stuck to the adhesive where they had tried to get out of the drain. Bingo.
I set out for a better drain; a drain that let a pipe in, but didn’t let bugs out. Several hardware stores and even the mighty Amazon.com let me down.
It was time to go rogue.
At first I thought of 3D printing my own drain cover. I designed the cover in AutoDesk Fusion 360 (which is amazing, mad respect) and included an entrance for the A/C drainage pipe. I even beveled (chamfered?) the edges to match the concrete opening for that 10/10 fit:
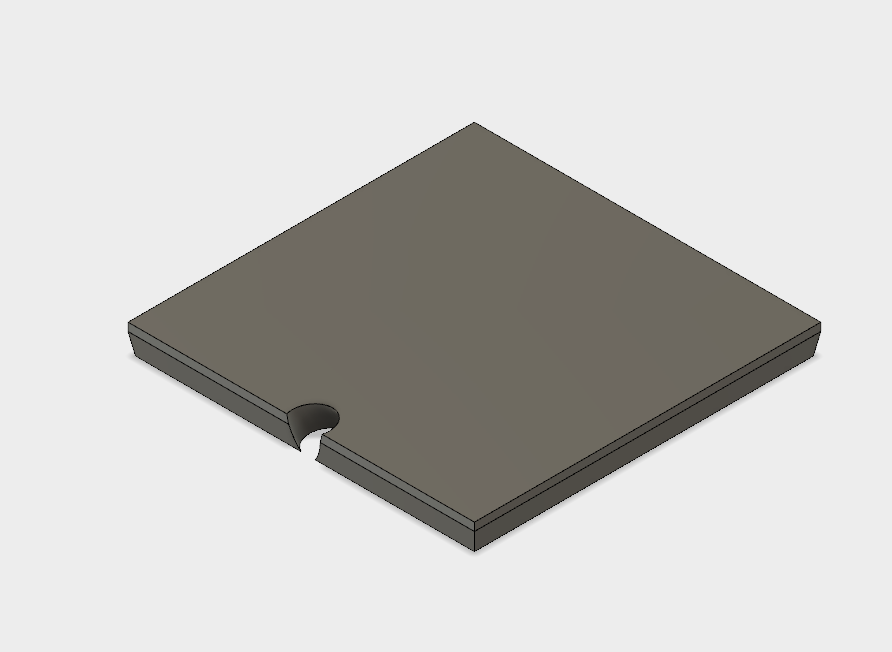
I decided it needed something…more. Something both unexpected and exciting. No sir, this would not be your Average Drain Cover. It needed an Easter Egg.[1]
After some debate and soulful Google Image searching I found the ultimate Easter Egg: the Mew carving from ‘Pokemon The First Movie‘ (1999):

I found a way to embed the carving into the surface of my 3D model and we were ready to go:

However, I tried and failed to find a 3D printer with a large enough print bed. I experimented with a slightly scaled down version (closer to 11 inches) on the largest printer at the local maker space, but had issues with bed adhesion so scrapped it.
I debated a re-design that would make an interlocking set of 4 pieces…but ultimately decided laser engraving wood would be easier.
I found a few leftover wood boards that fit the bill, fired up Photoshop, and got to work.
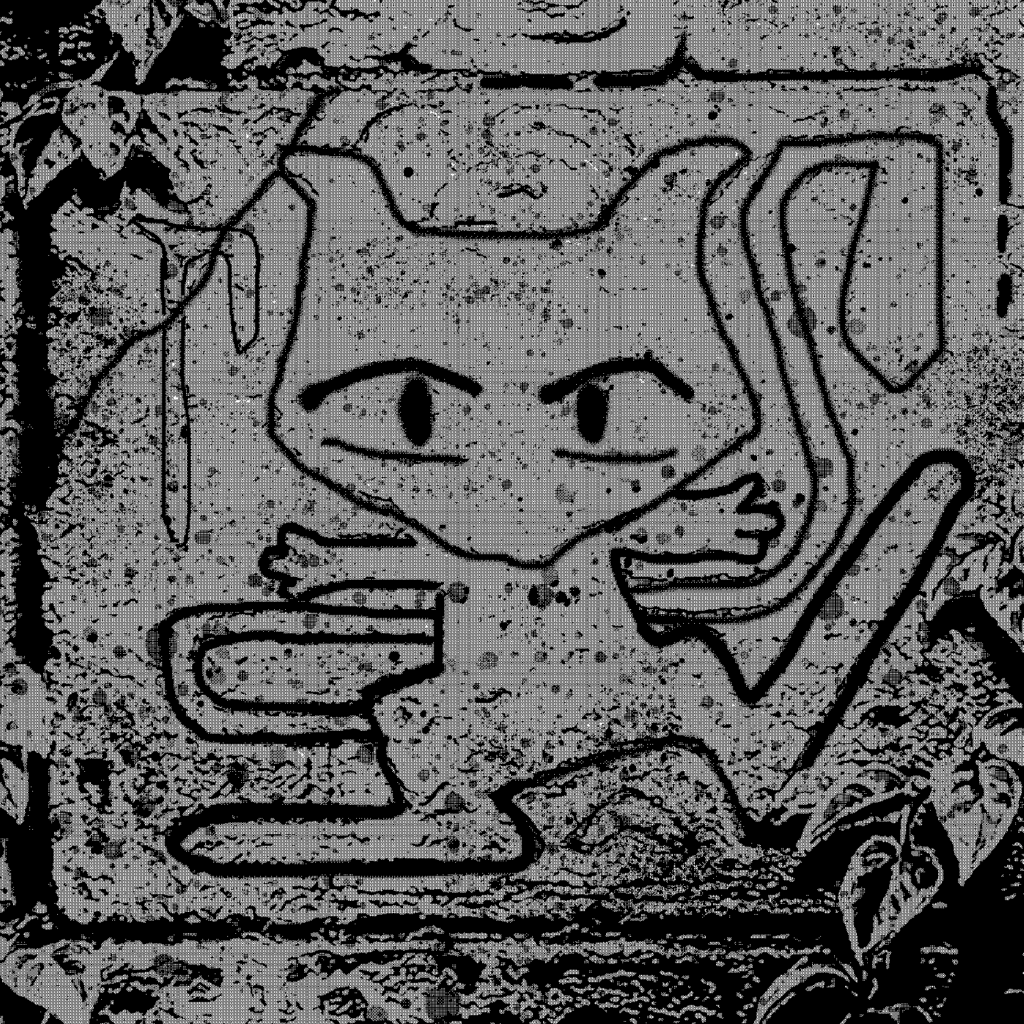
First I had to convert the Mew image into a bitmap. Going back to the source image I traced out Mew, removed a lot of the fuzzy details (for a cleaner engraving), and then added in some marks with the brush tool to improve the “old stone engraving” look:
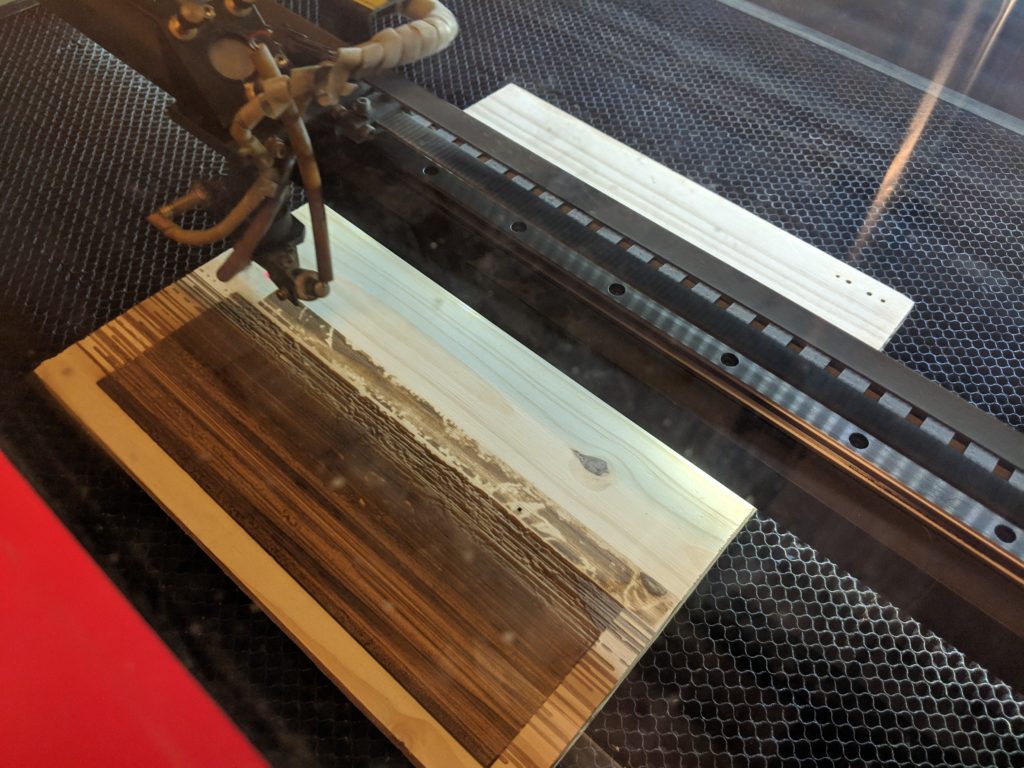
My first laser engraving attempt was a huge fail. The laser cutter was an 80 watt beast and my settings were way too high, resulting in a brown mess:
I took a huge step back and looked at engraving tutorials. I ended up using this one for my remaining engraving attempts: https://www.instructables.com/id/How-to-Laser-Engraving-Photo/
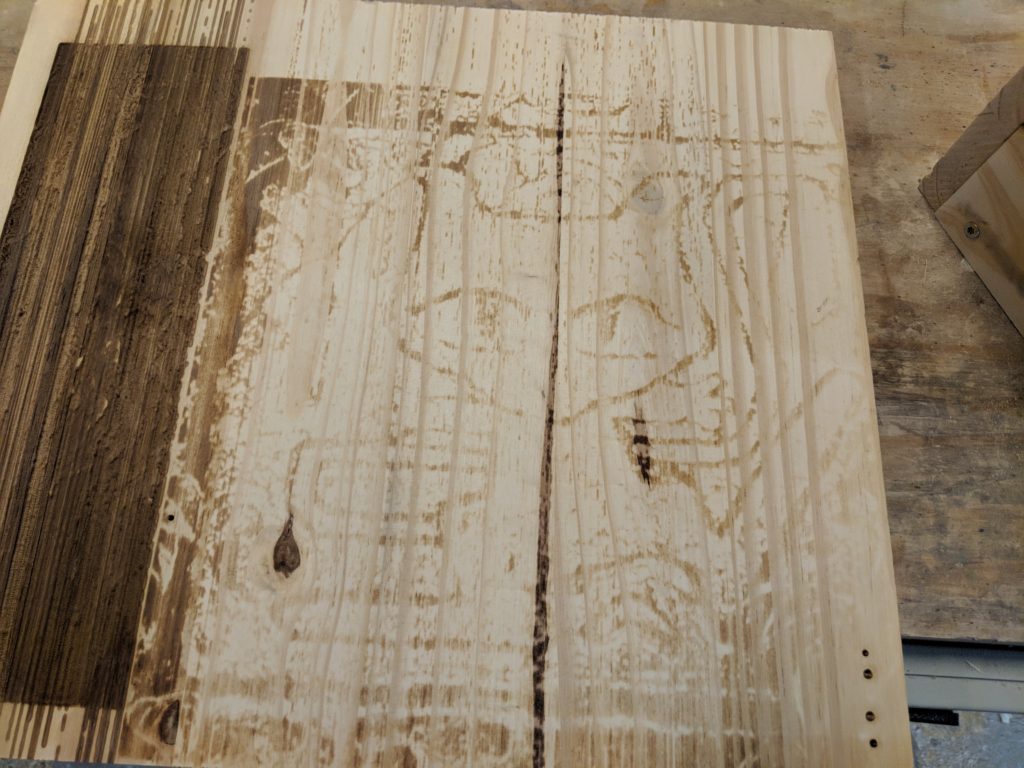
Using the tutorial’s settings gave me a much better result, however it looked too washed-out for what I had in mind:
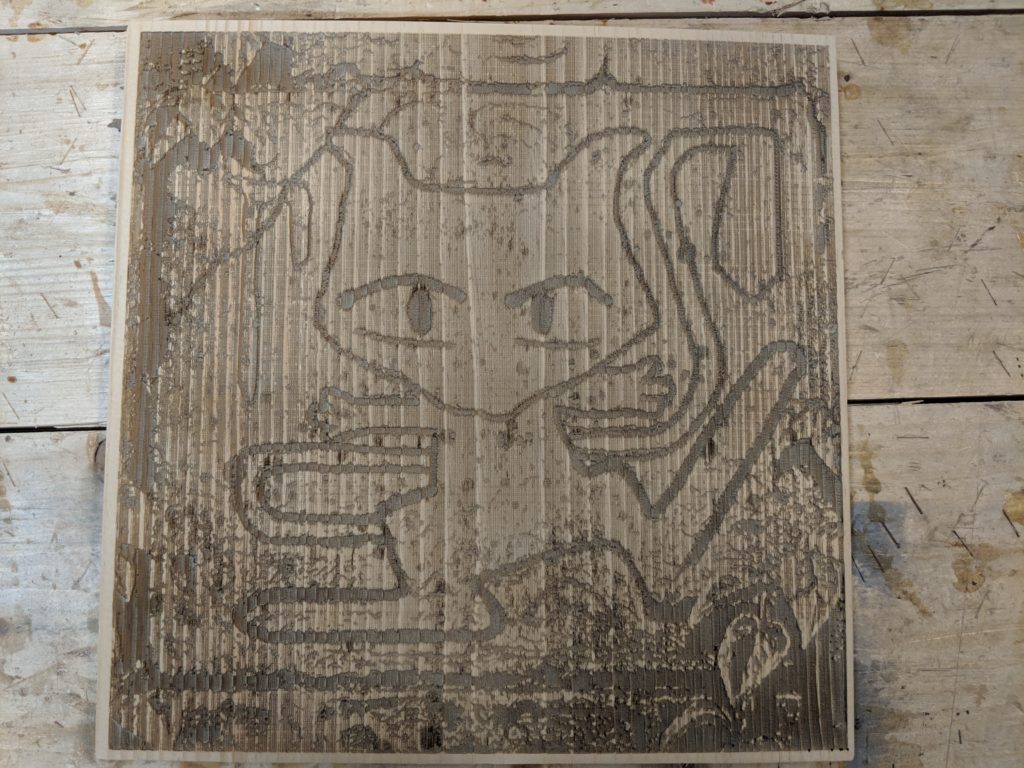
I tried again. Keeping in mind it was an 80 watt laser cutter I got another board and adjusted the settings to:
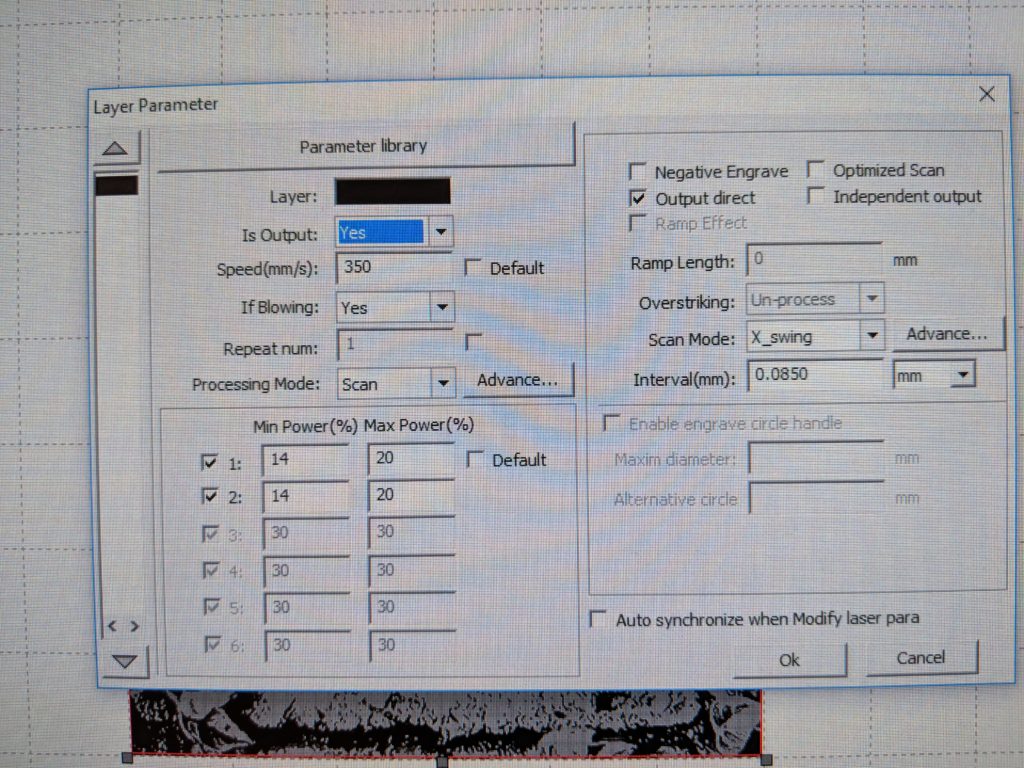
And it gave me this:
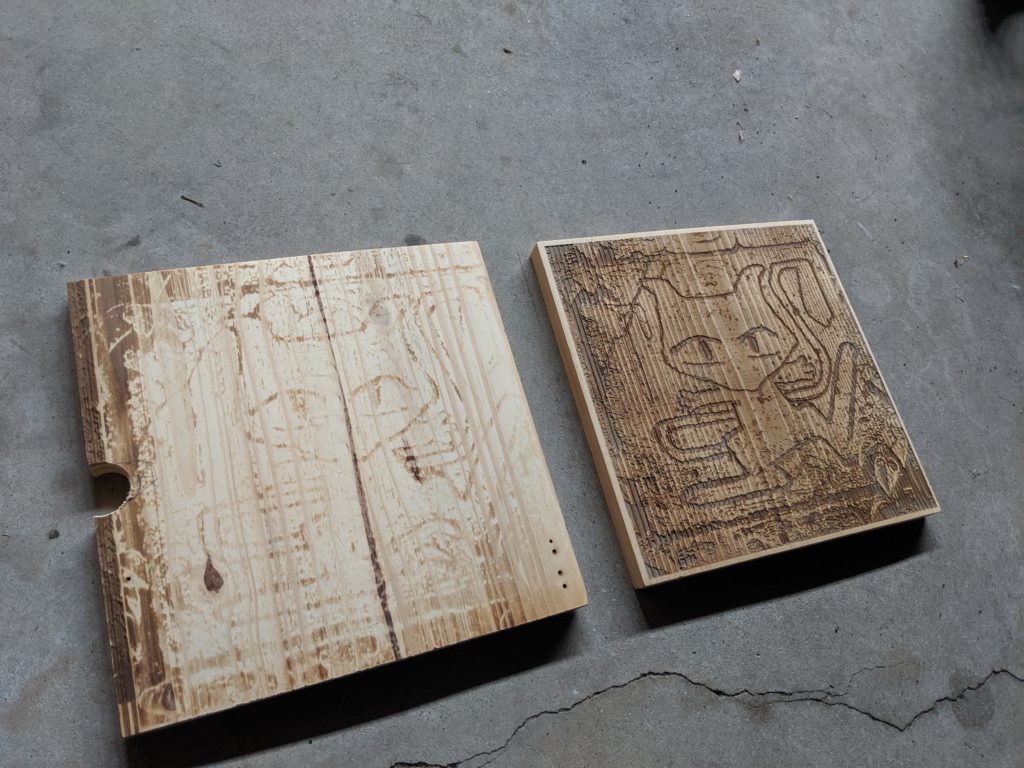
Comparing side by side:
Once I had cut the engraved board to the right dimensions I lightly sanded with 220 grit sandpaper and gave it several coats of Minwax satin finish polyurethane. I normally don’t use spray poly, but did this time as I wanted to avoid missing crevices or it pooling unevenly.
To protect the bottom from moisture I found the original roll of foil tape[3] and applied it in overlapping strips, making sure to bring it up the sides as well:

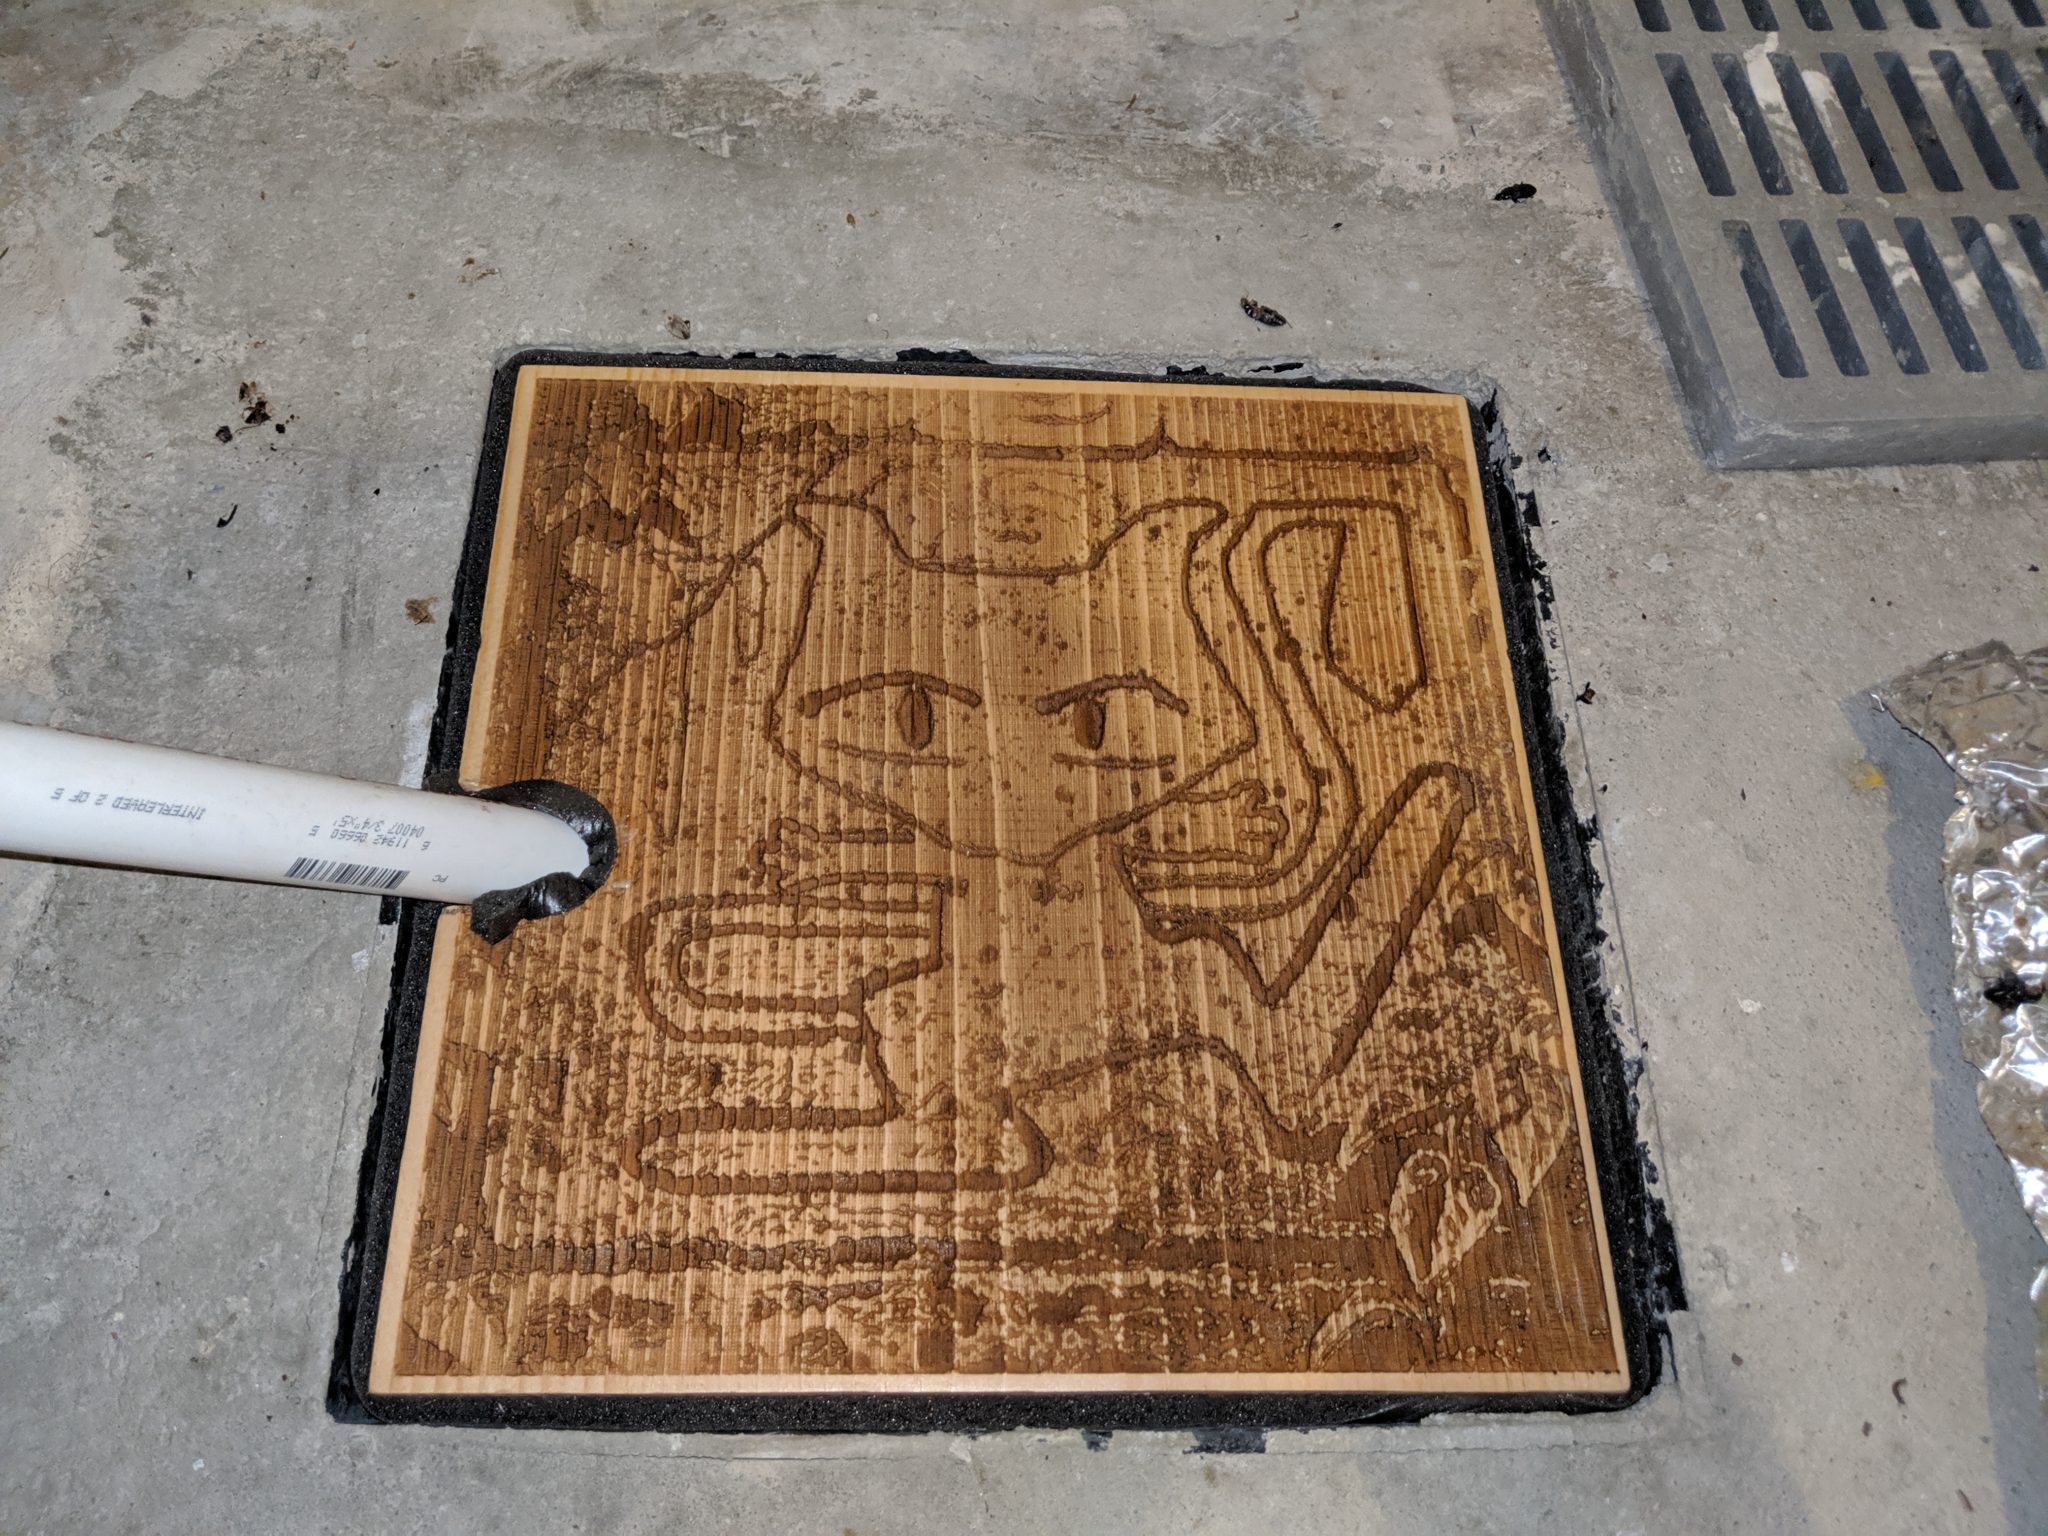
The final step was to run weatherstripping foam around the edges for Extra Sealing Power(TM). Luckily I had leftover weatherstripping from a previous weatherproofing project so we saved a few bucks:
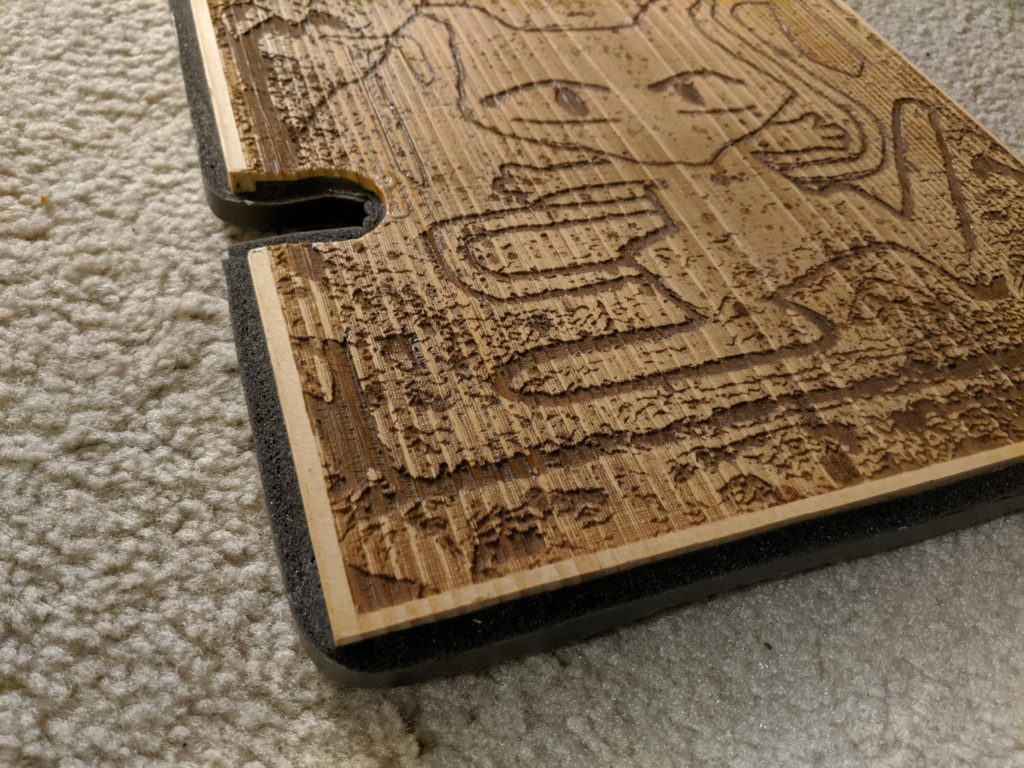
And here’s the finished result!

I’m not going to lie, it turned out much better than expected.
If anyone else wants to do this I can upload the bitmap and RDWorks file. Please share a pic if you use them so I can see your cool Easter Egg too.
Thanks for reading, I hope you enjoyed it!
[1] Not the colored bunny kind
[2] Yes I know Mew isn’t a cat. But that tail! And that face!
[3] I actually have no idea if this will work in practice, but my research said it should. Guess we’ll find out the old fashioned way!