This was a fun organization project that ended up being kind of an Ultimate Scrap Challenge without even meaning to.
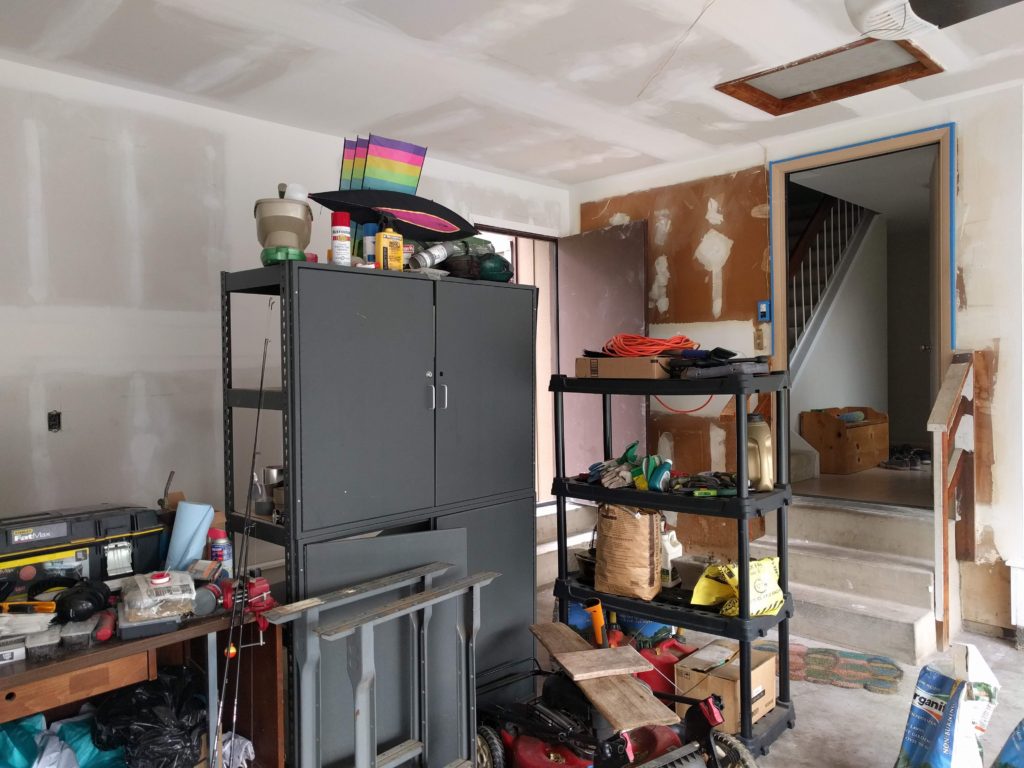
We recently put up drywall in our garage, and while painting I realized we had a storage problem: there were three standing shelf units on the floor of our garage, and that was probably two too many.[1]
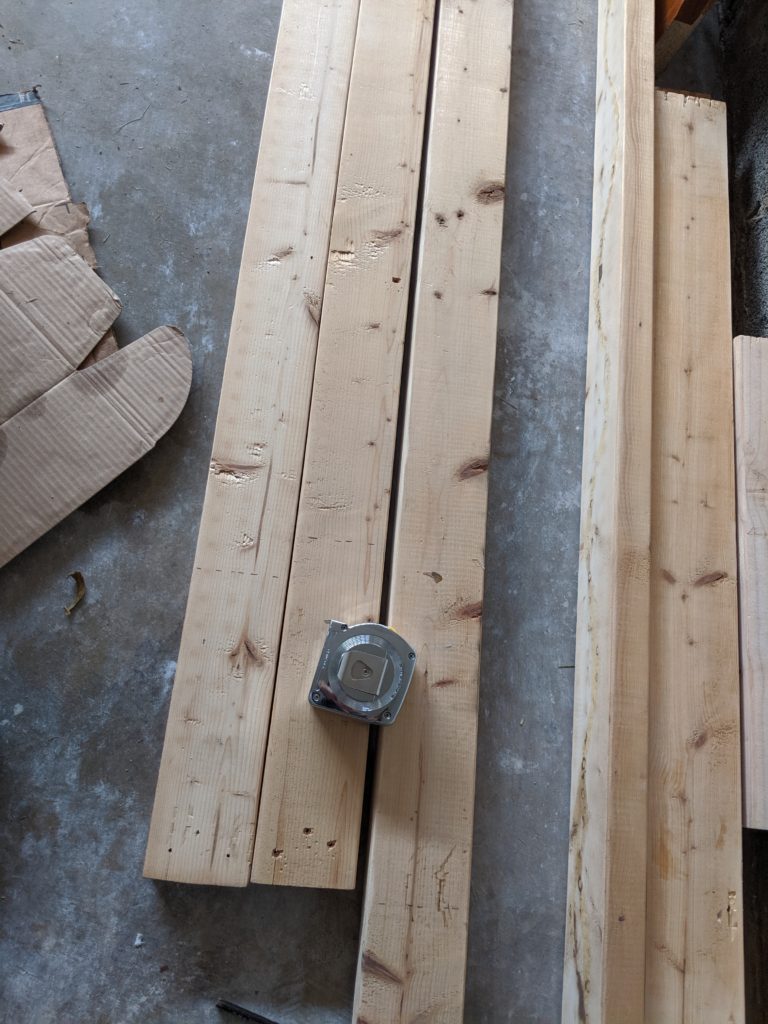
I found someone on Nextdoor giving away several 2x4s and decided I could join a few of them together with pocket hole screws and glue to make the shelves, and then use the leftover pieces as supports.
After picking up the 2x4s I noticed they’d been used in previous projects and had several nail holes and glue marks, so I made a mental note to sand them down that weekend before I started any cutting.
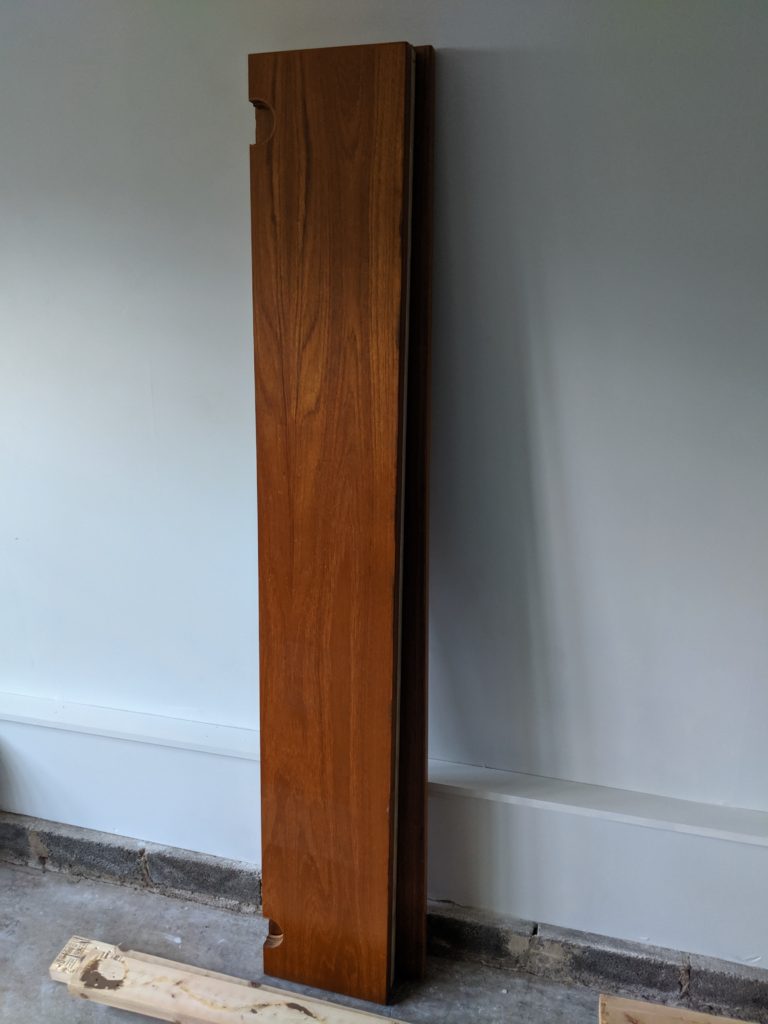
I’m glad I waited to cut them down, because the next day I saw a nice wood desktop with a “free” sign on the side of the road. I drove by two or three times before finally stopping to load it into my CRV.[2]
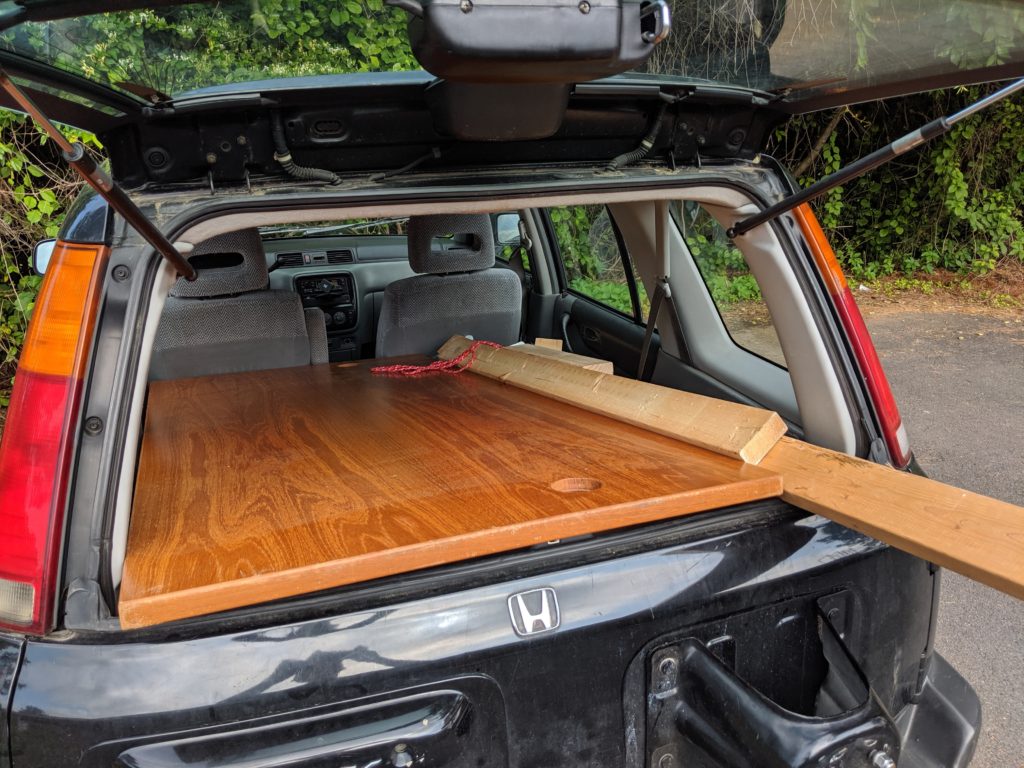
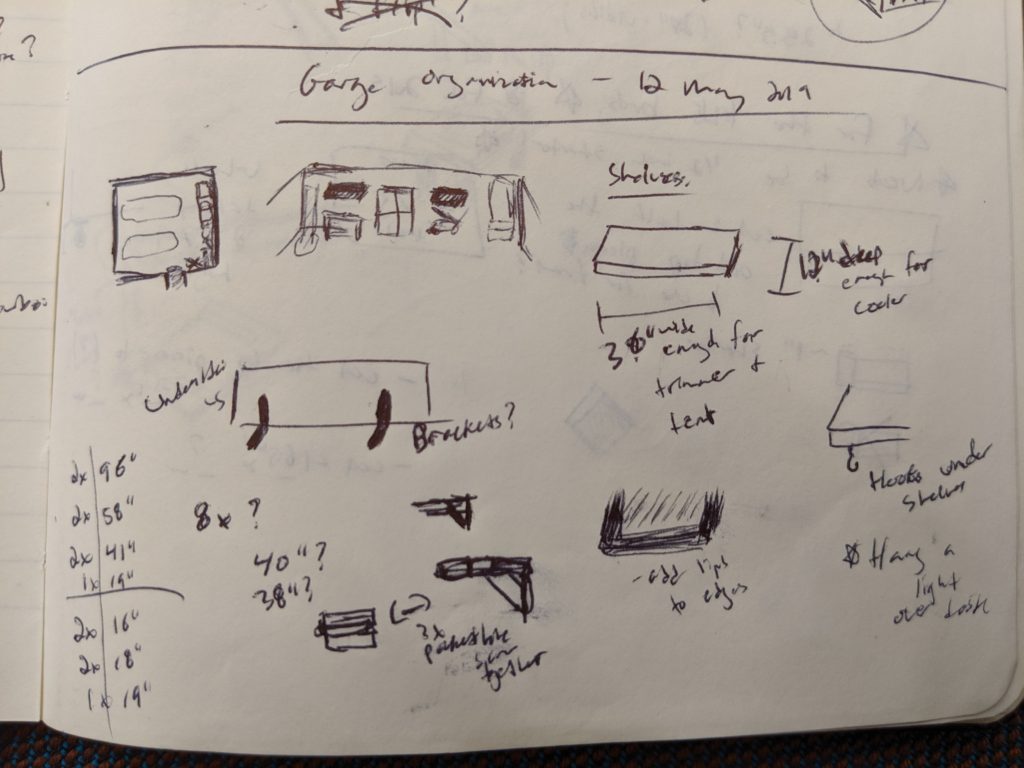
I re-did my design for the shelves to use this new wood. Instead of joining 2x4s together I decided to cut the desk wood into 3 pieces that were each 11 inches wide (the desktop was about 34 inches wide by 6 feet long):
I also looked for a new way to support the shelves; initially I considered buying metal shelf brackets, but instead changed my design to use the 2x4s for supports. This way I could still use the wood I’d gotten for free, and wouldn’t have to buy brackets!
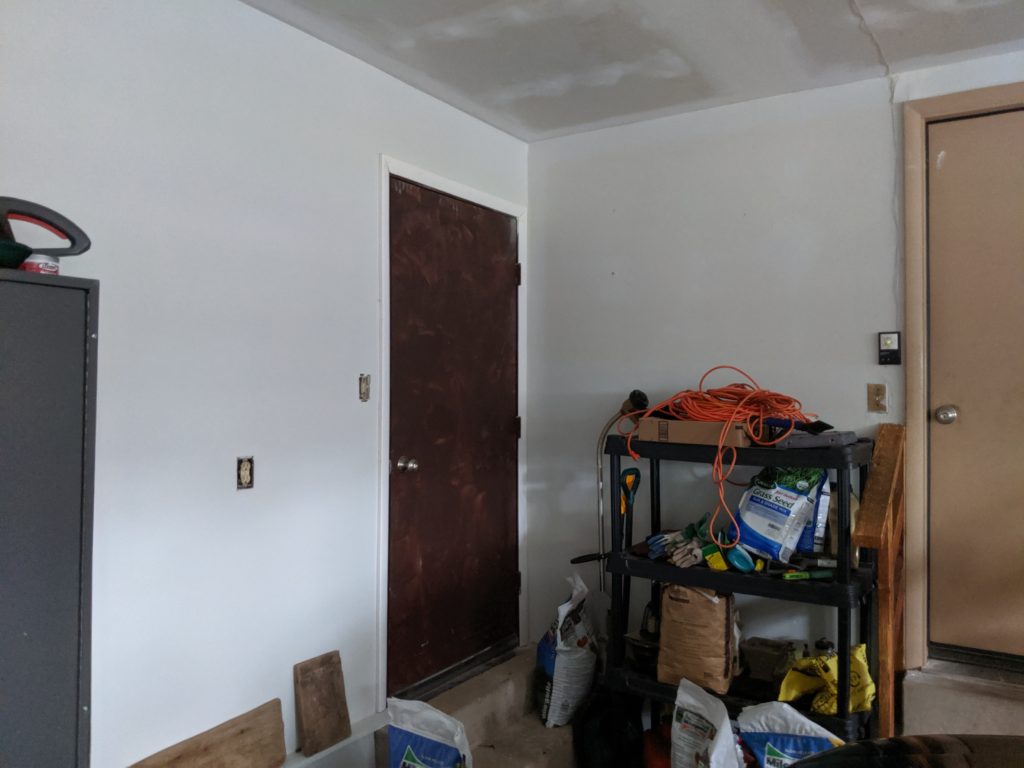
After some more thinking and measuring in the garage, I decided to keep the tallest (and nicest!) floor shelf unit, which meant the wall shelf to the left of that unit could be 6 feet long and the wall shelf to the right of that unit could be 4 feet long (there’s a door on the right side of the wall, so there wasn’t enough space for the extra 2 feet).
I also decided to make the left-side shelf into a corner shelf for added storage space, and have the adjoining wall’s corner shelf be 4 feet long to match the shelf on the right side of the floor unit.
Once I was comfortable with this plan I made the first round of cuts:
- I cut one desk piece to 48 inches (for the shelf that would go to the right of the door)
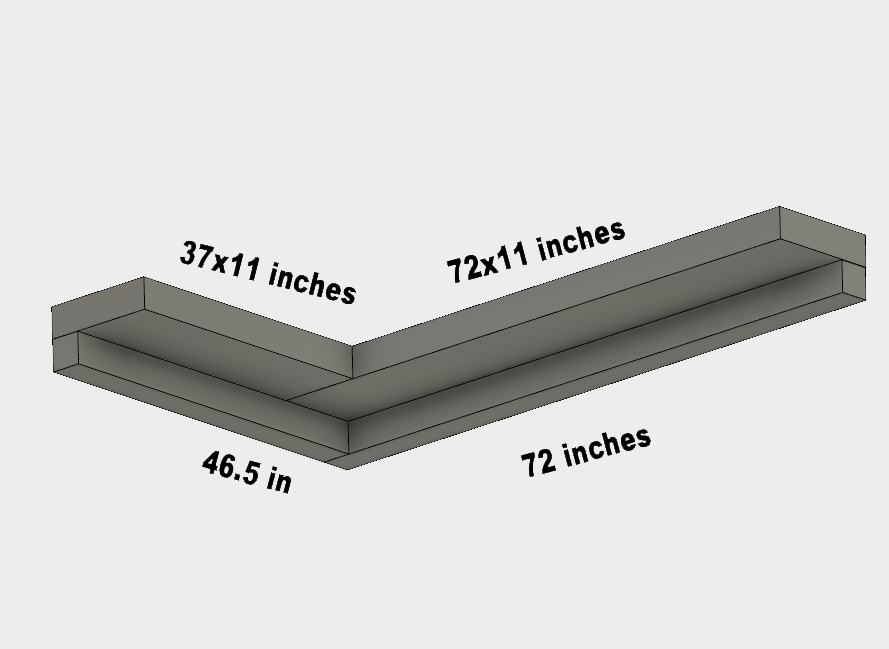
- I cut a second desk piece to 37 inches (for the adjoining wall’s corner shelf; note that I had to accommodate 11 inches for the corner shelf it would join)
- Also note that the third shelf piece didn’t need cutting since it was already 72 inches long
I know this corner shelf stuff is probably confusing, so I made a quick render in AutoDesk Fusion 360 to illustrate how I cut things for the corner shelf:
I then cut the 2x4s to size:
- one at 72 inches
- one at 48 inches
- one at 46.5 inches (to accommodate the 1.5 inch depth of the 2×4 piece that’s in the adjoining corner)
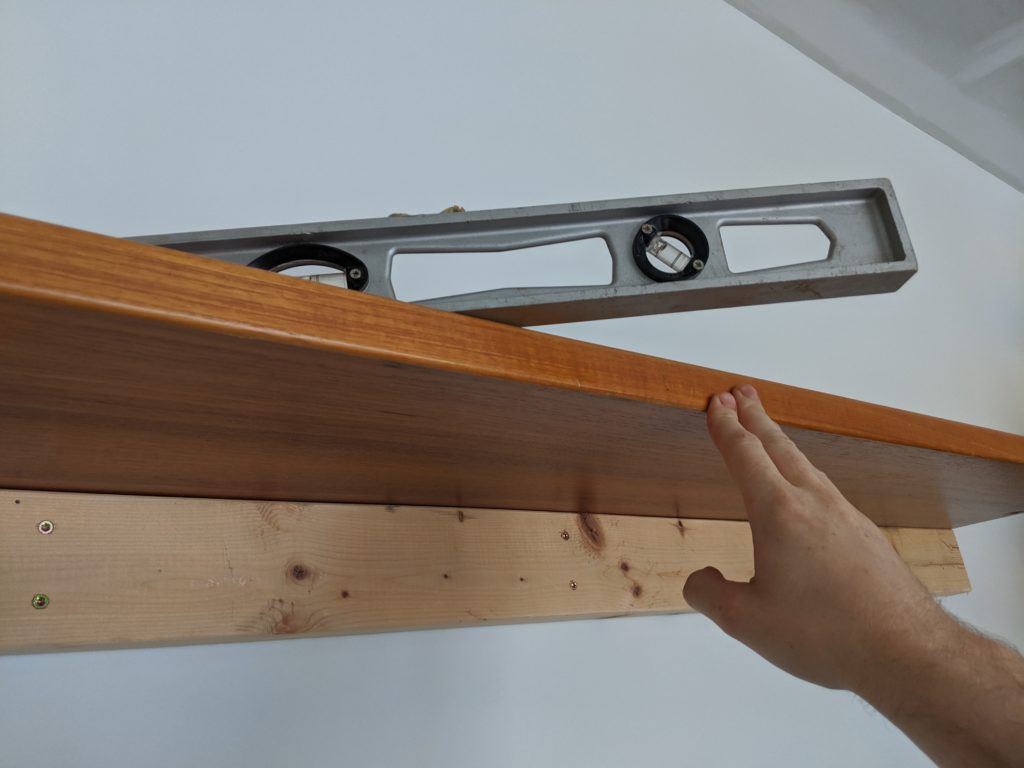
After finding studs[3] I put in screws to get the first support piece up and then screwed in the first shelf piece (use a level!)
I then measured for the diagonal support pieces and cut several of those on my miter saw.
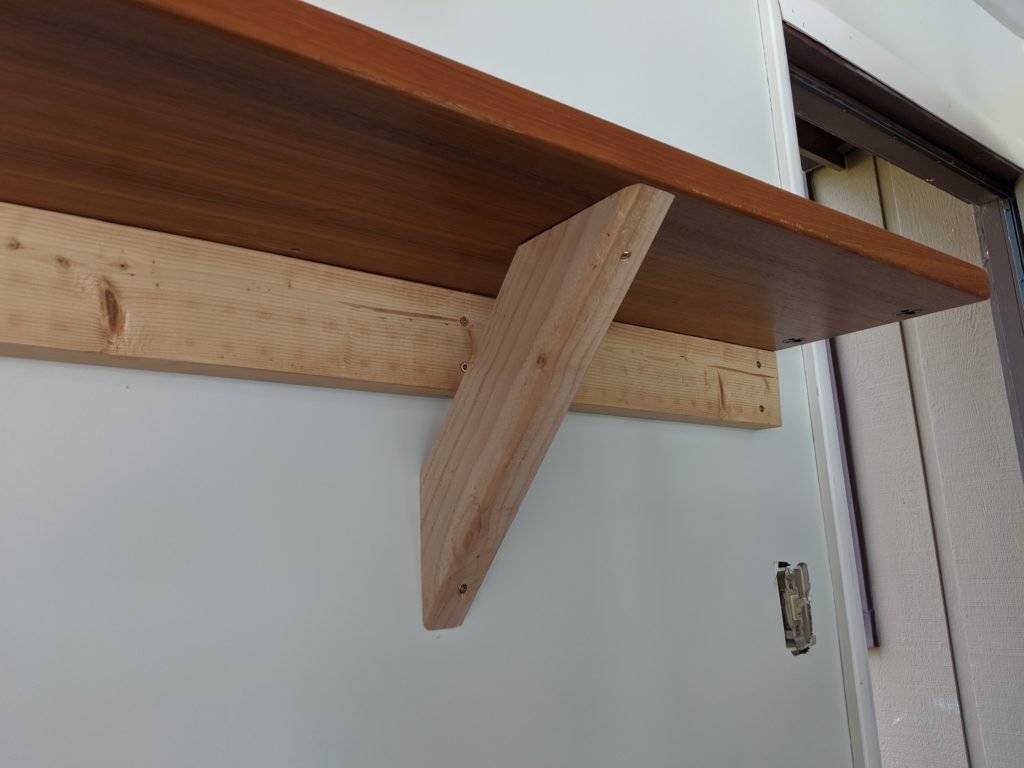
I also decided to use several leftover 45 degree-cut pieces as additional supports where the wall didn’t have studs:
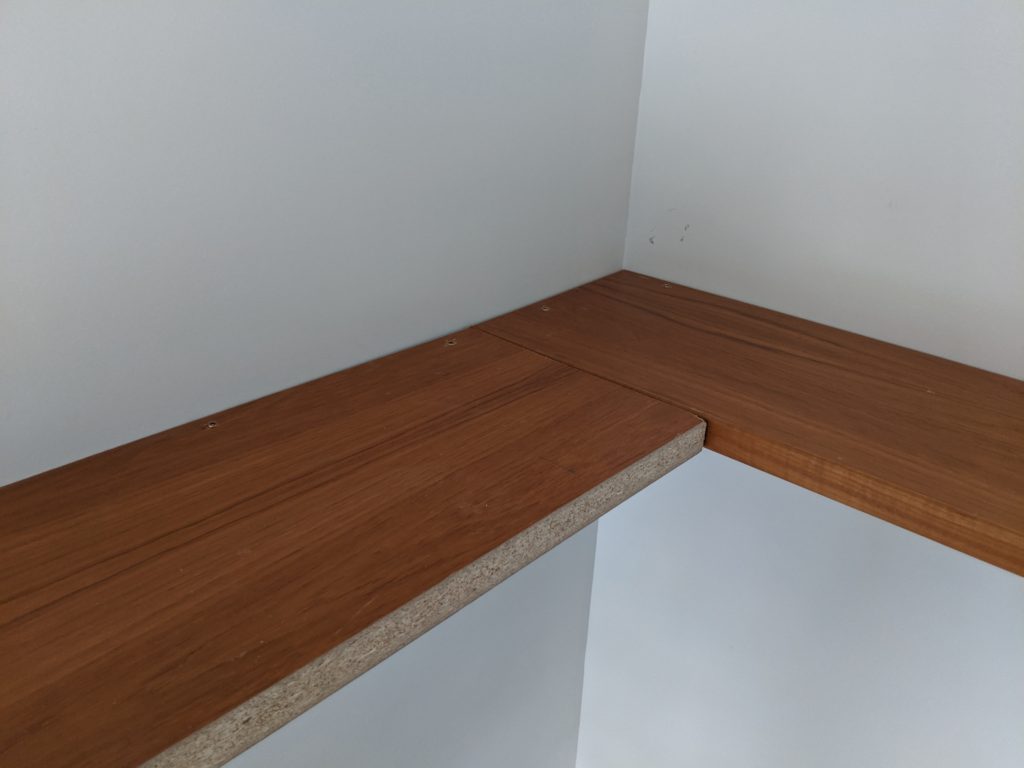
Putting up the corner shelf:
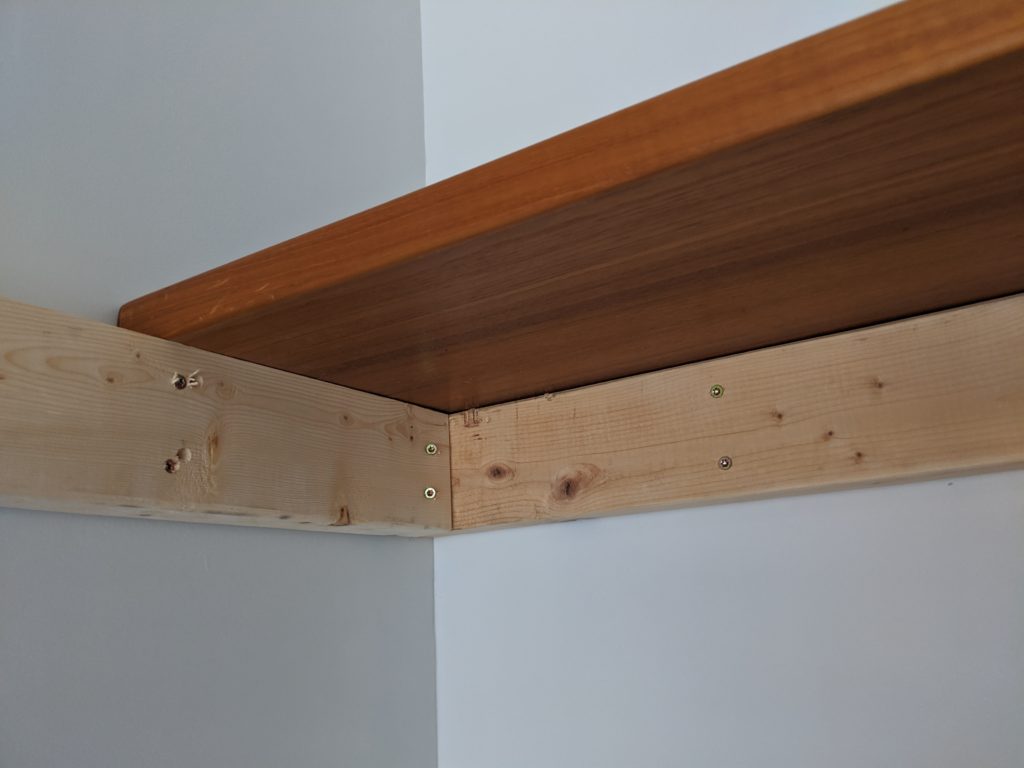
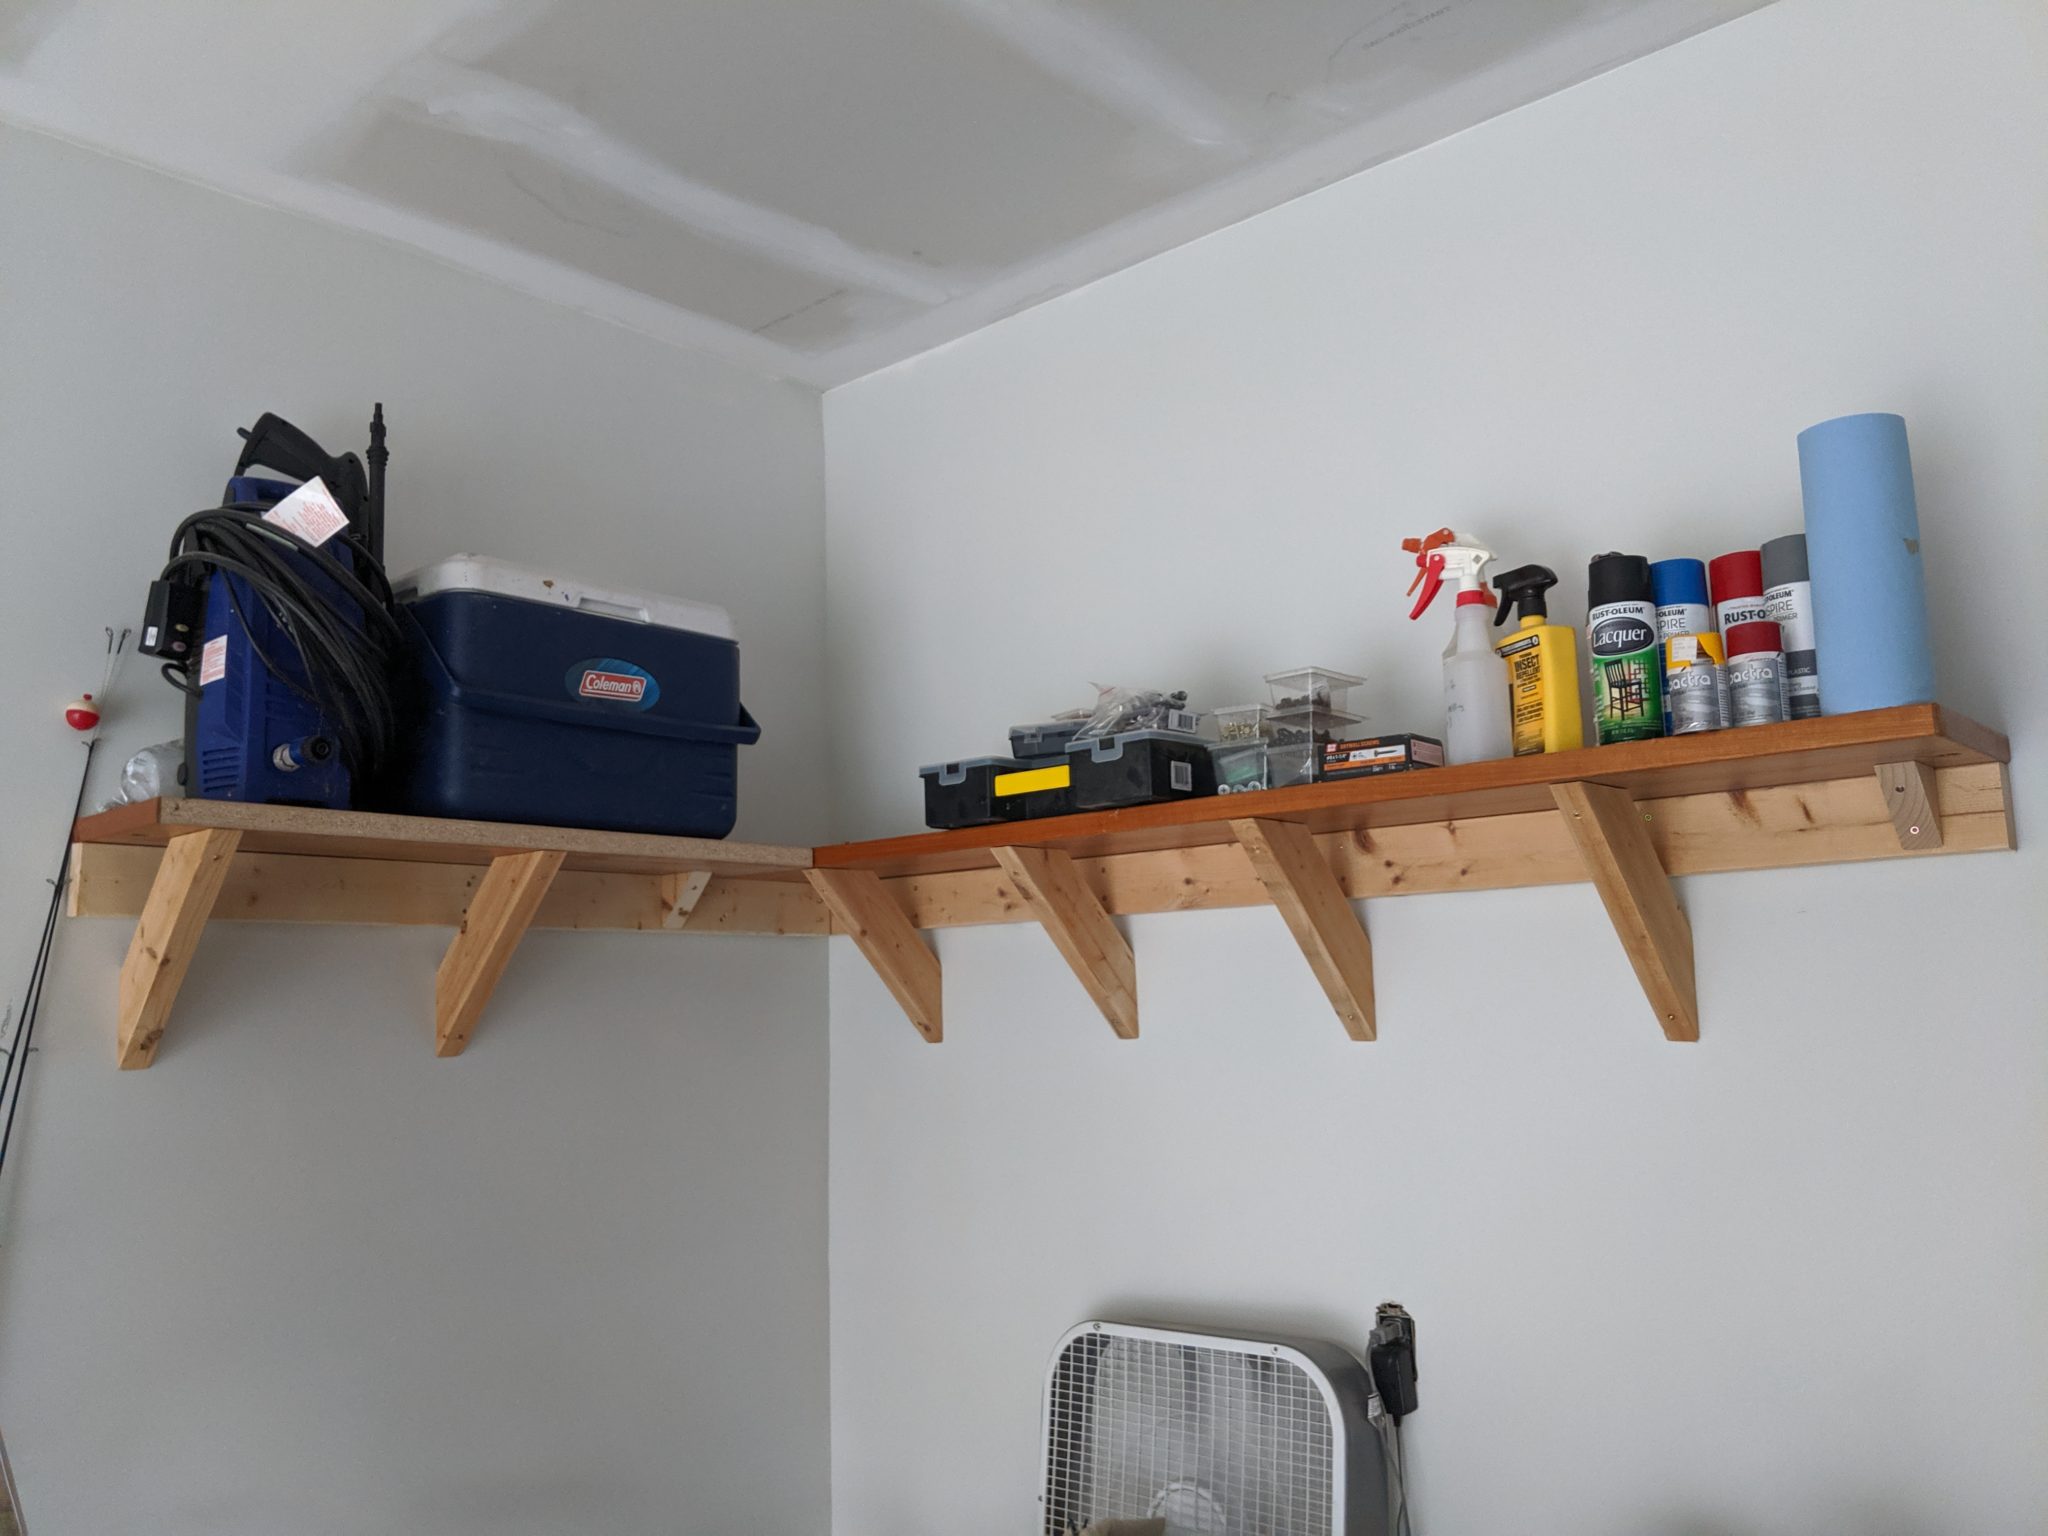
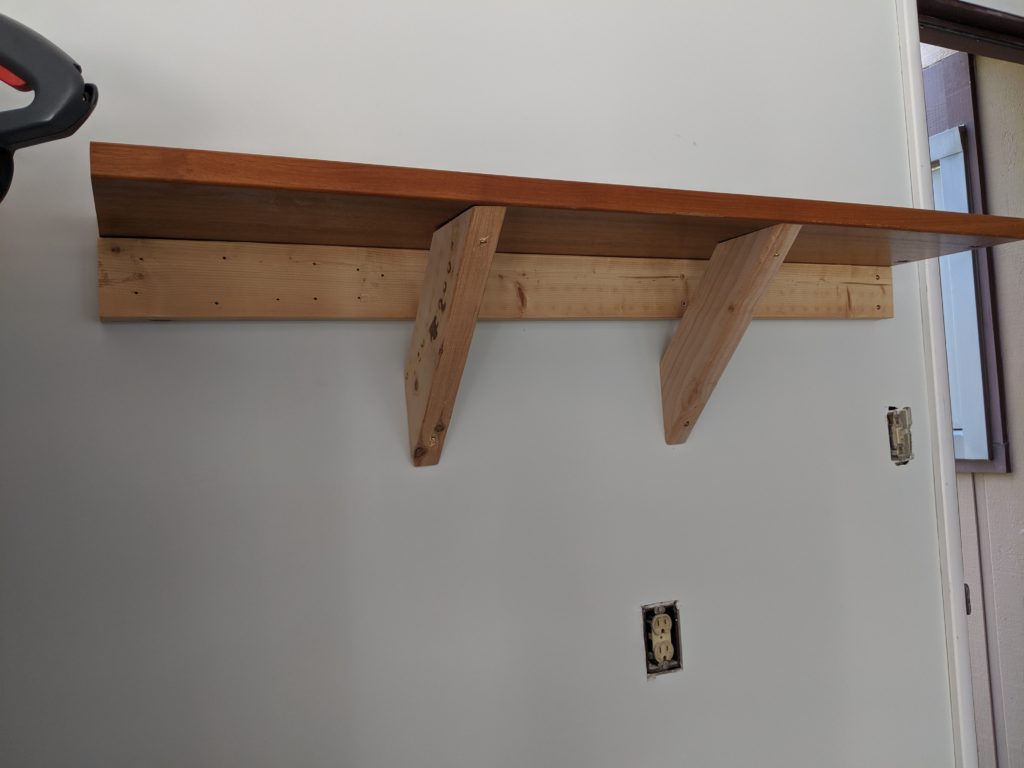
Once I put up the diagonal supports underneath the shelves, I got a ladder and added in additional screws from the top, both into the main 2x4s as well as the diagonal supports. This made the shelves feel a lot more solid.
The shelves looked amazing. I started putting things up and was able to clear out one of the floor shelving units!


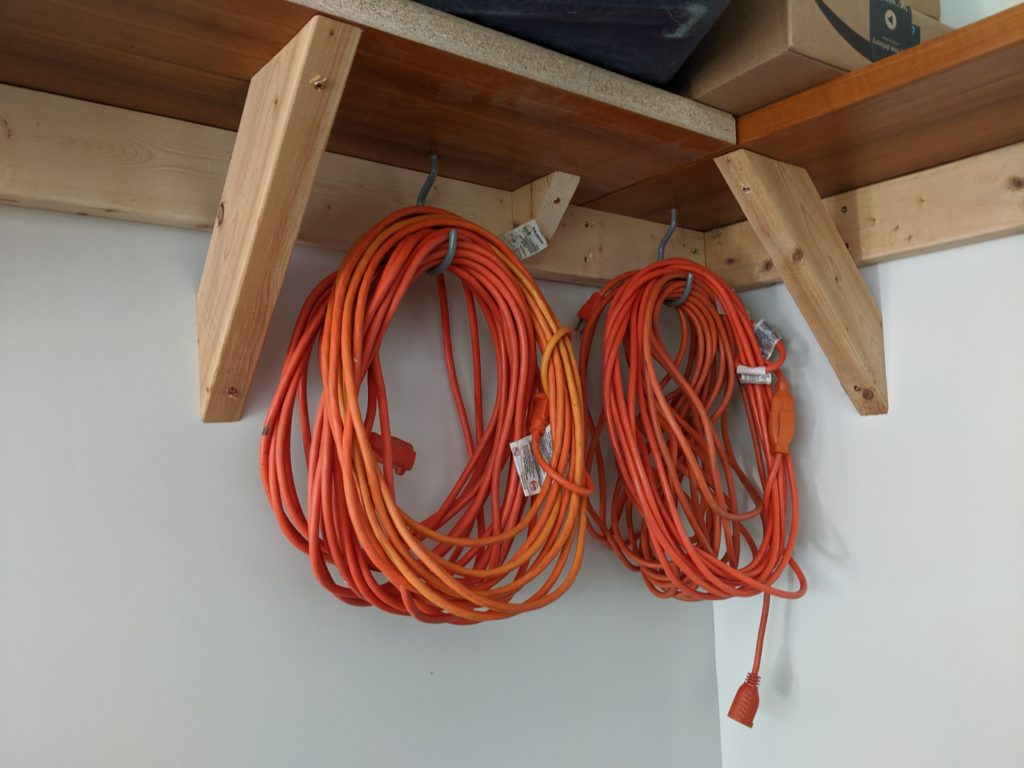
A day or two later I decided to put up two more shelves on a third wall using the leftover desk wood pieces:
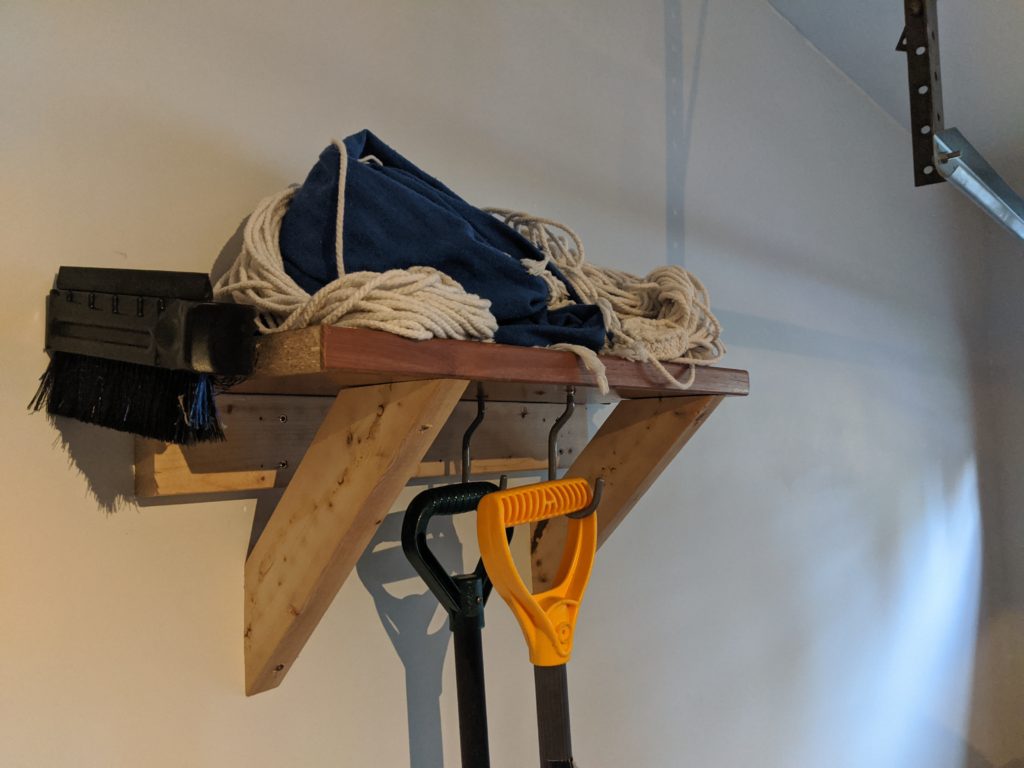
You’ll also note that I installed bike hooks and put a few more things up that way:
As a result I was able to get rid of two large, ugly plastic shelving units and freed up a ton of floor space. The whole garage feels much roomier and organized now!
The cost? A box of 2.5 inch t-star screws[4], some hooks, and electricity for the miter saw and drill. Not too bad!
[1] Haha, he said tutu! – My daughter, probably
[2] CRVs really can fit anything. And no, I was not paid to say that by Honda…but I’m open to it!
[3] It wasn’t that hard, I just had to look in the mirror! – No one, probably
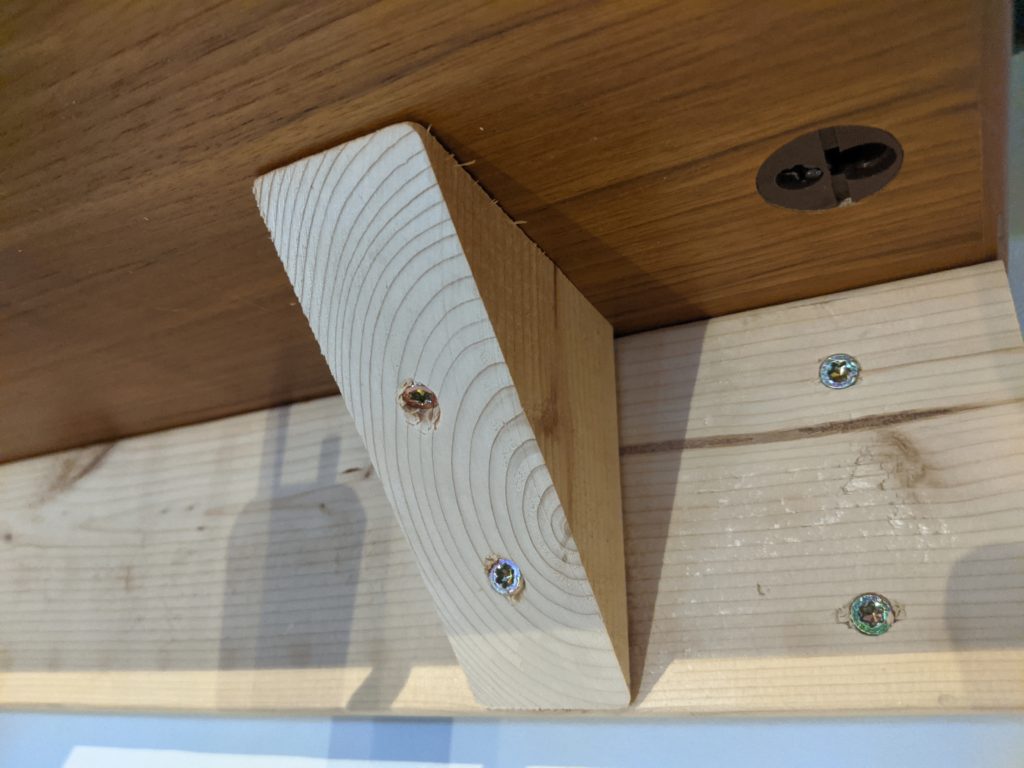
[4] A note about the torque screws I used: I wasn’t a huge fan of them. I should have made an extra trip to get Spax brand screws at Home Depot (which I’ve been very impressed with in past projects) instead of just grabbing the Power Pro brand that Lowes had in stock (no, I was not paid to say that by Spax). Compared to Spax, the screws I got didn’t sit flush with the wood, they slipped when trying to start them, and they split some of the 2x4s more than I’ve seen with Spax, so I may as well have just pre-drilled for use with normal wood screws.