Tag: garage organization

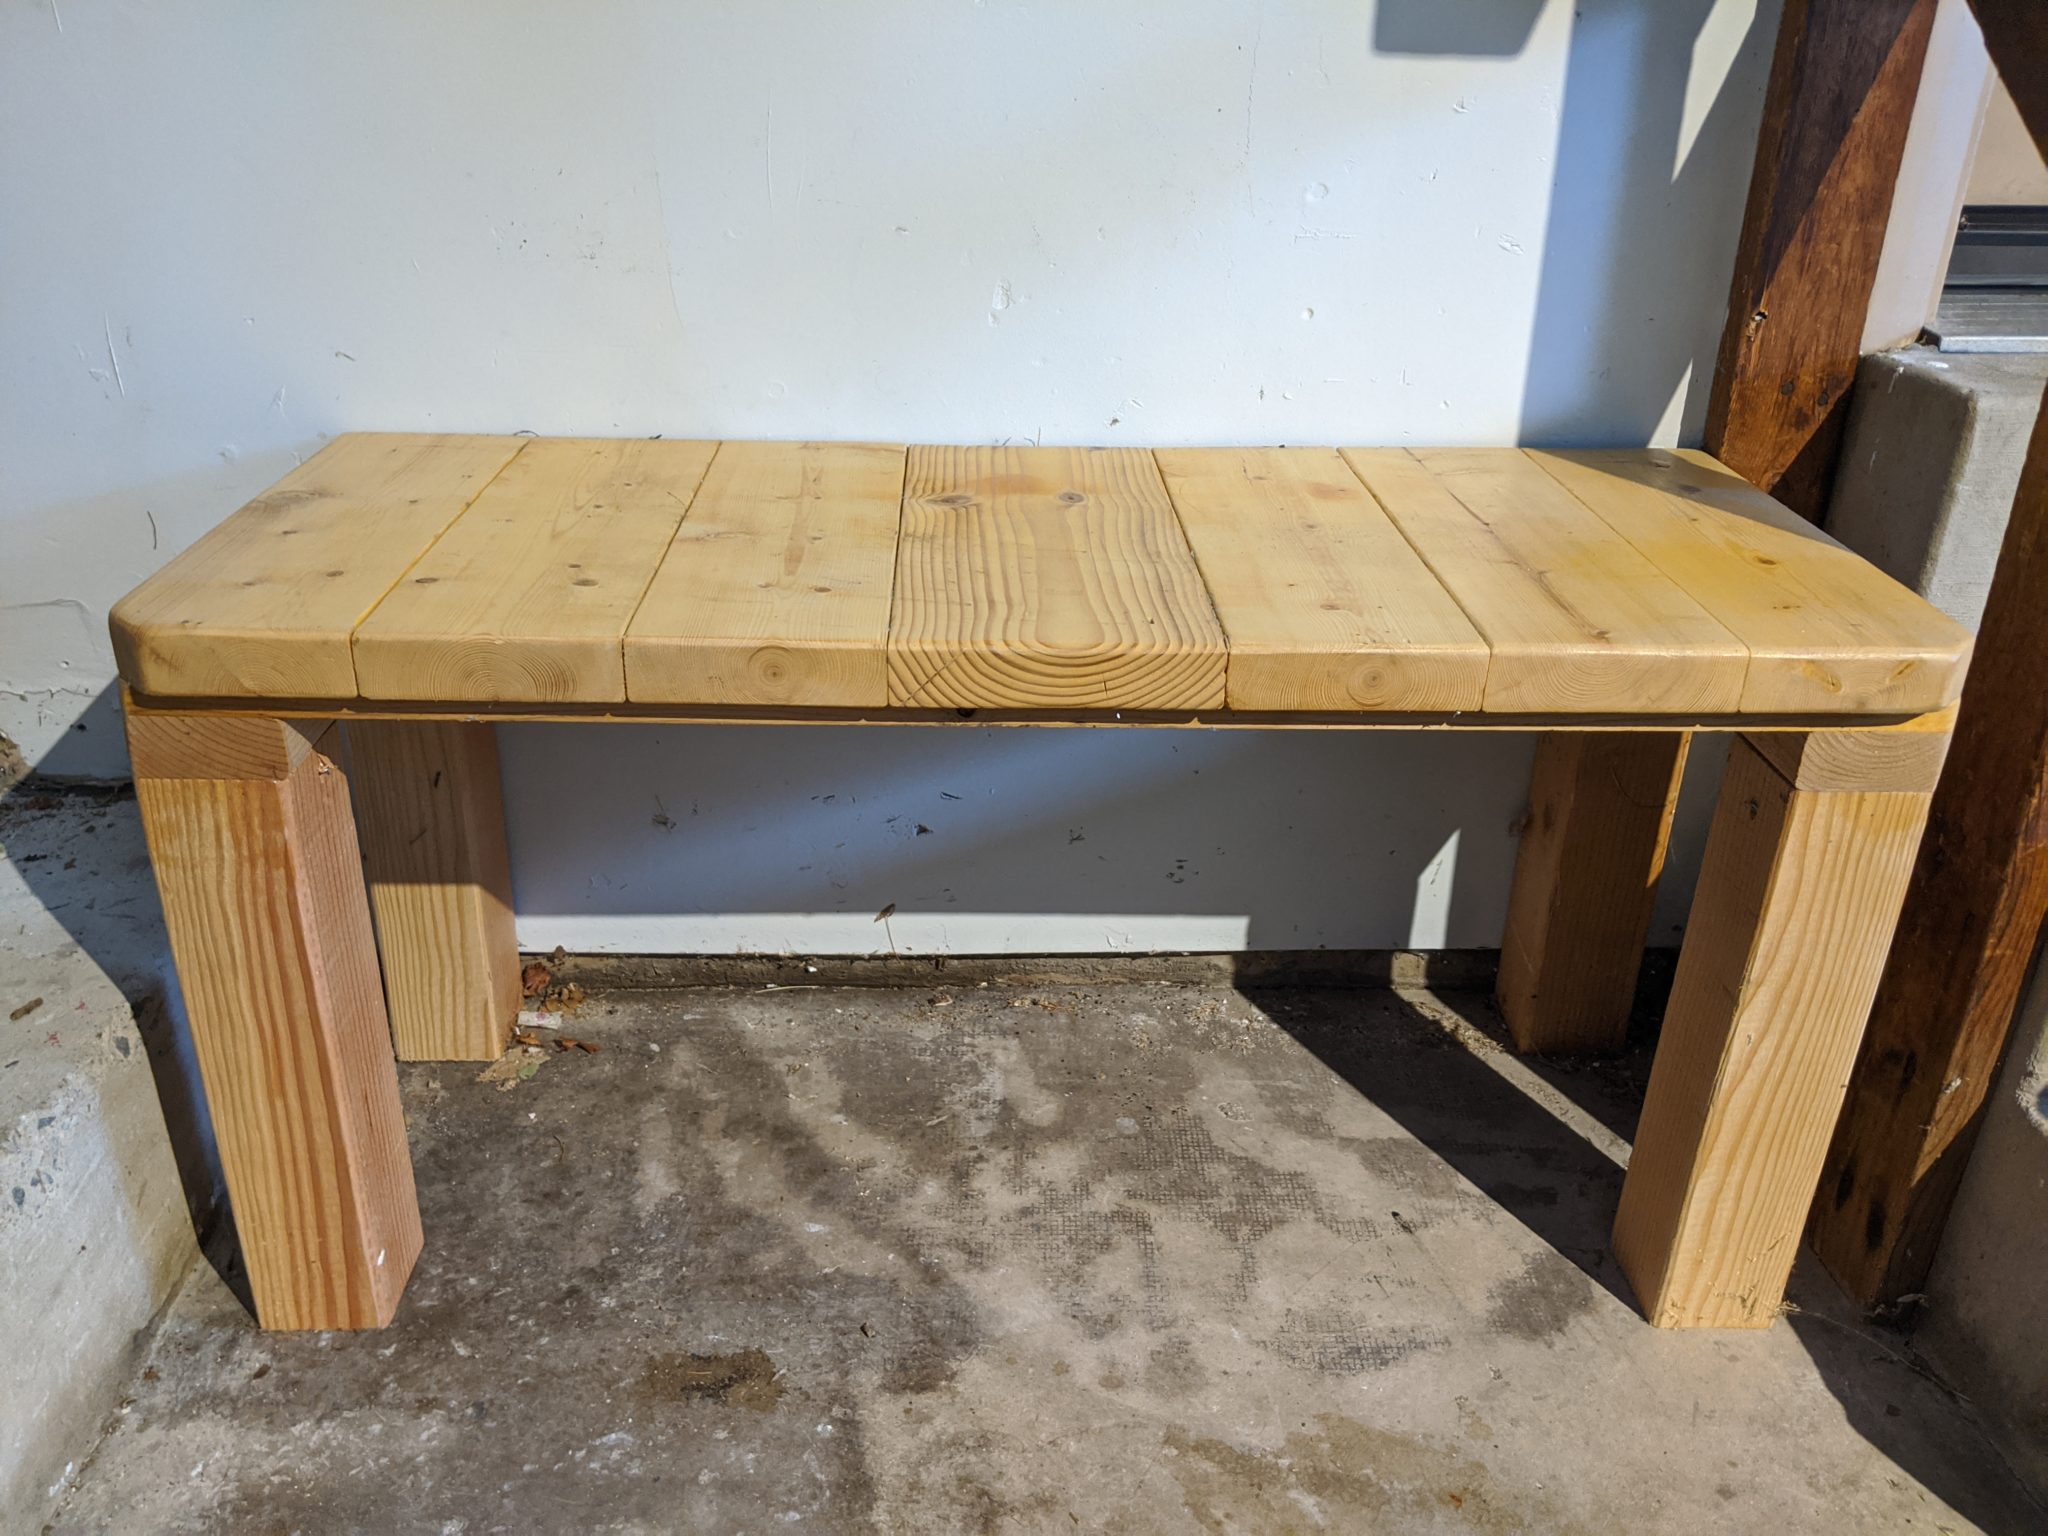
Scrap Wood Bench

Remember when I built the sturdiest chair in the world, and then the subsequent tactical cancellation of that project? I was able to re-use a bunch of the wood from that project to make this bench!

When we bought our house the garage wasn’t finished. A few months after moving in I installed insulation batting, but it was a few years before we finally had the drywall done.

Once the drywall was up I started various organization improvements, like installing garage shelves from scrap wood and designing my own movable miter saw stand.

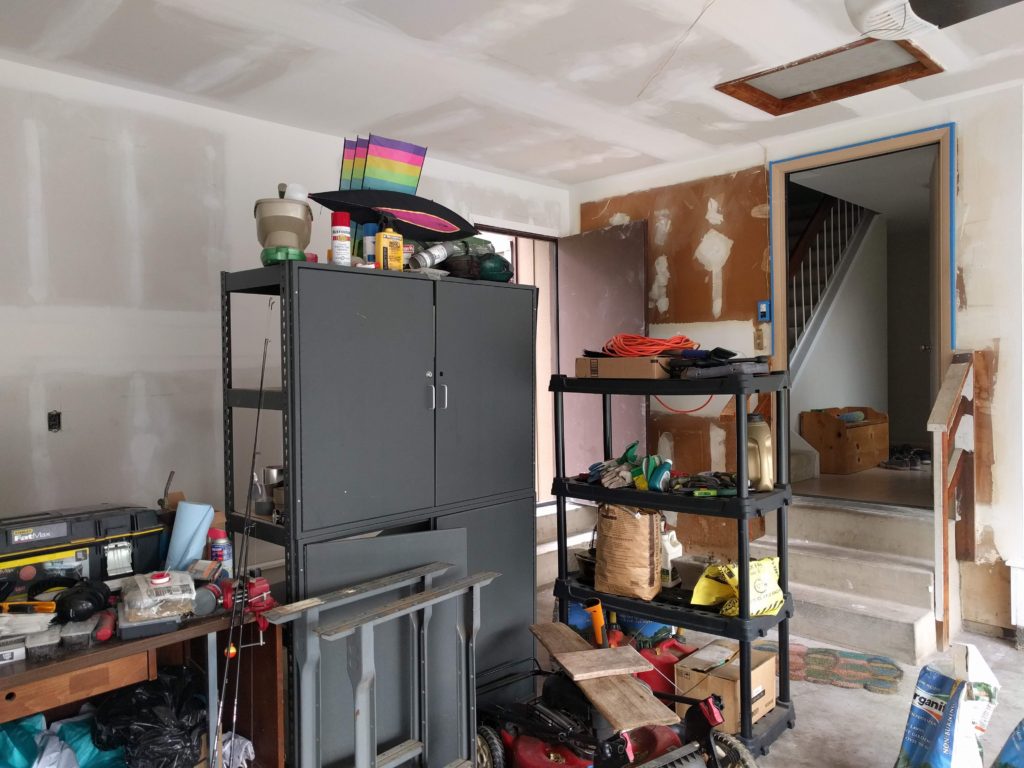
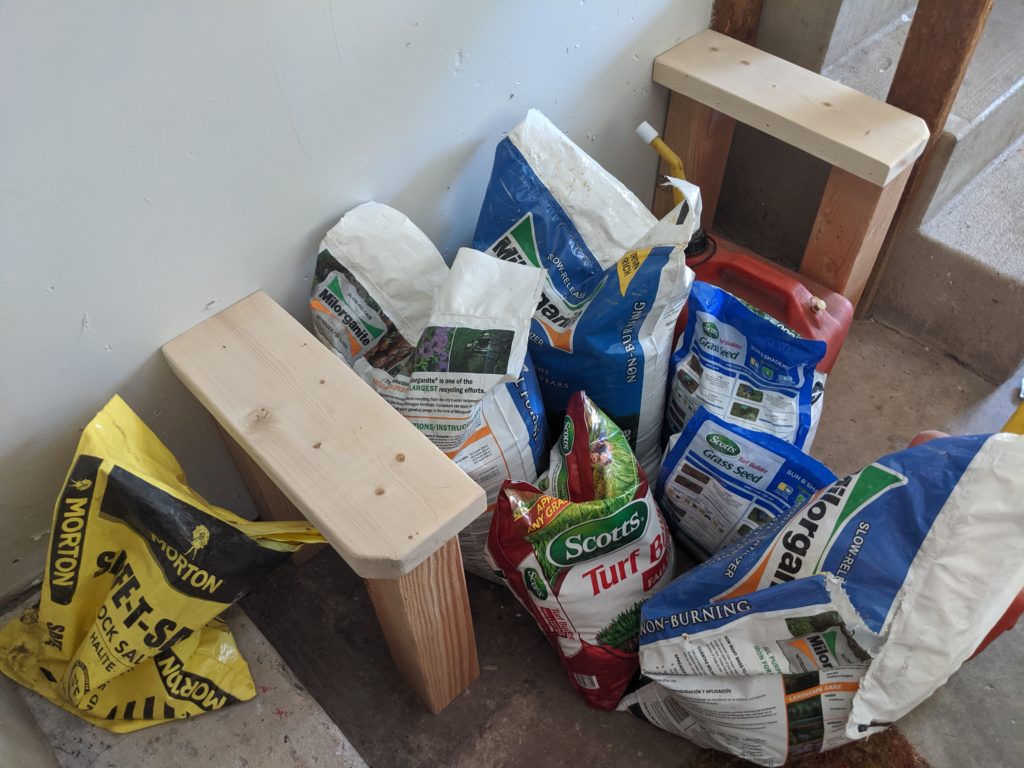
However, one area I’d overlooked was various outdoor supplies that were haphazardly grouped in one corner.[1] I decided to make something that would organize the space while looking nice (well, nice for a garage at least).
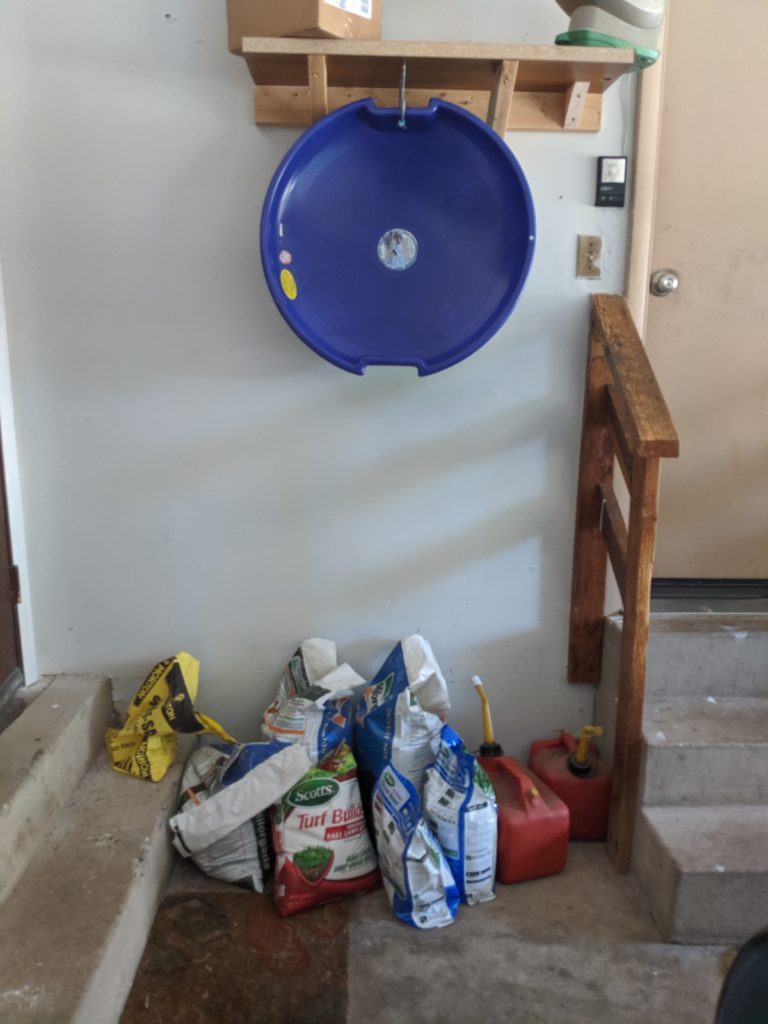
It’s a mess

This was very soon after I had cancelled my kitchen chairs project and while I was in the early stages of building my custom-designed bird cage stand for our parakeets, so there was a ton of wood to choose from:
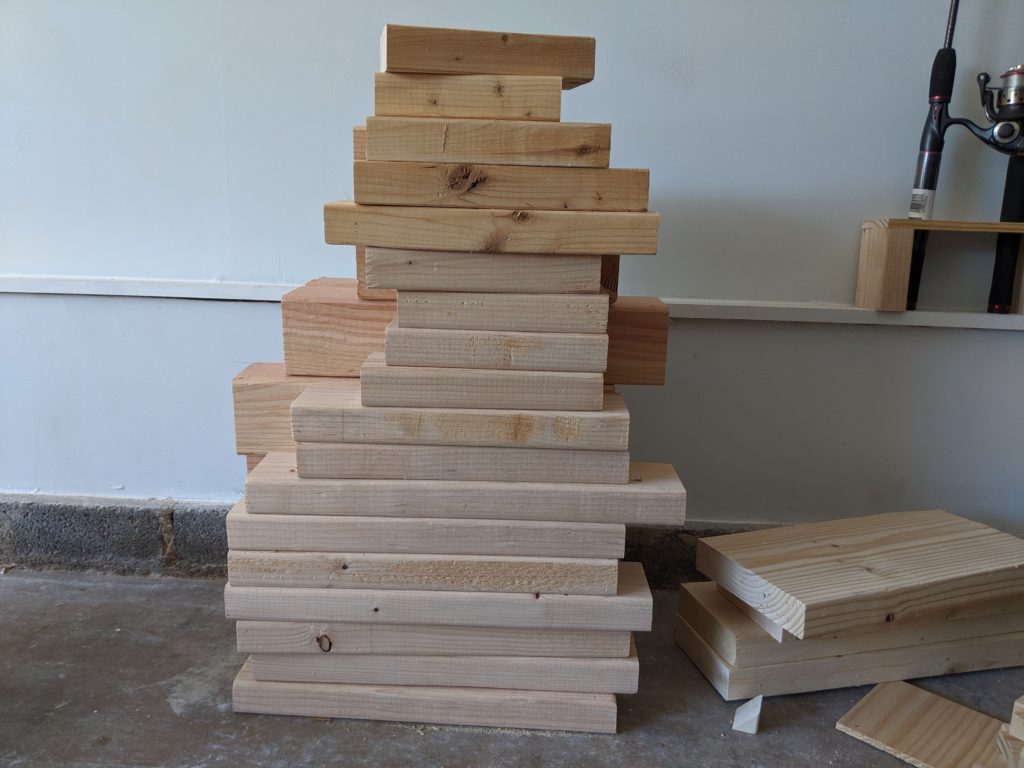
A wooden tower of possibility

The leftover 4x4s from the kitchen chair project would serve as great legs for the bench, plus they were already cut to about the height I was thinking of.
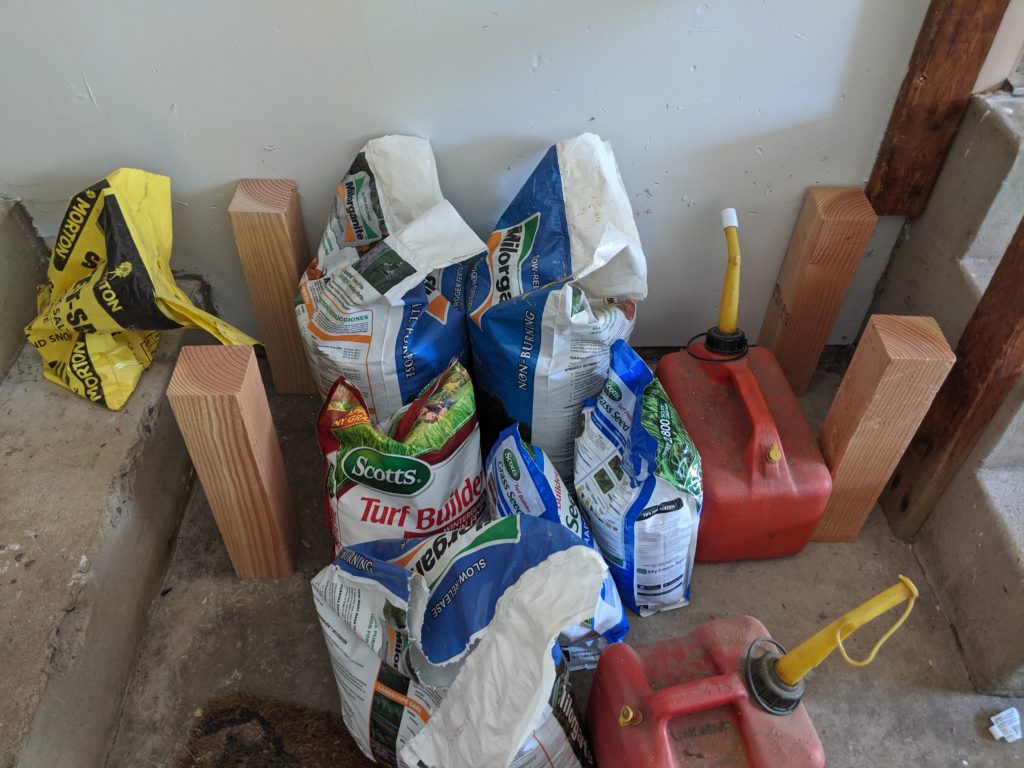
Just barely high enough to fit the fertilizer bags underneath

After dry fitting a few possible combinations, and debating the exact form and function I wanted, I settled on using six of the leftover 2x6s and one of the 2x8s from the chair project, since they were the perfect depth of 16.25 inches that I needed to fit in the space between the concrete stairs.
Starting to take shape

Spreading these pieces out gave me 40.5 inches in length, which was perfect since the maximum space was 45 inches.
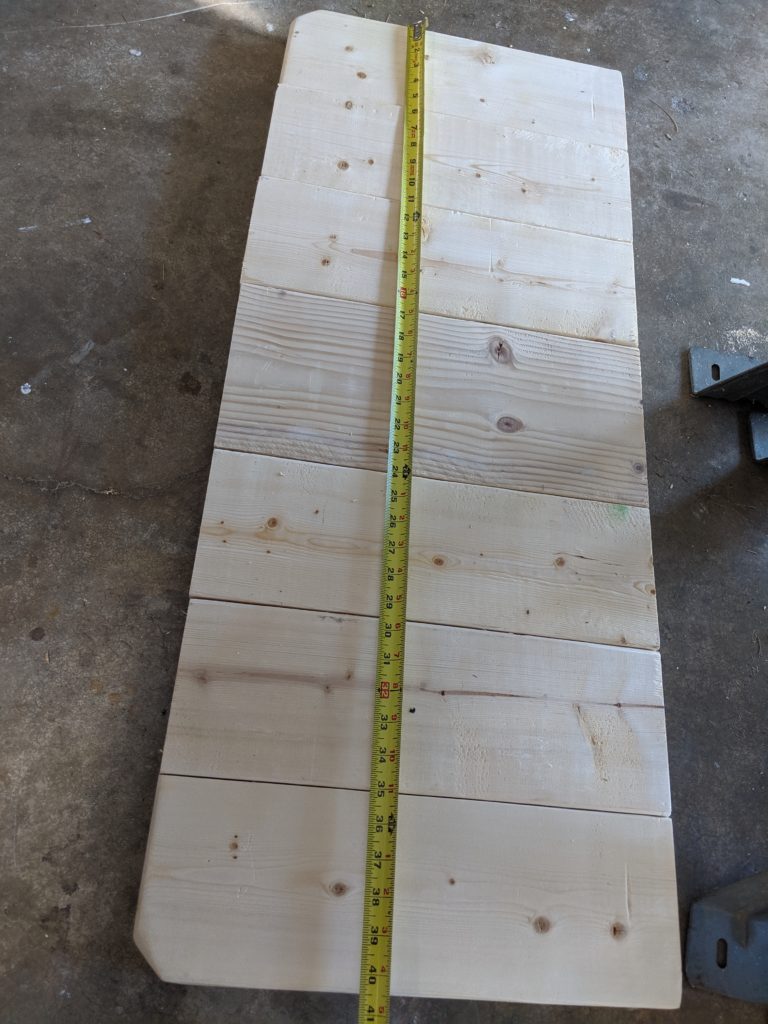
Almost like it was meant to be

I decided to raise the bench’s top height a bit by adding 2x4s across the side corners, which also added stability:
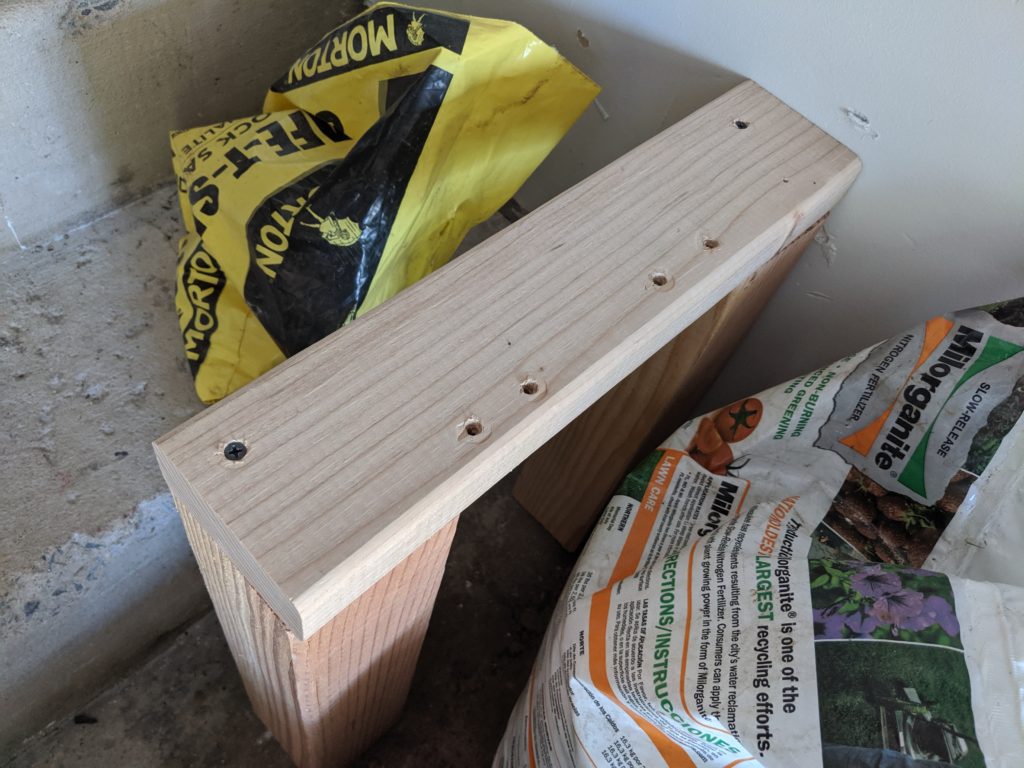
Notice the extra holes? Reusing wood FTW!

I screwed these in with 2.5 inch Spax T-Star drive screws. These require no pre-drilling, which makes projects like this a breeze.[2]
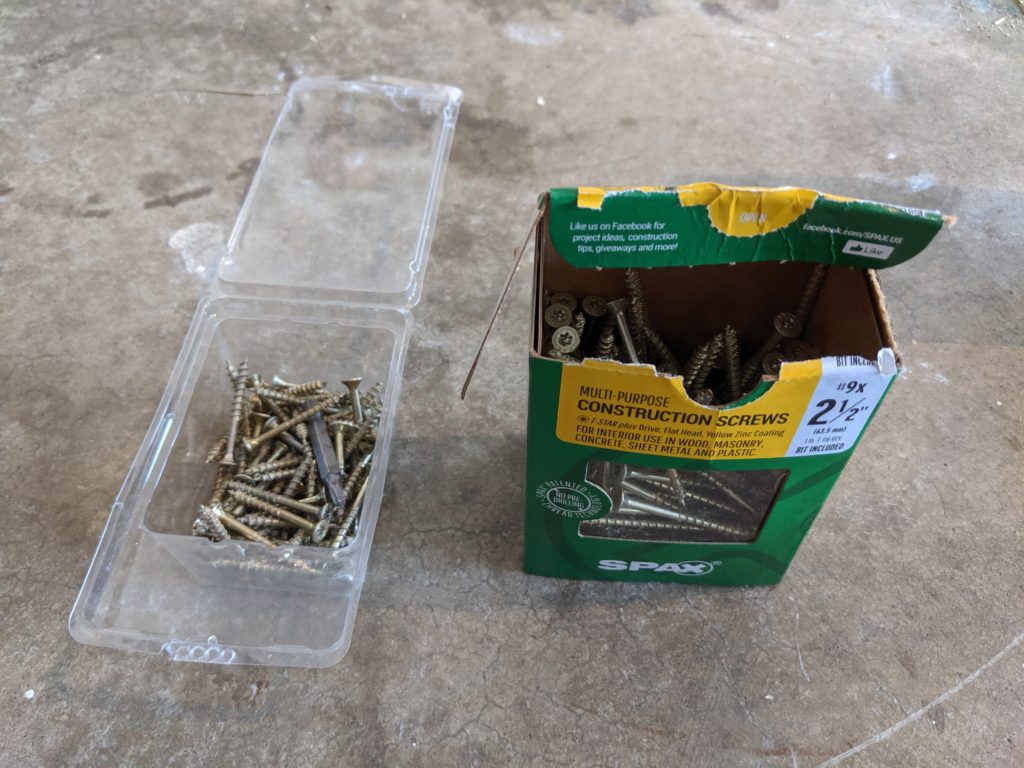
“I JUST NEED TIME AND SPAX

I then cut two 1×6 pieces (which I’d gotten for free on Craigslist) to 40.5 inches each to go across the front and back corners. This way I could put the top pieces on:
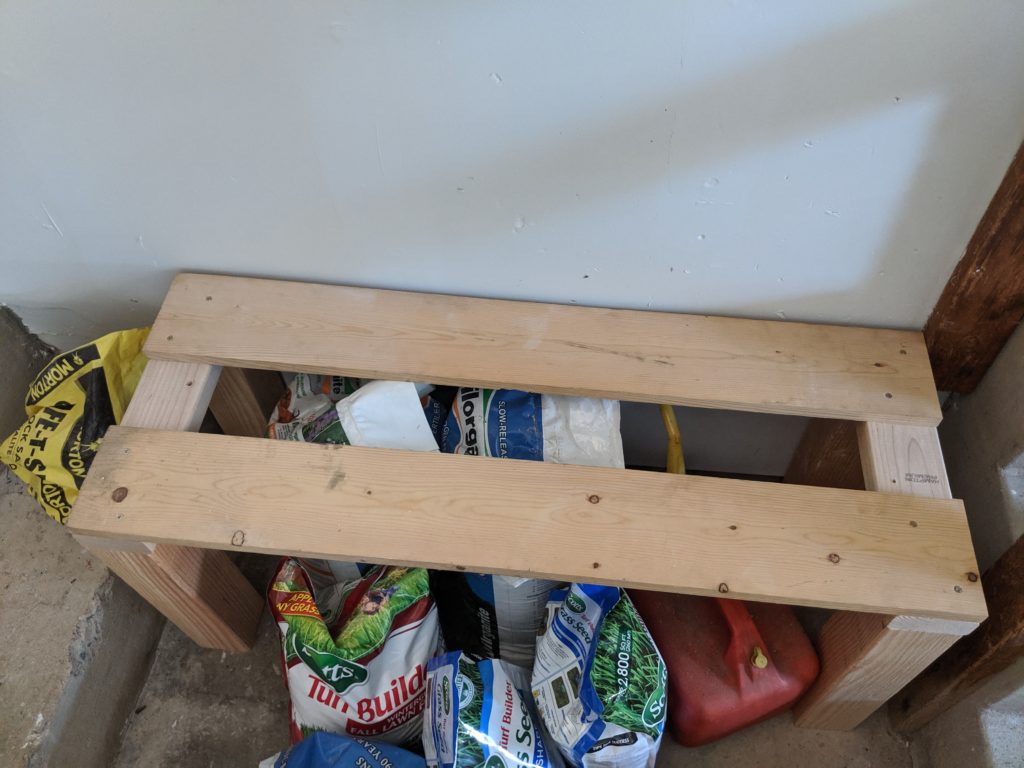
A little extra height goes a long way

Then I placed all of the top pieces on for a dry fit:
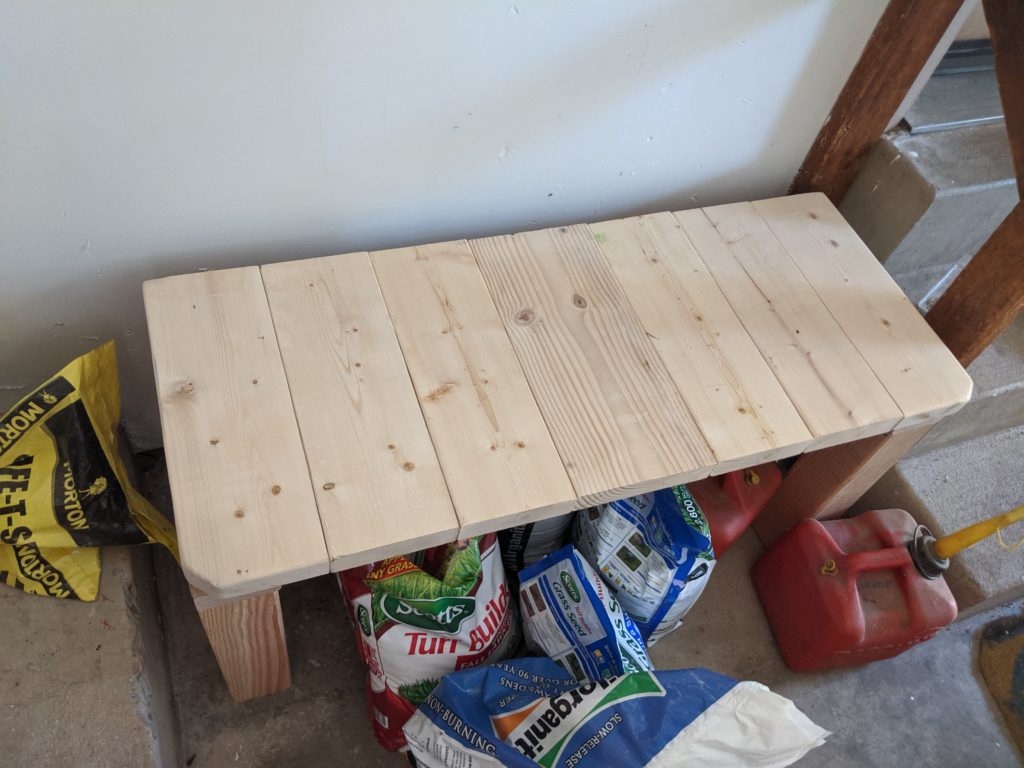
Lo, a new bench approacheth!

And notice the trimmed corners? These are the same two seat pieces from the prototype kitchen chair that I built! Plus I thought it was a nice touch design-wise.

I clamped 2x4s across the top to hold things in place so I could go underneath the bench and use 1.5 inch Spax T-Star drive screws to attach the top pieces to the front and back 1×6 supports without having the screws show on top.
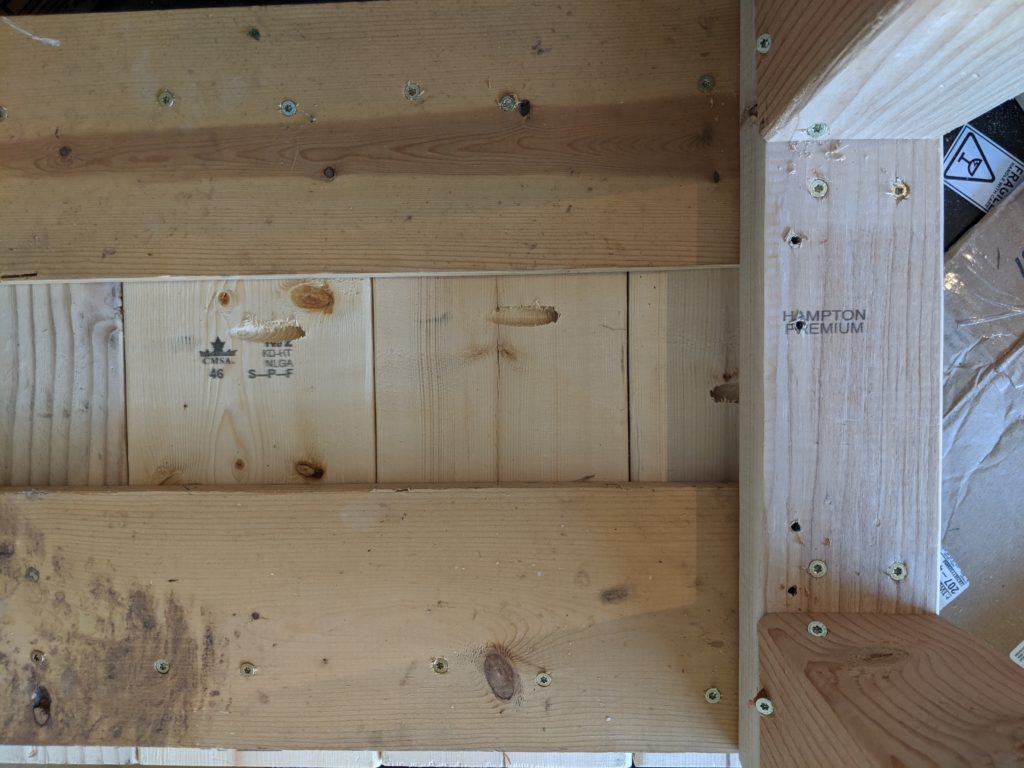
How Australians see the bench

Note that I had considered using pocket hole screws to attach the top pieces[3], but ultimately decided it wasn’t necessary for a garage bench. I might have gone ahead with pocket hole screws for the whole project if the bench was destined for inside the house (e.g., front entryway or family room) but it’s fine for a garage.

I then sanded everything down and prepared for finishing:
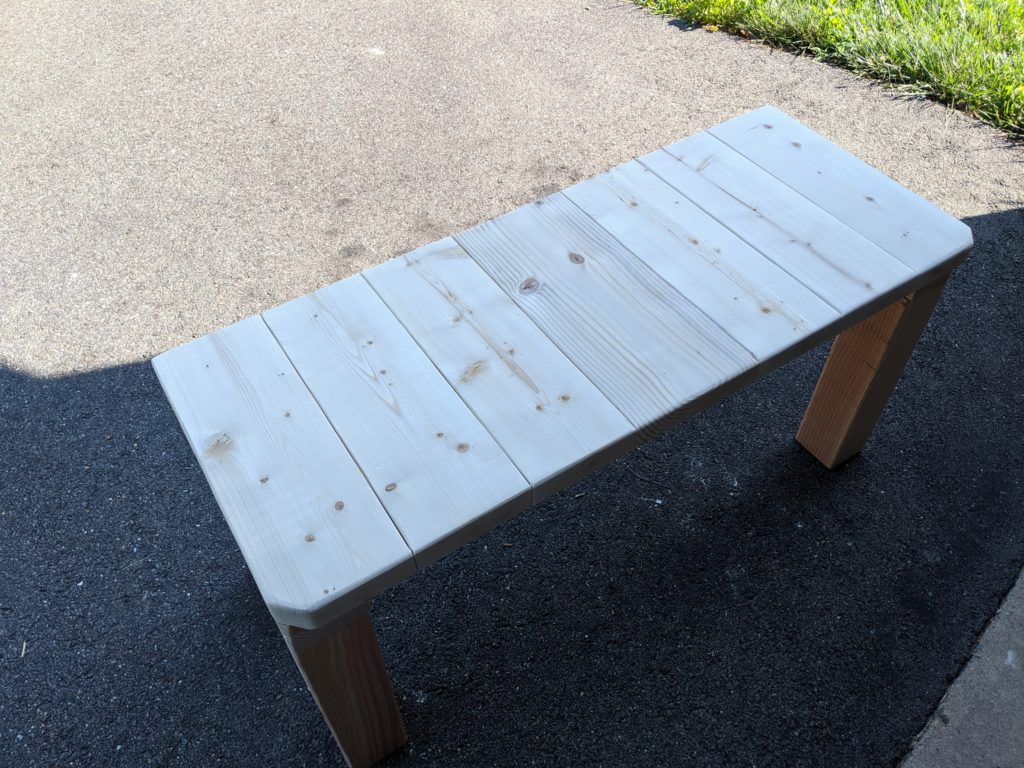
“Shiny” – Malcolm Reynolds

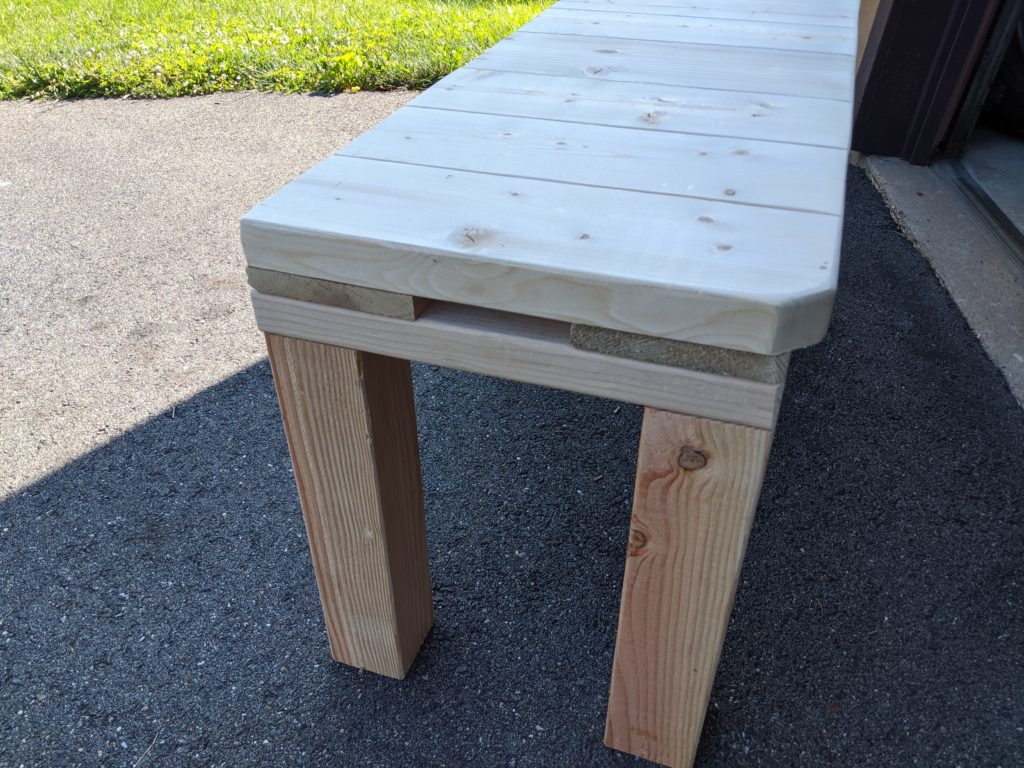
View from the side:

Showing some curves

Note that I had to sand down the corner wood a bit since I didn’t account for the trimmed corners on the top pieces, but it looks fine to me!
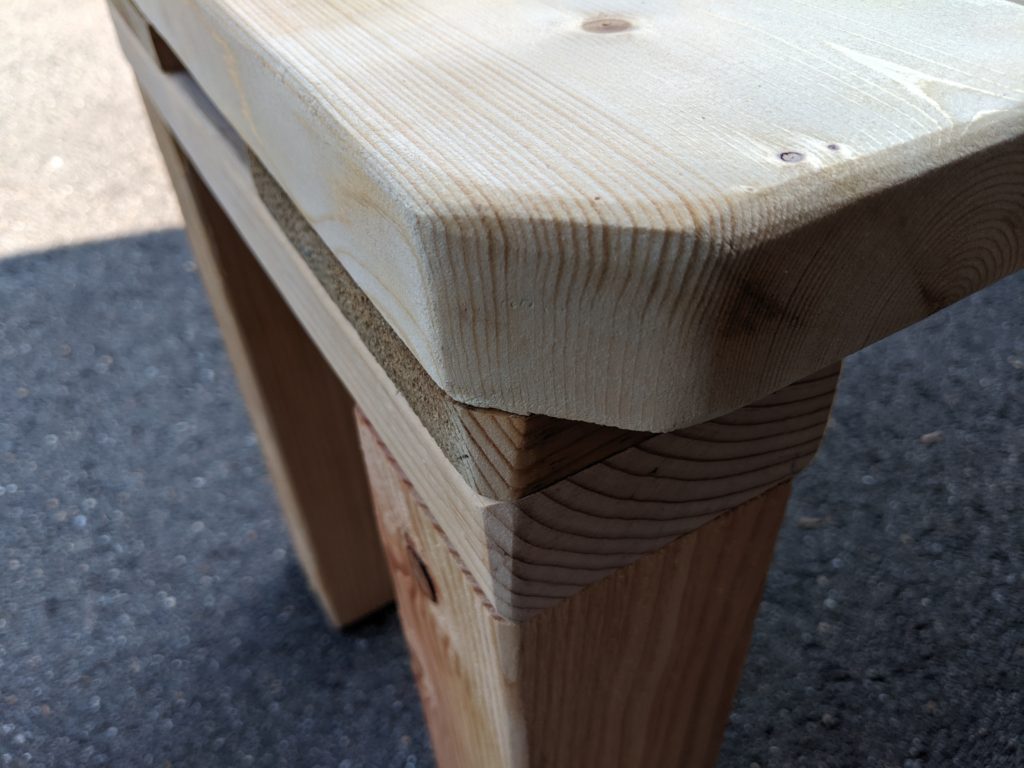
Corners don’t hurt me, no more

I finished it using some Minwax polyurethane spray I had laying around; if this was a more formal or interior piece I would have used something else.
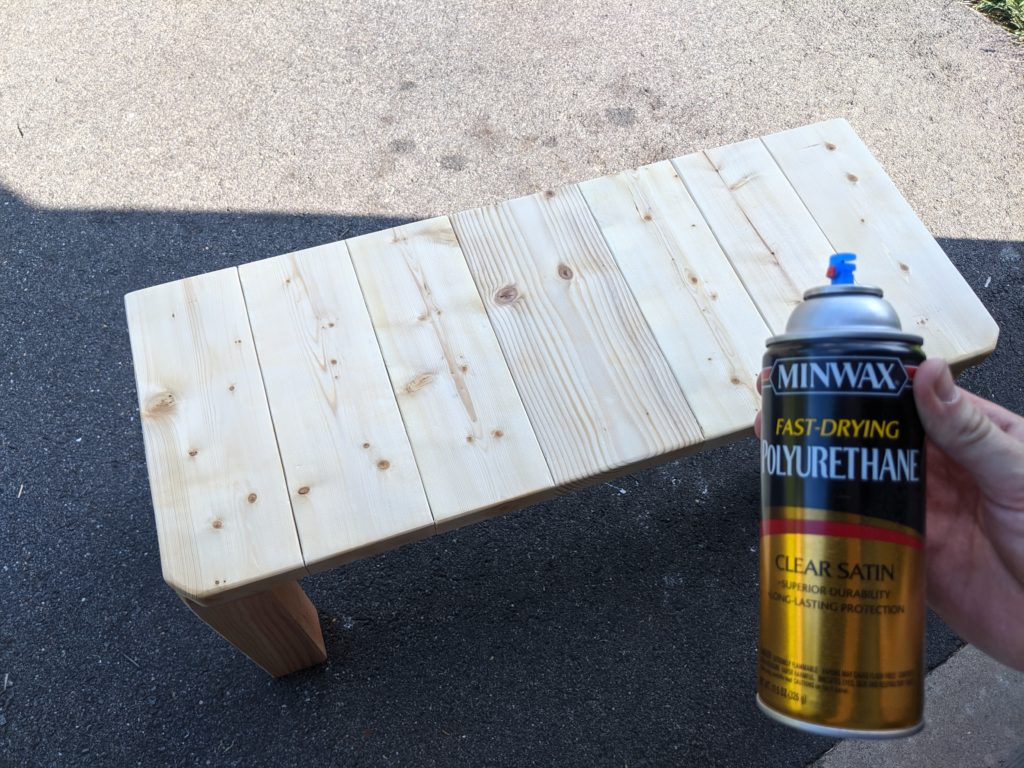
SPRAY! SPRAY FOR YOUR LIVES!

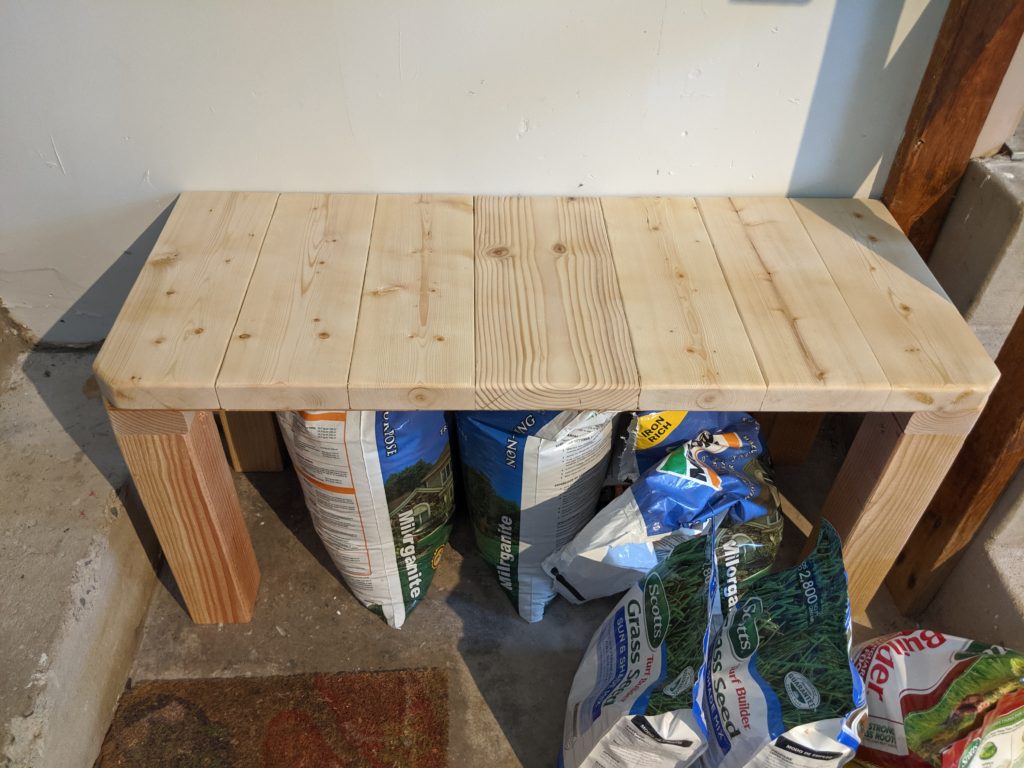
Test fit of the finished product!

Nice

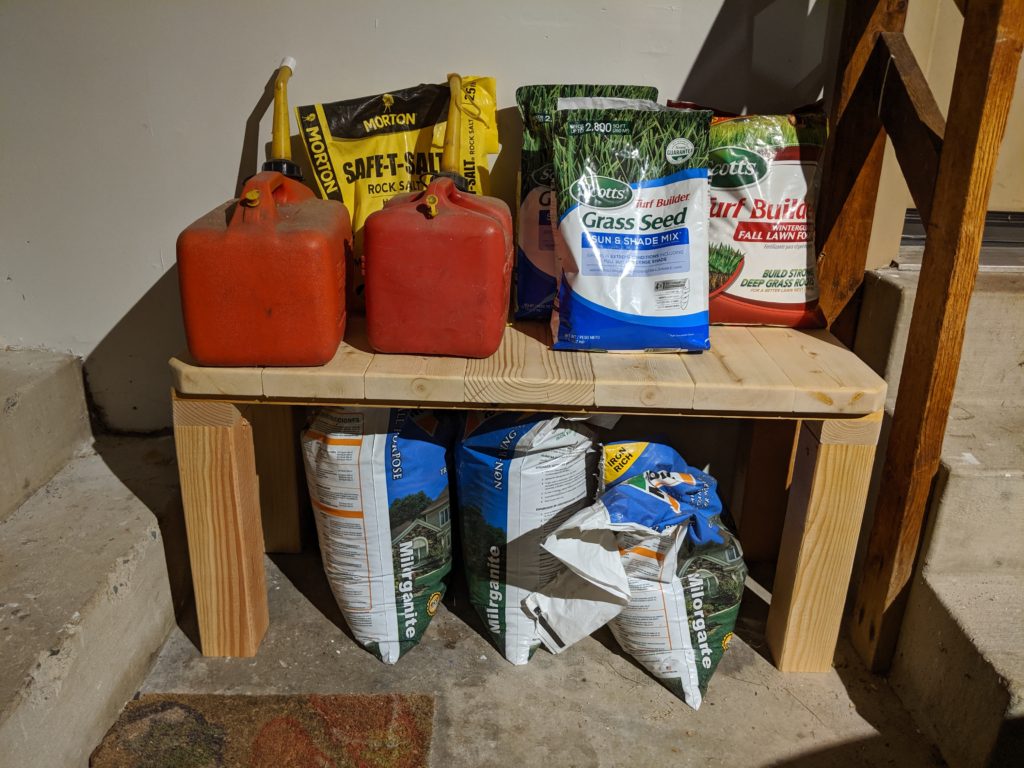
And here it is in use:

Ship it

If you are interested in building this for yourself, here are the cuts you need to make (along with a column you can use to check off as you make each cut):

Cut to:#Part/Reason/Placement:Cut?
58in x 8.5in2Bottom part of stand
23.75in x 8in4Middle parts of the supports
?23.75in x 3in1Top of cable holder box on the back
3in x 4.25in2Side pieces for the cable holder box on the back
3in x 4.25in1Back piece for the cable holder box on the back

[1] Yes, I know storing gasoline and fertilizer so close together isn’t a great idea. They’ve since been moved.

[2] Spax T-Star drive screws are my absolute favorite screws. No, I am not sponsored to say that…but I’d be open to it if you’re listening Spax!

[3] They’re so awesome, so why not?
Scrap Wood Garage Shelves

This was a fun organization project that ended up being kind of an Ultimate Scrap Challenge without even meaning to.

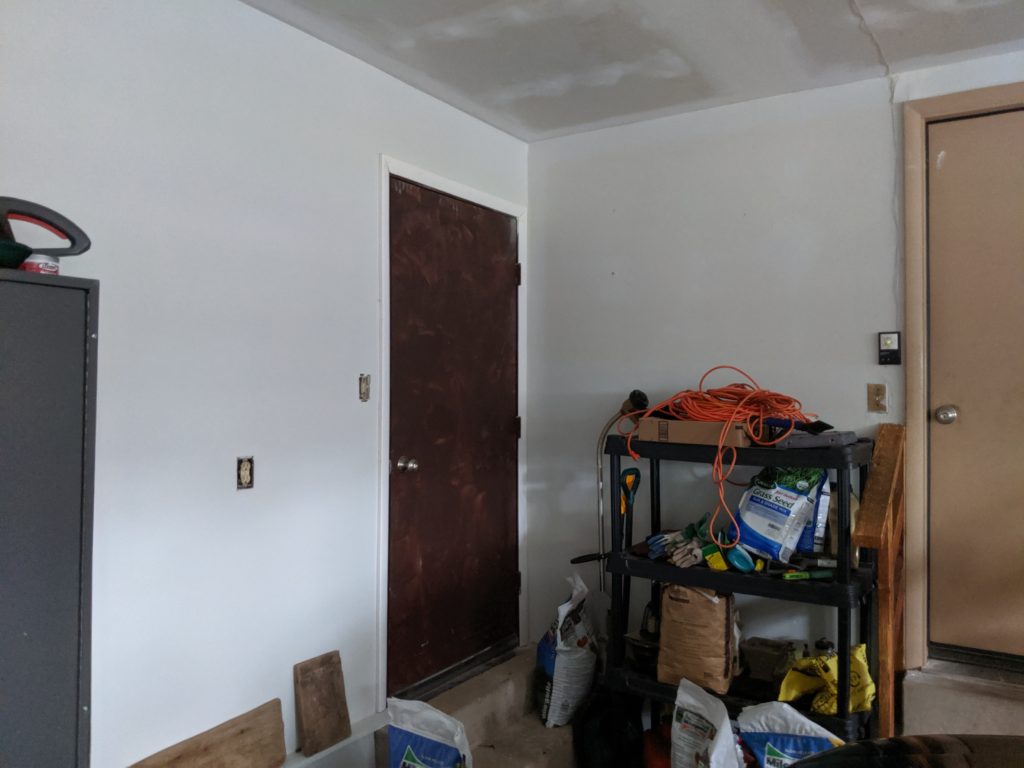
We recently put up drywall in our garage, and while painting I realized we had a storage problem: there were three standing shelf units on the floor of our garage, and that was probably two too many.[1]

Taken before we painted. What a mess!
After painting the walls- still a mess!

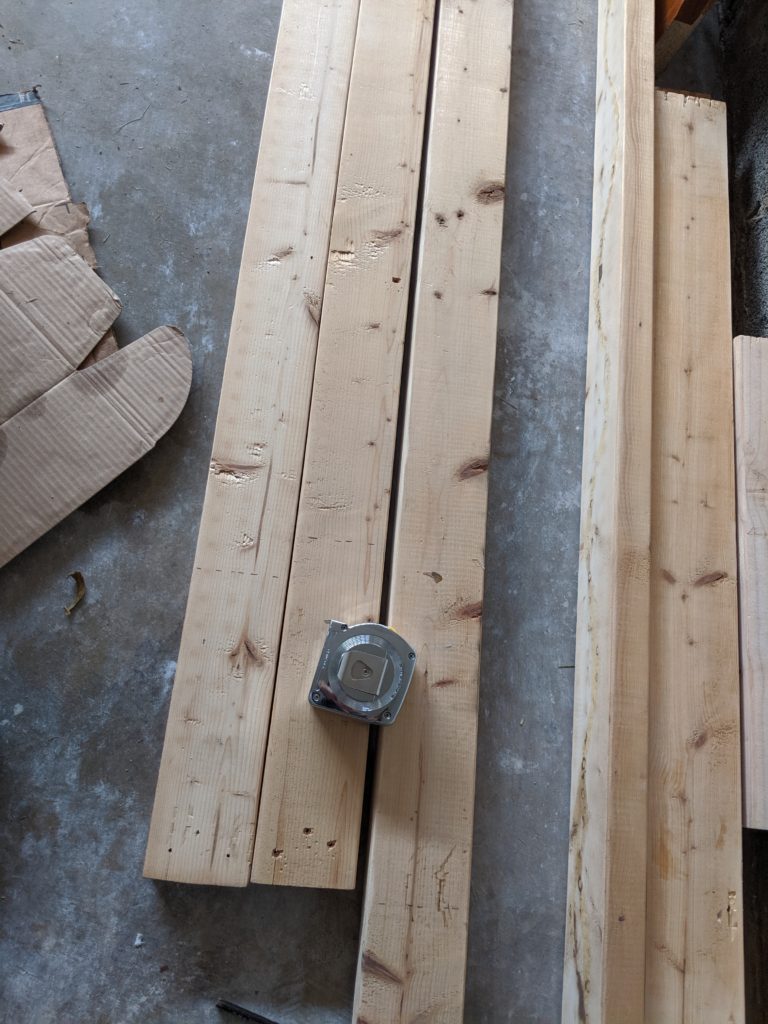
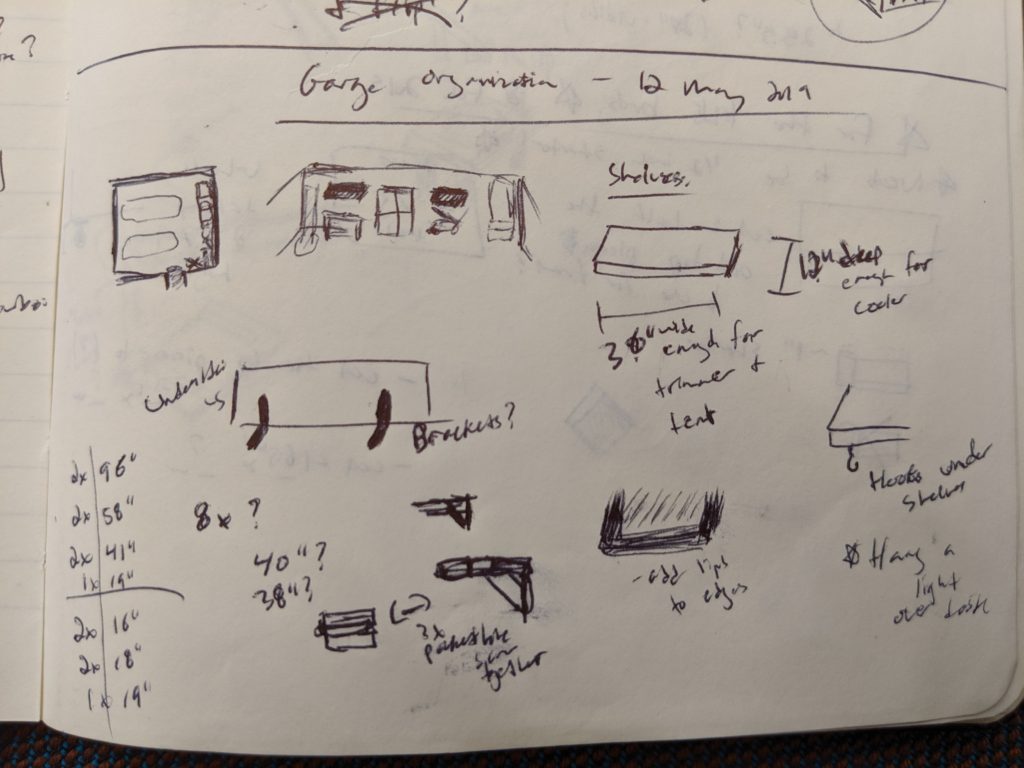
I found someone on Nextdoor giving away several 2x4s and decided I could join a few of them together with pocket hole screws and glue to make the shelves, and then use the leftover pieces as supports.

After picking up the 2x4s I noticed they’d been used in previous projects and had several nail holes and glue marks, so I made a mental note to sand them down that weekend before I started any cutting.

Can’t complain how they look when they’re free!

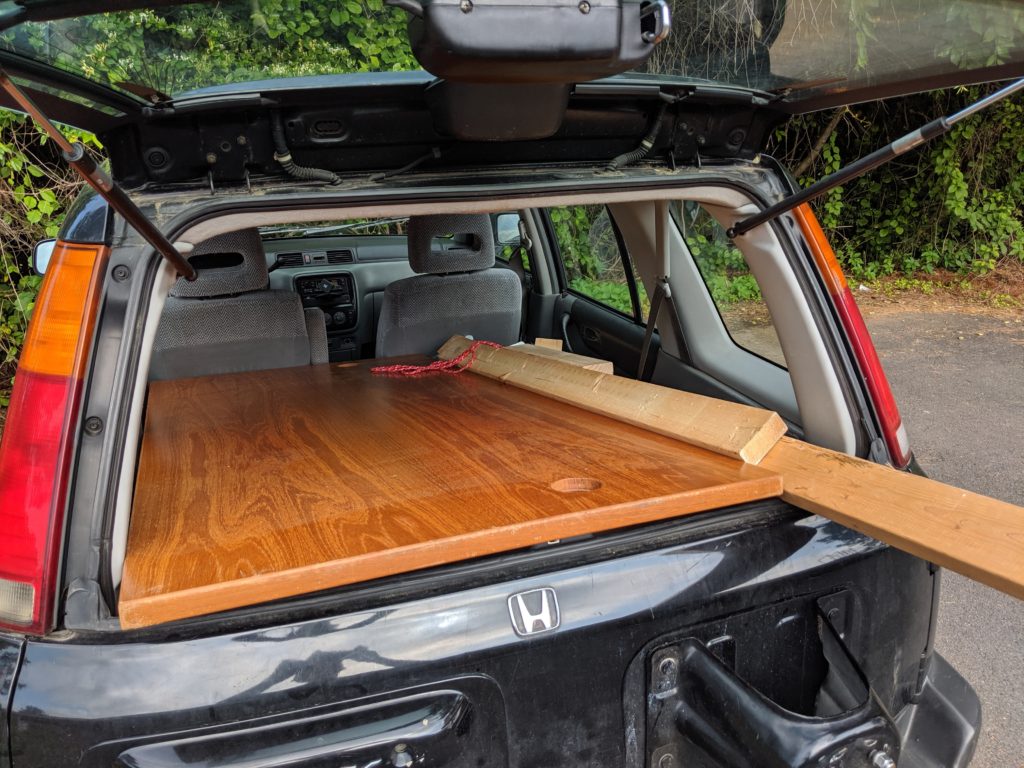
I’m glad I waited to cut them down, because the next day I saw a nice wood desktop with a “free” sign on the side of the road. I drove by two or three times before finally stopping to load it into my CRV.[2]

The table top with some of the free 2x4s in the back

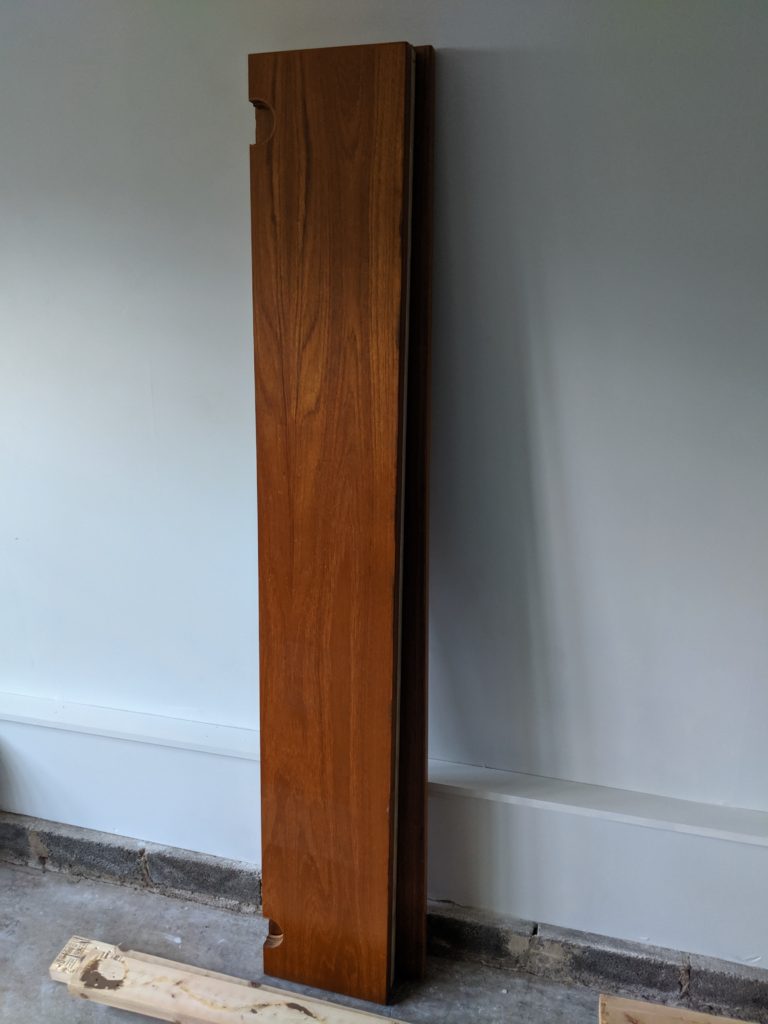
I re-did my design for the shelves to use this new wood. Instead of joining 2x4s together I decided to cut the desk wood into 3 pieces that were each 11 inches wide (the desktop was about 34 inches wide by 6 feet long):

The three pieces of 11 in x 72 in wood stacked against the beautiful new drywall

I also looked for a new way to support the shelves; initially I considered buying metal shelf brackets, but instead changed my design to use the 2x4s for supports. This way I could still use the wood I’d gotten for free, and wouldn’t have to buy brackets!

“It’s like looking inside the mind of a crazy person!” – you, probably

After some more thinking and measuring in the garage, I decided to keep the tallest (and nicest!) floor shelf unit, which meant the wall shelf to the left of that unit could be 6 feet long and the wall shelf to the right of that unit could be 4 feet long (there’s a door on the right side of the wall, so there wasn’t enough space for the extra 2 feet).

I also decided to make the left-side shelf into a corner shelf for added storage space, and have the adjoining wall’s corner shelf be 4 feet long to match the shelf on the right side of the floor unit.

Once I was comfortable with this plan I made the first round of cuts:

  • I cut one desk piece to 48 inches (for the shelf that would go to the right of the door)
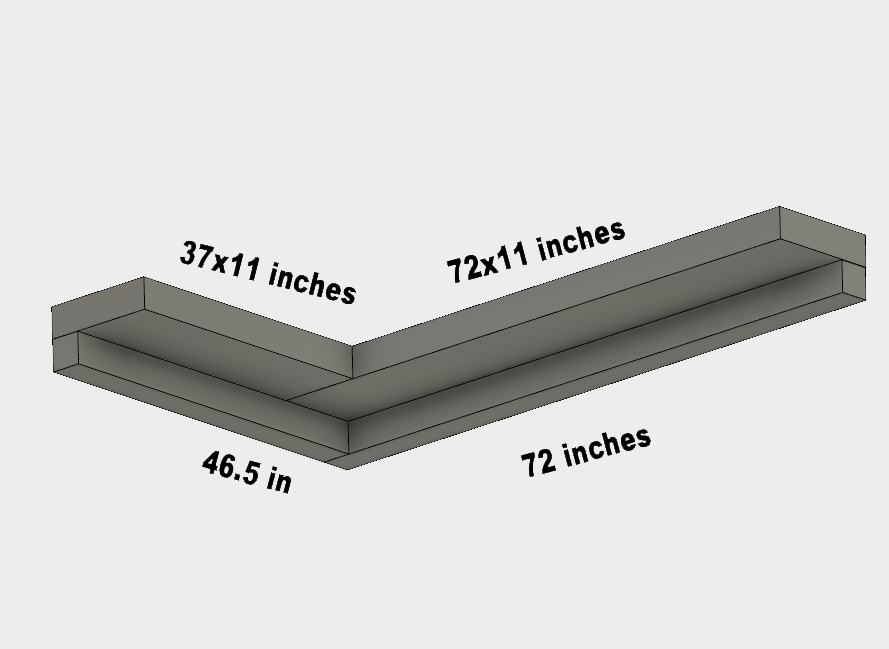
  • I cut a second desk piece to 37 inches (for the adjoining wall’s corner shelf; note that I had to accommodate 11 inches for the corner shelf it would join)
  • Also note that the third shelf piece didn’t need cutting since it was already 72 inches long

I know this corner shelf stuff is probably confusing, so I made a quick render in AutoDesk Fusion 360 to illustrate how I cut things for the corner shelf:

This image is not to scale

I then cut the 2x4s to size:

  • one at 72 inches
  • one at 48 inches
  • one at 46.5 inches (to accommodate the 1.5 inch depth of the 2×4 piece that’s in the adjoining corner)

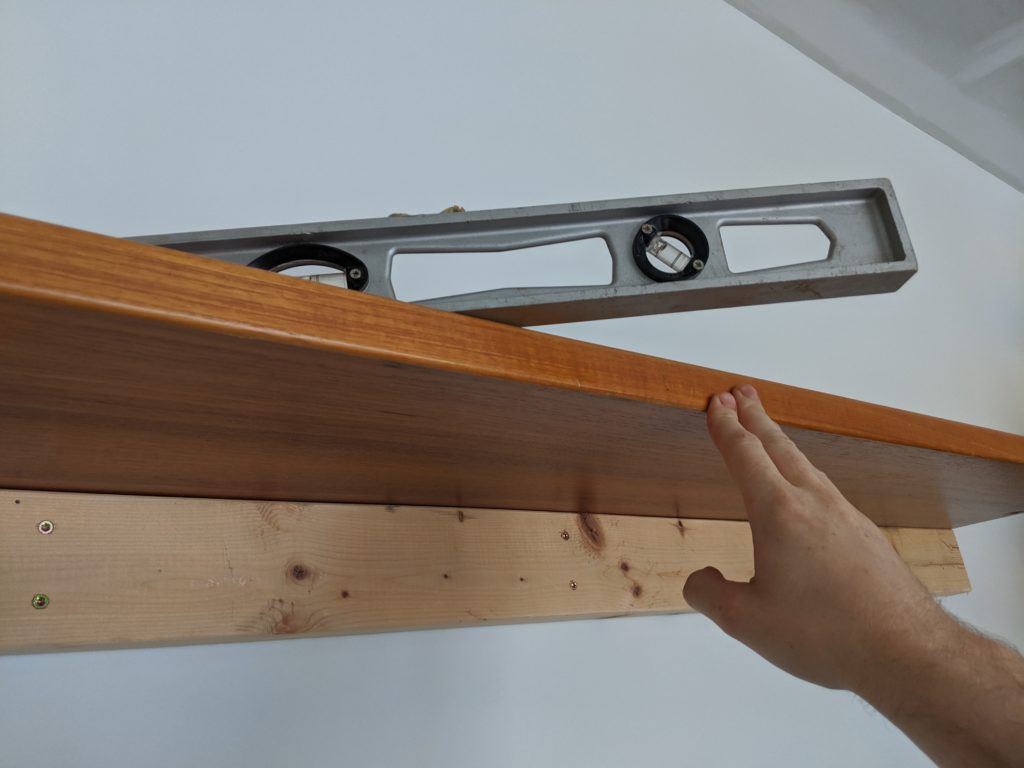
After finding studs[3] I put in screws to get the first support piece up and then screwed in the first shelf piece (use a level!)

Perfectly level, Morty!

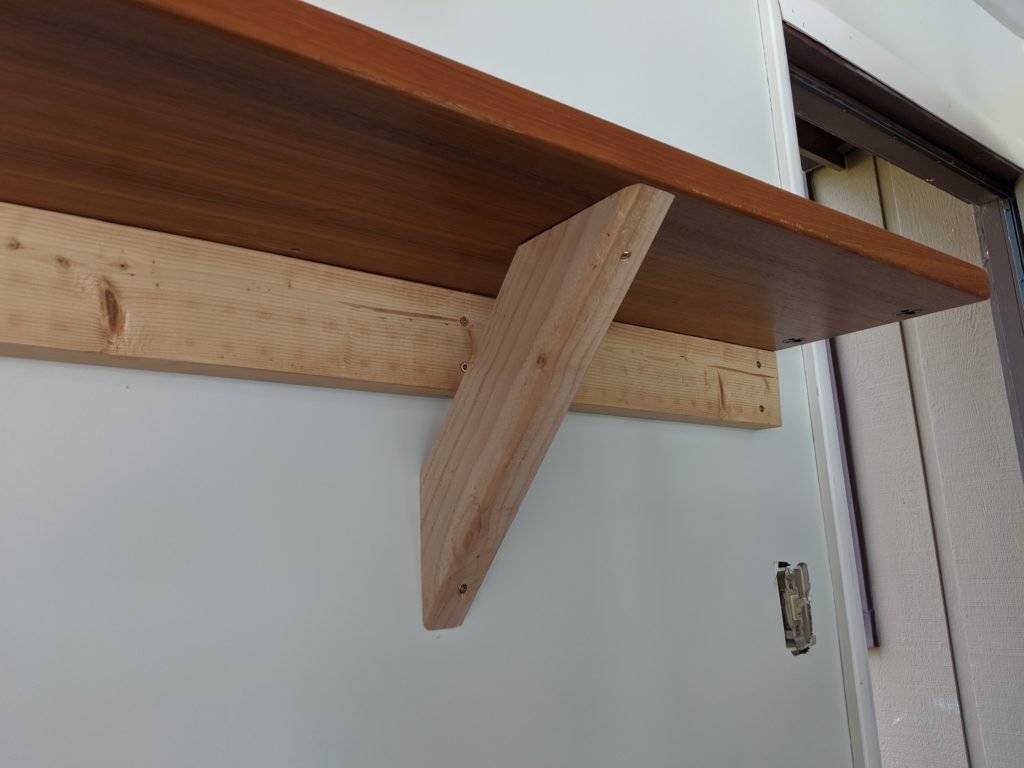
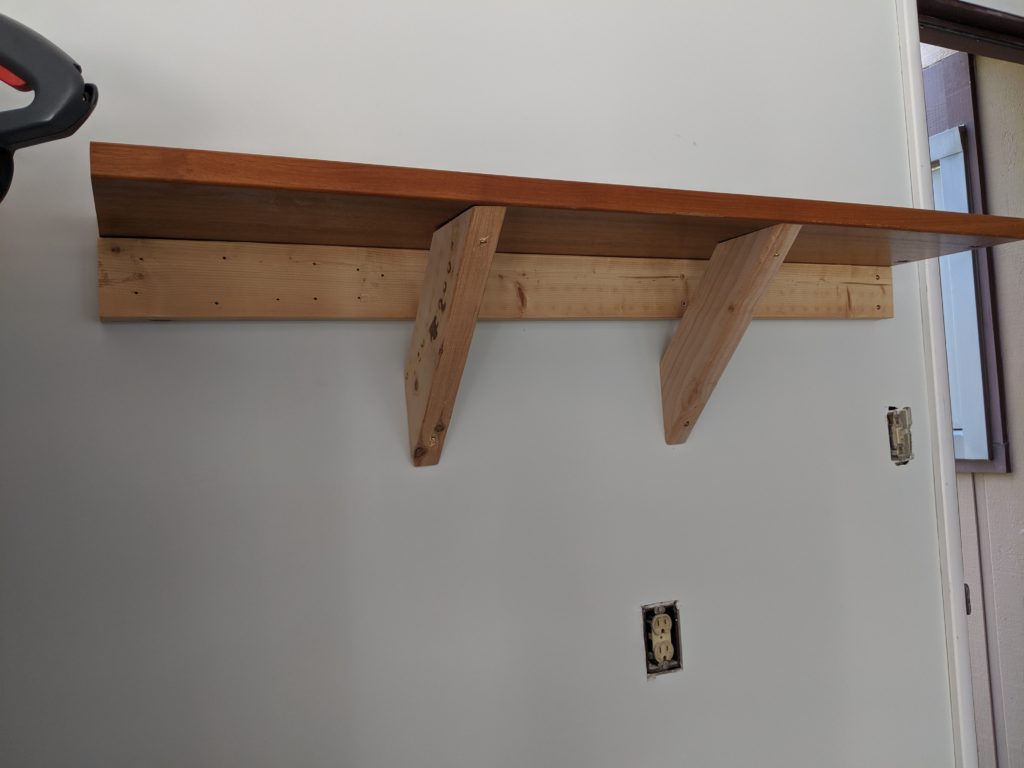
I then measured for the diagonal support pieces and cut several of those on my miter saw.

SEND IN THE SUPPORT, CAPTAIN!
First shelf up!

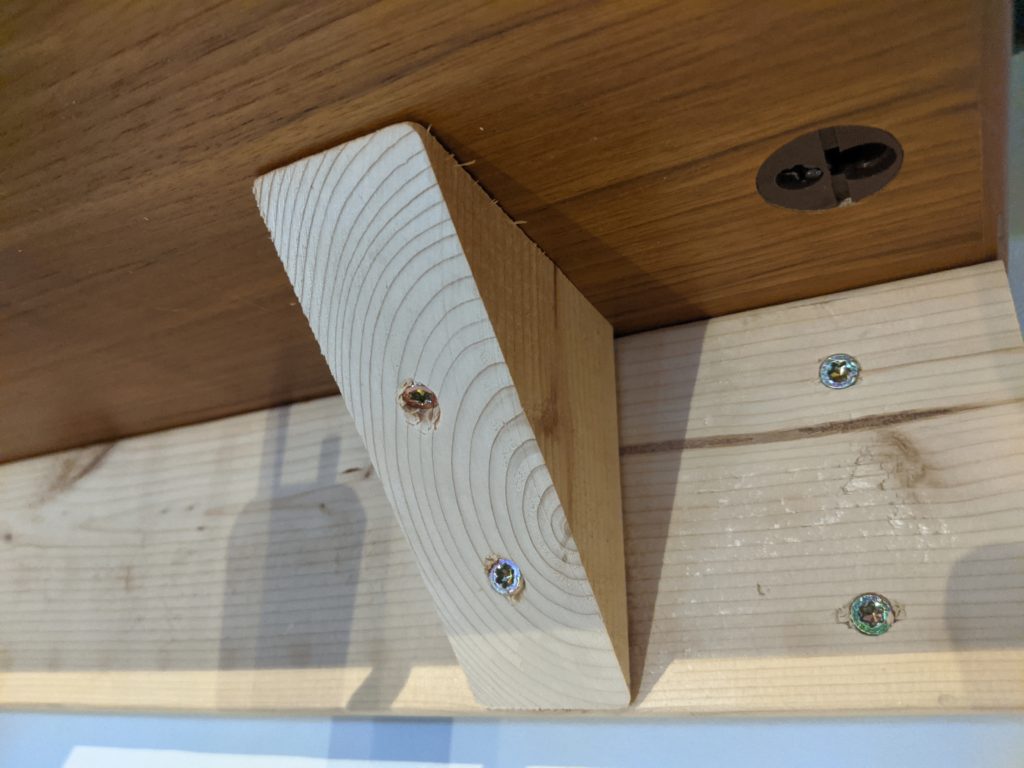
I also decided to use several leftover 45 degree-cut pieces as additional supports where the wall didn’t have studs:

Reusing these was much better than throwing them away, and it’s more stable too!

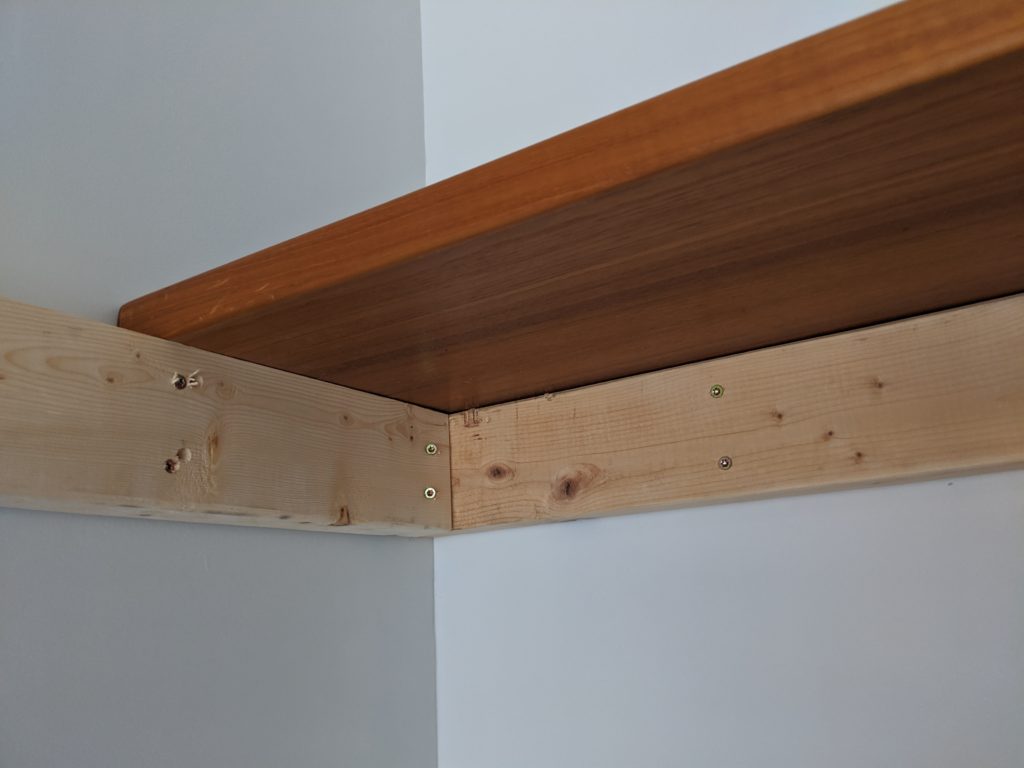
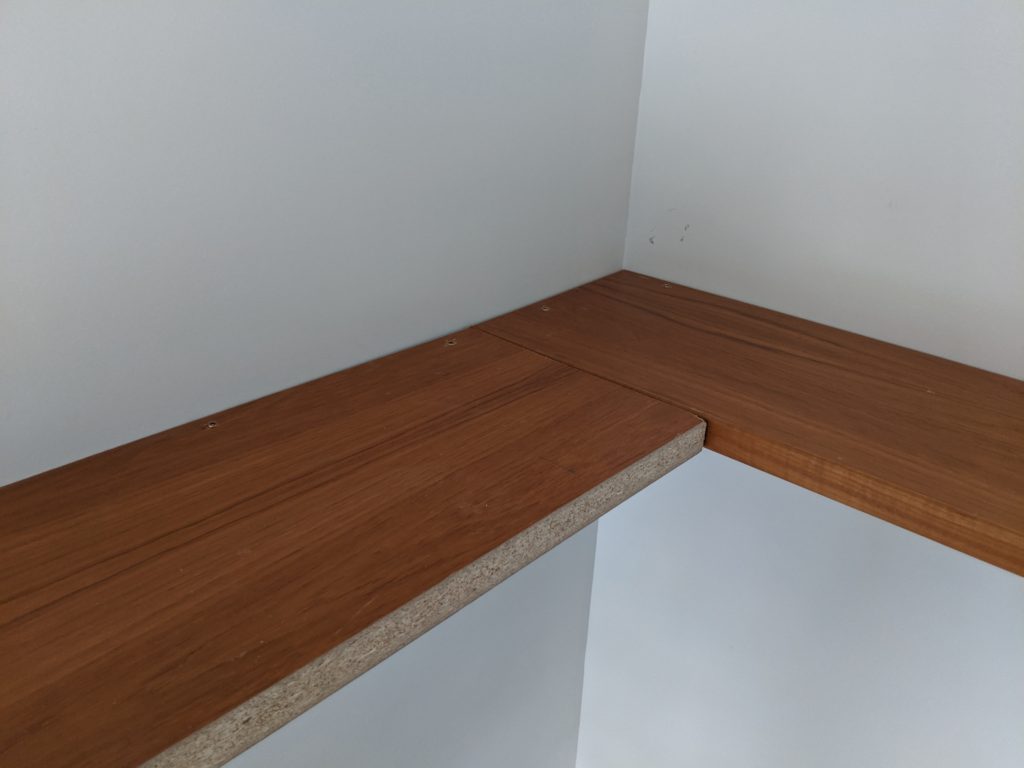
Putting up the corner shelf:

2x4s are up followed by the long desk piece
Adding the second part of the corner shelf

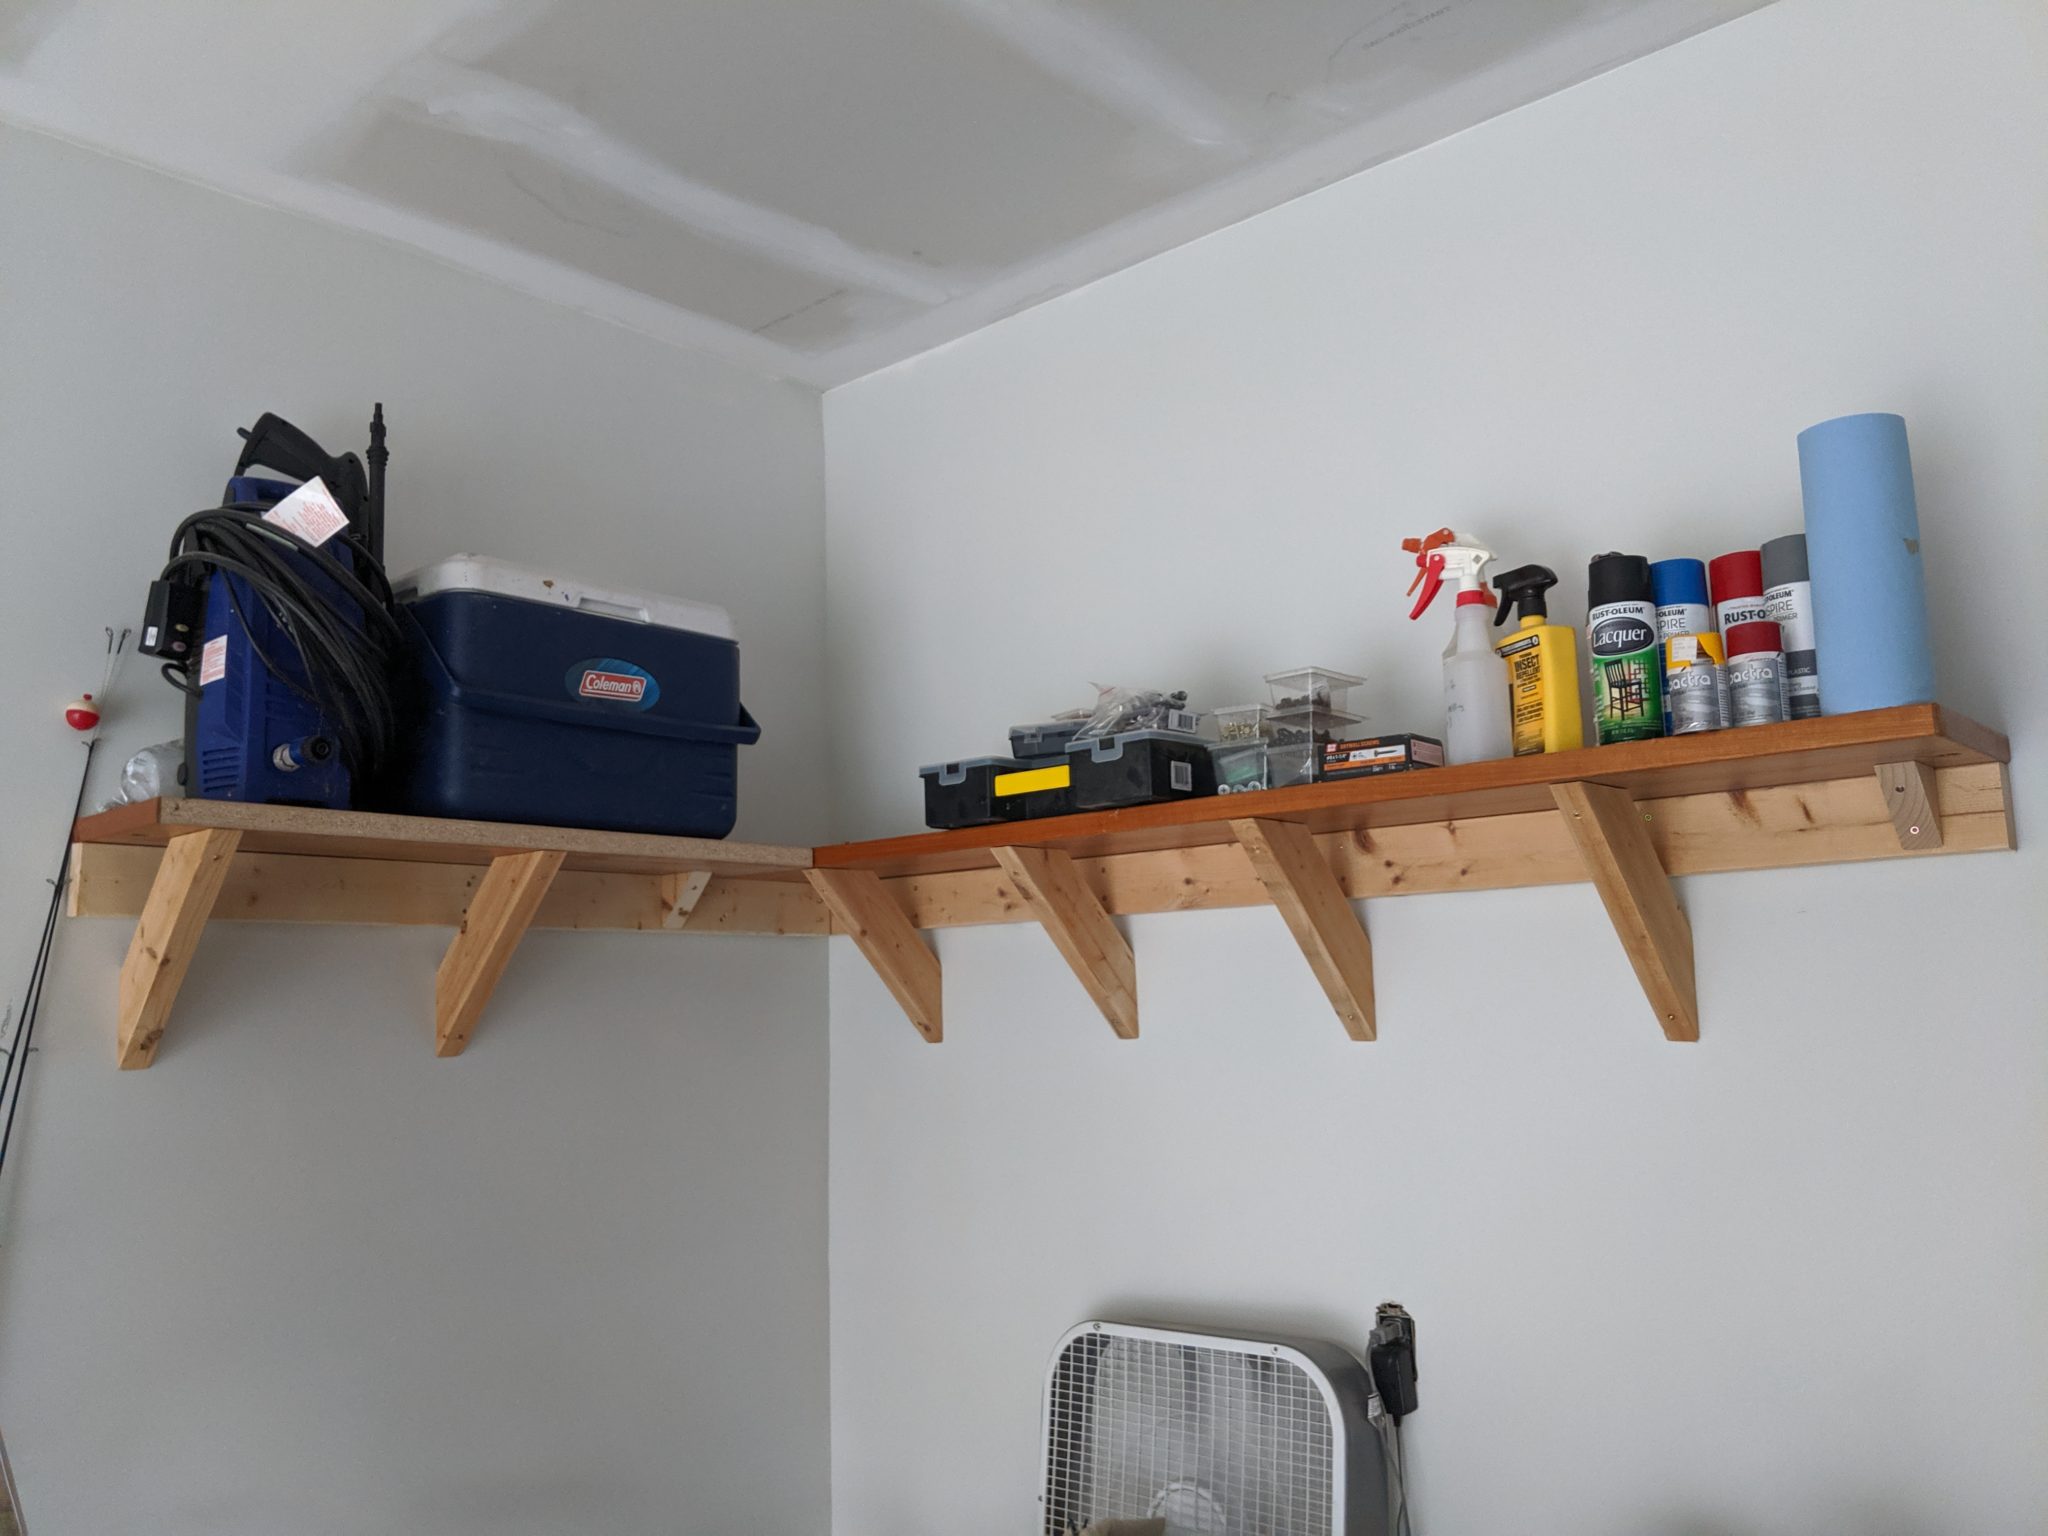
Once I put up the diagonal supports underneath the shelves, I got a ladder and added in additional screws from the top, both into the main 2x4s as well as the diagonal supports. This made the shelves feel a lot more solid.

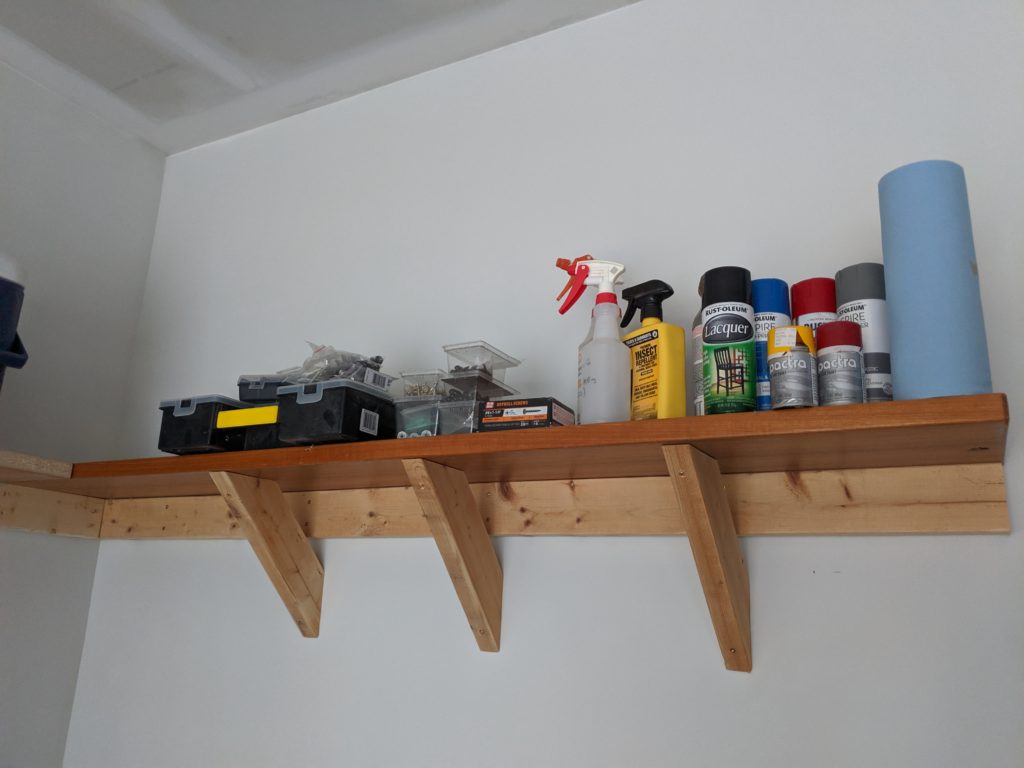
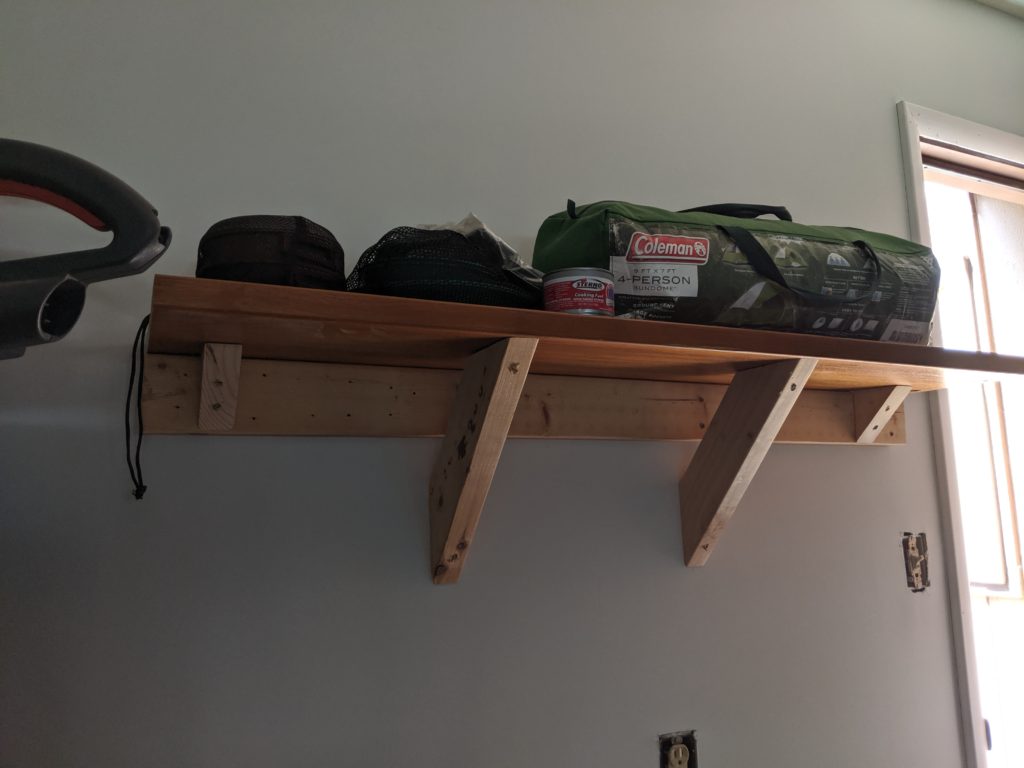
The shelves looked amazing. I started putting things up and was able to clear out one of the floor shelving units!

I love being able to see things at a glance
Camping gear gets a prime spot!

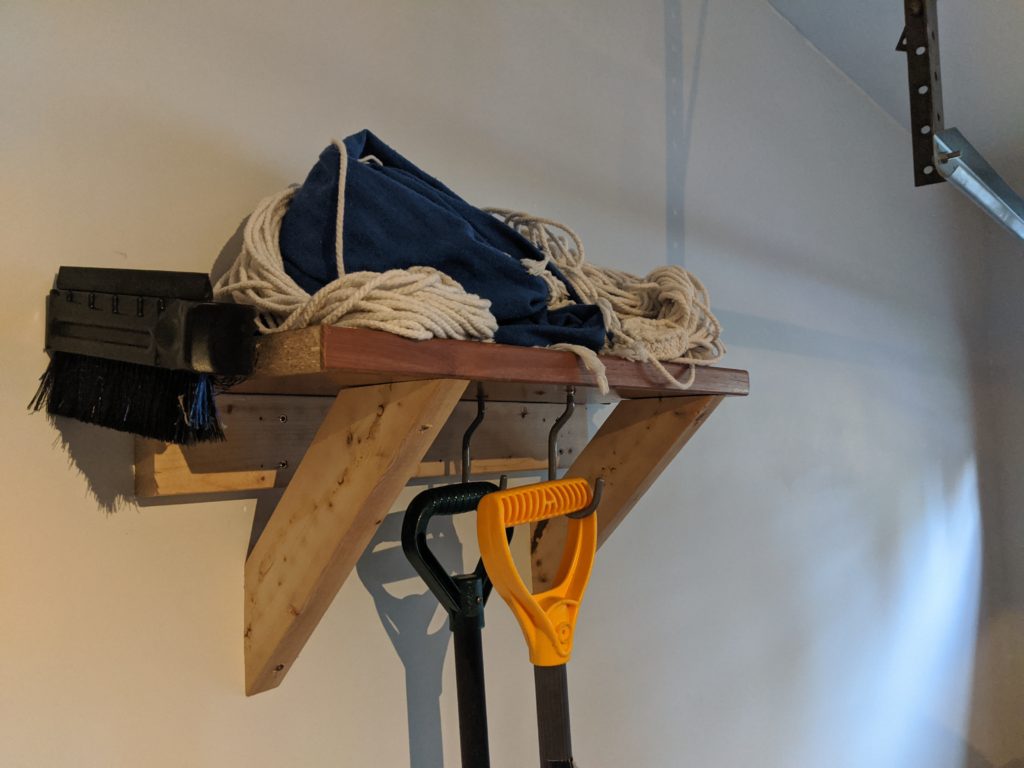
A day or two later I decided to put up two more shelves on a third wall using the leftover desk wood pieces:

One of the added shelves

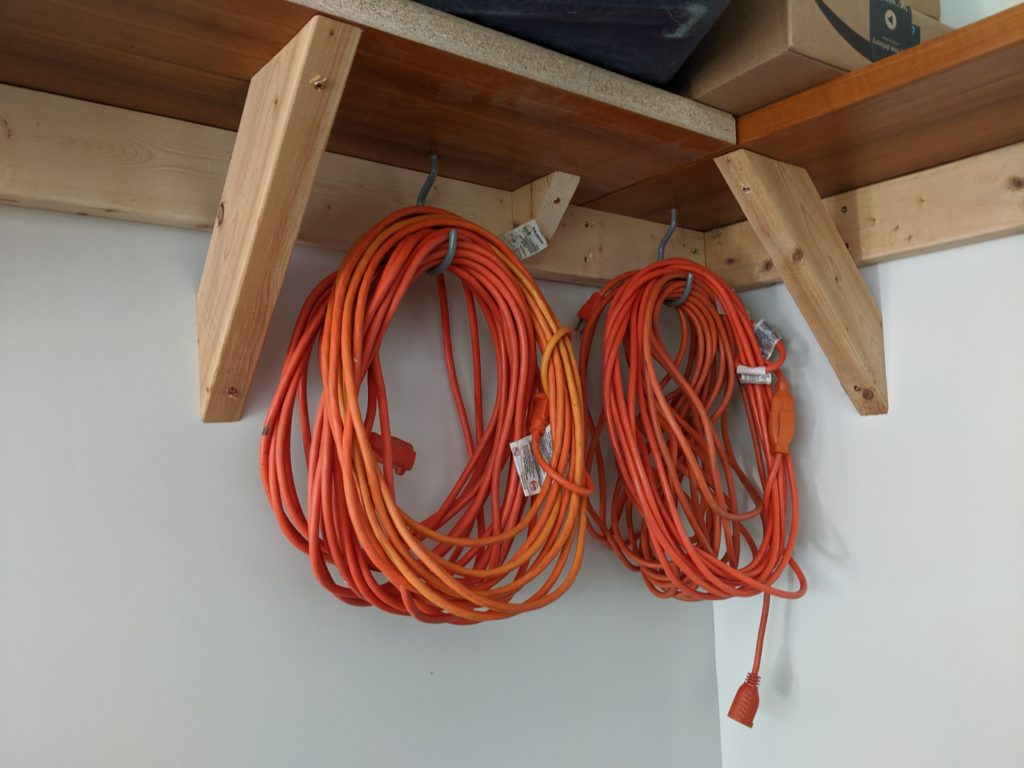
You’ll also note that I installed bike hooks and put a few more things up that way:

WE NEED MORE POWER!

As a result I was able to get rid of two large, ugly plastic shelving units and freed up a ton of floor space. The whole garage feels much roomier and organized now!

The cost? A box of 2.5 inch t-star screws[4], some hooks, and electricity for the miter saw and drill. Not too bad!

[1] Haha, he said tutu! – My daughter, probably

[2] CRVs really can fit anything. And no, I was not paid to say that by Honda…but I’m open to it!

[3] It wasn’t that hard, I just had to look in the mirror! – No one, probably

[4] A note about the torque screws I used: I wasn’t a huge fan of them. I should have made an extra trip to get Spax brand screws at Home Depot (which I’ve been very impressed with in past projects) instead of just grabbing the Power Pro brand that Lowes had in stock (no, I was not paid to say that by Spax). Compared to Spax, the screws I got didn’t sit flush with the wood, they slipped when trying to start them, and they split some of the 2x4s more than I’ve seen with Spax, so I may as well have just pre-drilled for use with normal wood screws.