Tag: scrap wood diy

An Ode to Desks

an ode to desks

Desks are the fields and factories of our time.

As civilization turned to cultivation, mankind moved from forest to field. As the industrial revolution overtook farming, mankind moved from field to factory.[1]

And as civilization turned to corporations, mankind moved from factory to furniture.[2]

Desks play a huge role in our lives. You’re at work? Probably at a desk.[4] In school? Desk. Arrived at a hotel? Check in at the front desk.[5]

And even within those desk activities you can notice various displays of intra- and interpersonal behavior; the obsessed desk decorator from HR, the kid doodling the cool S thing on a school desk, that weird feeling of having your personal space invaded when someone stops by and leans on your desk.

So below will follow a story—my story—of desks.

When my older brother left for college and I moved upstairs to his old room then a tall, dark wood desk with many drawers and shelves became mine. It smelled like a countryside cottage, not old but well seasoned; it contrasted sharply with its location in a suburban home’s upper floor. Further, it was stately and grand and quite unlike anything else I’d had.

I proceeded to make that grand desk reflect me and my interests; action figures, my Lego creations, awards, interesting finds from the nearby river and woods, and other odds and ends adorned the desk and its attached shelves.

Some of my favorite memories from the time I spent in that room include that desk; sketching, drawing, writing, playing music or a riveting game of Sid Meier’s Alpha Centauri or Medieval: Total War on the Pentium 4 computer at its center. Snowy days looking out the window by that desk watching the evergreens in the backyard blanketed white and heavy.

Then seasons changed. Snow days turned to summer days and with the change of the seasons comes the passing of years. As my older siblings had left and I’d inherited the desk, so too I left and passed the desk on when I went to college. I don’t believe I’ve seen that desk since.

College dorms aren’t known for their magnitude, and I got used to a small rickety end table that was lying about being a desk. A bad sneeze would have knocked its legs off.

Then a few years later, while walking to my slightly larger newlywed apartment, I found an old desk put out for the trash. It had a certain charm that my particleboard desk lacked, and I spent an hour lugging it the rest of the way home myself:

The desk in all its glory. In hindsight, I should have left it for the trash.

We took that desk with us across a few states but ultimately had to leave it on one coast when we flew to the other (sadly, I wasn’t in love with that desk enough to pay for movers).

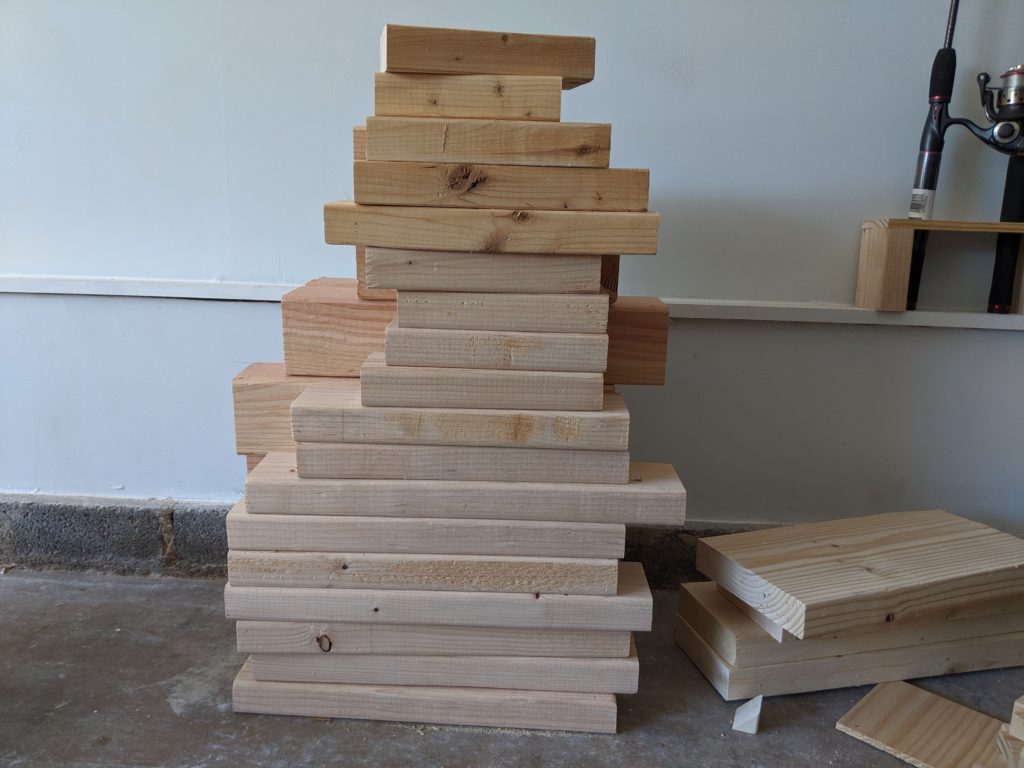
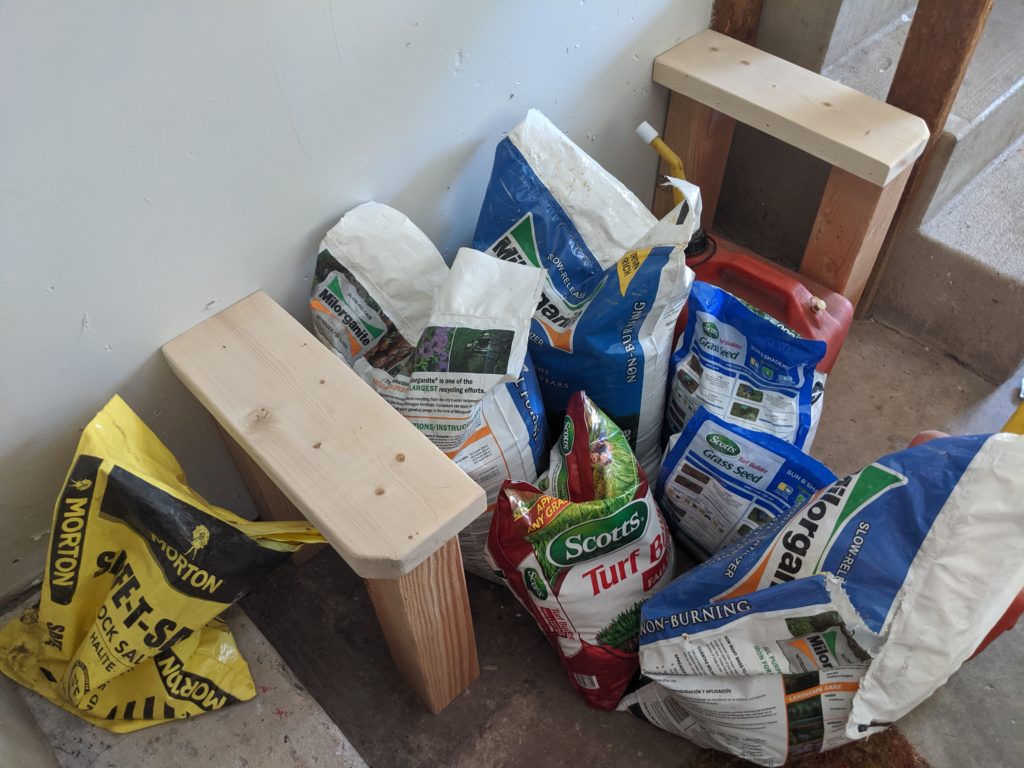
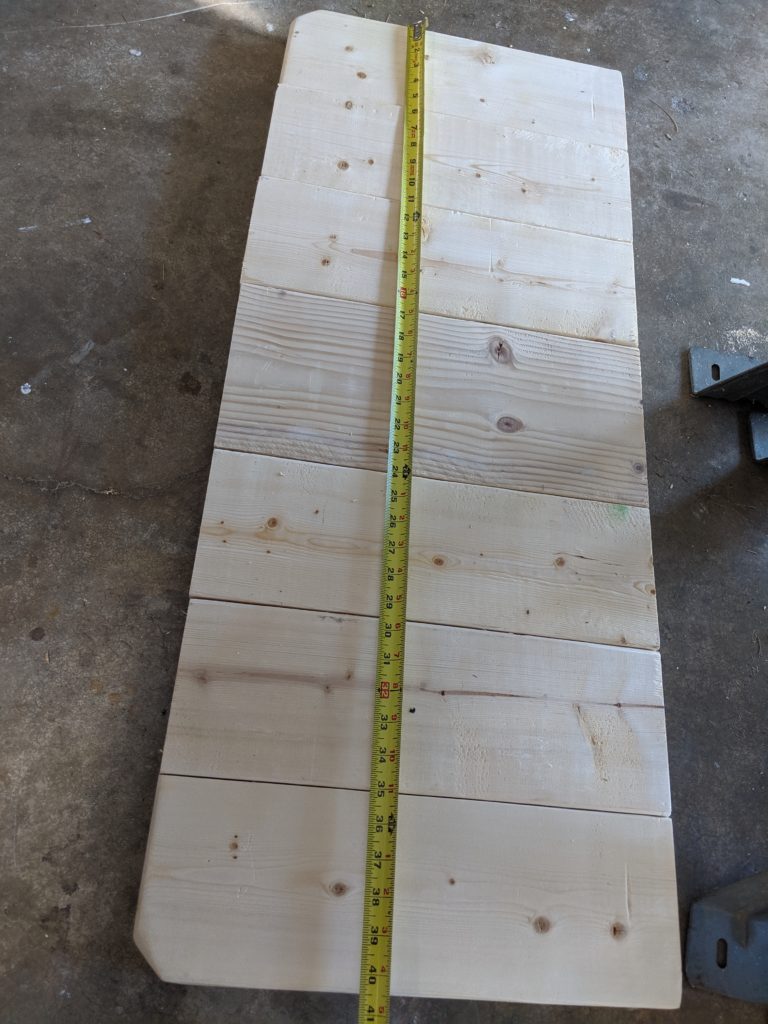
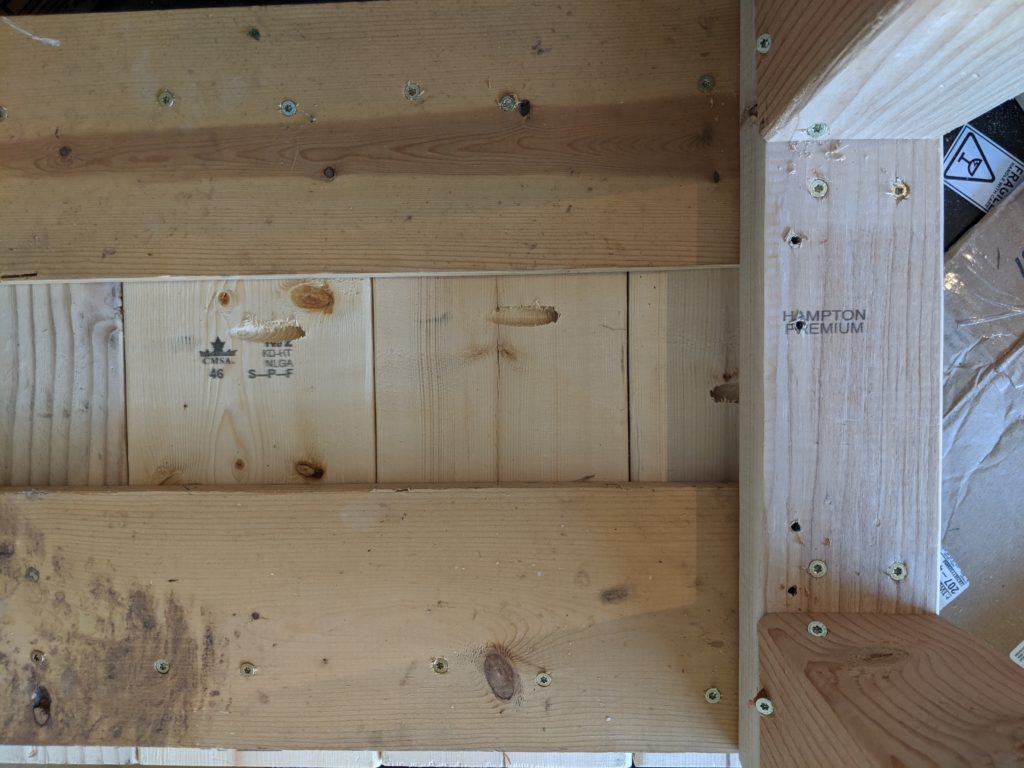
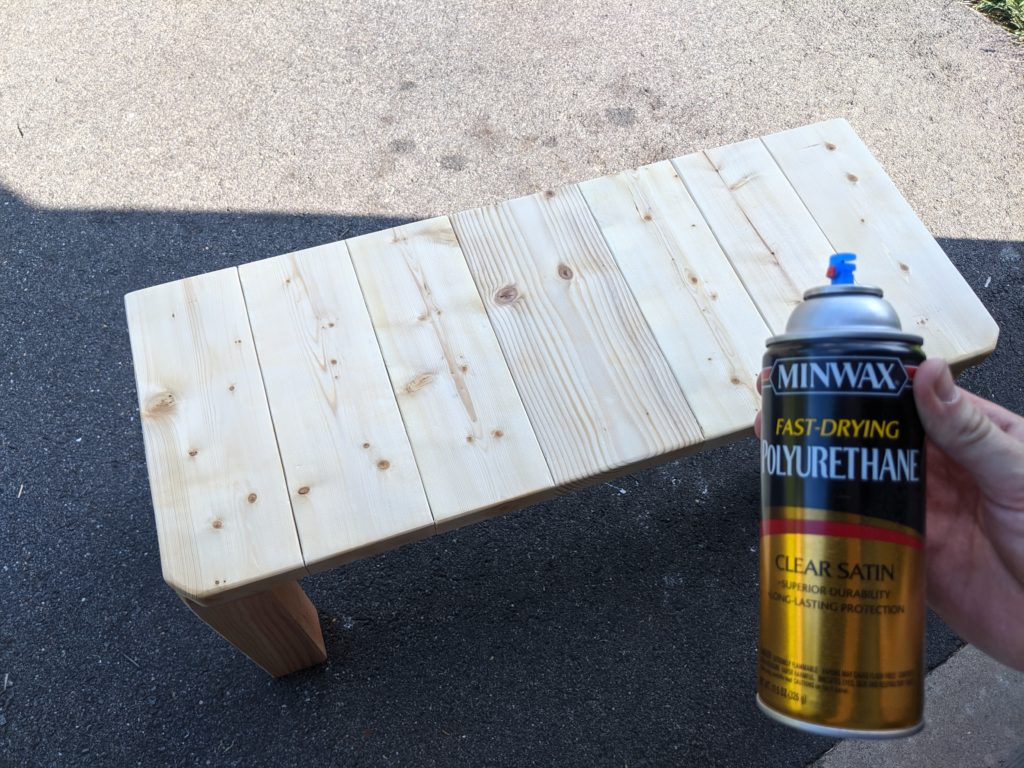
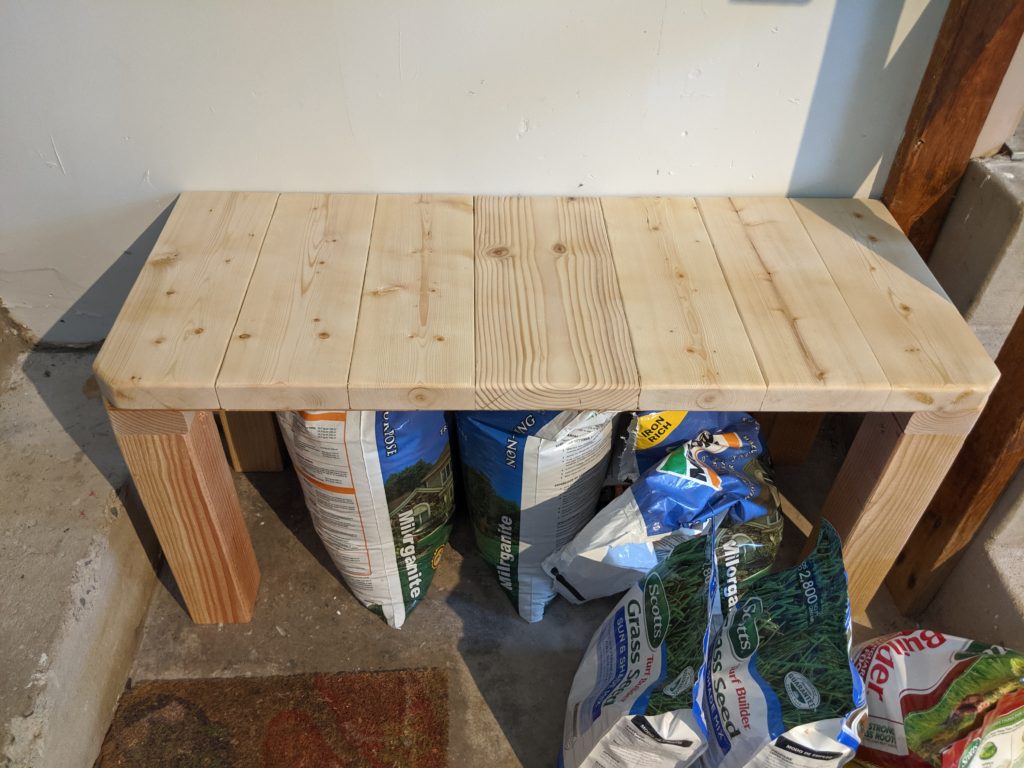
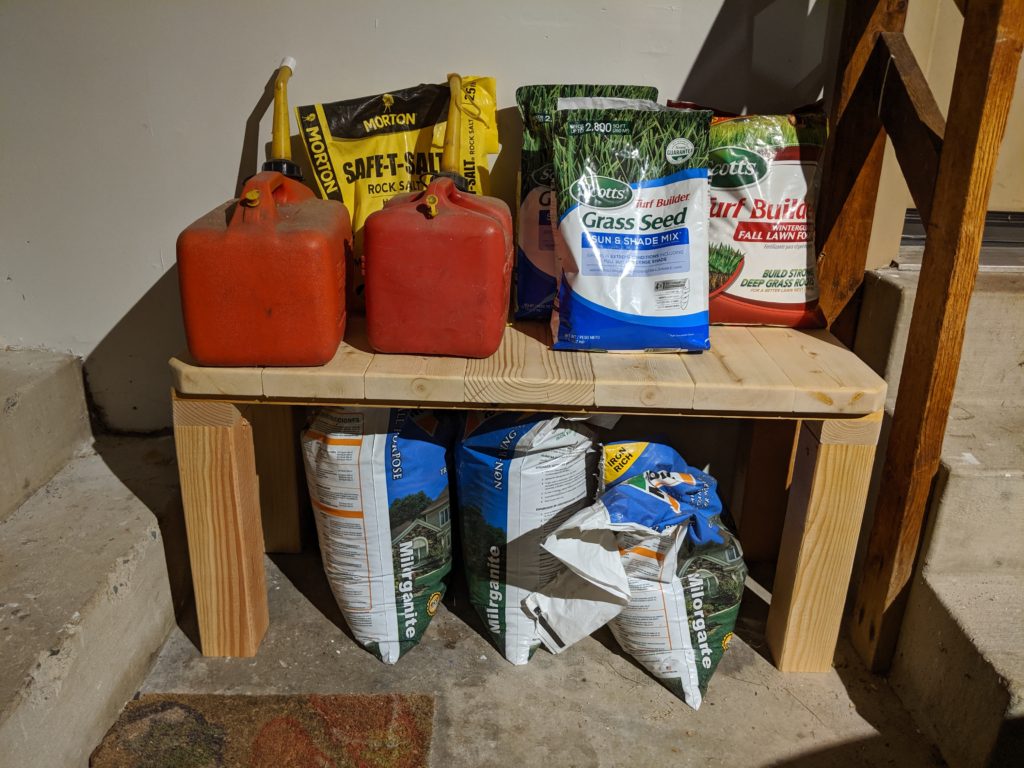
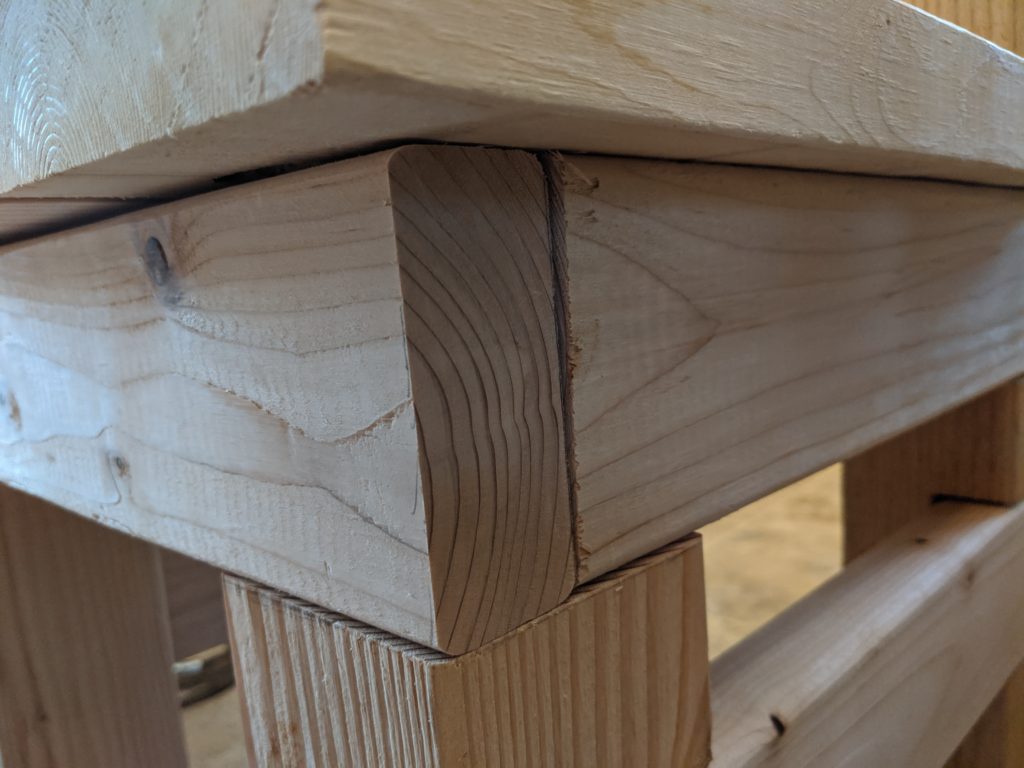
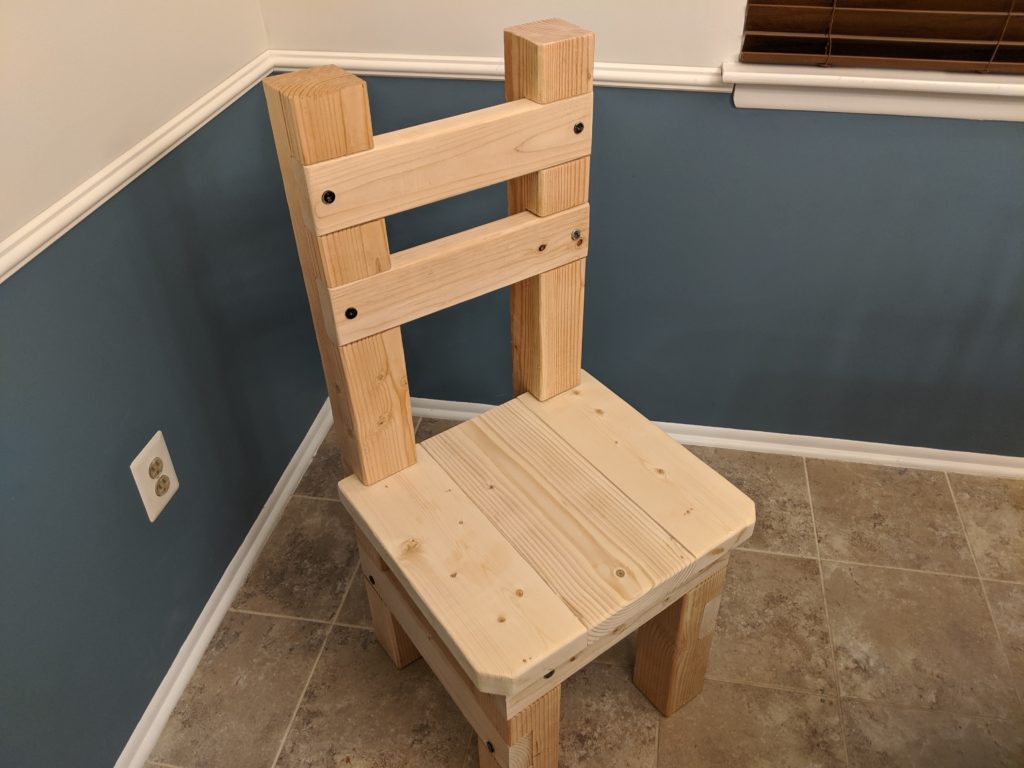
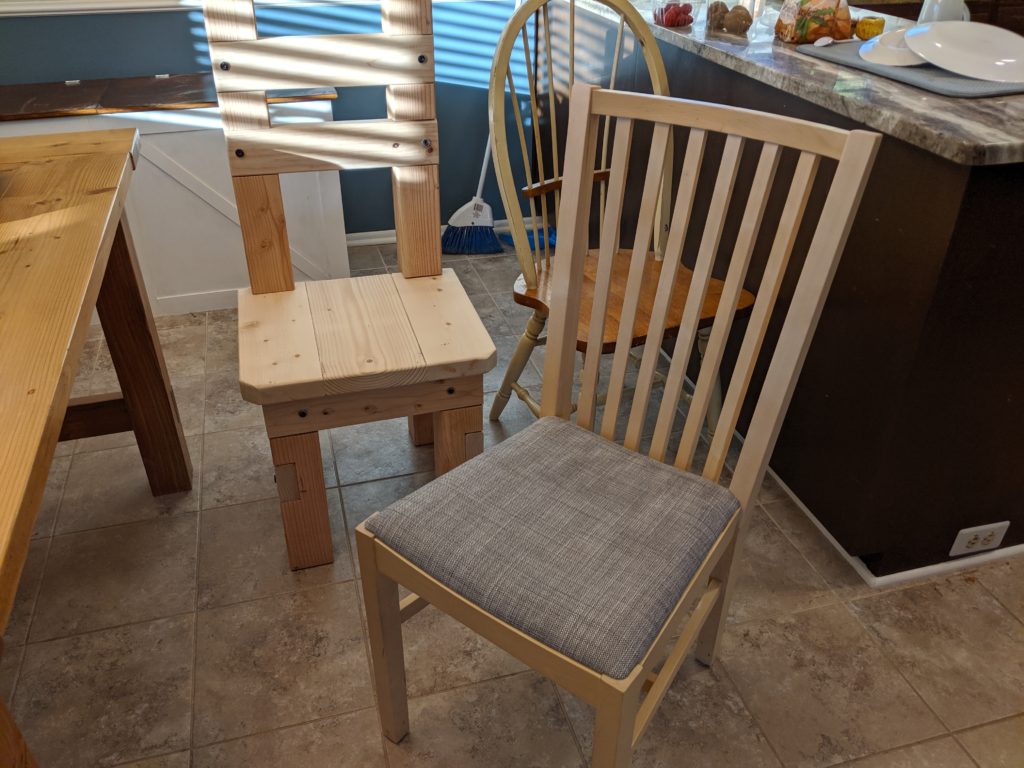
So to fill a hole in my heart the size of a desk, I looked around in the garage for some spare wood. I challenged myself to make a desk without buying lumber; it was a true Ultimate Scrap Challenge. Plus, I had the added challenge of not having any woodworking tools other than a drill and an old circular saw which I had to borrow from my parents. And as you’ll soon see, I didn’t have any woodworking experience, either.

Making this desk was…a good try. Yeah, we’ll call it a good try:

Ignore my (lack of!) cable management. And my lack of skill.

Fine. It was merely a try. How that desk never fell apart I’m really not sure (especially since I had not yet discovered the magic of pocket hole screws).

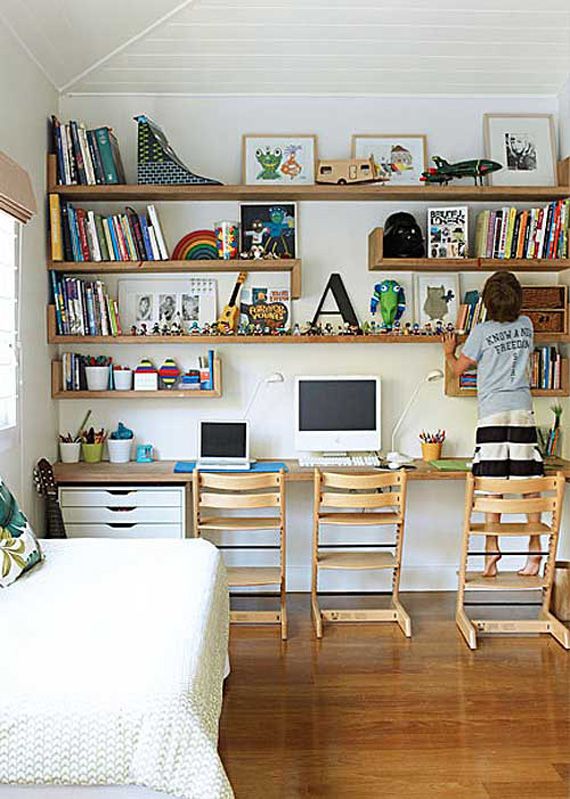
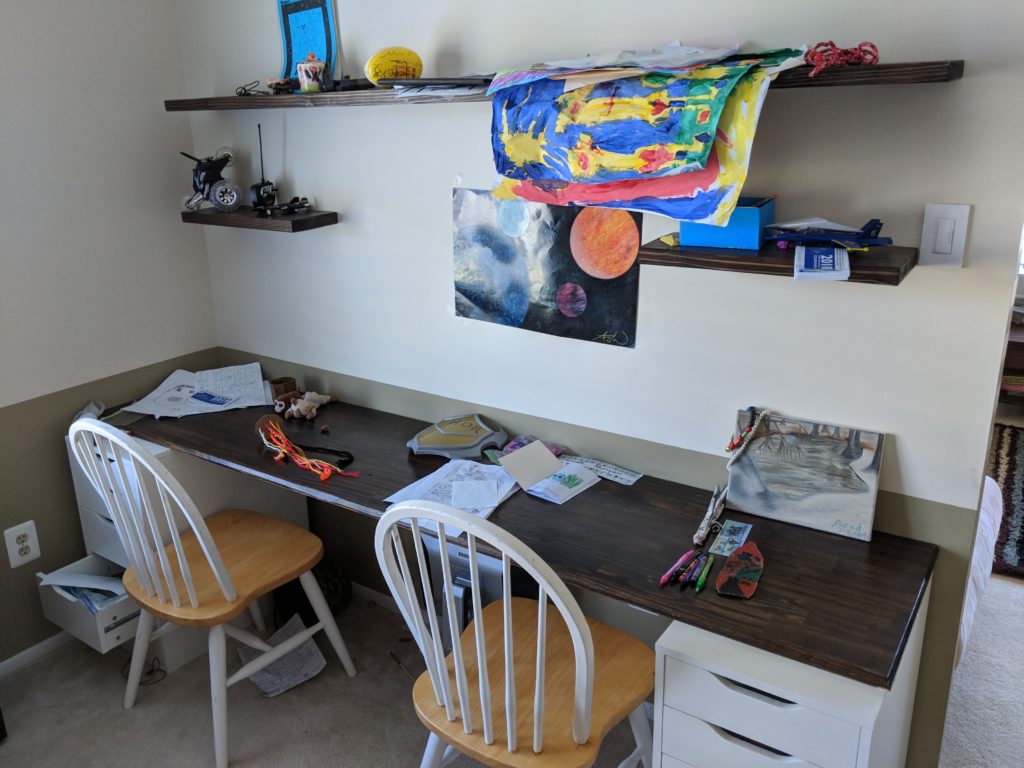
About two years later I saw this picture and decided to do something like it for my kids:

If I build them a desk, they’ll do their homework without me asking, right?

It resulted in my first trip to IKEA, which is an interesting place (the meatballs are extremely overrated). ALEX drawers for the win!

Kinda messy, but it worked!

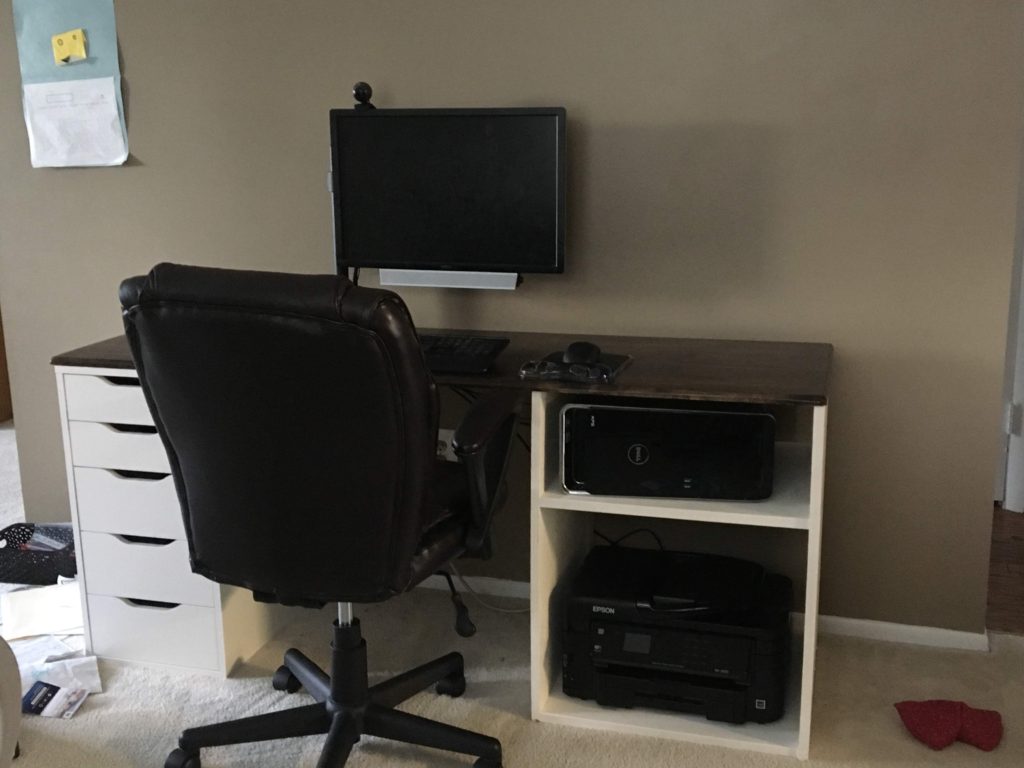
Soon after the kids’ desk then I made a desk for my wife to house her PC and the printer (which was either on the floor or took up half of her desk space before I made her this desk):

Not too shabby- plus my skills are improving!

At this point my rickety desk was starting to wobble and I started looking for a replacement before it collapsed entirely. I longed for a grand desk like what you’d see on Downtown Abbey, and reading A Gentleman in Moscow intensified that desire- who wouldn’t want a stately desk, full of history, with secret compartments for gold coins?!

After looking into grand desks I realized they weren’t as appealing as I thought, in part due to their cost but also their immense size and weight. Of course, if gifted such a desk I’d gratefully accept it and baby it, but buying one was out of the picture.

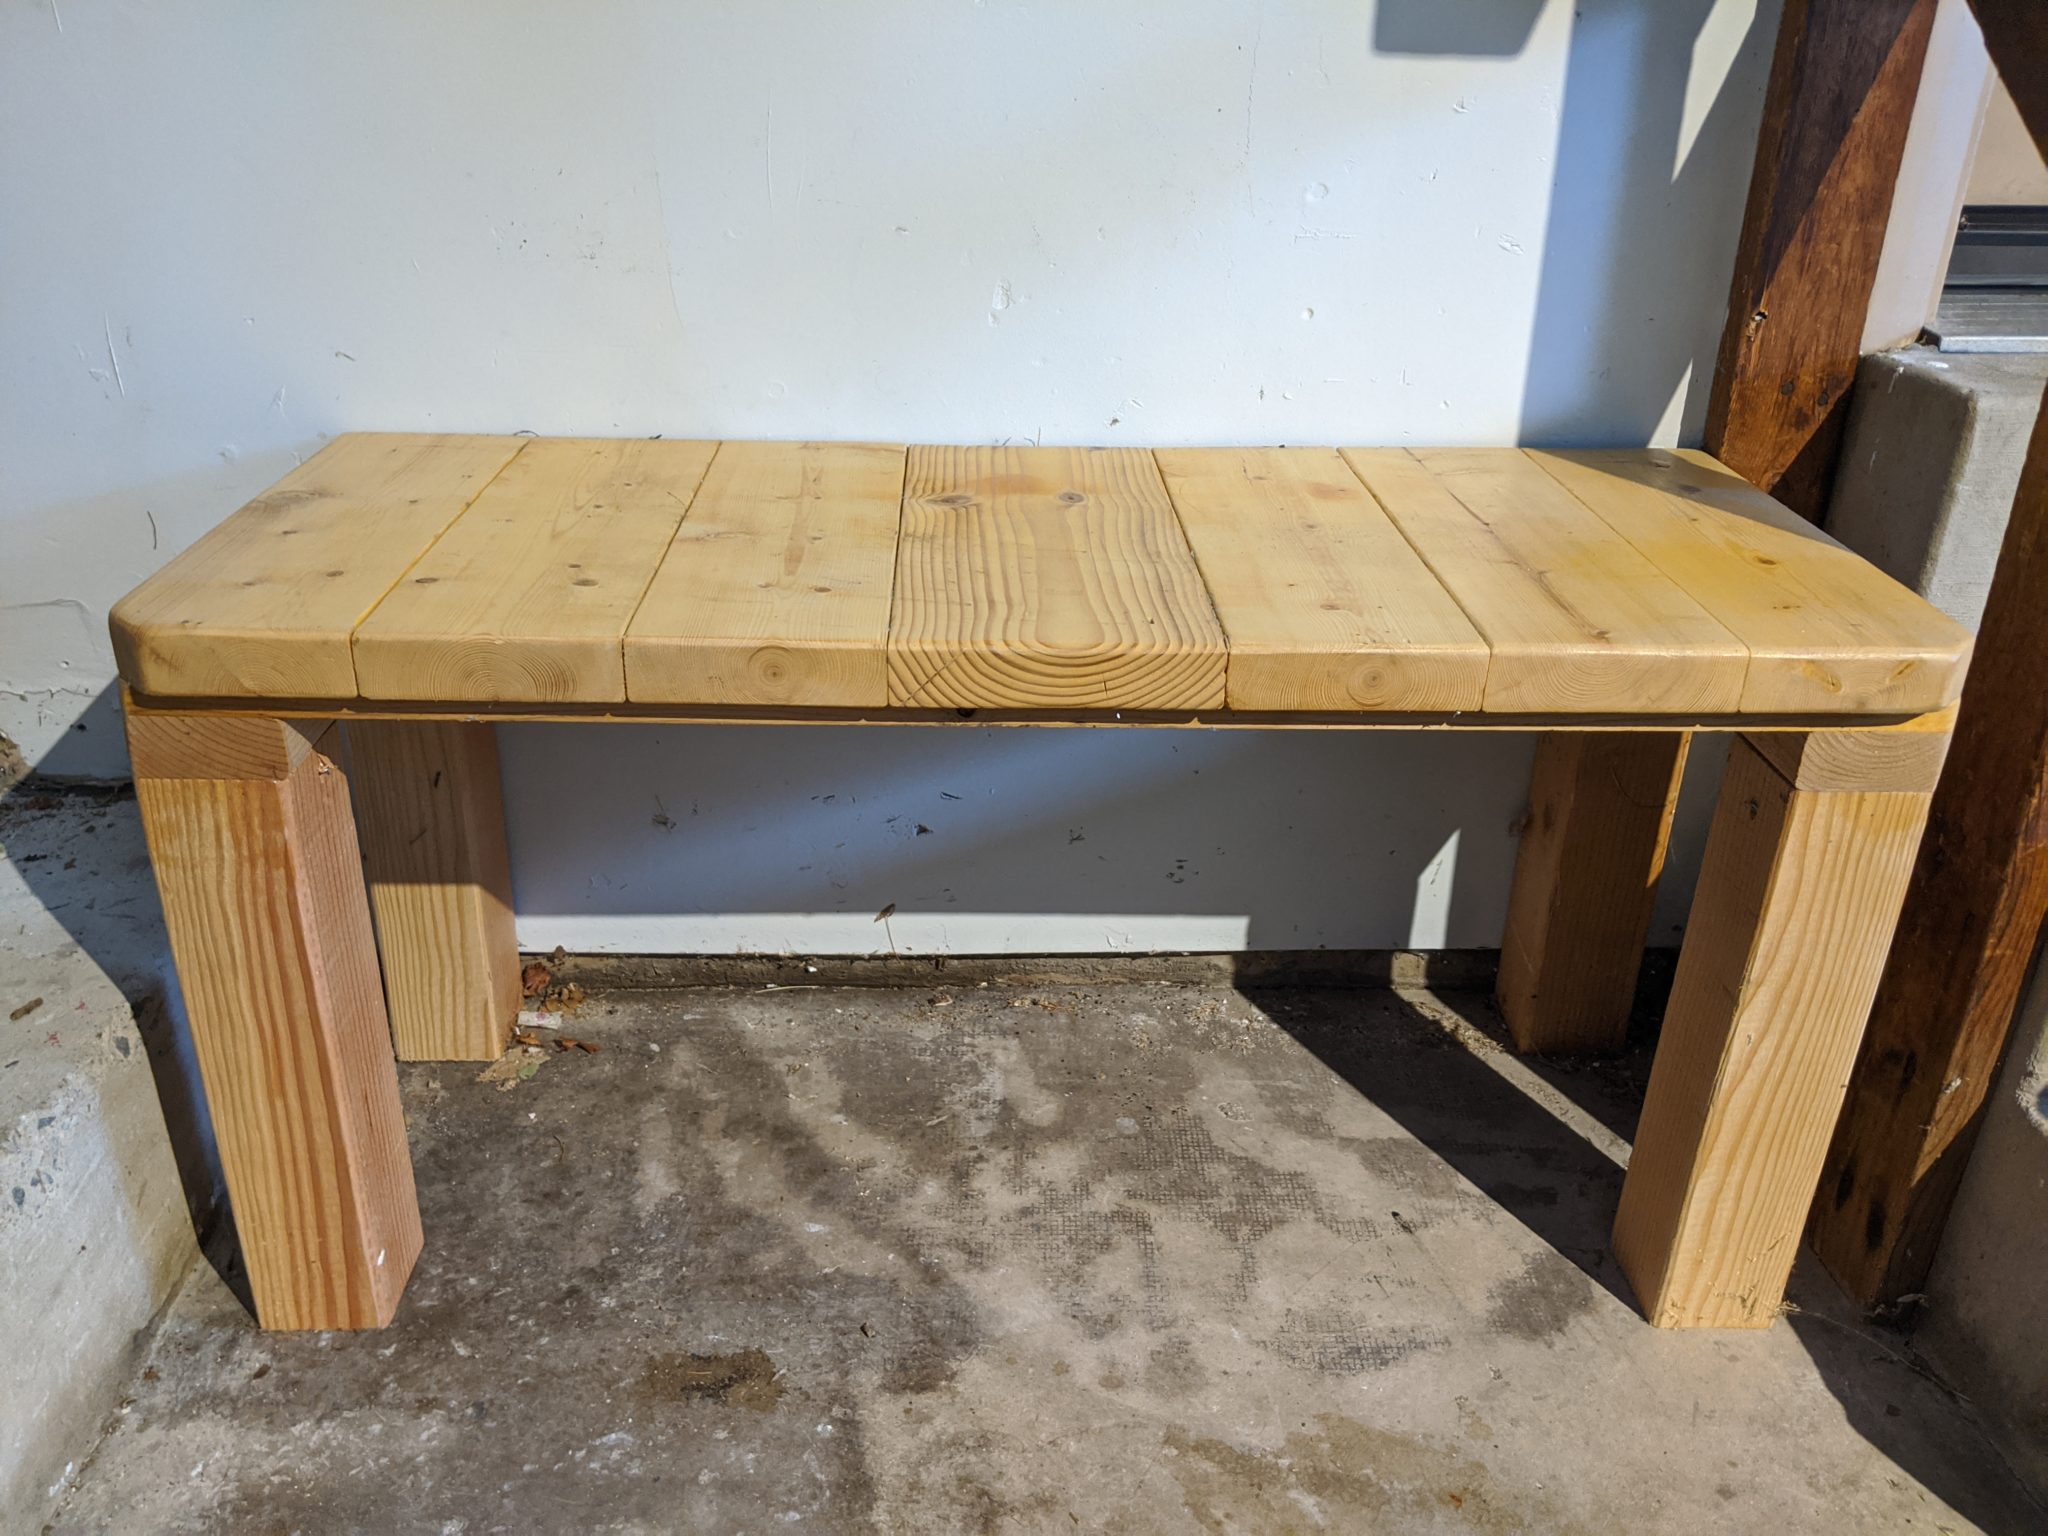
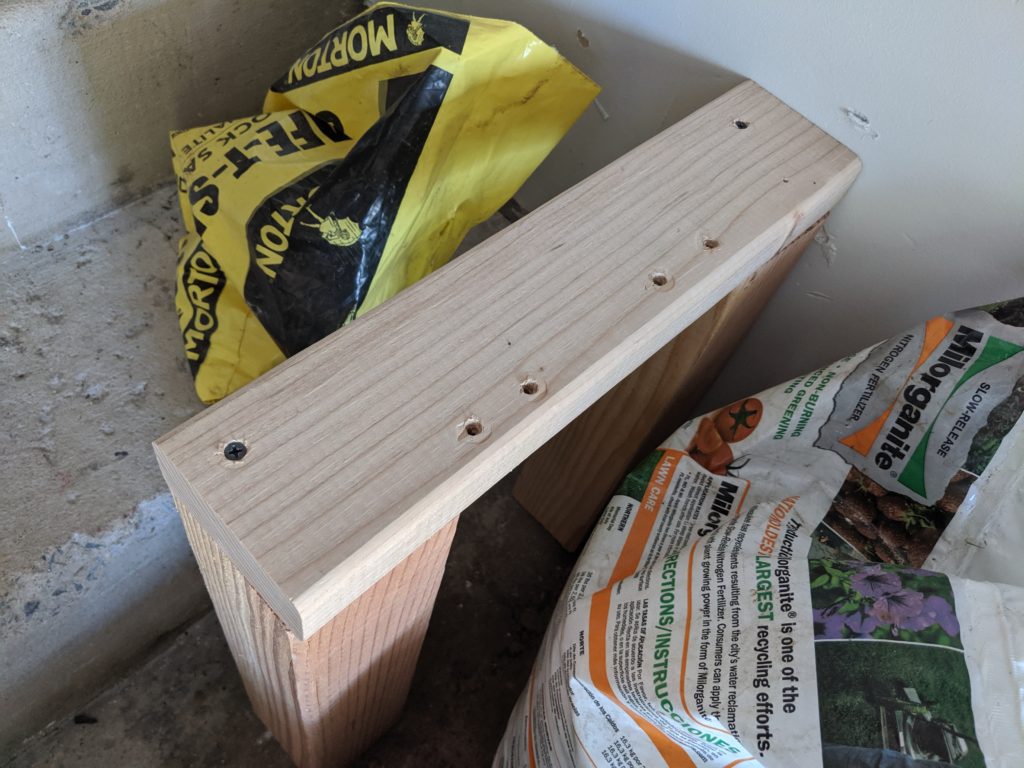
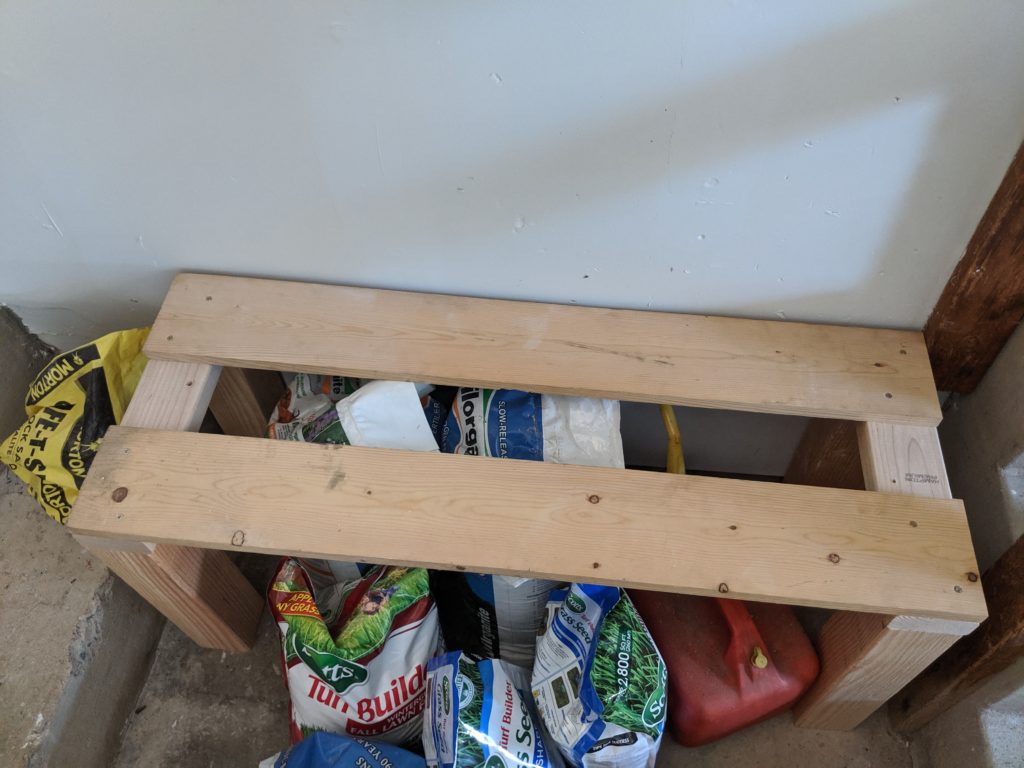
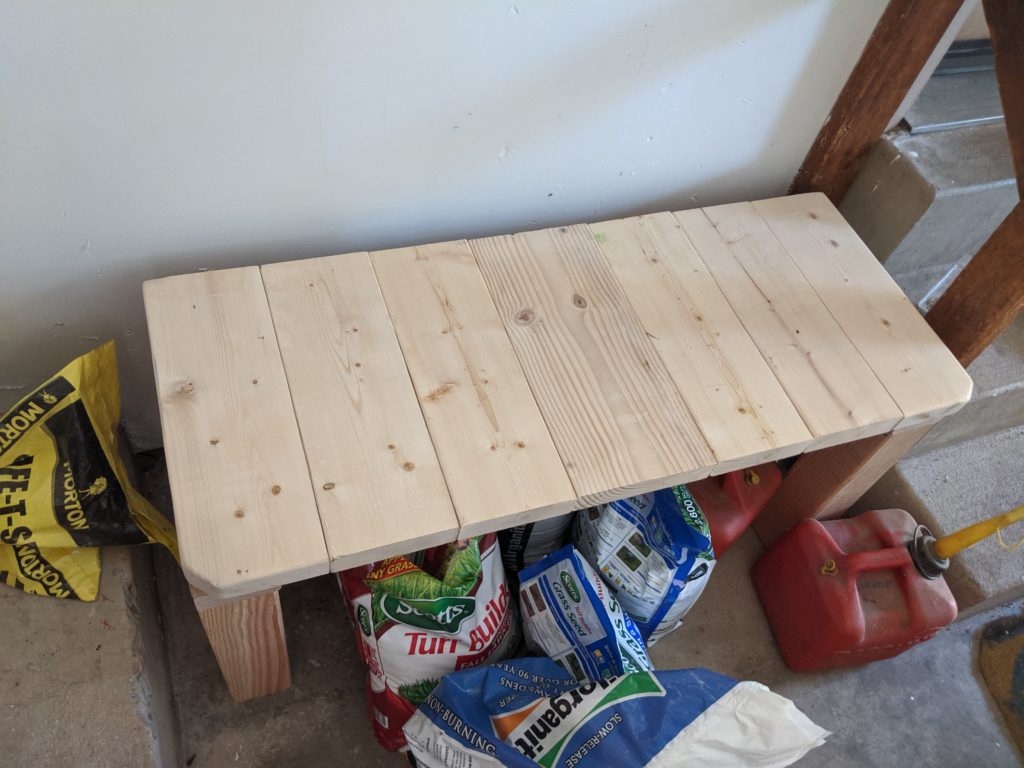
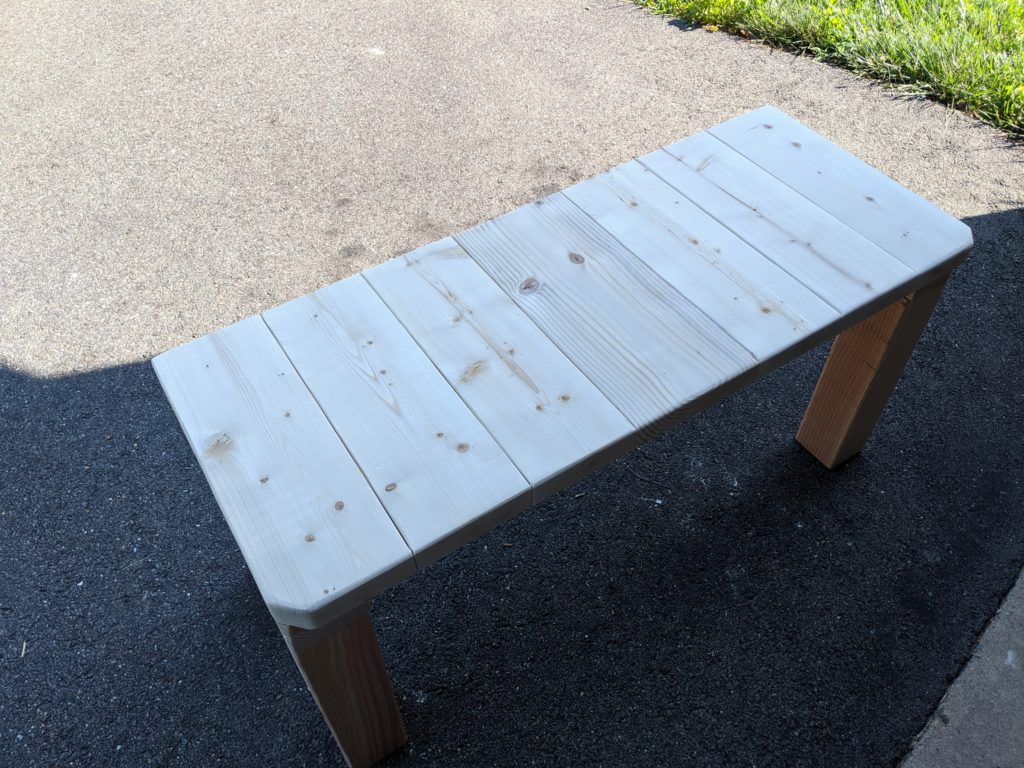
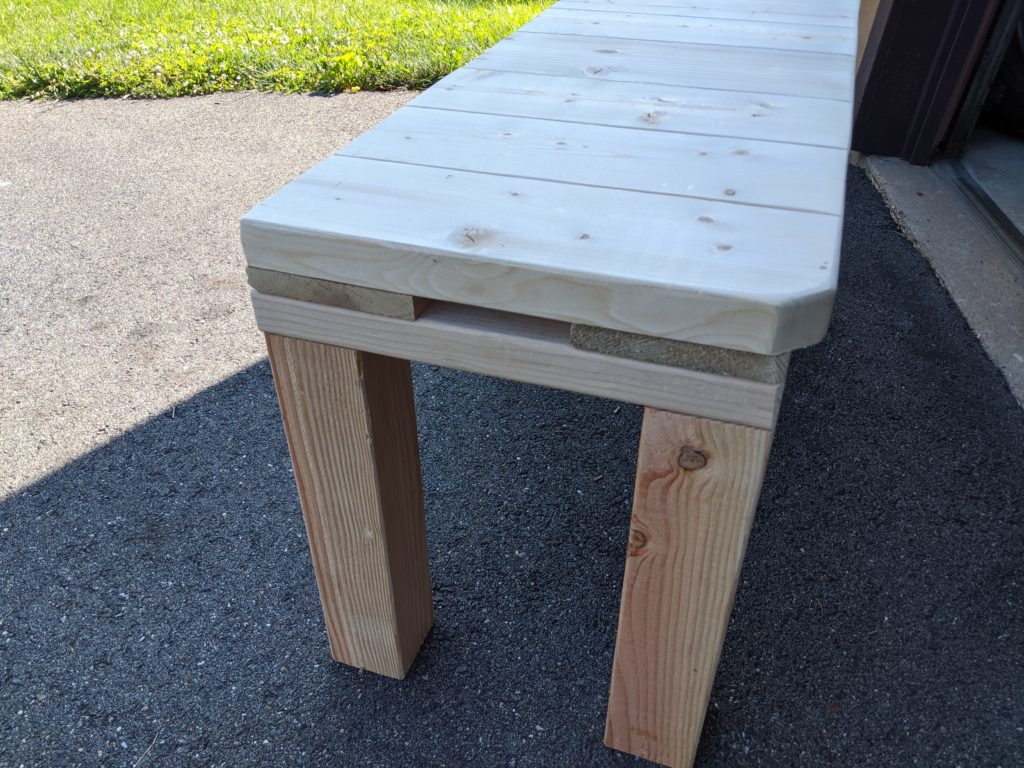
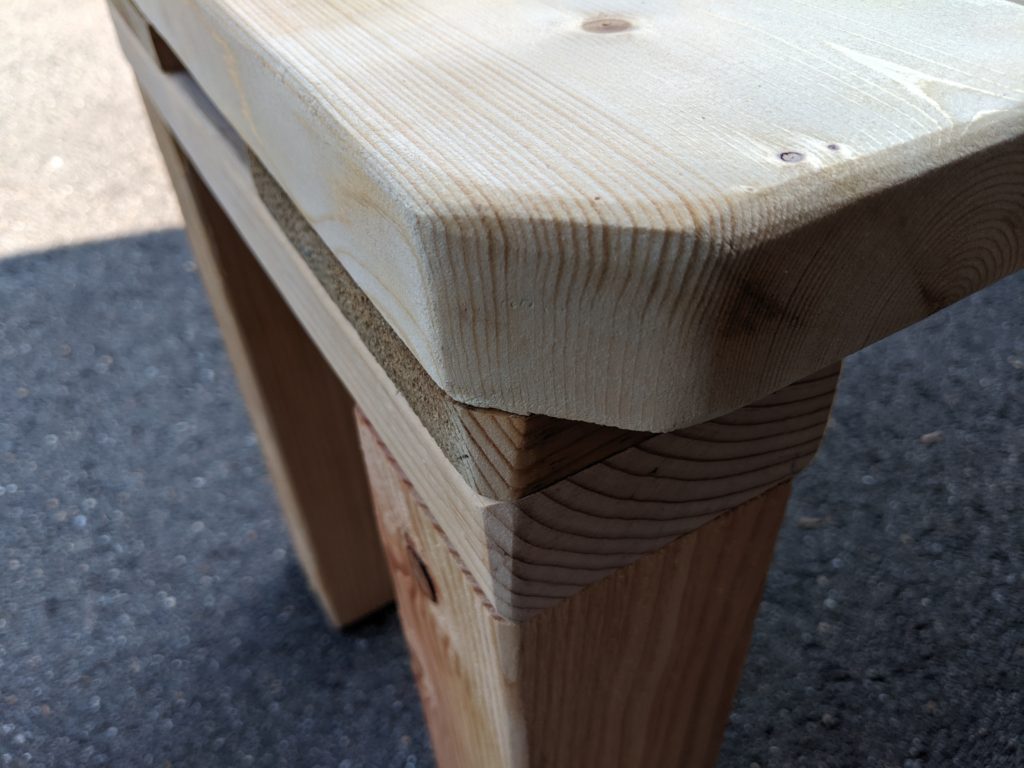
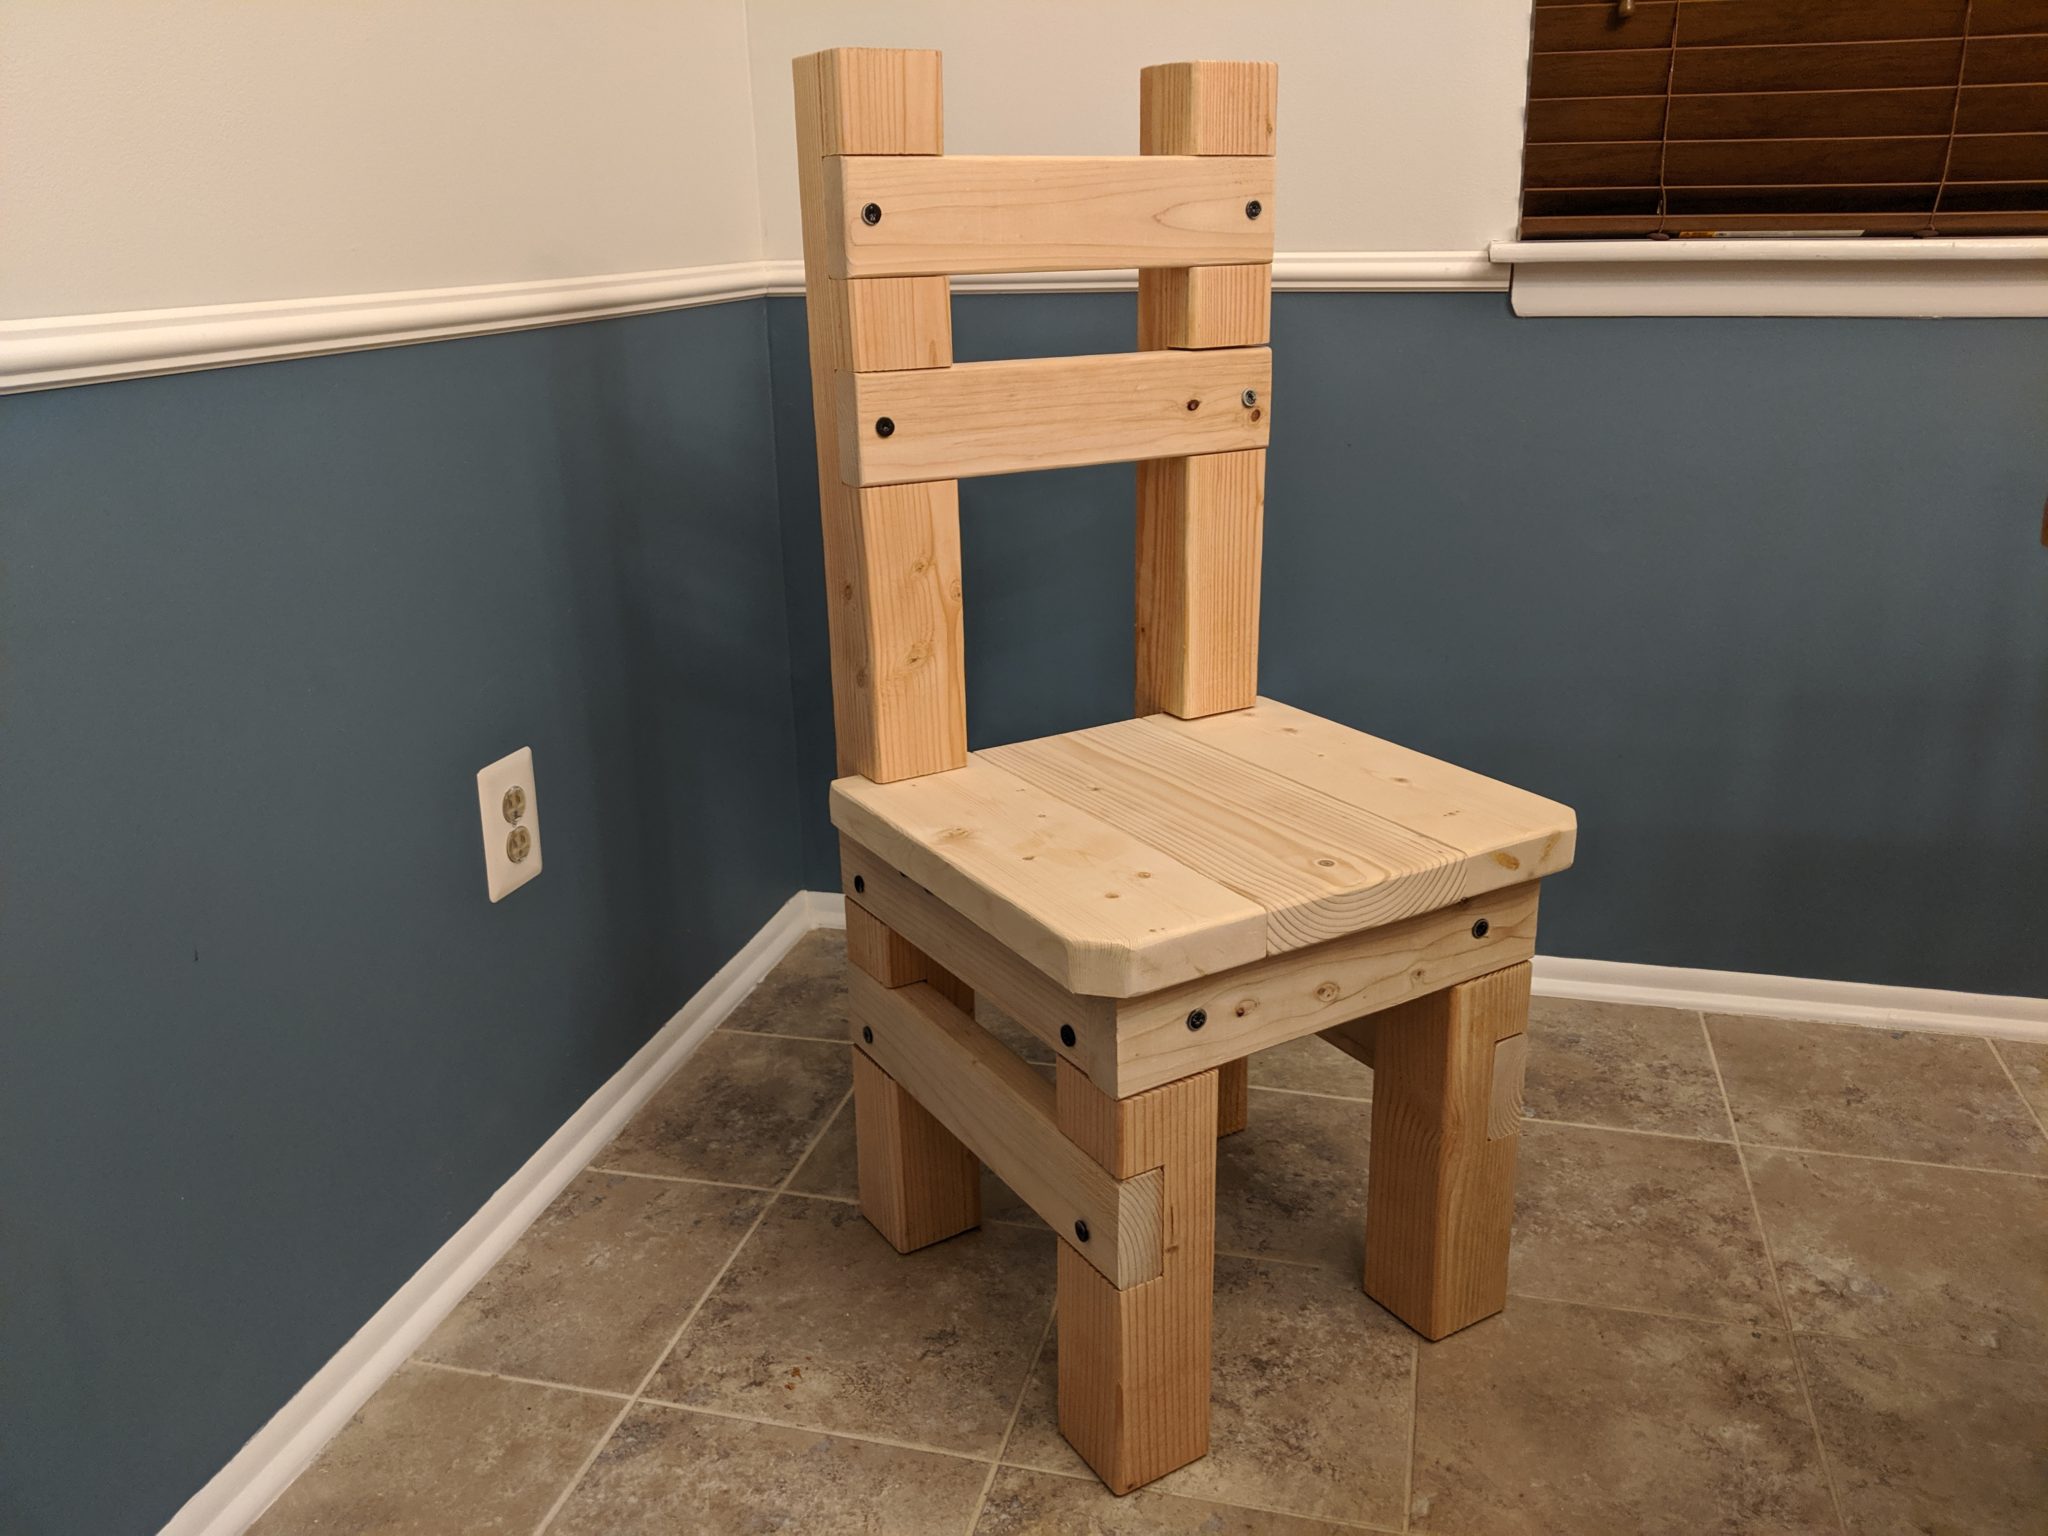
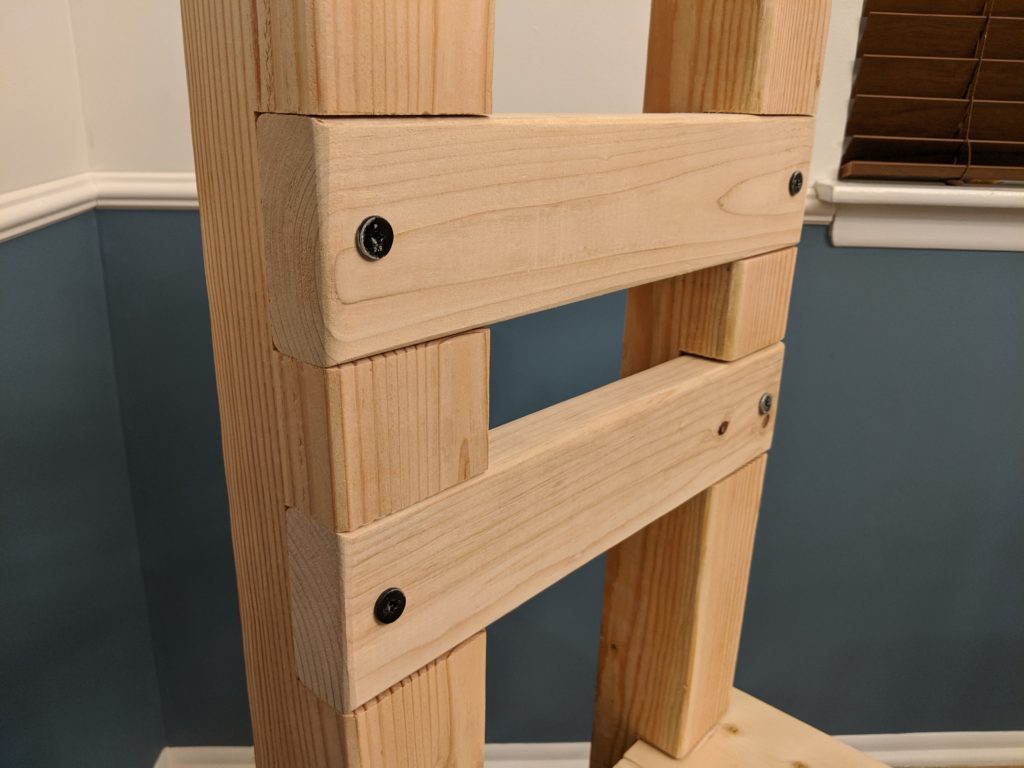
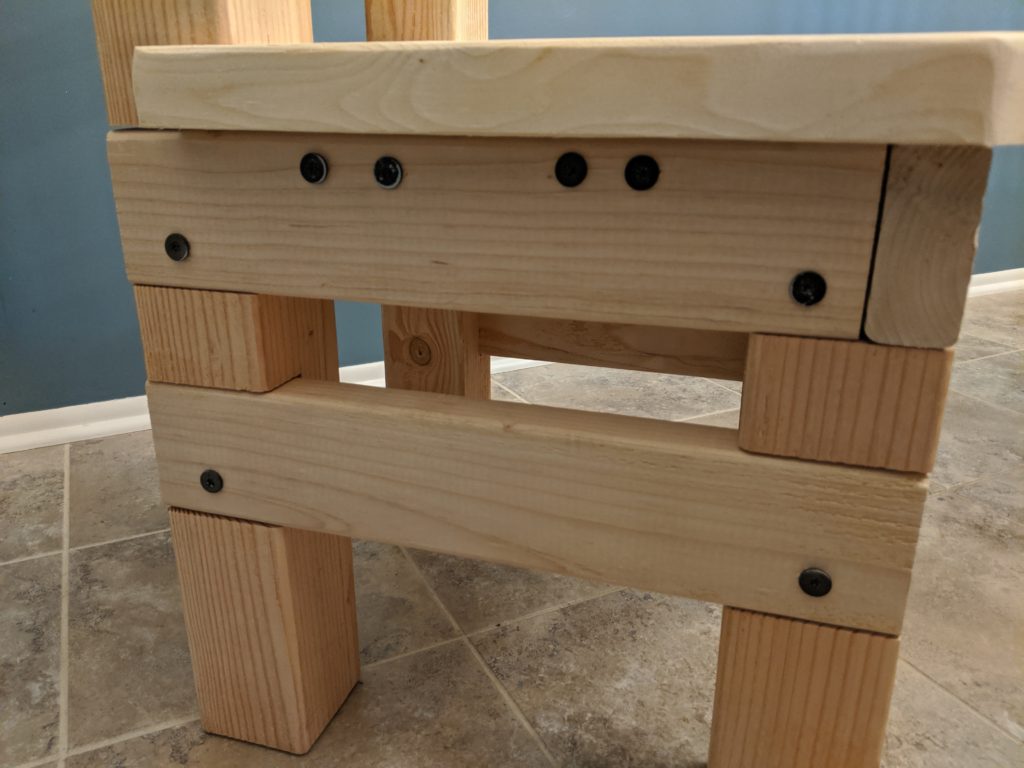
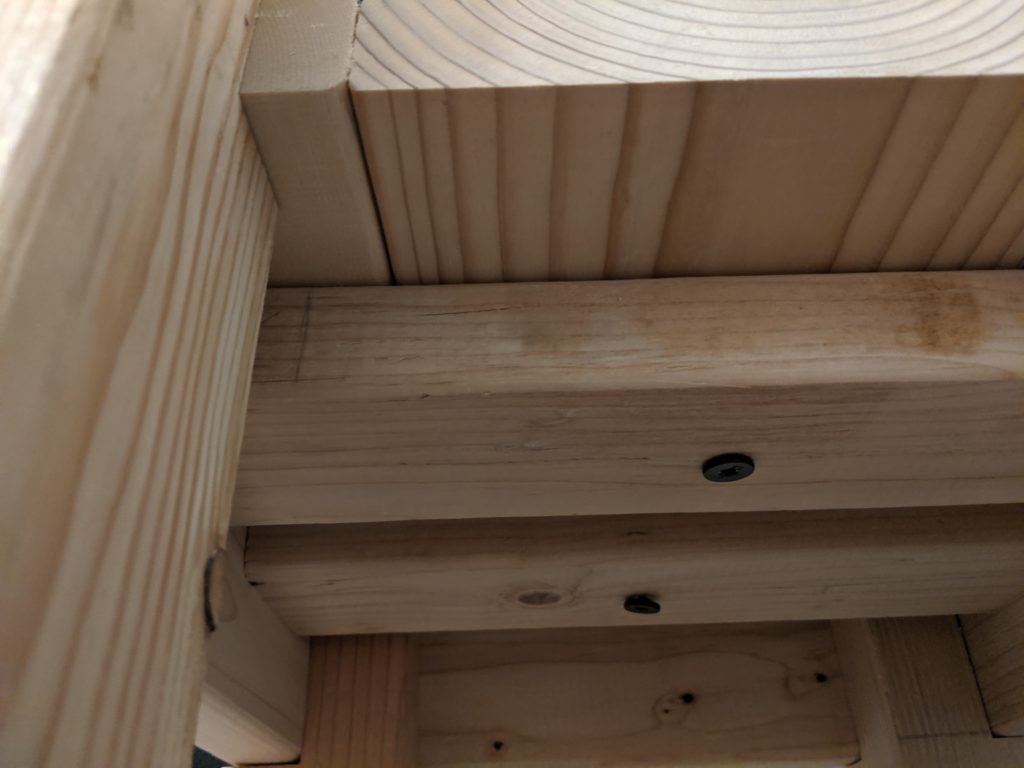
So with three years of woodworking experience that followed my first desk creation attempt, I was ready to make another try.

What resulted is this:

Resin? LEDs? MUCH better!

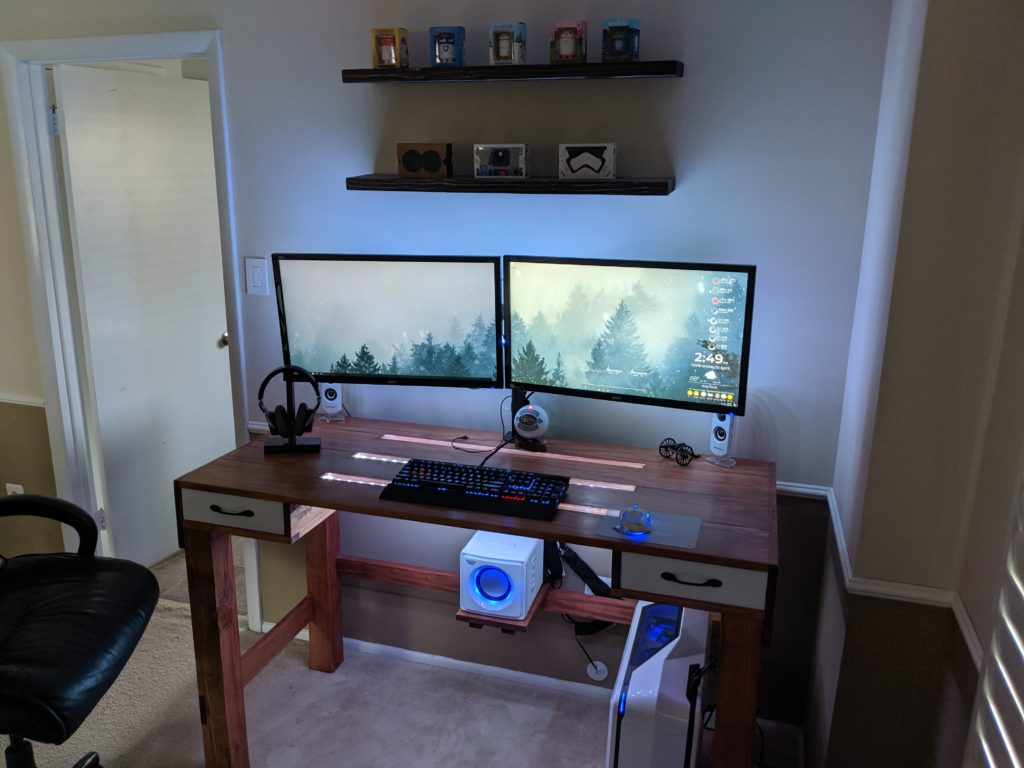
I’m writing up the whole process of creating this desk, but it’s an amazing thing to have completed for someone like me, who was still fairly new to woodworking.

May your desks be strong and your productivity high!

[1] This is a generality; of course not every single person moved from one to another. There are still forests, and farms, and factories.

[2] I would have said “mankind moved to desks” but I had to keep going with the F words.[3]

[3] That F word is NOT what I meant!

[4] I see retail/food checkout and service areas as long desks.

[5] I used to work at the front desk of a hotel and I still don’t know where the other desks are. Is there a back desk? A side desk? No one knows!

Scrap Wood Bench

Remember when I built the sturdiest chair in the world, and then the subsequent tactical cancellation of that project? I was able to re-use a bunch of the wood from that project to make this bench!

When we bought our house the garage wasn’t finished. A few months after moving in I installed insulation batting, but it was a few years before we finally had the drywall done.

Once the drywall was up I started various organization improvements, like installing garage shelves from scrap wood and designing my own movable miter saw stand.

However, one area I’d overlooked was various outdoor supplies that were haphazardly grouped in one corner.[1] I decided to make something that would organize the space while looking nice (well, nice for a garage at least).

It’s a mess

This was very soon after I had cancelled my kitchen chairs project and while I was in the early stages of building my custom-designed bird cage stand for our parakeets, so there was a ton of wood to choose from:

A wooden tower of possibility

The leftover 4x4s from the kitchen chair project would serve as great legs for the bench, plus they were already cut to about the height I was thinking of.

Just barely high enough to fit the fertilizer bags underneath

After dry fitting a few possible combinations, and debating the exact form and function I wanted, I settled on using six of the leftover 2x6s and one of the 2x8s from the chair project, since they were the perfect depth of 16.25 inches that I needed to fit in the space between the concrete stairs.

Starting to take shape

Spreading these pieces out gave me 40.5 inches in length, which was perfect since the maximum space was 45 inches.

Almost like it was meant to be

I decided to raise the bench’s top height a bit by adding 2x4s across the side corners, which also added stability:

Notice the extra holes? Reusing wood FTW!

I screwed these in with 2.5 inch Spax T-Star drive screws. These require no pre-drilling, which makes projects like this a breeze.[2]

“I JUST NEED TIME AND SPAX

I then cut two 1×6 pieces (which I’d gotten for free on Craigslist) to 40.5 inches each to go across the front and back corners. This way I could put the top pieces on:

A little extra height goes a long way

Then I placed all of the top pieces on for a dry fit:

Lo, a new bench approacheth!

And notice the trimmed corners? These are the same two seat pieces from the prototype kitchen chair that I built! Plus I thought it was a nice touch design-wise.

I clamped 2x4s across the top to hold things in place so I could go underneath the bench and use 1.5 inch Spax T-Star drive screws to attach the top pieces to the front and back 1×6 supports without having the screws show on top.

How Australians see the bench

Note that I had considered using pocket hole screws to attach the top pieces[3], but ultimately decided it wasn’t necessary for a garage bench. I might have gone ahead with pocket hole screws for the whole project if the bench was destined for inside the house (e.g., front entryway or family room) but it’s fine for a garage.

I then sanded everything down and prepared for finishing:

“Shiny” – Malcolm Reynolds

View from the side:

Showing some curves

Note that I had to sand down the corner wood a bit since I didn’t account for the trimmed corners on the top pieces, but it looks fine to me!

Corners don’t hurt me, no more

I finished it using some Minwax polyurethane spray I had laying around; if this was a more formal or interior piece I would have used something else.

SPRAY! SPRAY FOR YOUR LIVES!

Test fit of the finished product!

Nice

And here it is in use:

Ship it

If you are interested in building this for yourself, here are the cuts you need to make (along with a column you can use to check off as you make each cut):

Cut to:#Part/Reason/Placement:Cut?
58in x 8.5in2Bottom part of stand
23.75in x 8in4Middle parts of the supports
?23.75in x 3in1Top of cable holder box on the back
3in x 4.25in2Side pieces for the cable holder box on the back
3in x 4.25in1Back piece for the cable holder box on the back

[1] Yes, I know storing gasoline and fertilizer so close together isn’t a great idea. They’ve since been moved.

[2] Spax T-Star drive screws are my absolute favorite screws. No, I am not sponsored to say that…but I’d be open to it if you’re listening Spax!

[3] They’re so awesome, so why not?

The Sturdiest Kitchen Chair in the World

I set out to make a set of chairs that matched the farmhouse style kitchen table I’d made. I ended up creating the sturdiest chair in the world.

Over the past year I’ve gotten into woodworking as a hobby. During my sabbatical last fall I made a farmhouse style kitchen table, and the family loved it.

But the chairs weren’t a great fit. They didn’t match the table’s style or finish at all, plus they were starting to fall apart. I made a note to make new chairs and then forgot about it.

A few months went by and the kitchen chairs were really starting to need replacement. So I picked the project back up again.

I wanted to use the same wood (4x4s, 2x4s, 2x6s and 2x8s) in the same pattern I’d used in my farmhouse kitchen table build. Further, I wanted to assemble them the same way as I’d done with the table; namely, using pocket hole screws.[1]

The issue with that approach is we don’t move a table very much, but chairs need to move all the time in addition to reliably supporting more weight than a table. That meant having four 4x4s attached to 2x4s with pocket hole screws as originally designed was going to cause issues.

So I updated my design to use rabbet and dado cuts:

The adjusted design with dados in the 4x4s to support the 2x4s. Good luck reading my handwriting!

I didn’t know it then, but the result would be the sturdiest chair in the world.

After finding usable scrap in the garage and getting the remaining materials, I went to the table saw and cut my dados and rabbets.

I promise no rabbits were harmed in the making of this project.

Things got a bit crazy with the back legs; I had multiple dados on each leg as well as a 3.5 inch dado right below a 1.5 inch dado (for the seat):

It kinda felt like playing Jenga or Tetris

With the legs done it was time to dry fit and correct any major issues before moving forward:

My wife is a saint for allowing me to keep the wood in the kitchen

Not bad! I had to make some adjustments to a few dado cuts but nothing major.

I then cut the other wood (2x4s, etc) to size. Here’s a closeup of the chair’s front right corner so you can get an idea of how I placed the top supports:

Jeeeeeeenga!

I then used these screws from Lowe’s to put things together:

A bit pricey, but they look amazing

Here’s the backrest; I planned on using 2 screws on each side for each backrest piece but it ended up being really sturdy without them:

Notice the sanded edges too.

And here’s how I screwed in the sides:

Sand before you screw these in, or add painter’s tape to the screws before you sand, otherwise you’ll rub off the paint as I did.

I decided to add two support pieces underneath the seat for added stability since the seat pieces were attached to each other using pocket hole screws:

Not my best job, but they worked!

I spent extra time sanding down the edges and corners so no one would get hurt, and here is the result:

A thing of beauty

Sitting on it was actually not bad; the next step was to use the bandsaw to cut a curve in the backrest pieces to be more comfortable.

But before I could do that we got a nice surprise: someone gave us five really nice Ikea chairs!

The three chairs for comparison: Ikea in front, original in back, and the one I made on the left.

As a result, the chair I designed and made was now obsolete; I wasn’t going to turn down five free $70 chairs when I still had to make 3 more by myself.

If you are interested in building this chair for yourself, here are the cuts you need to make for each chair (along with a column you can use to check off as you make each cut):

# pieces:Wood:Cut to:Part/Reason/Placement:Cut?
32×416 inBack rests & front support
22×417.25 inSide supports on the bottom
22×415.75 inSide supports on the top
22×413 inSupports underneath the seat
24×440 inBack legs
24×416.25 inFront legs
22×616.25 inSeat top (sides)
12×816.25 inSeat top (middle)

Note that the two 2×6 and one 2×8 pieces give a total of 18.25 inches in seat width which was perfect for us, but you can adjust as needed by either using smaller wood combinations or cutting them down.

[1] I love pocket hole screws. They’re magic.