“What good is a miter saw if you’re unable to saw?” said in the voice of Agent Smith to Neo
Last summer I was swamped with projects, including the bird cage stand and super sturdy kitchen chair. I didn’t have a ton of space to work in the garage, and was constantly moving things around to have a work surface.
For example, if I wanted to cut wood with the miter saw then I had to move the wood on my desk that was being glued together somewhere else, and later move the saw onto the floor to make room for the next stage of a separate project.
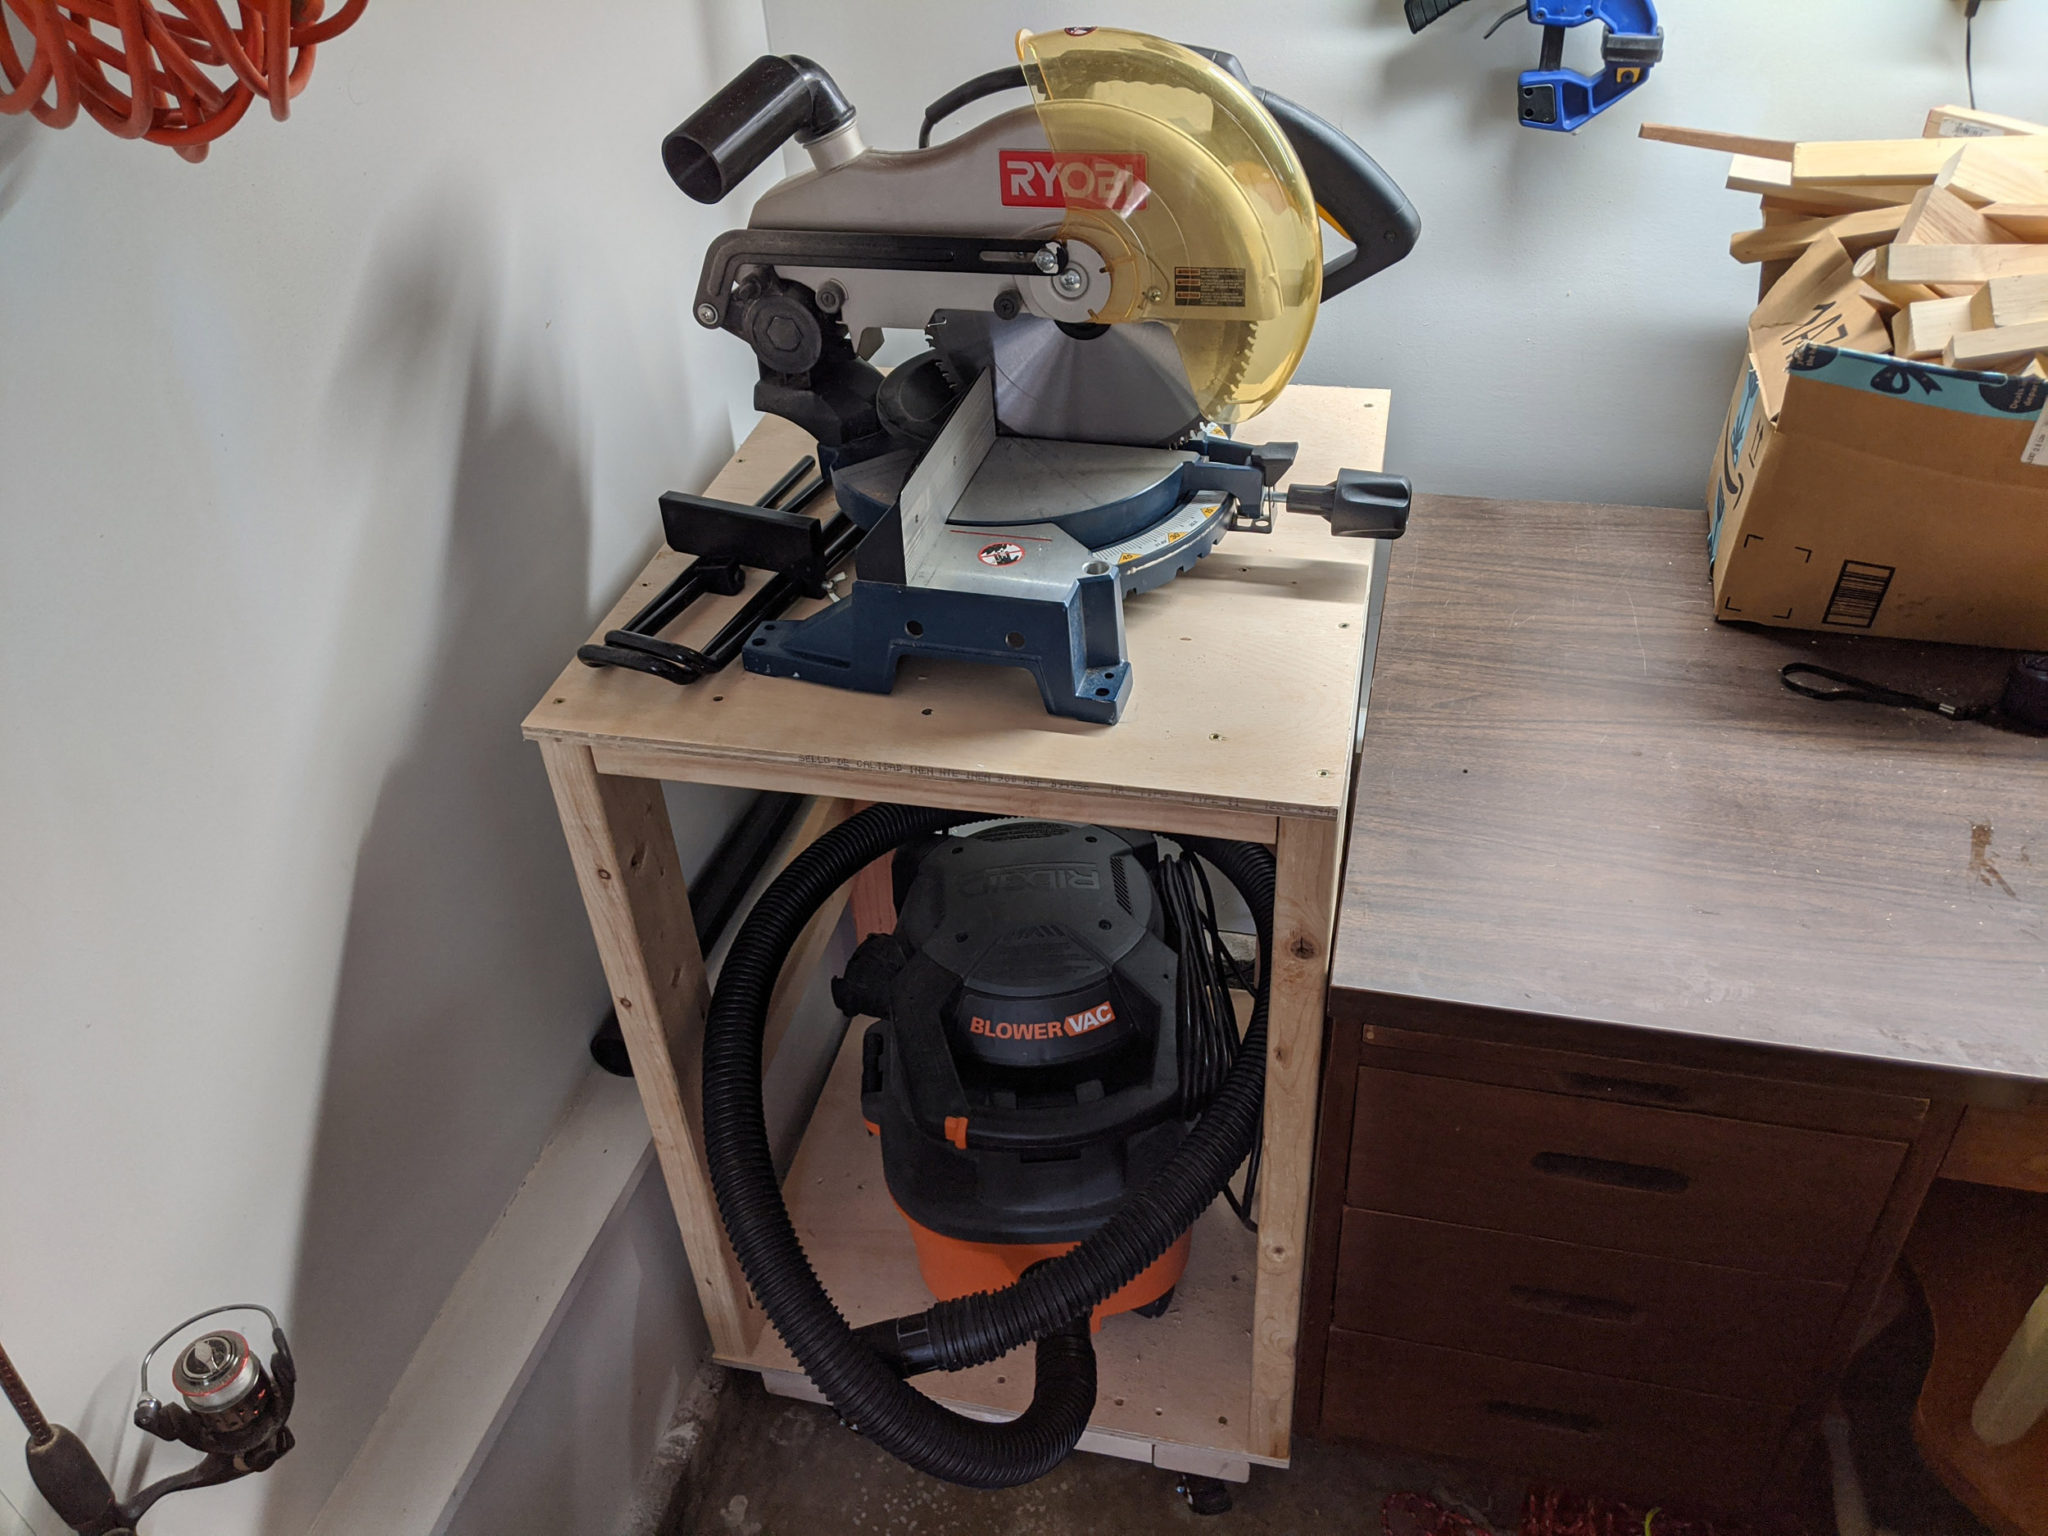
It was clear I needed a dedicated place for the miter saw, and started thinking about making a miter saw stand.
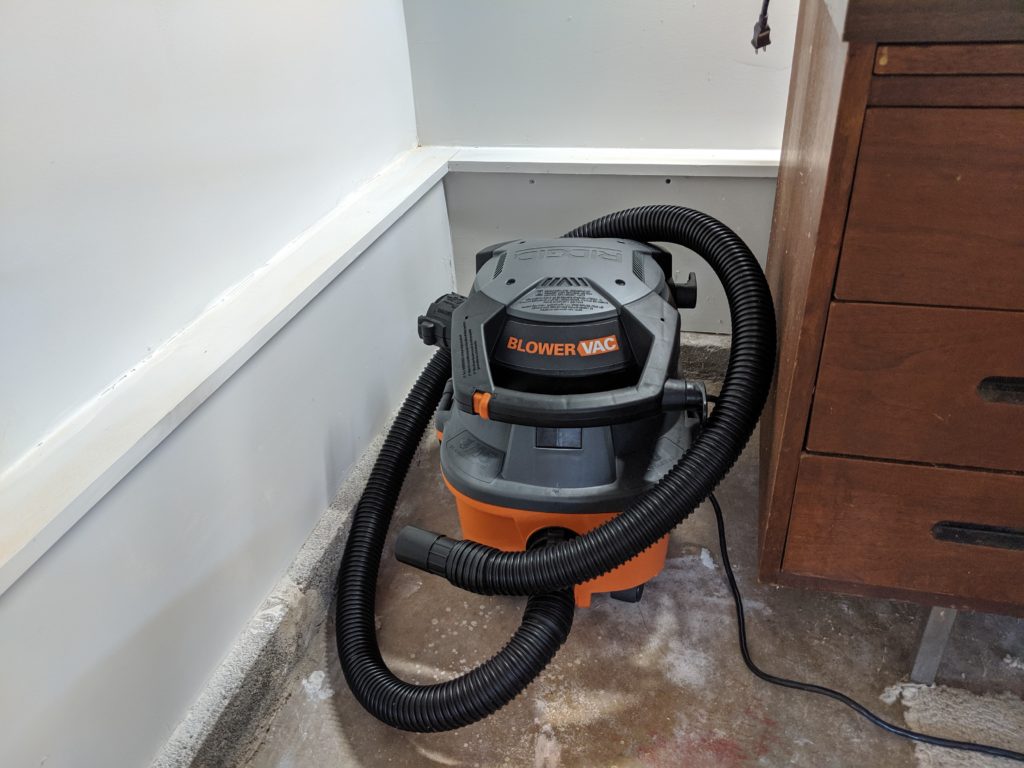
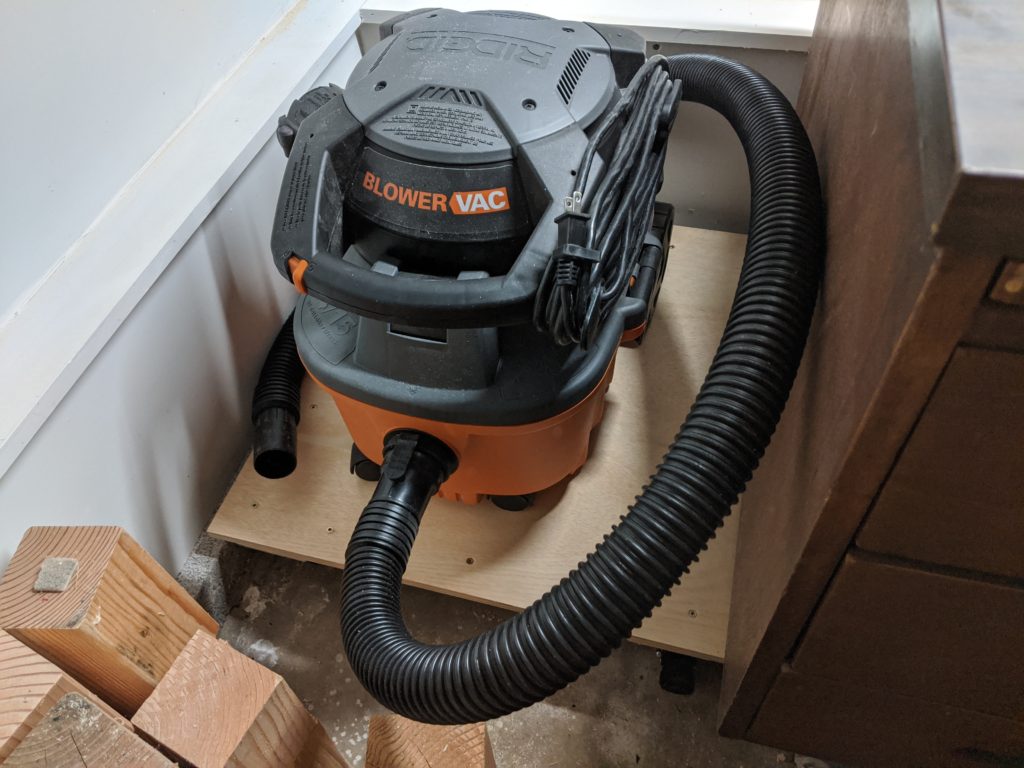
I had recently added this RIDGID shop vac to the list of things on the garage floor, and there was a perfect spot for it next to my work desk:
As I planned out my miter saw stand I realized I could save space by placing the shop vac under the stand. I then looked around at what other folks had done and found a few ideas for inspiration:
- https://fixthisbuildthat.com/mobile-miter-saw-station/
- https://sawsonskates.com/6-diy-space-saving-miter-saw-stand-plans-for-a-small-workshop/
My other requirements were pretty simple:
- I had to be able to remove the shop vac easily (so I could vacuum out the car or use the vacuum’s blower function after mowing the lawn)
- be able to move the stand around for longer cuts, and
- it had to fit in the space next to my work desk.
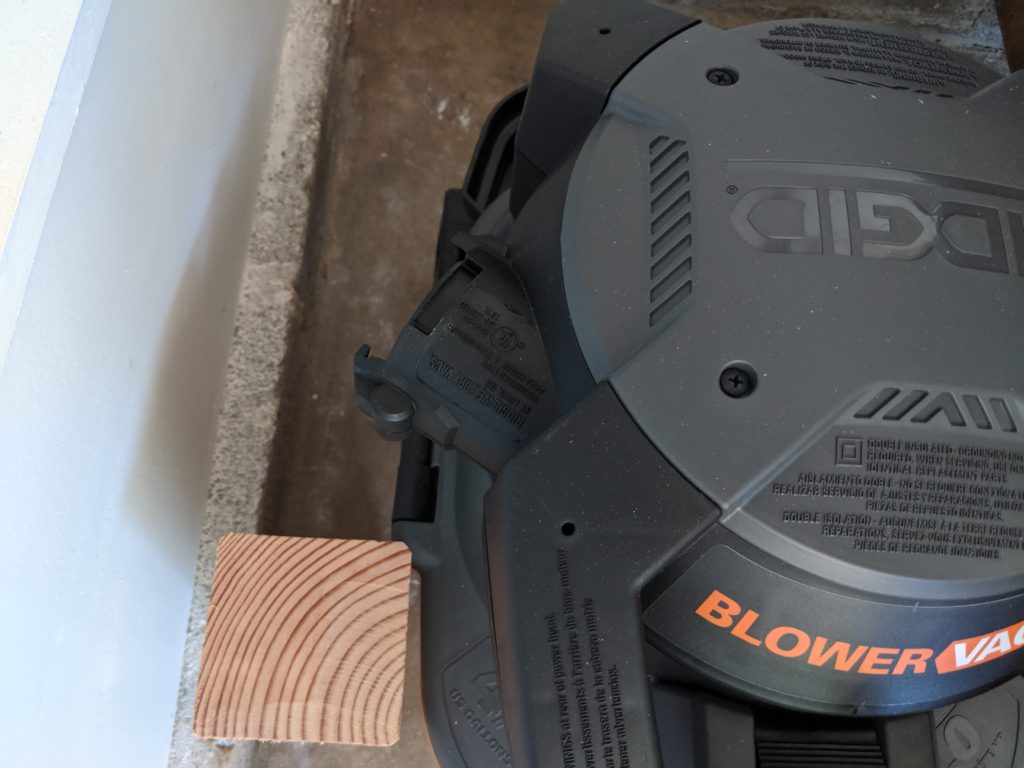
I also needed 4 inches of clearance from the bottom of the miter saw stand because of cinder blocks that stuck out partway from the garage wall (see the above picture). Since the wheels are 2.75 inches tall I decided to use 2x4s (with an actual height of 1.5 inches) bolted to plywood so the base would sit higher than the cinderblocks.
I had about 2 feet next to my work desk so I started with those dimensions and worked my way backwards.
I grabbed some extra plywood that was laying around and cut one piece to 23×22 inches for the base and another to 24×22 inches for the top (I wanted a bit more space at the top, and this gave me an extra half inch on the right and left sides).
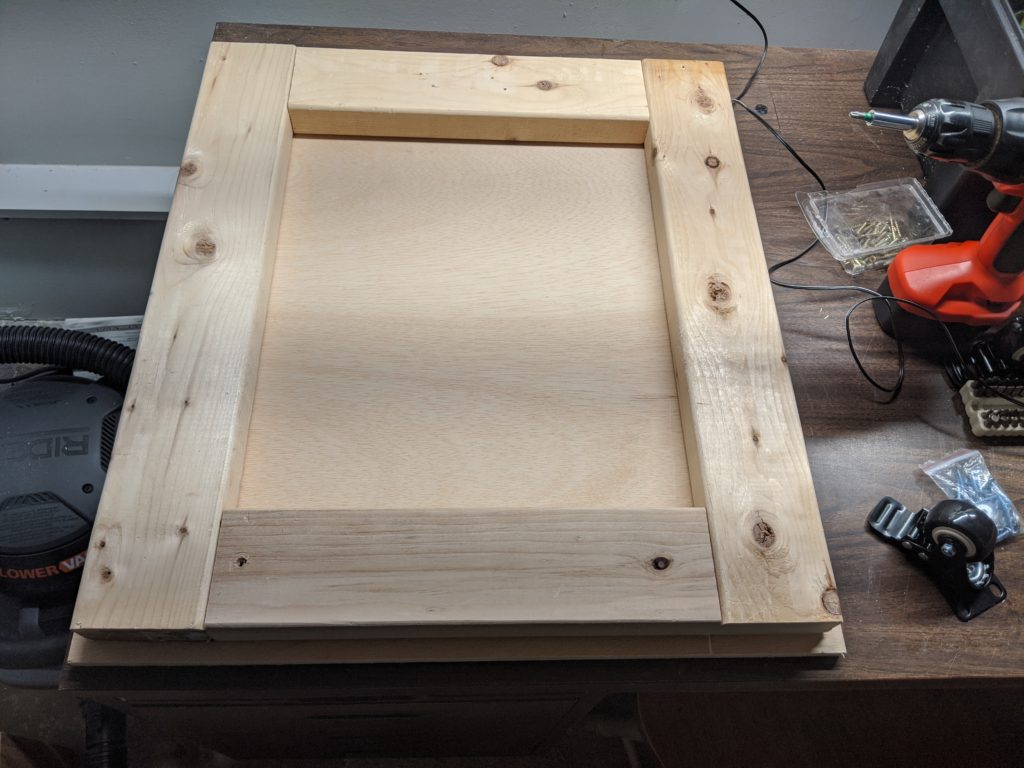
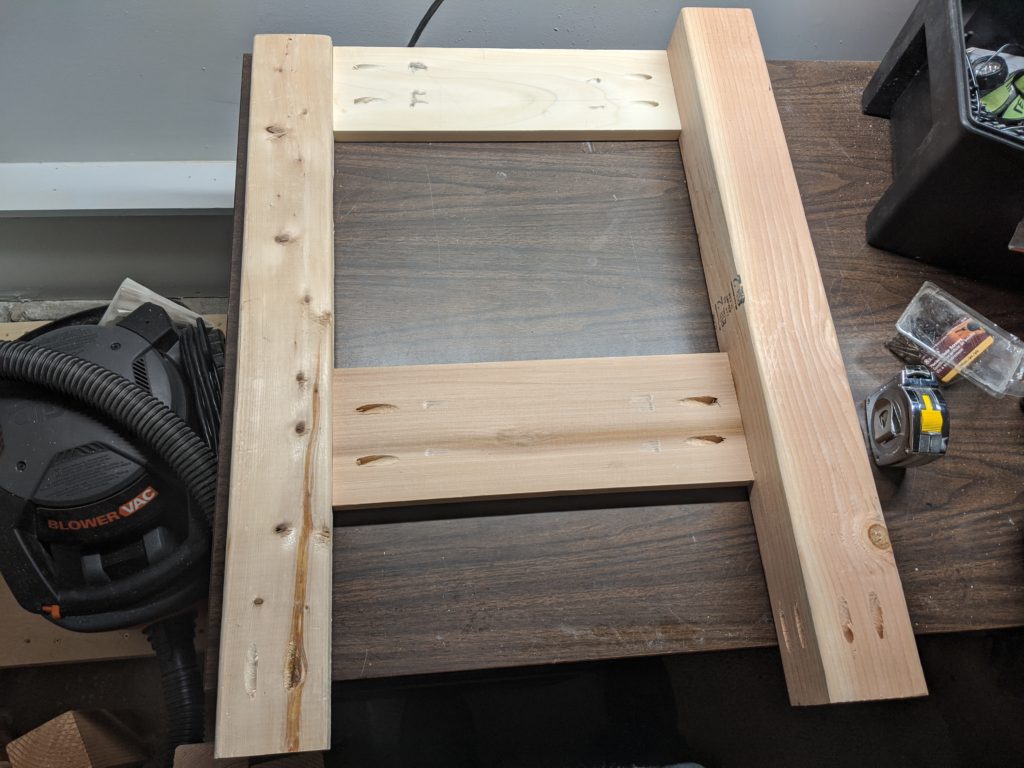
I screwed in the 2x4s to the bottom piece of plywod with Spax screws:
I then added these awesome rolling wheels with locks to the bottom so I could move the stand as needed:
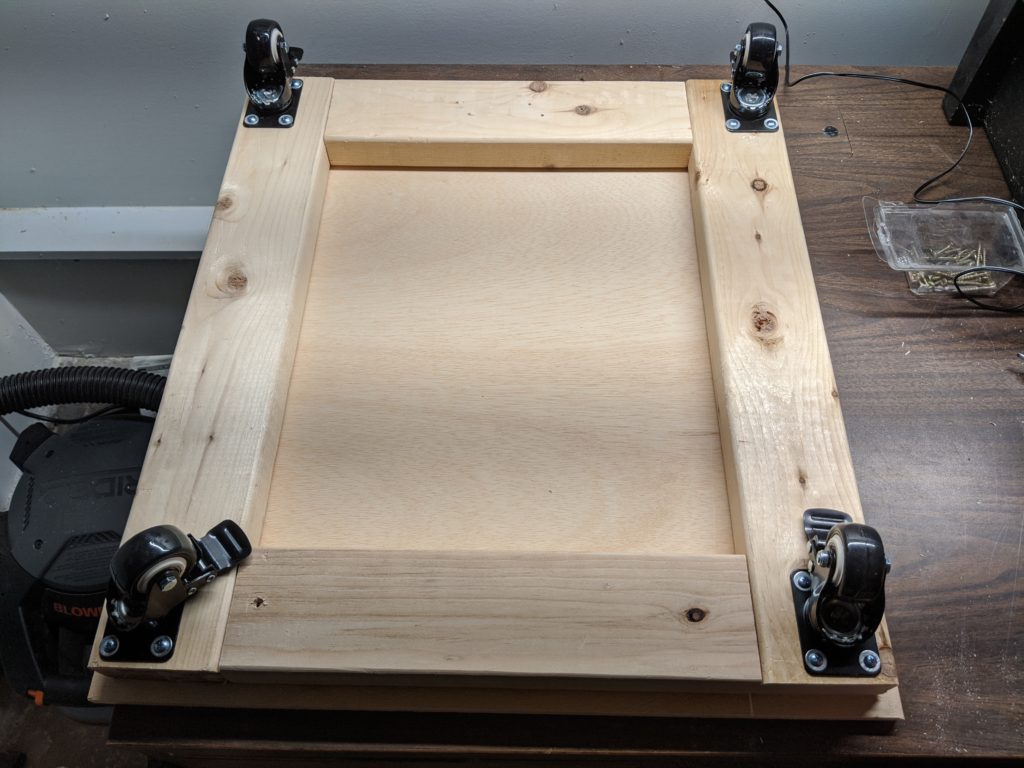
I did a test fit and things were looking good:
For the legs on top of the base, initially I thought I’d use 4x4s (left over from the ultimate chair project) for each corner, however there wouldn’t be enough space to take the vacuum out from the front of the stand:
Instead, I ended up using 4x4s in the back and 2x4s in the front which allowed me to easily get the vacuum out.
I then used pocket hole screws to connect the 4×4 legs and 2x4s with some spare 1×6 boards:
I then attached the legs using even more pocket hole screws to the base:
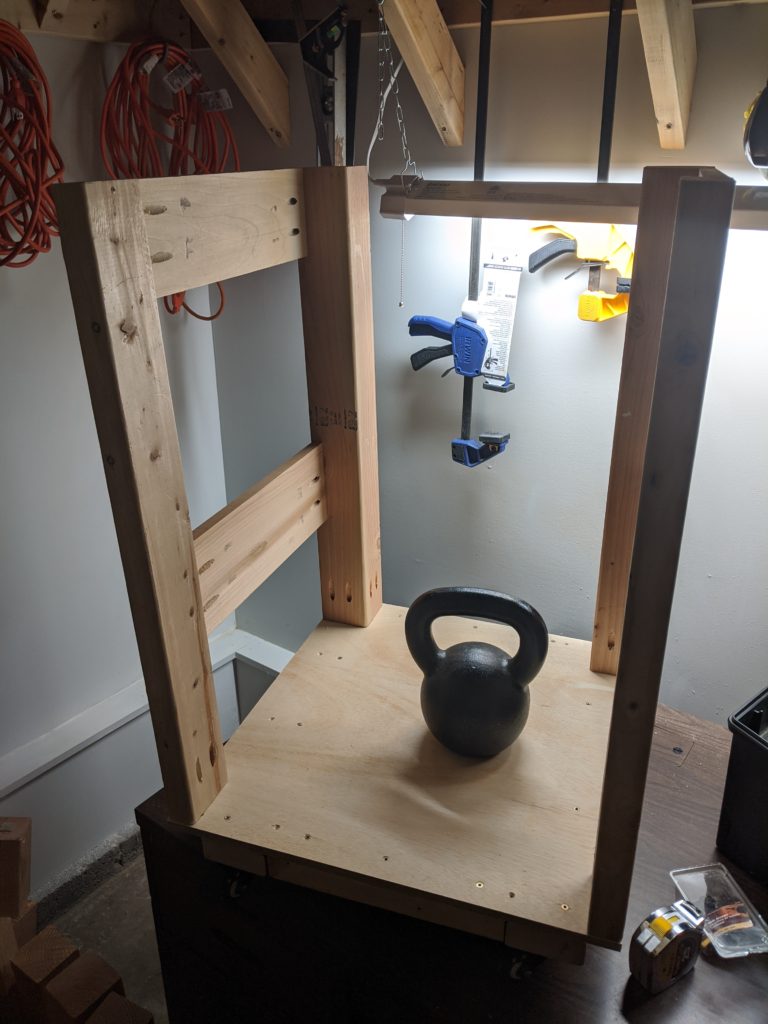
After the legs were on, I attached the top with more Spax screws[2]:
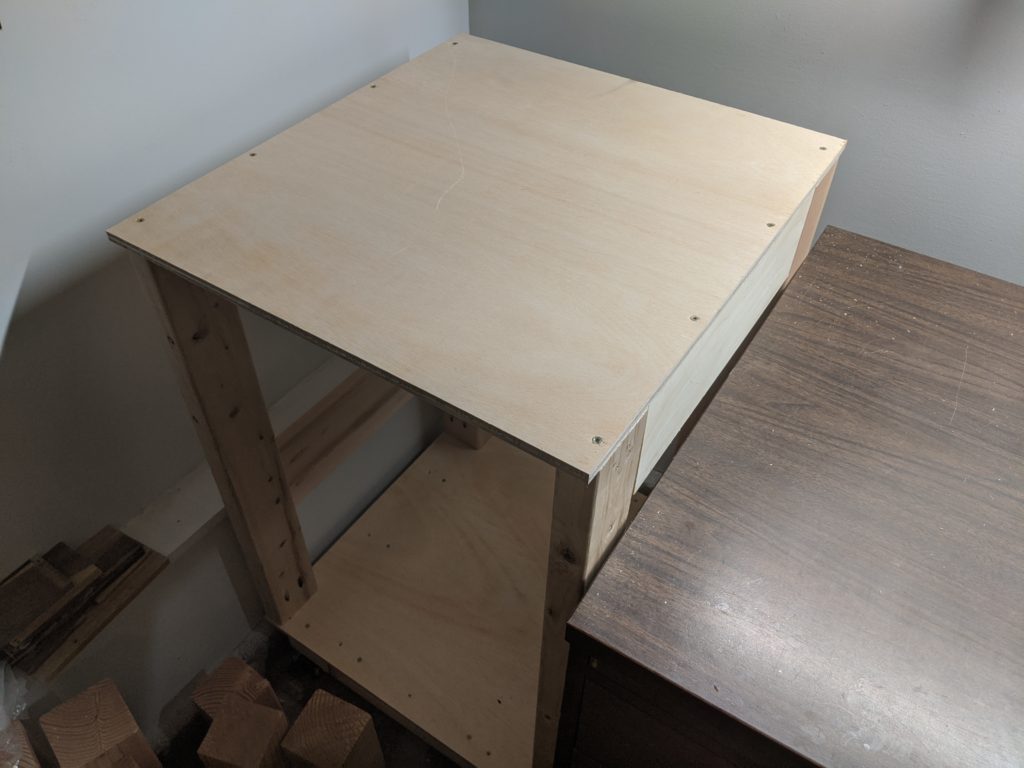
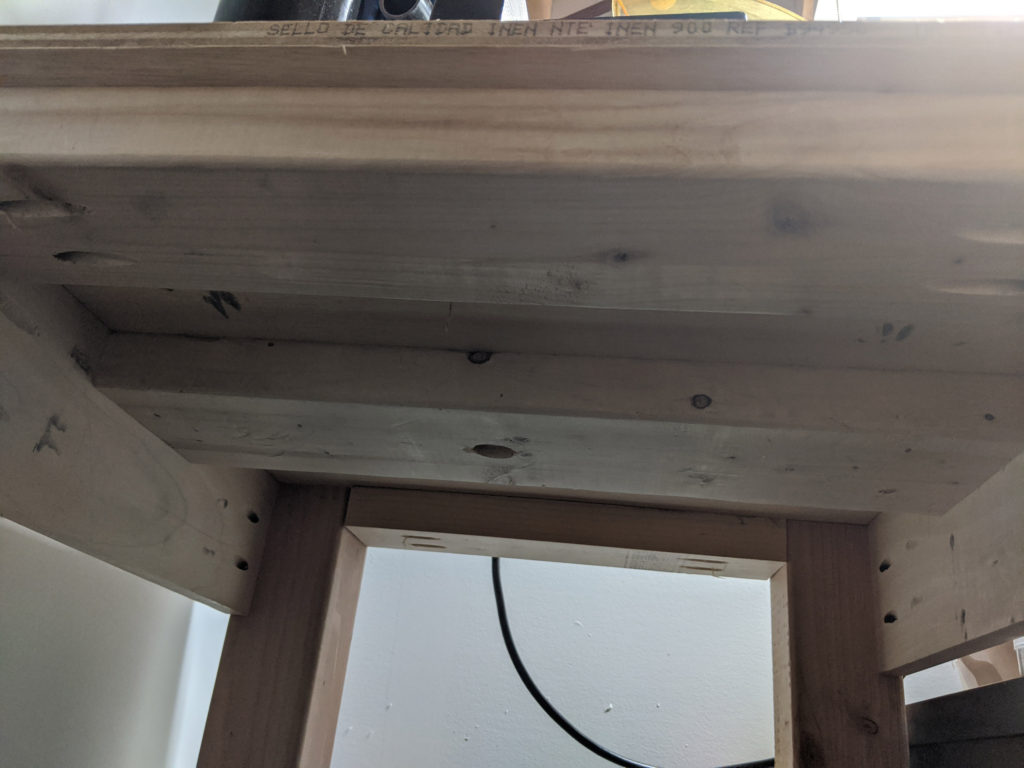
I then added some 2x4s and a scrap 2×6 underneath the top piece for additional support:
Then I placed the miter saw on the stand, tested the wheels and locking function, and it worked!
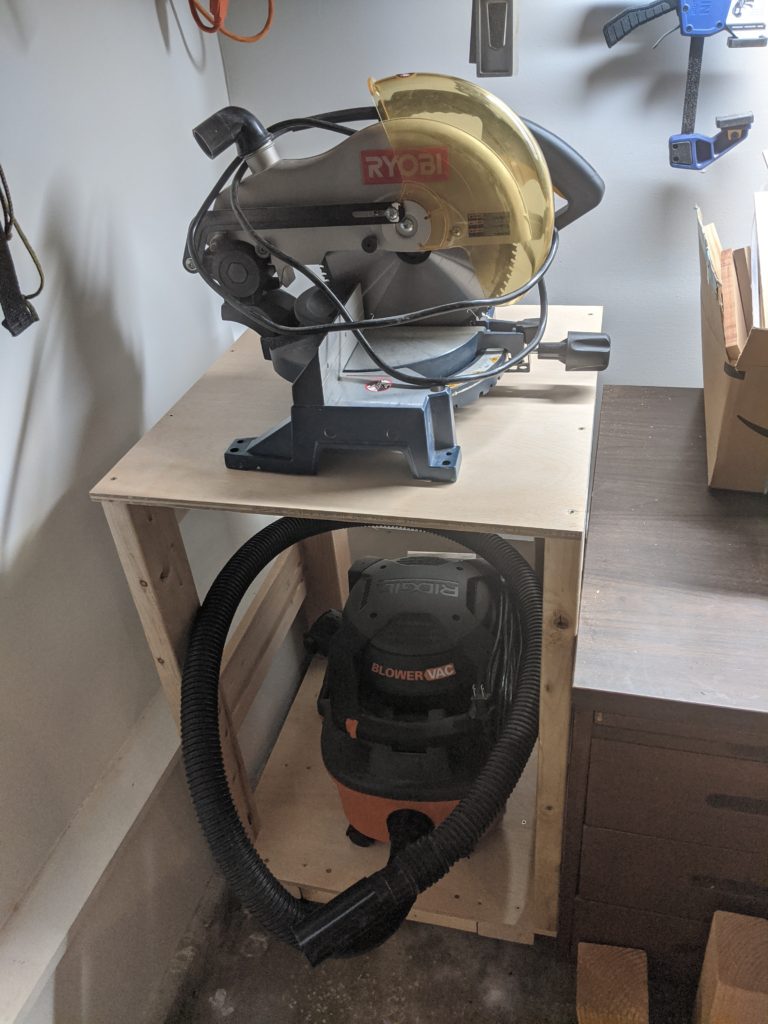
I love that I could easily move the miter saw stand out to make cuts and then back into the corner when not in use.
Here’s a list of cuts so you can make it (and adjust for your own space as needed):
| Cut to: | # | Part/Reason/Placement: | Cut? |
| 58in x 8.5in | 2 | Bottom part of stand | |
| 23.75in x 8in | 4 | Middle parts of the supports | |
| ?23.75in x 3in | 1 | Top of cable holder box on the back | |
| 3in x 4.25in | 2 | Side pieces for the cable holder box on the back | |
| 3in x 4.25in | 1 | Back piece for the cable holder box on the back |
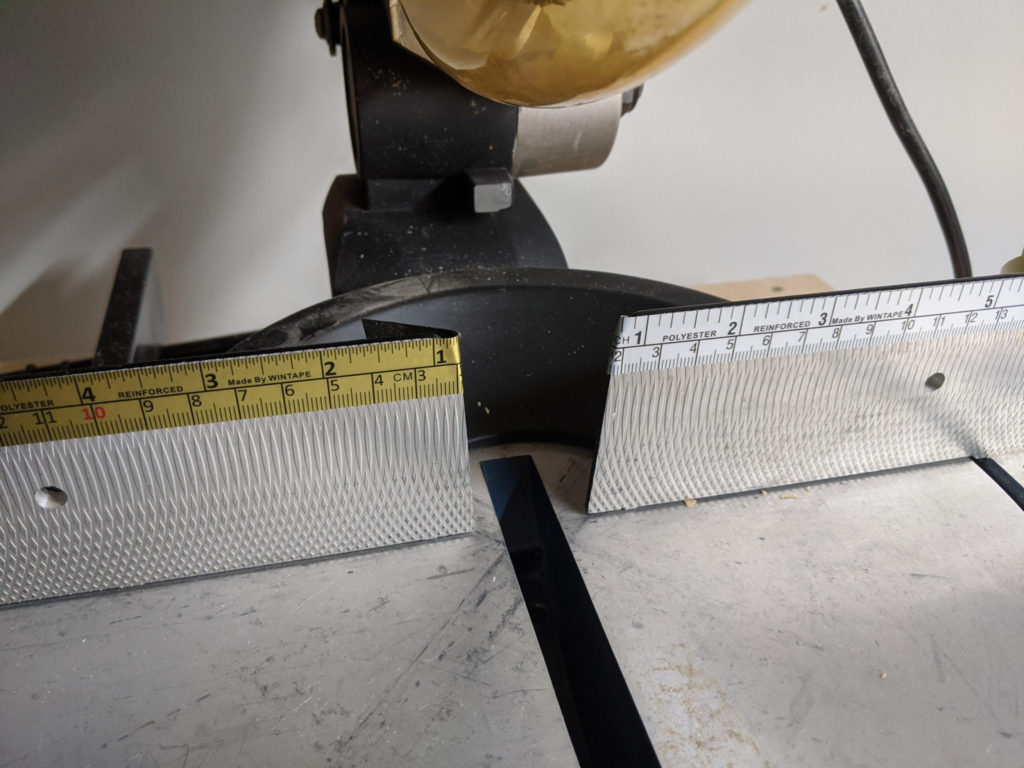
As a final detail I got some ruler tape and attached it to both sides to make measuring for quick cuts a lot easier:
In the future I might add collapsible sides, but so far I haven’t needed them (plus the saw came with some removable side supports). If I do add collapsible sides then I’ll probably make a larger top piece so there’s space on each end for the collapsible ends to fit underneath.
Let me know what you think!
[1] It’s true: https://en.wikipedia.org/wiki/Kettlebell
[2] I love both pocket hole screws and Spax screws. I know, it’s weird.