Adding some style and utility to our Google Home Mini
I won a Google Home Mini from a raffle at work and it’s been a huge hit with the family. Who knew a robot could make fart jokes?
The only downside to it was our struggle to find an optimal location; it seemed designed to sit either flat on a table, desk, or counter, or to be mounted vertically on a wall.
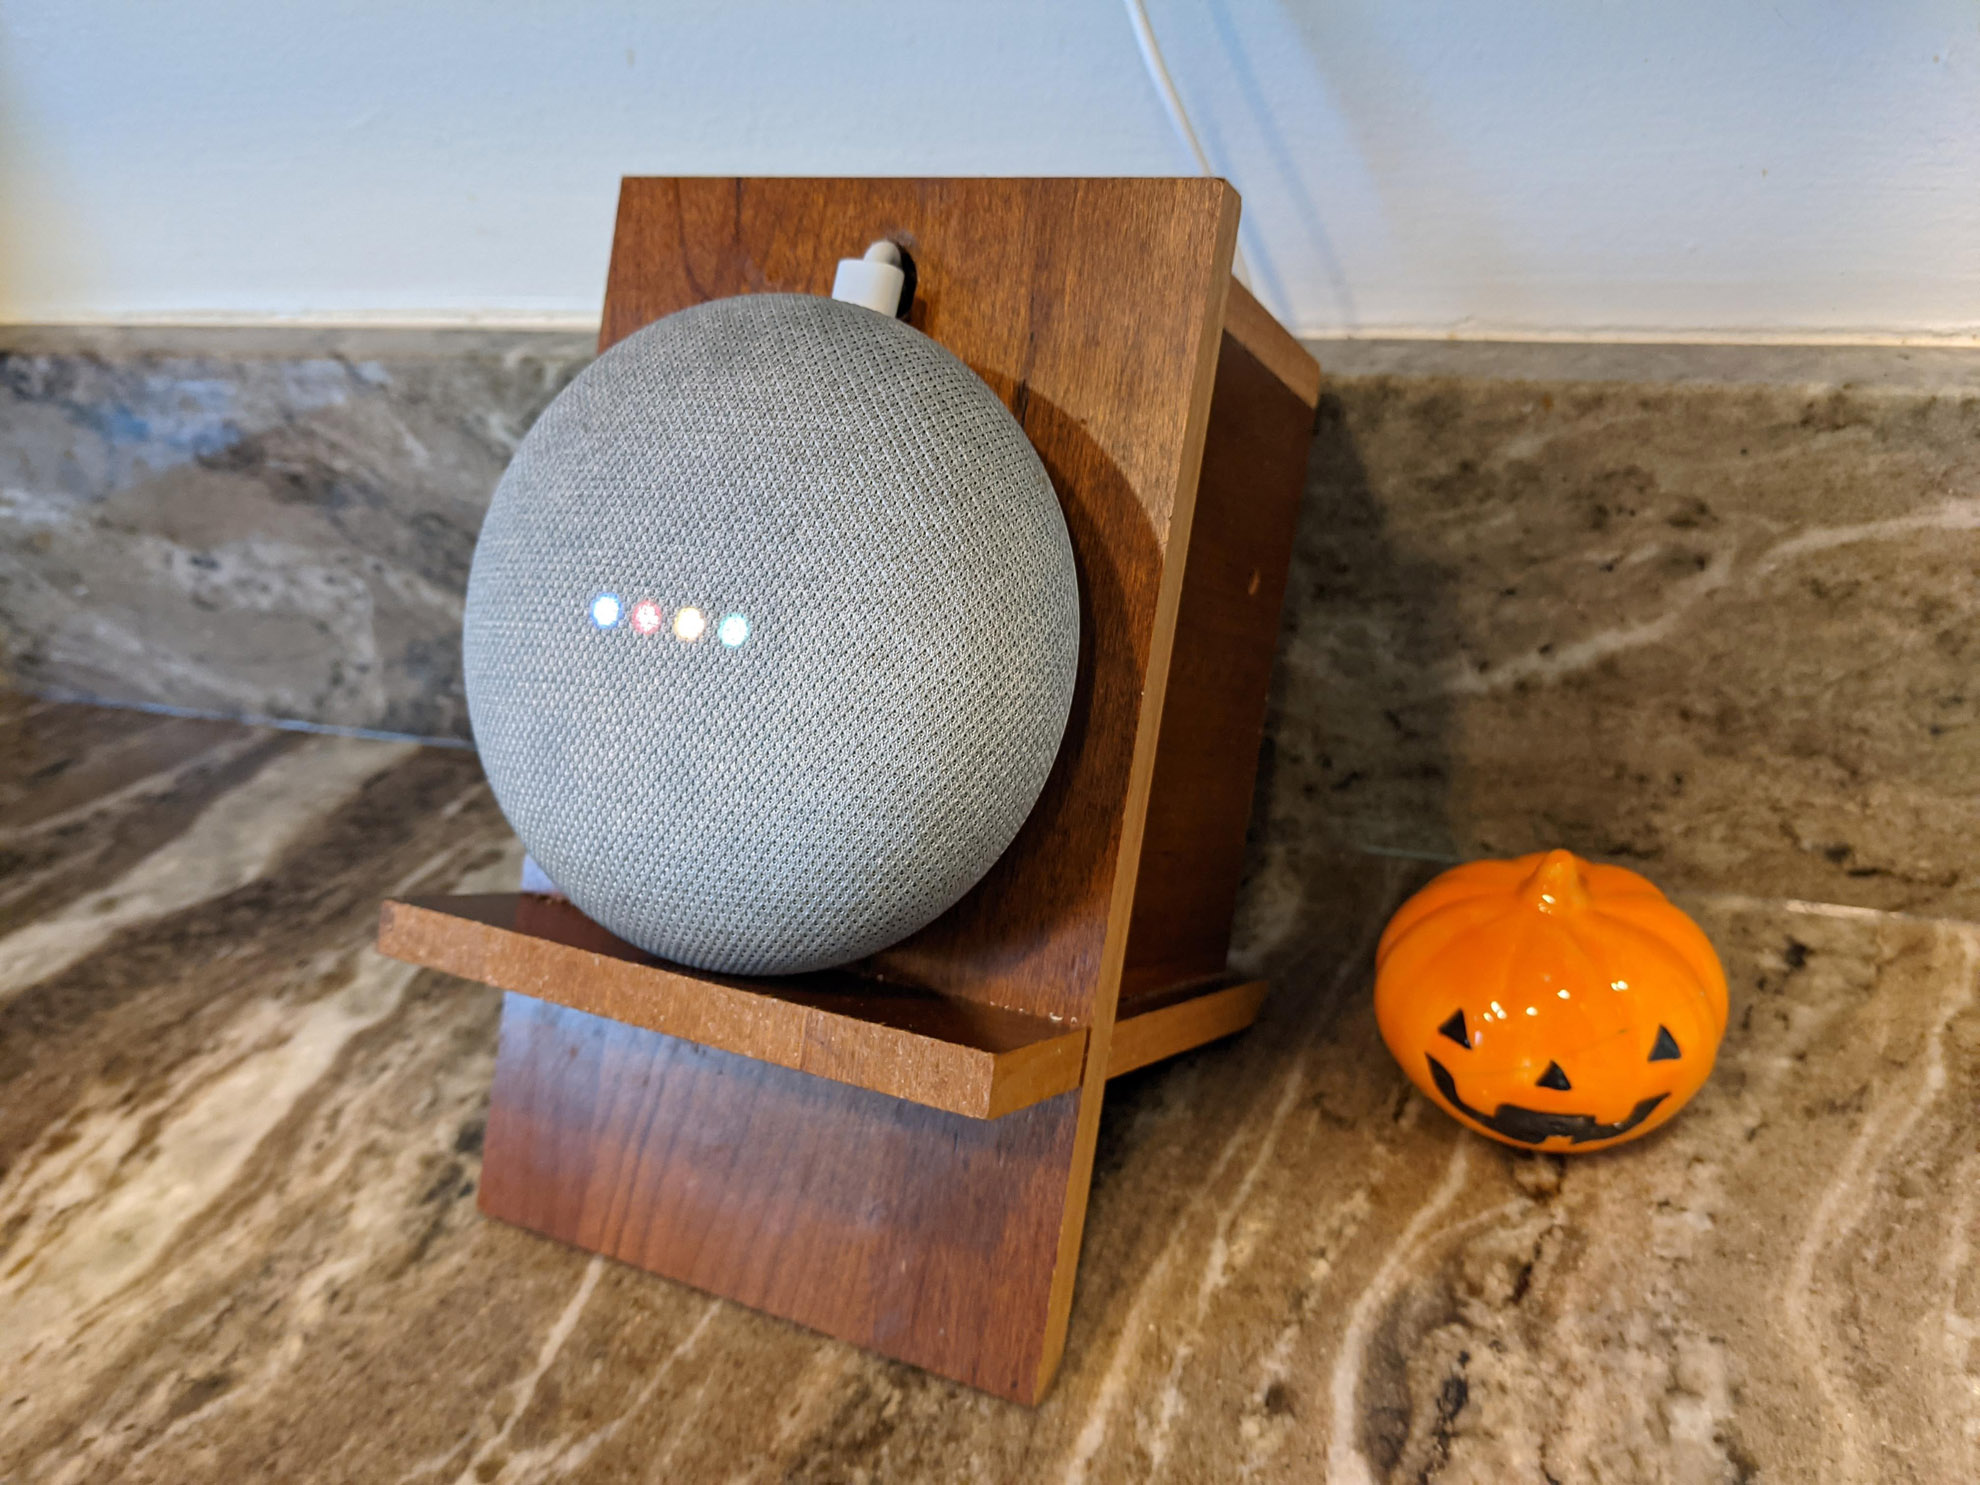
However, we preferred to place it at a 45 degree angle on the kitchen counter so we could better see its aesthetic design, have it in arm’s reach, and avoid adding holes to the wall.
A few weeks before we received it, I had been looking around for a phone stand and came across this version that resembled a Viking chair:
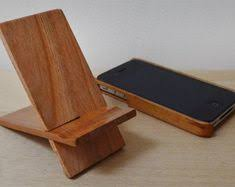
I thought this wooden phone stand design looked awesome, and decided to make a version of this for the Google Home Mini to rest on.
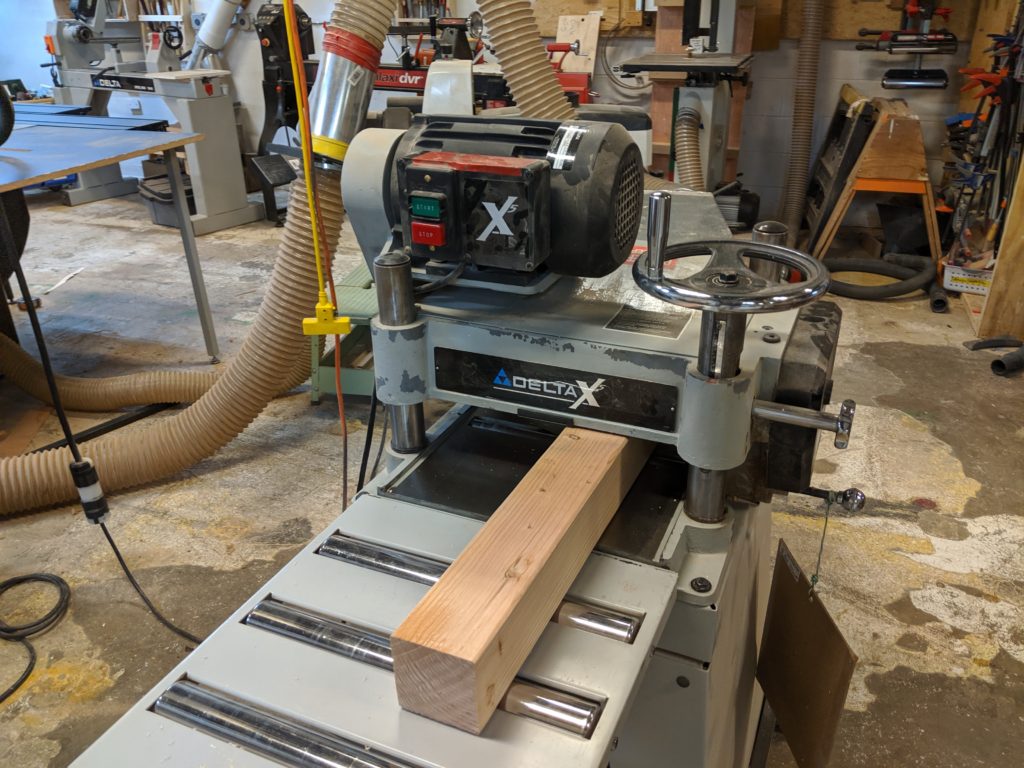
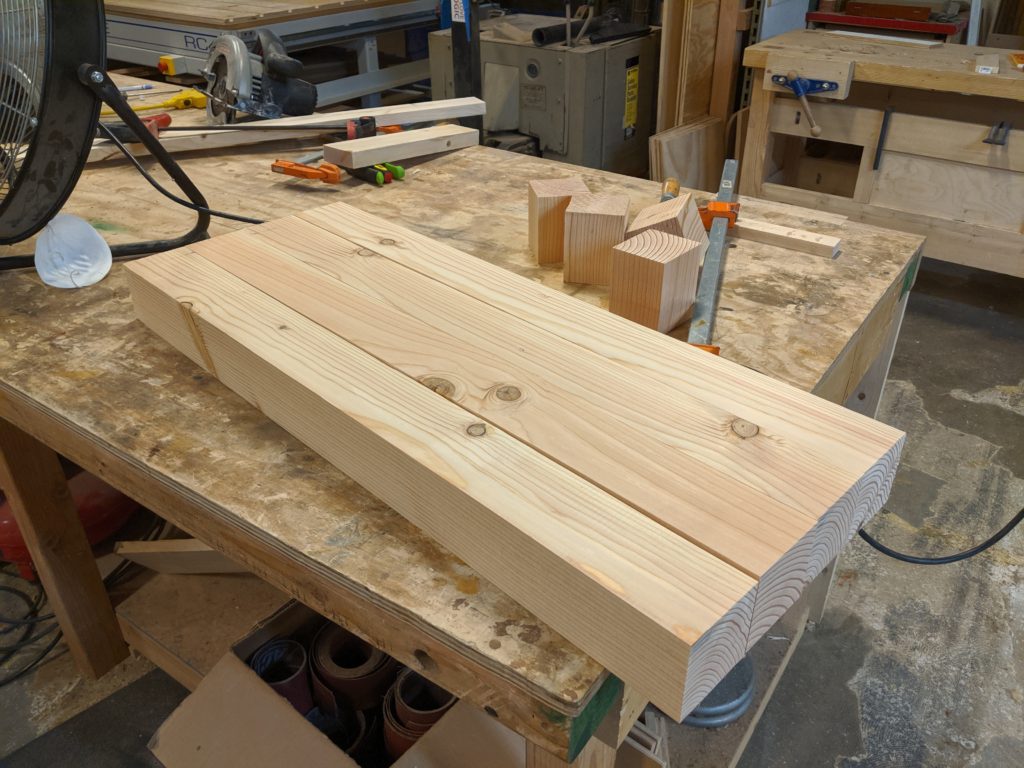
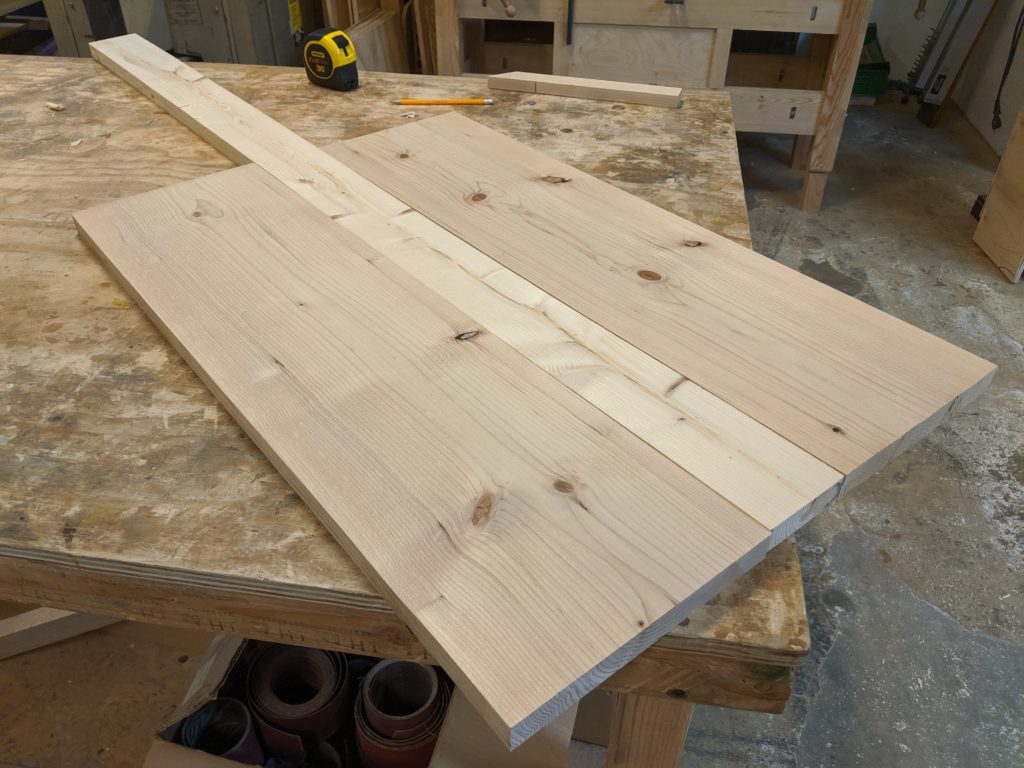
I started out with two .25″ thick pieces that I intended to stain later on. I sanded them down and then made a .25″cut on both going halfway through and combined the cutouts on each piece like this:
After placing the Home Mini on it, I realized that the power cable would look messy just hanging out the back:
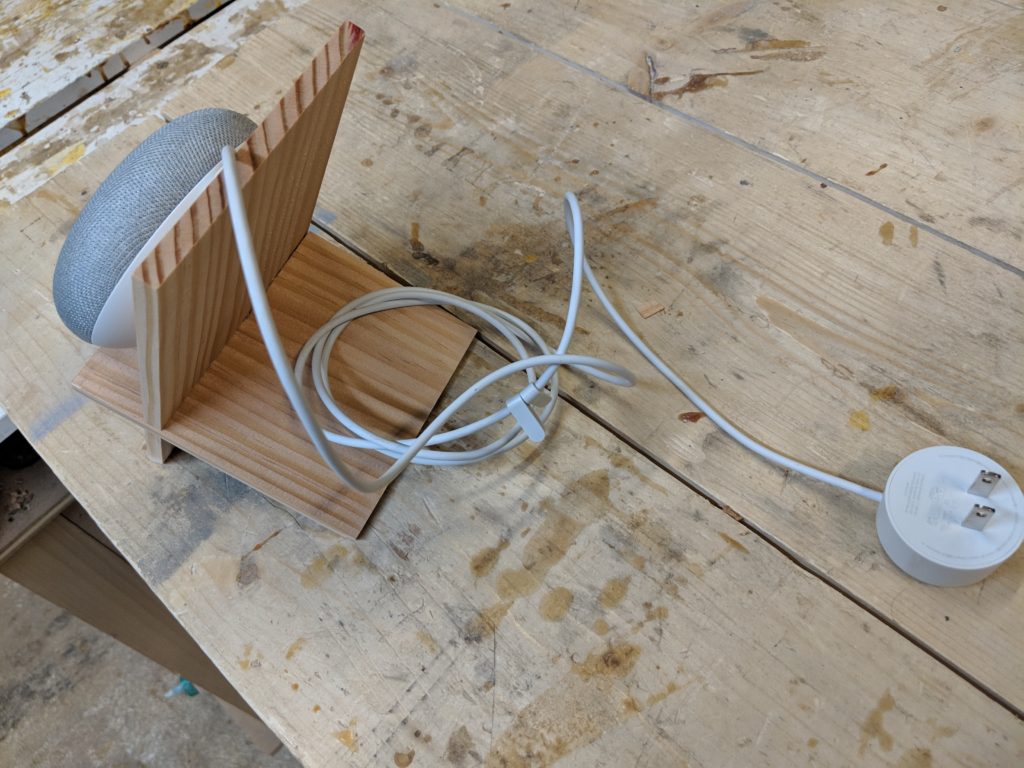
So I decided to make a box to go on the back that I could use to route the cables into, then back out again to the outlet:
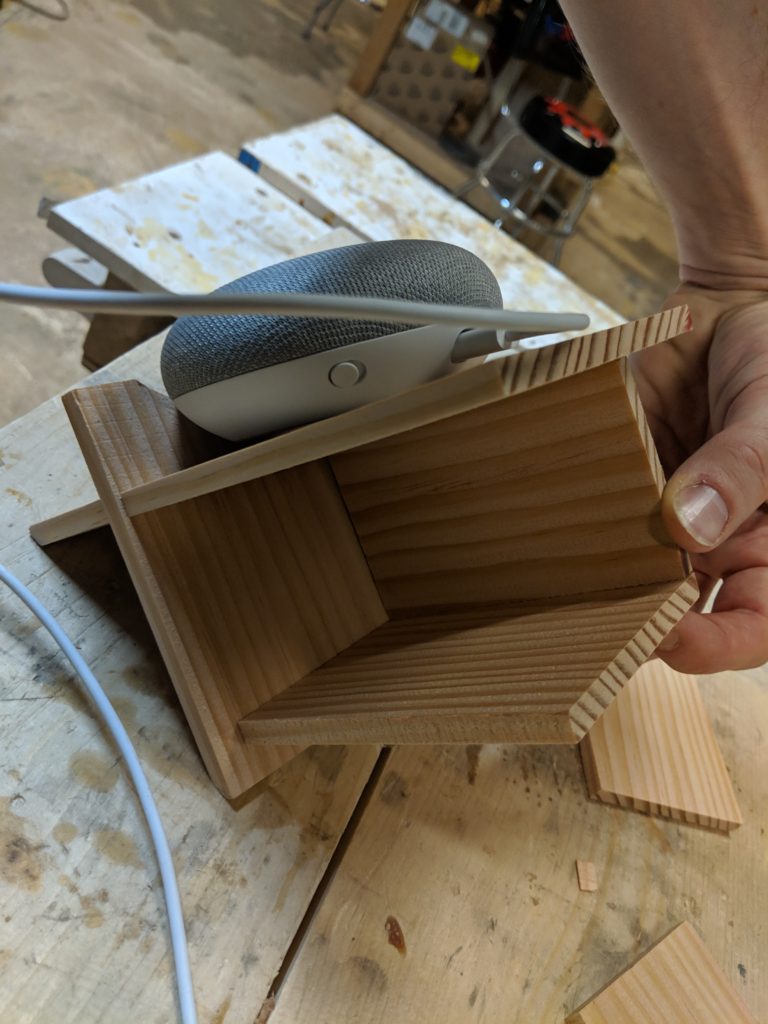
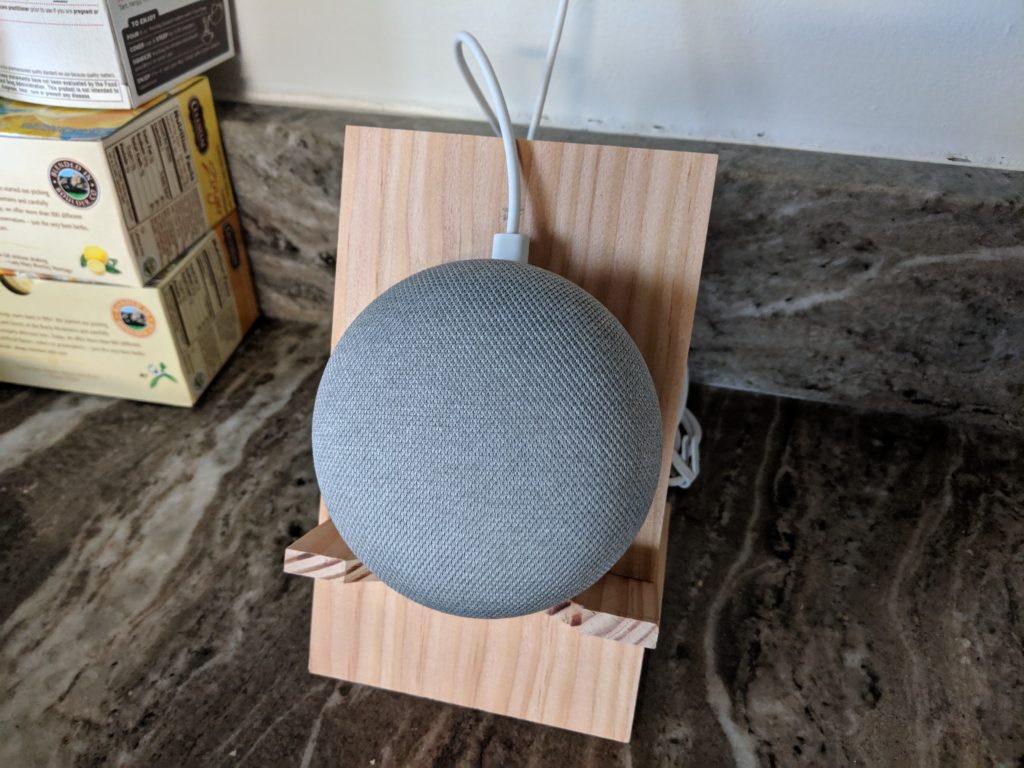
Then once it was glued together I put it on the counter for a test:

Some of the sharper-eyed among you might have noticed a cut into the front where the Home Mini sits or rests. I did that after worrying that it wouldn’t sit on a flat surface and could potentially roll off.
However, tragedy struck when I dropped the holder and it broke right where I’d made that cutout!
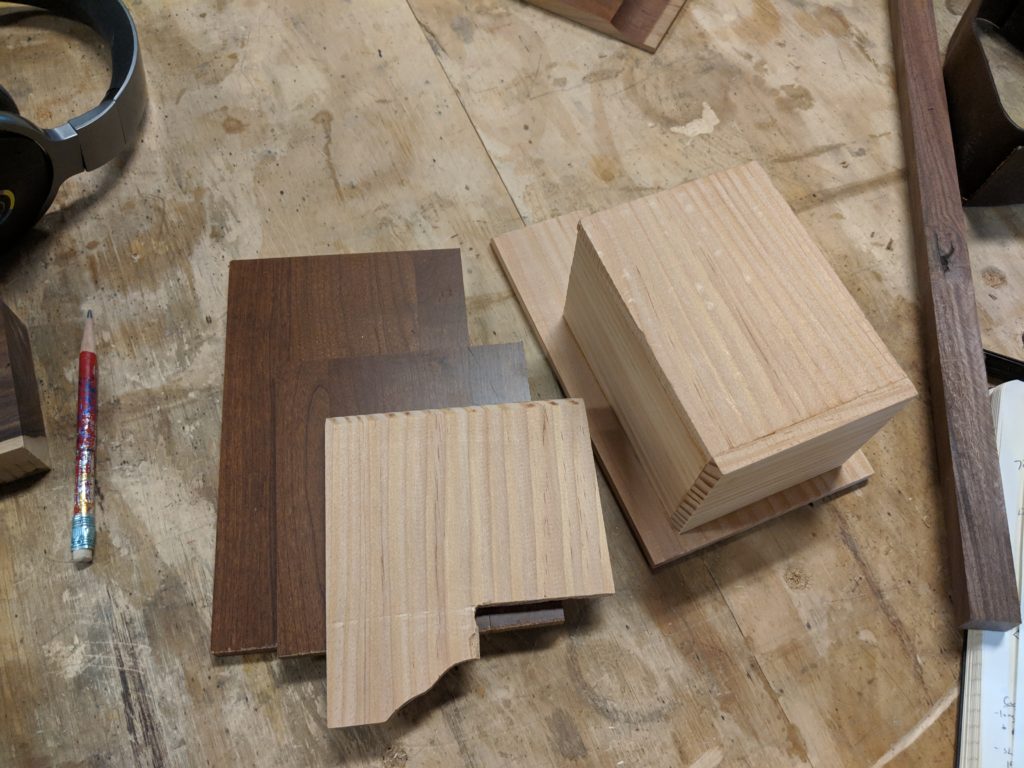
After briefly considering glue, I decided to just start over. I luckily had some nice-looking dark brown wood left over from a toothbrush holder project I’d done a few months before that would be perfect.
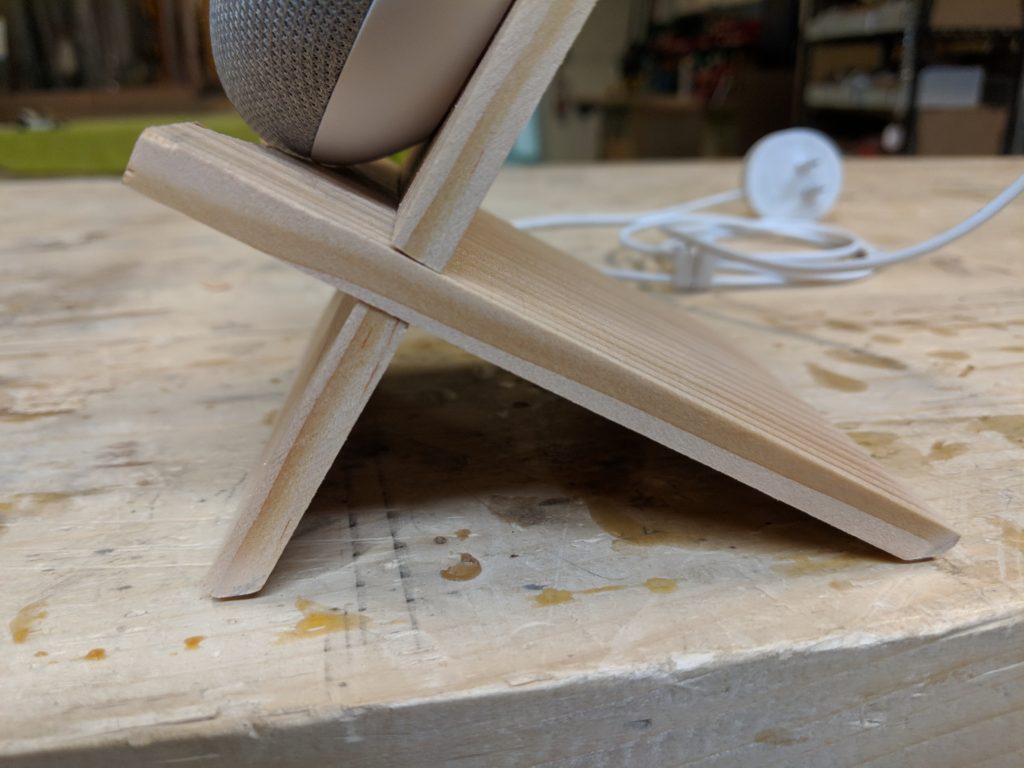
I cut the dark brown wood down to the same dimensions as the original holder and then cut notches into both sides.

The test fit was encouraging:
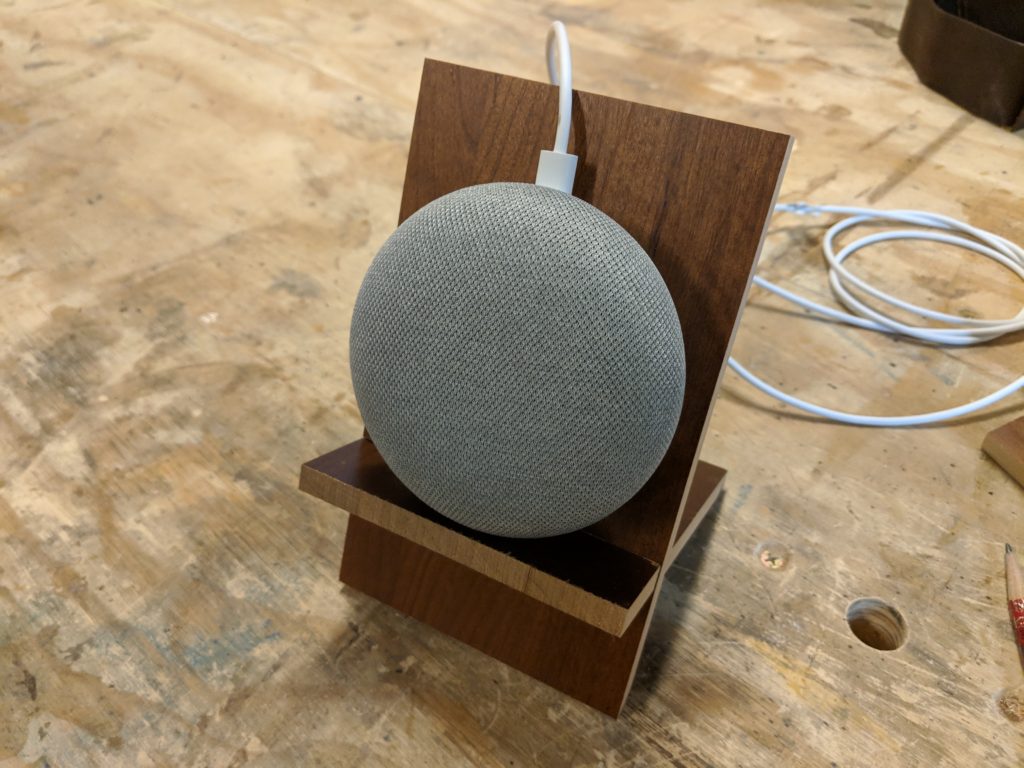
Once the main holder part was done, I cut more pieces down to fit the cables in the back and drilled holes in the front and back to thread the power cable:
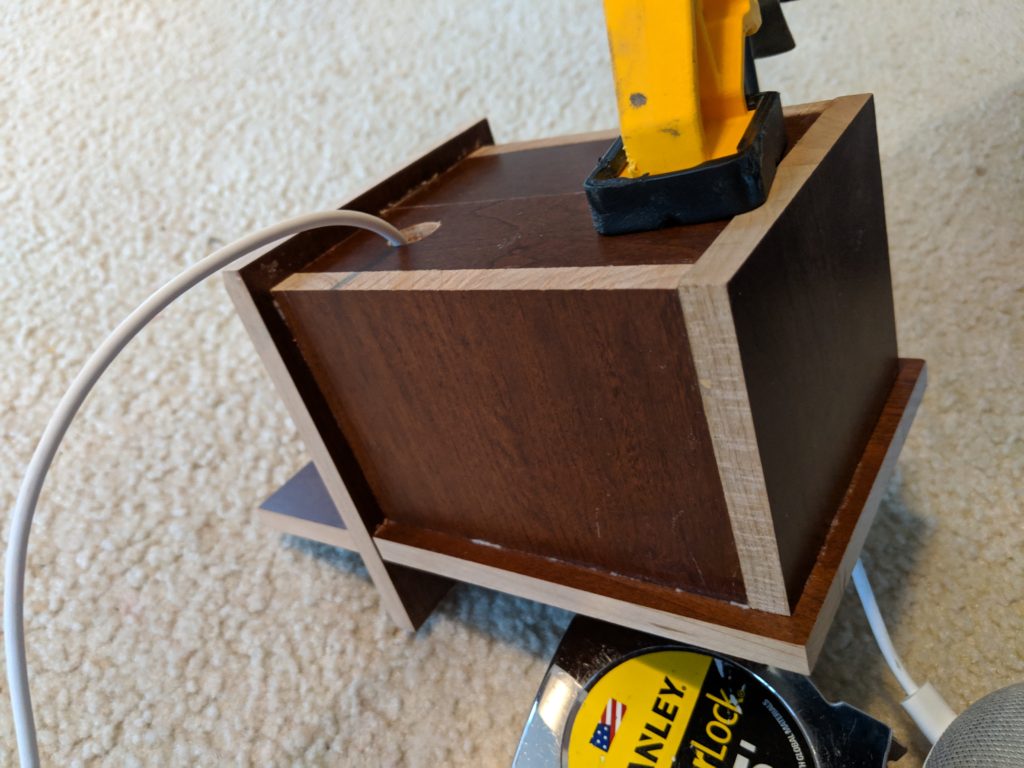
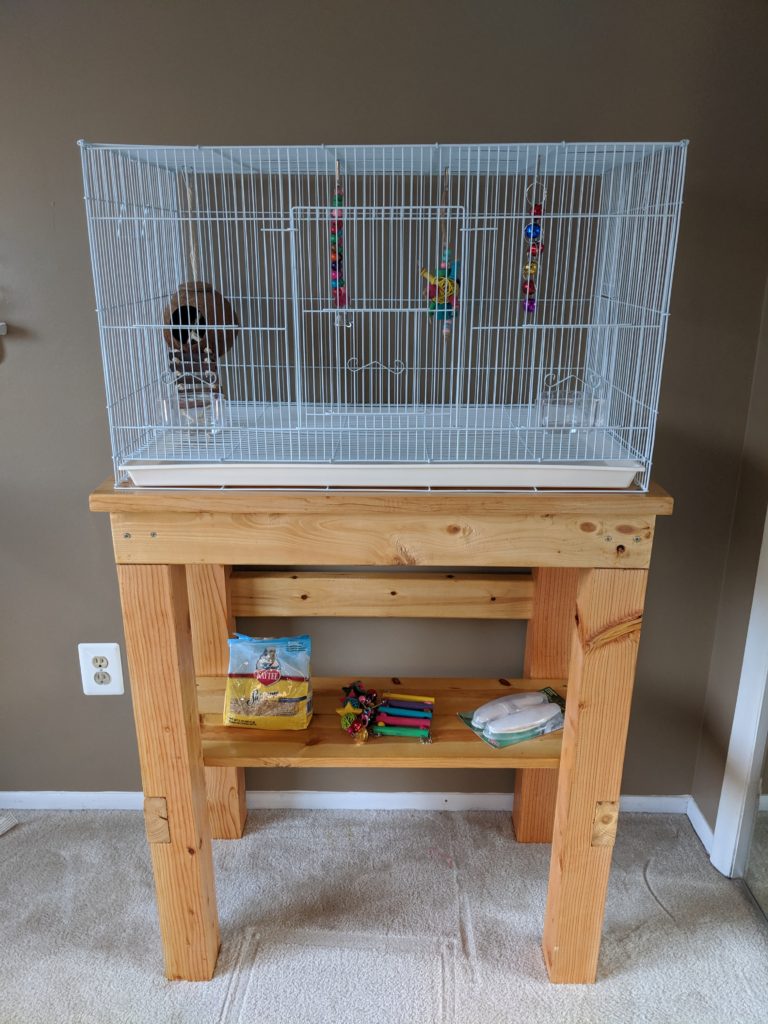
After letting it dry it was done! Here it is on its new home on the kitchen counter:
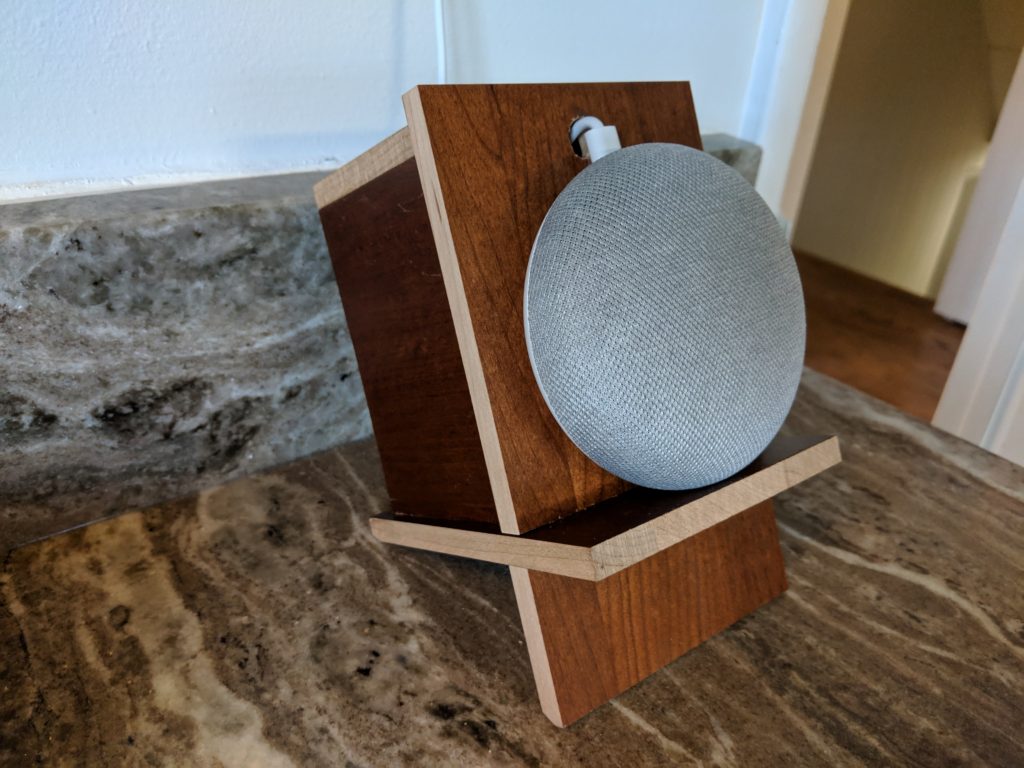
Looking good!
I’m really pleased with how it turned out, and am providing a list of the pieces I cut so you can make your own:
| Cut to: | # | Part/Reason/Placement: | Cut? |
| 58in x 8.5in | 2 | Bottom part of stand | |
| 23.75in x 8in | 4 | Middle parts of the supports | |
| ?23.75in x 3in | 1 | Top of cable holder box on the back | |
| 3in x 4.25in | 2 | Side pieces for the cable holder box on the back | |
| 3in x 4.25in | 1 | Back piece for the cable holder box on the back |