Tag: wooden stand

DIY Wood Google Home Mini Stand

Adding some style and utility to our Google Home Mini

I won a Google Home Mini from a raffle at work and it’s been a huge hit with the family. Who knew a robot could make fart jokes?

The only downside to it was our struggle to find an optimal location; it seemed designed to sit either flat on a table, desk, or counter, or to be mounted vertically on a wall.

However, we preferred to place it at a 45 degree angle on the kitchen counter so we could better see its aesthetic design, have it in arm’s reach, and avoid adding holes to the wall.

A few weeks before we received it, I had been looking around for a phone stand and came across this version that resembled a Viking chair:

The Vikings would be proud

I thought this wooden phone stand design looked awesome, and decided to make a version of this for the Google Home Mini to rest on.

I started out with two .25″ thick pieces that I intended to stain later on. I sanded them down and then made a .25″cut on both going halfway through and combined the cutouts on each piece like this:
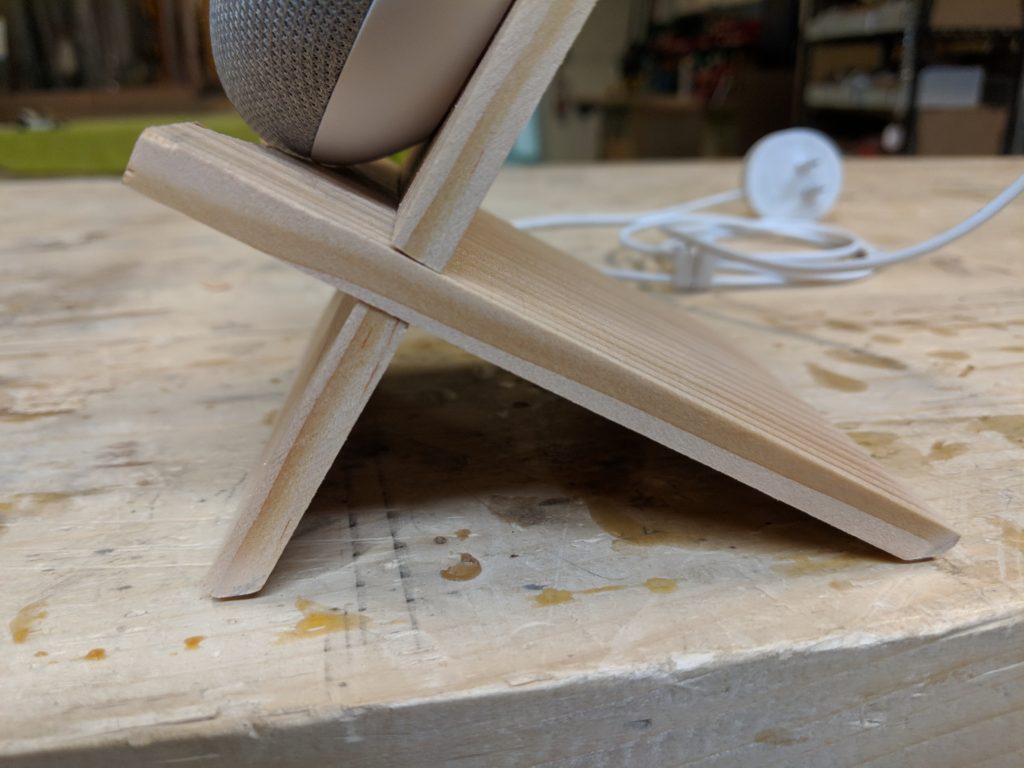
Smooooooooooth

After placing the Home Mini on it, I realized that the power cable would look messy just hanging out the back:
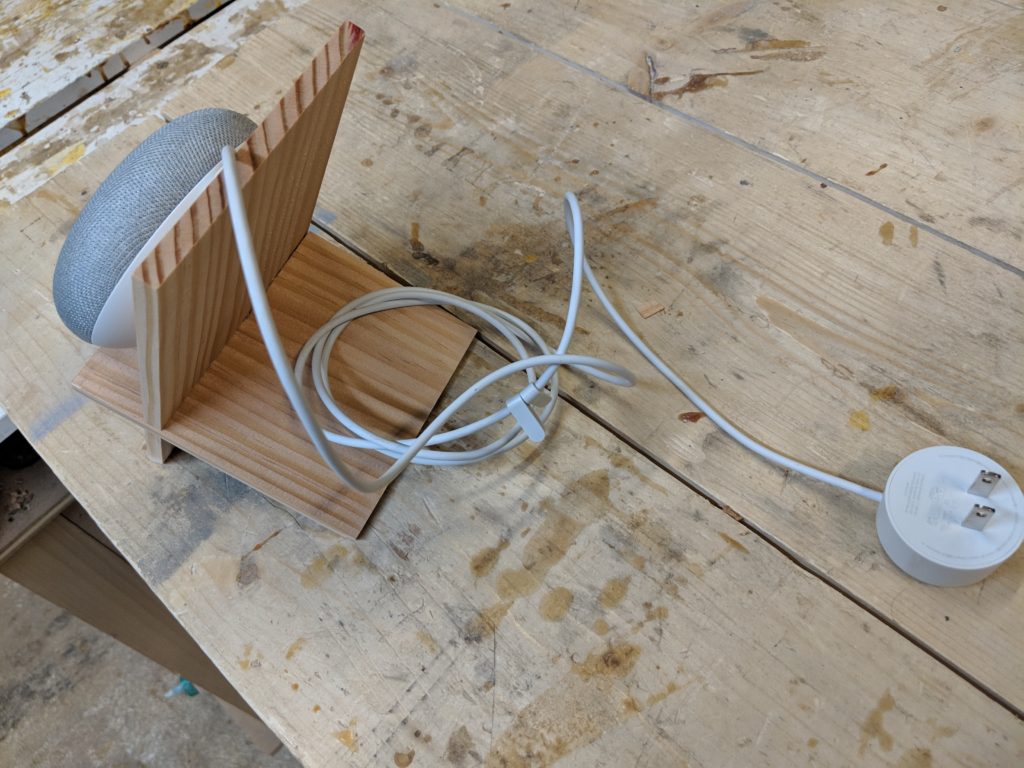
Don’t let the cable management folks at PCMR see this

So I decided to make a box to go on the back that I could use to route the cables into, then back out again to the outlet:
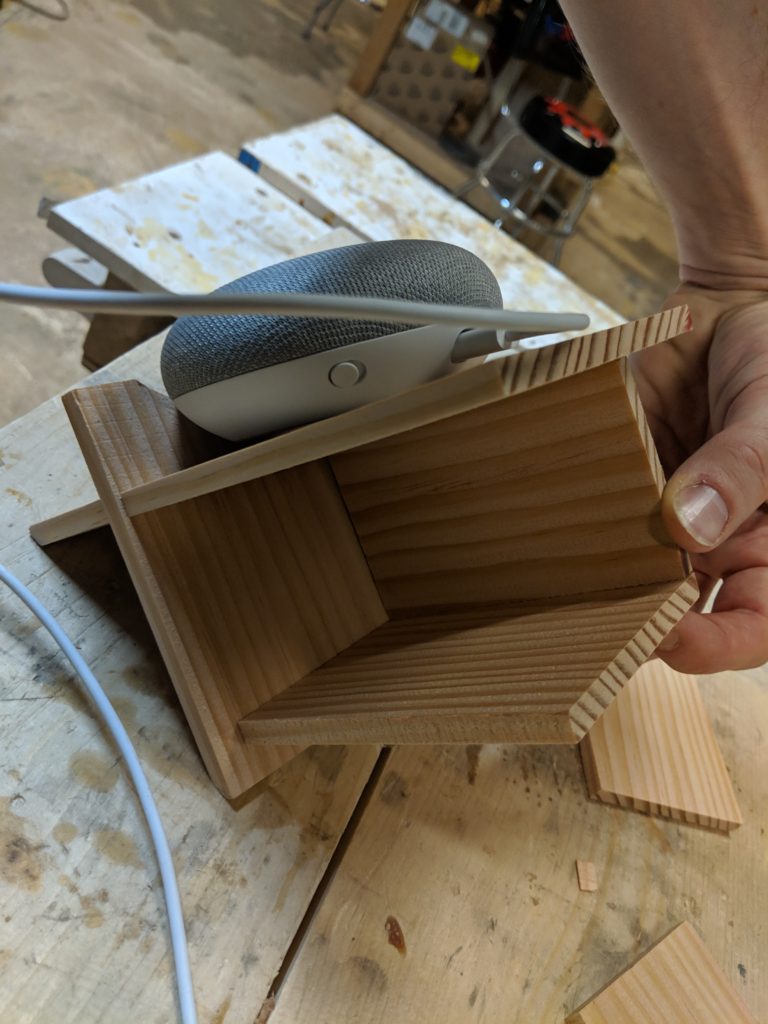
Dry fitting pieces

Then once it was glued together I put it on the counter for a test:

Lookin’ good!

Some of the sharper-eyed among you might have noticed a cut into the front where the Home Mini sits or rests. I did that after worrying that it wouldn’t sit on a flat surface and could potentially roll off.
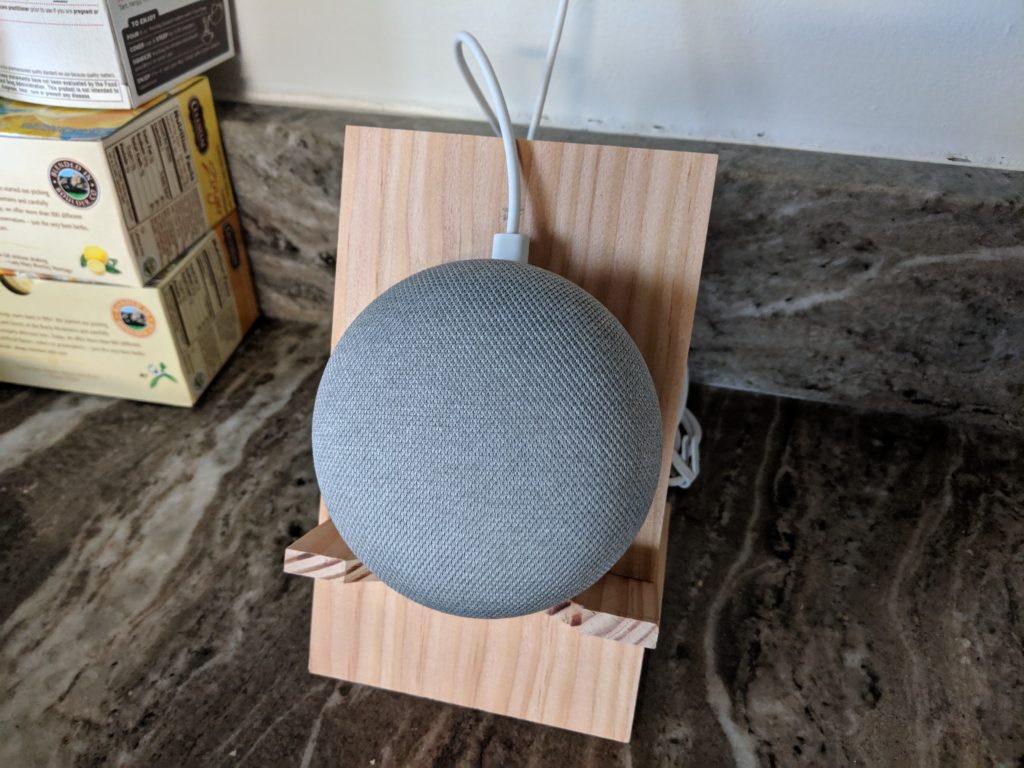
View from the front

However, tragedy struck when I dropped the holder and it broke right where I’d made that cutout!
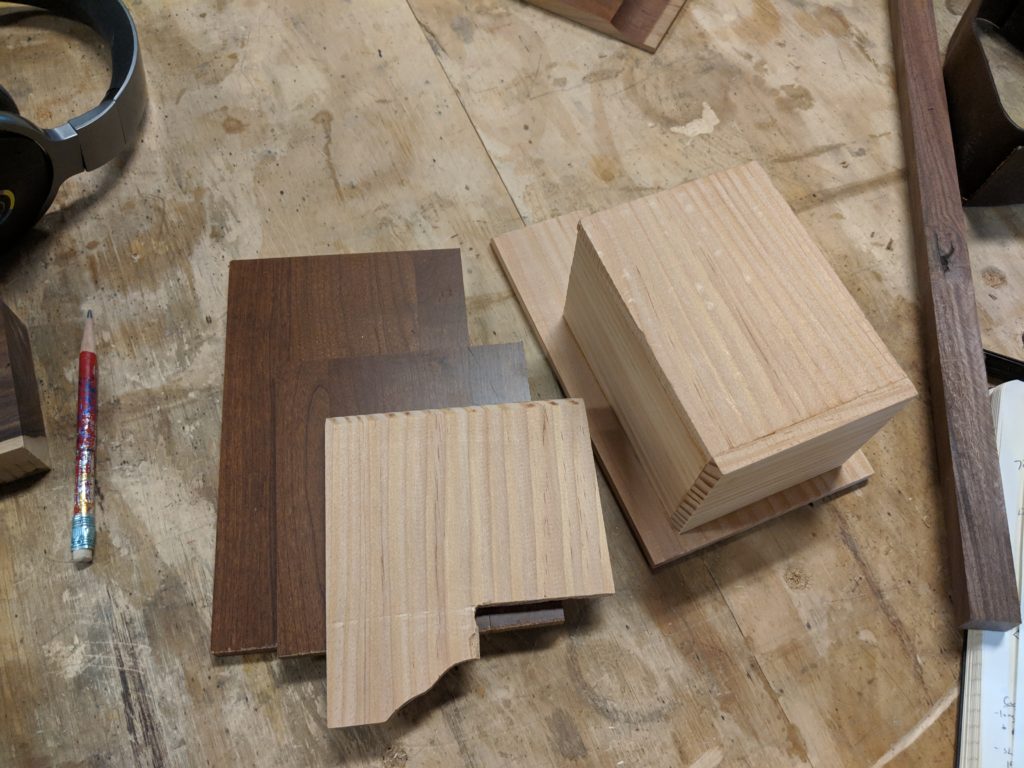
The broken piece on top of some replacement pieces

After briefly considering glue, I decided to just start over. I luckily had some nice-looking dark brown wood left over from a toothbrush holder project I’d done a few months before that would be perfect.

I cut the dark brown wood down to the same dimensions as the original holder and then cut notches into both sides.
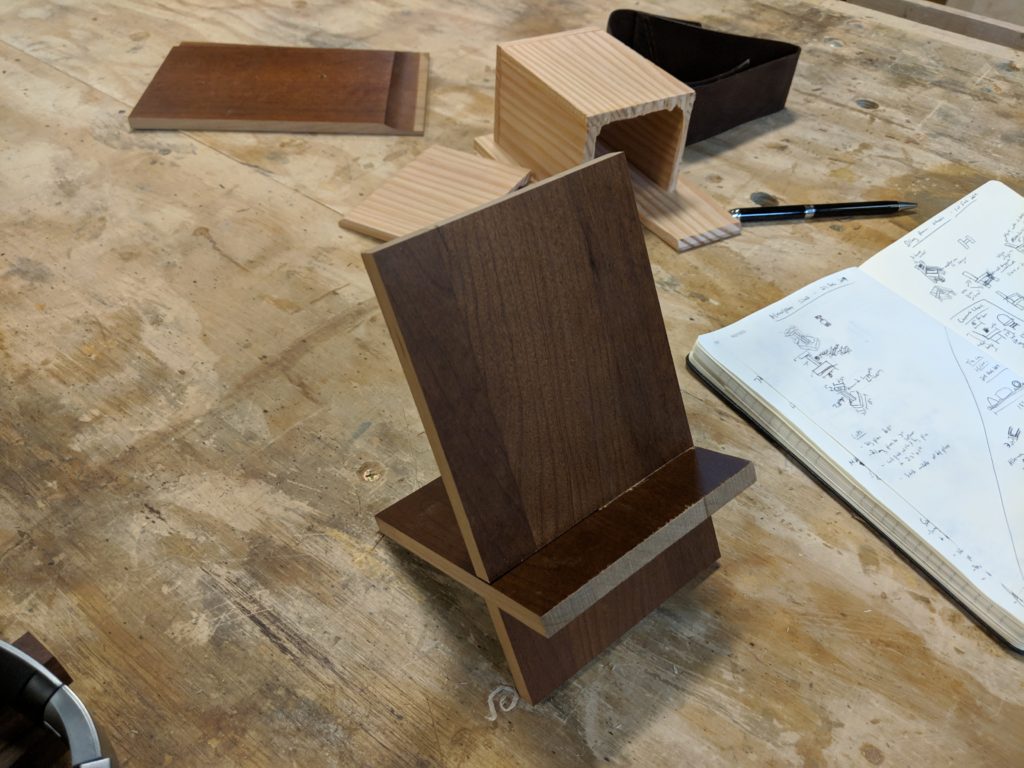
I think it looks even better than the first one!

The test fit was encouraging:

Elegant as an elephant

Once the main holder part was done, I cut more pieces down to fit the cables in the back and drilled holes in the front and back to thread the power cable:
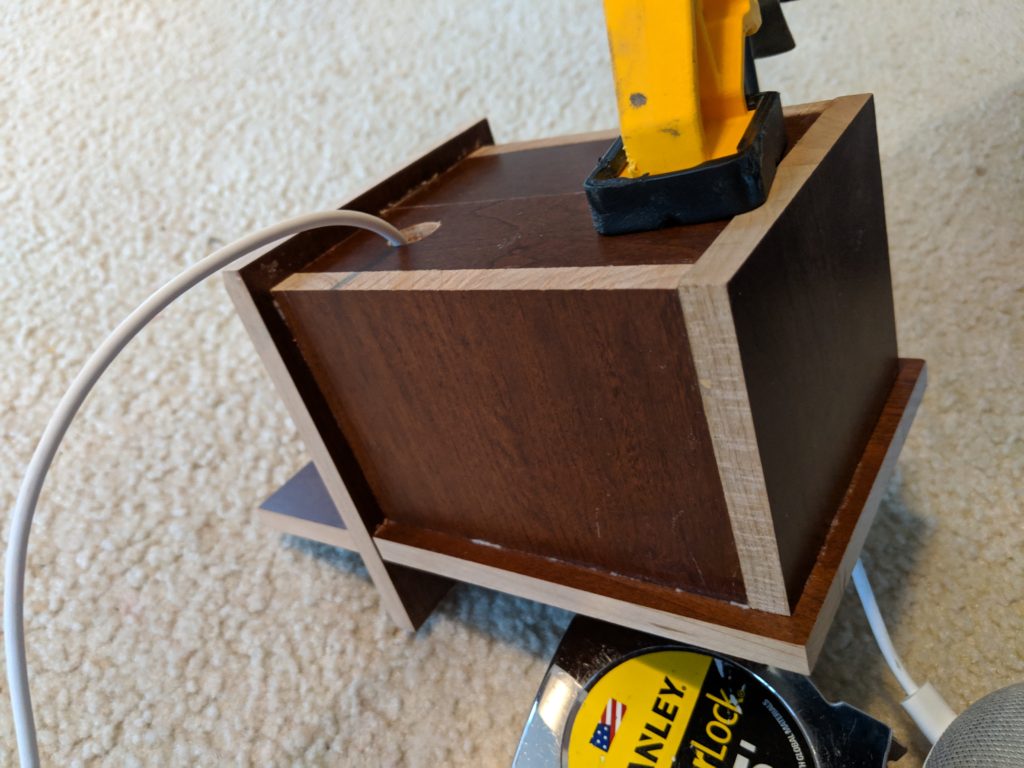
Clamped down like a quarantine town

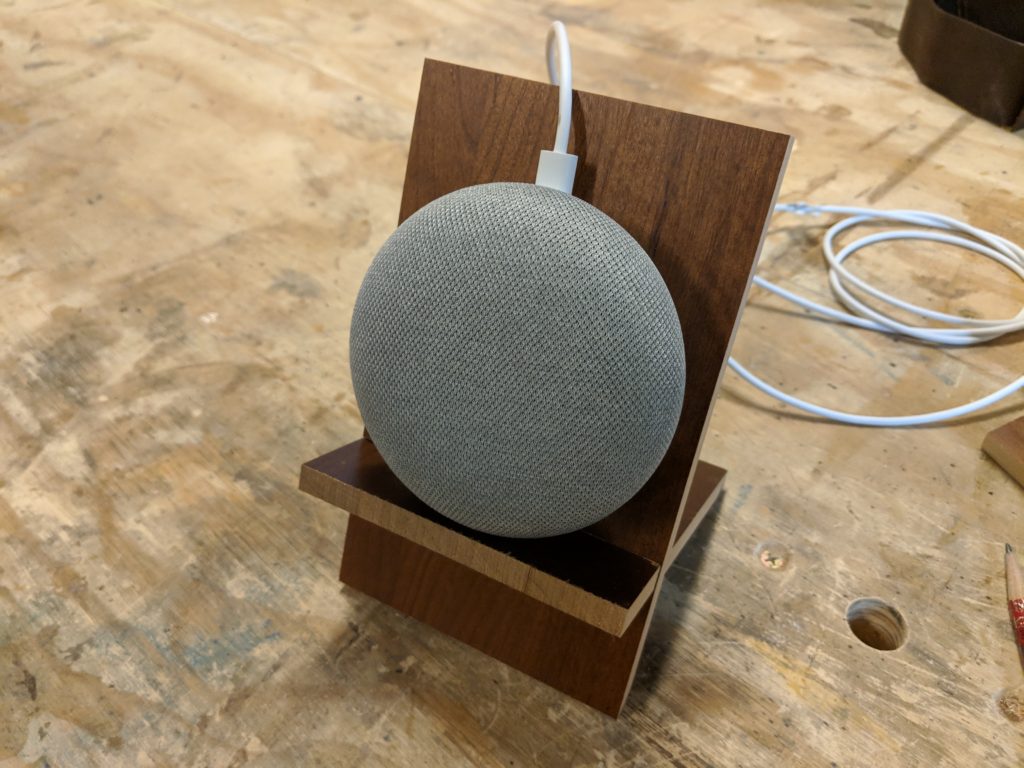
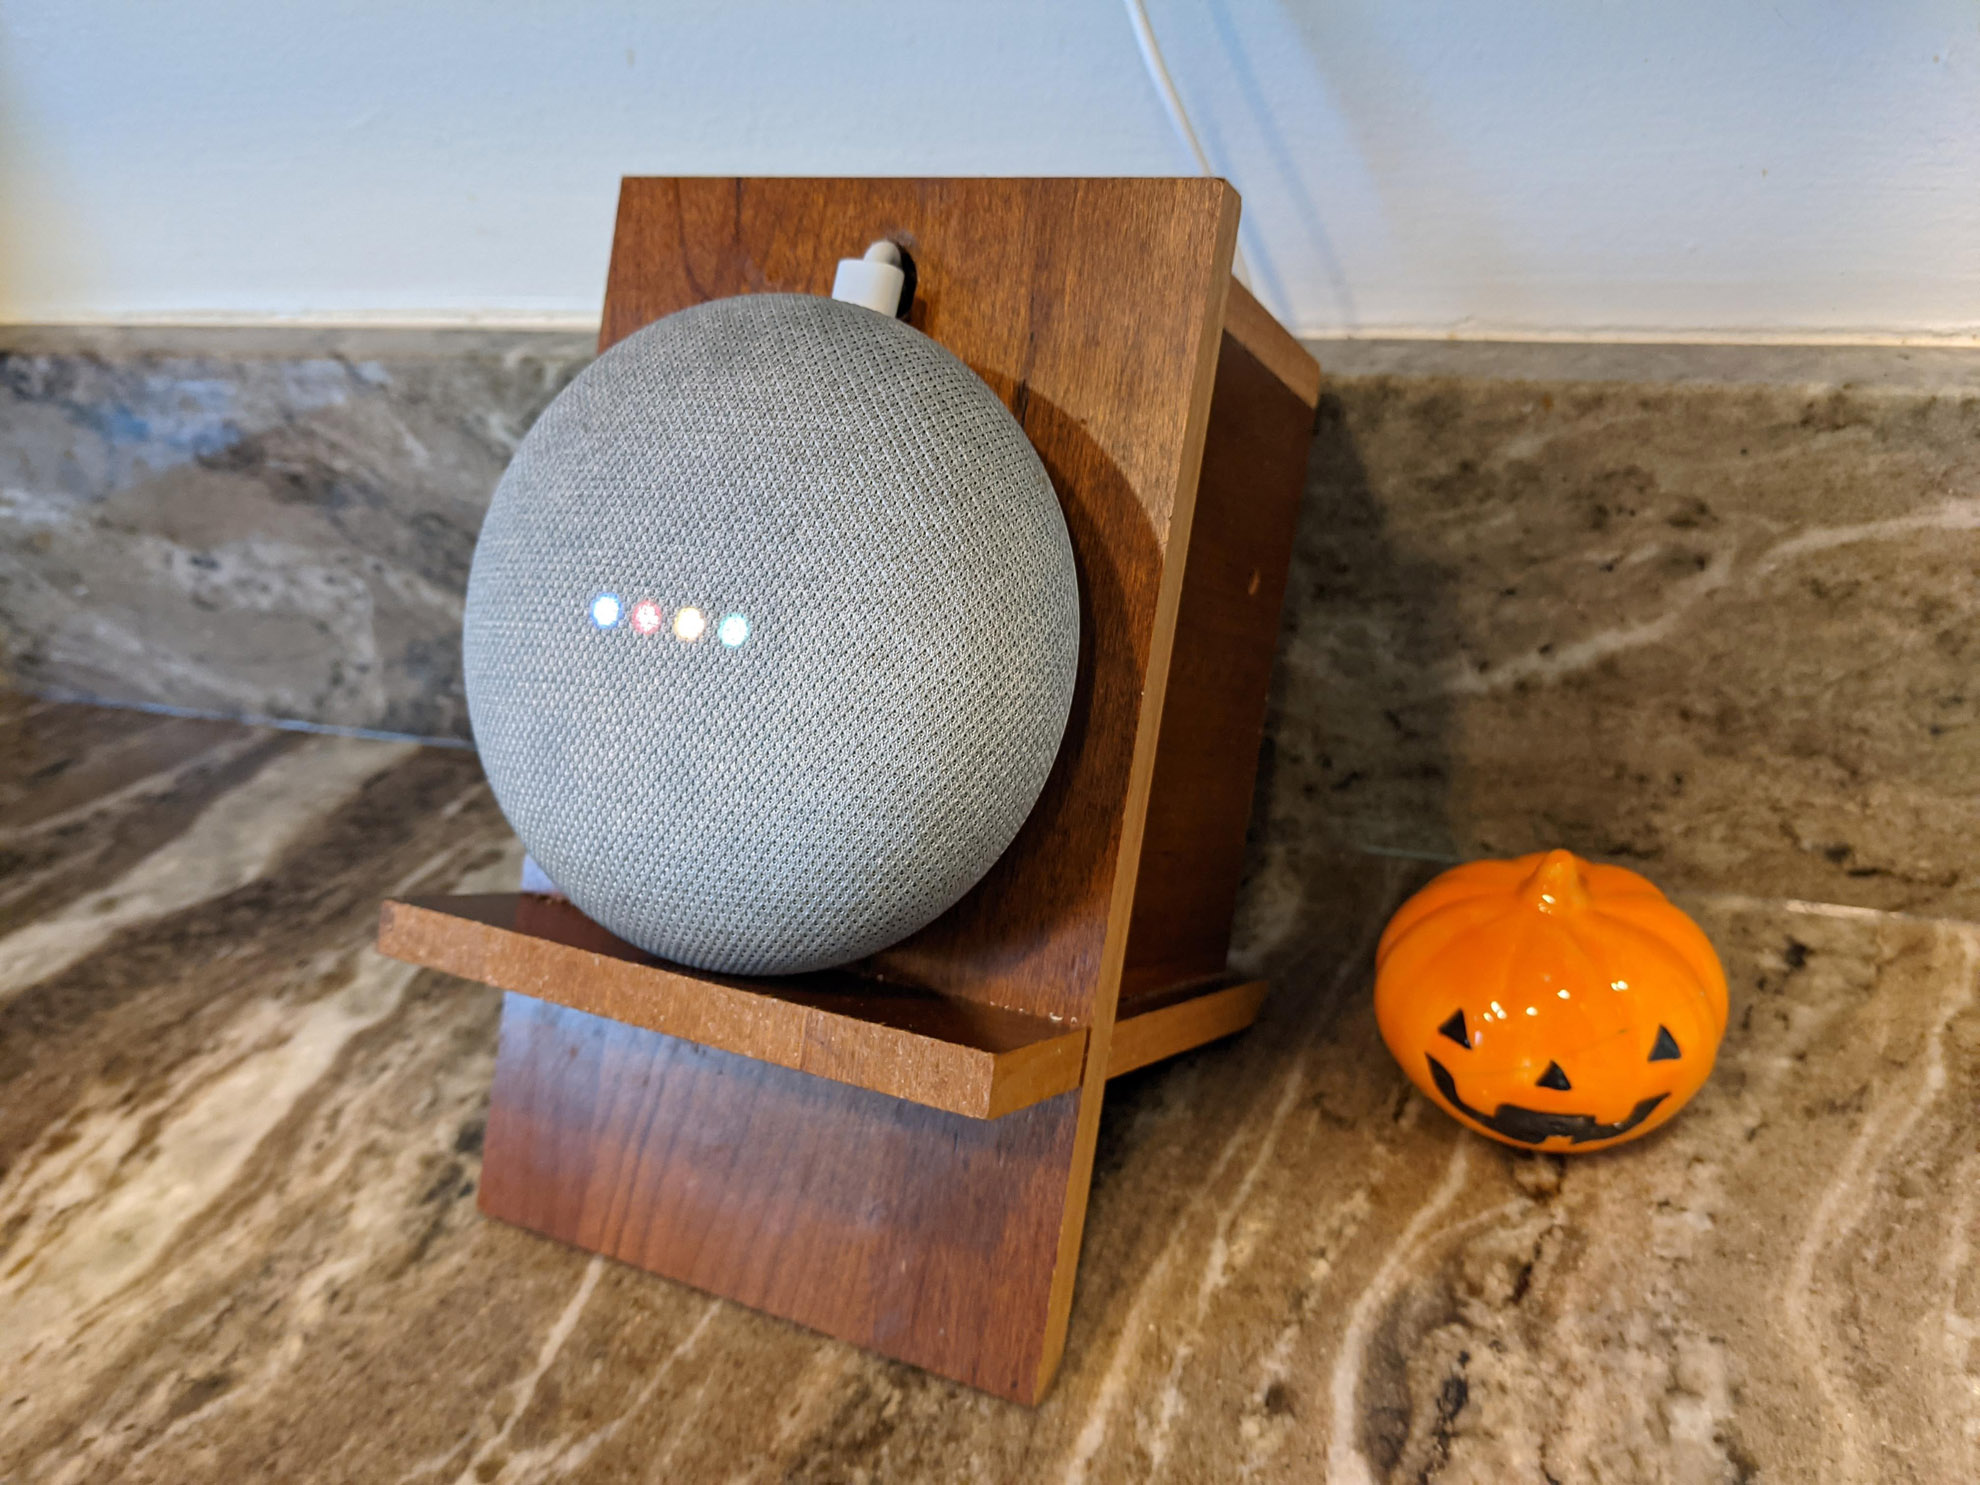
After letting it dry it was done! Here it is on its new home on the kitchen counter:
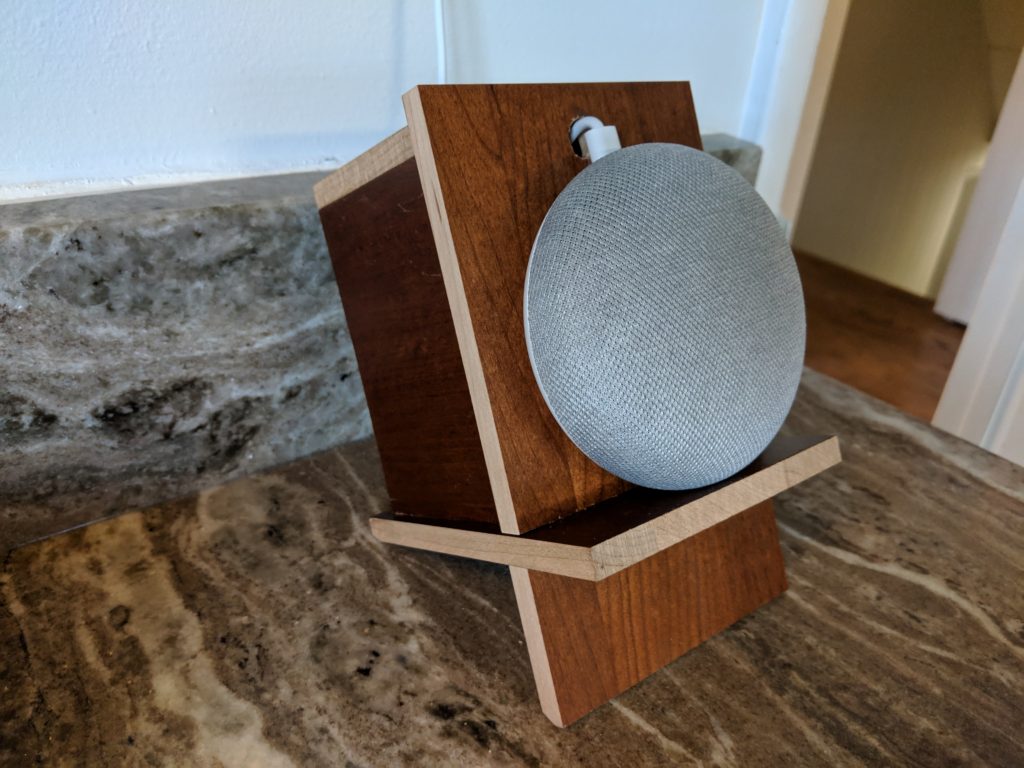
OK Google, who made the best Google Home Mini stand?

Looking good!

I’m really pleased with how it turned out, and am providing a list of the pieces I cut so you can make your own:

Cut to:#Part/Reason/Placement:Cut?
58in x 8.5in2Bottom part of stand
23.75in x 8in4Middle parts of the supports
?23.75in x 3in1Top of cable holder box on the back
3in x 4.25in2Side pieces for the cable holder box on the back
3in x 4.25in1Back piece for the cable holder box on the back

DIY Bird Cage Stand (with Storage)

Another ultimate scrap challenge success!

My kids have been asking for a pet for ages. We tried a few weeks each of a rabbit, baby chicks, bees[1], and a dog without much success, and we were almost ready to call it quits.

Then one day this summer my daughter asked to go to the pet store right next to the hardware store[2]. Because she was so sweet to have tagged along with me for the trip to the hardware store in the first place, I agreed.

After looking at fish, dogs, cats, and rodents she saw the brightly colored parakeets and fell in love. A few weeks later the family decided parakeets were the right pet for us 🙂

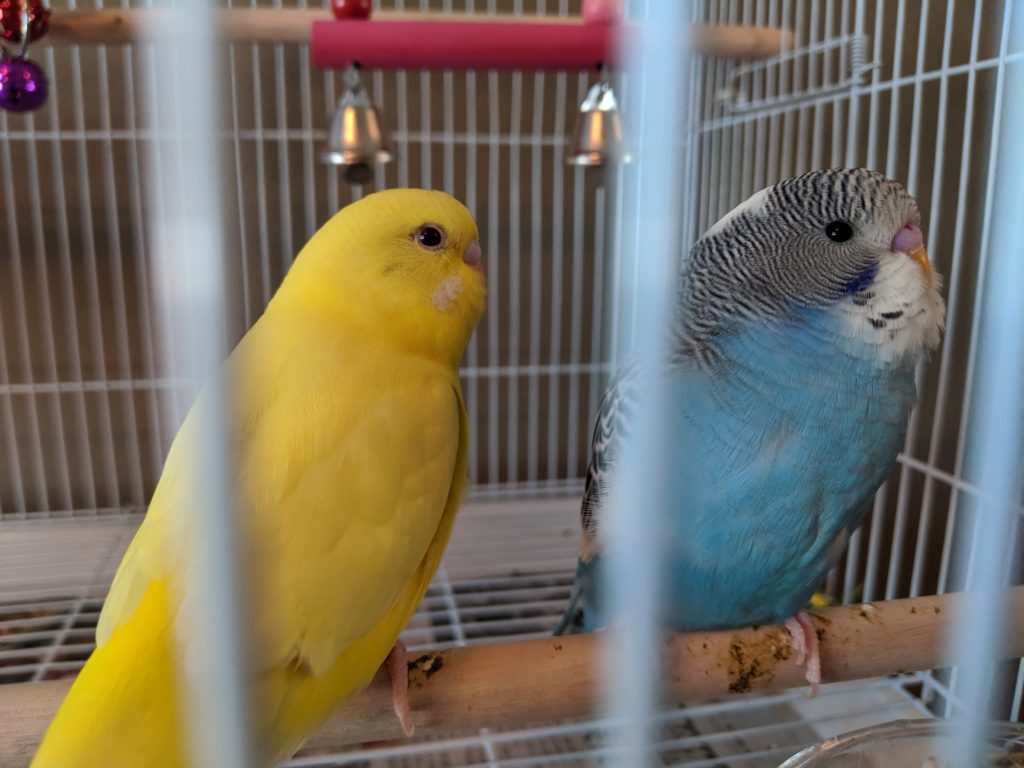
Meet Zapdos and Cloudy!

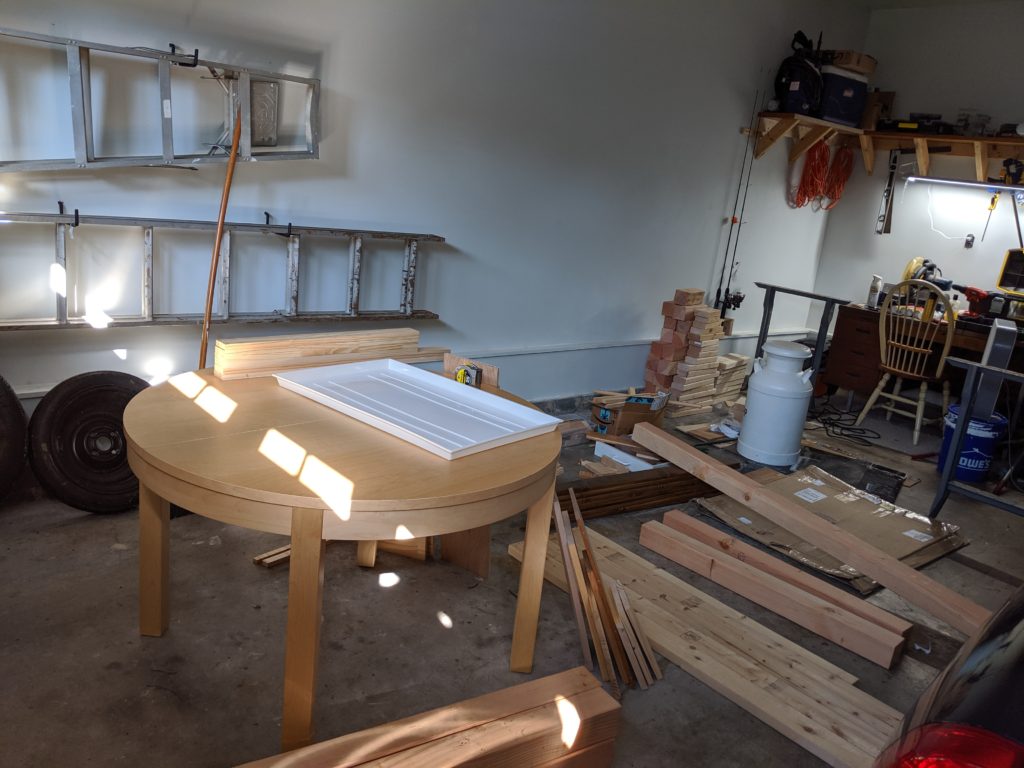
Before we got the parakeets, I ordered a wide parakeet cage and decided to build a stand for it. I had a lot of extra wood in the garage that I needed to use up anyway, so this was the perfect project to use some up:

It’s a mess, I know!

After the cage arrived I measured the width and length of the base (the white plastic rectangle in the photo above), and added 2 inches to each side for extra space. For this cage that meant the top piece would have to be 20 inches wide by 32 inches long.

For the legs I was able to re-use 4x4s that were meant for kitchen table chairs I had designed, but their project ended up being cancelled when I got several free Ikea chairs instead.

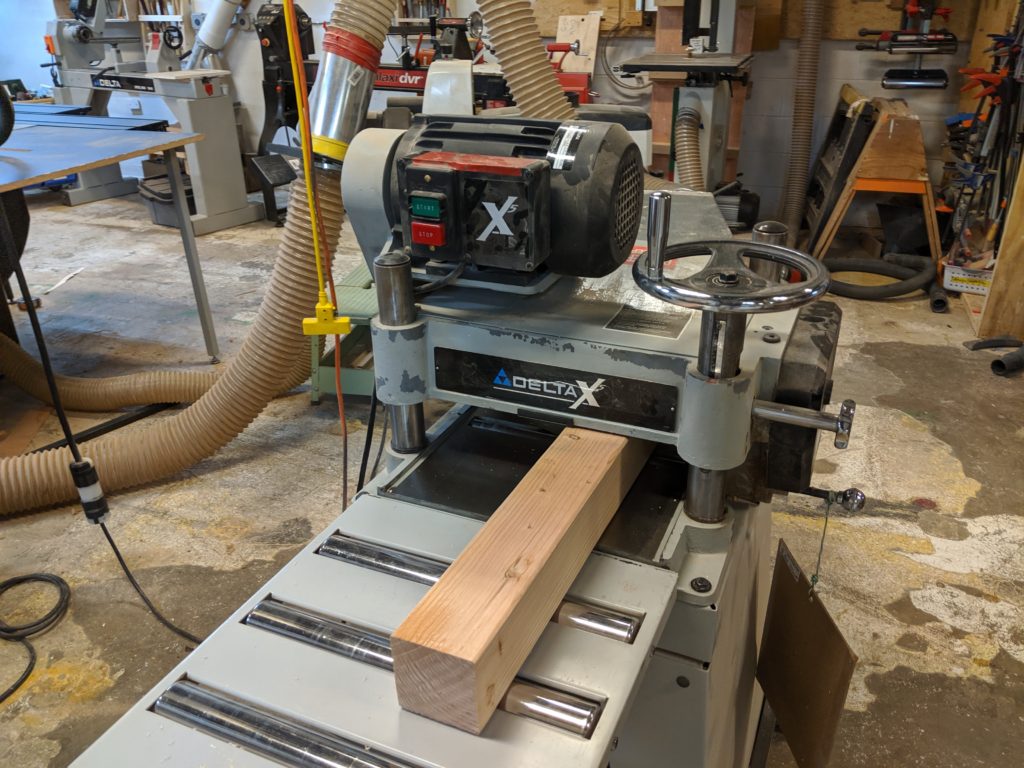
So I cut four of the leftover 4x4s to 35 inches tall each and cleaned up the sides a bit on the surface planer, taking off around .25 inches on each side.

I love planers

This made the legs look a lot nicer:

So pretty

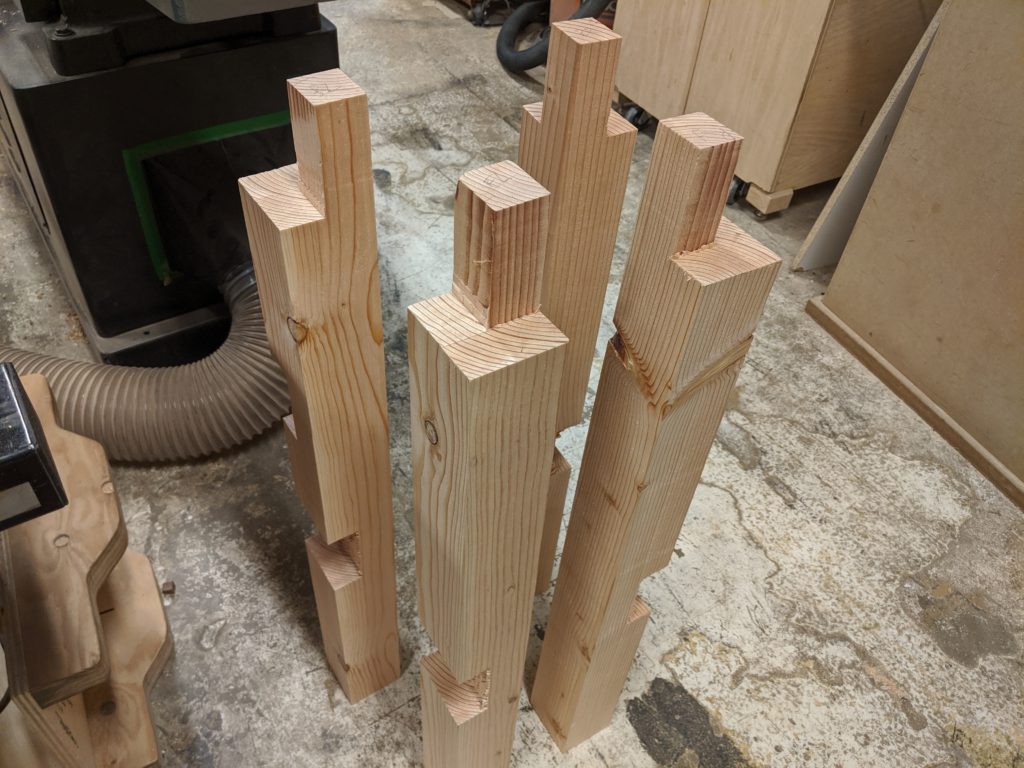
I then cut dados and rabbets into them for all of the 2x4s that would be used for supports:

I love cutting rabbits! – Every woodworker, ever, has made this pun

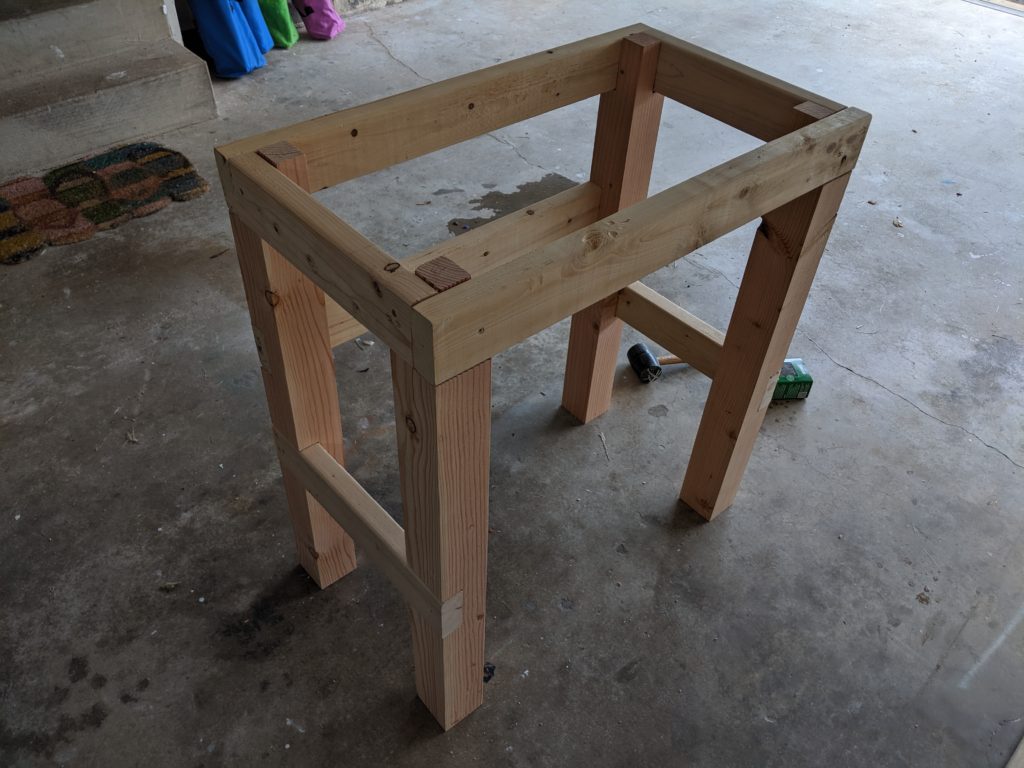
Now for cutting the support pieces. I cut two 2x4s each to 15 inches for the top side pieces, 31 inches for the top front and back pieces, 18 inches for the bottom side pieces, and one to 31 inches for the support going across the middle in the lower back section.

All the supports attached to the 4x4s

When it came time to actually make the top piece, however, I didn’t have a ton of great options. I considered joining together several 2x4s with pocket hole screws but I didn’t have enough to fit across the entire top. I also had several other boards of different widths, but I worried combining them all wouldn’t look as good as I wanted.

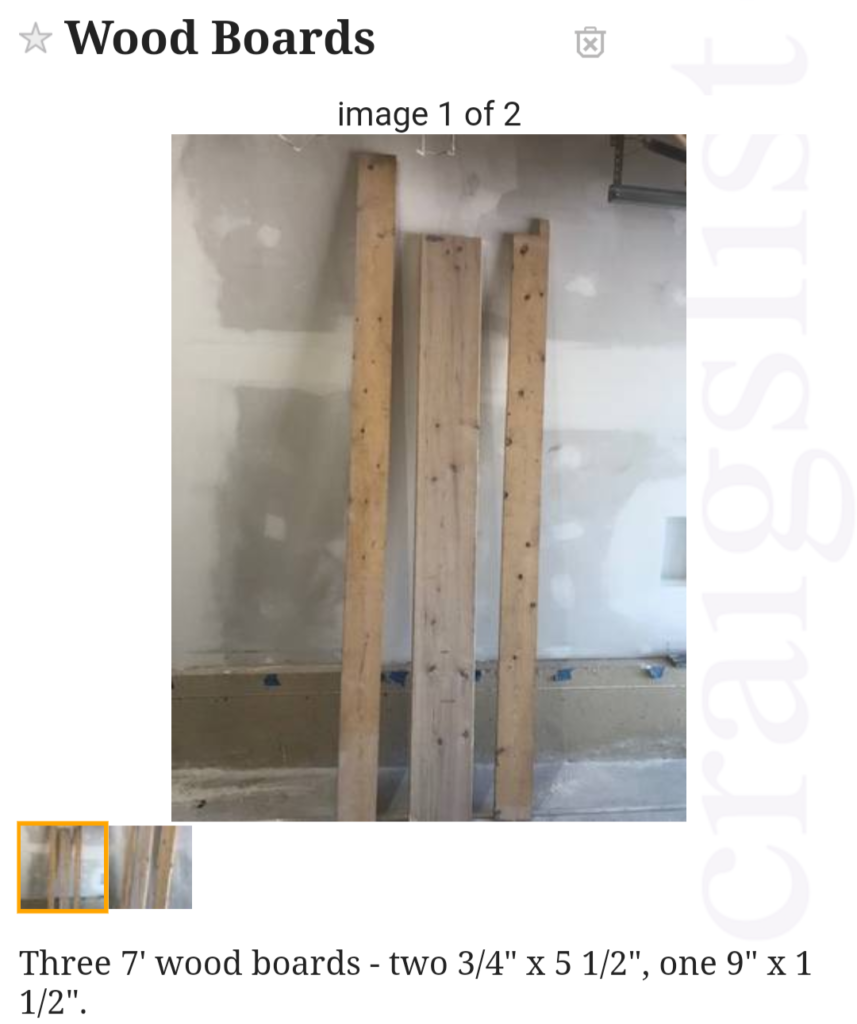
So I decided to search for free wood on Nextdoor/Craigslist and luckily saw this post:

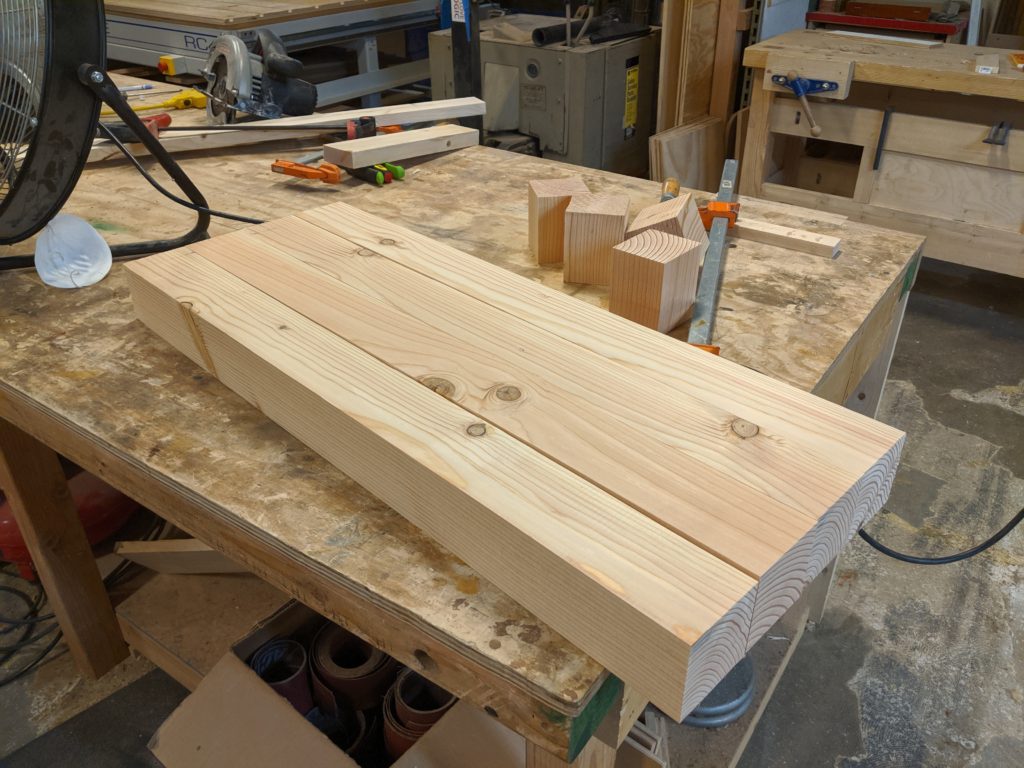
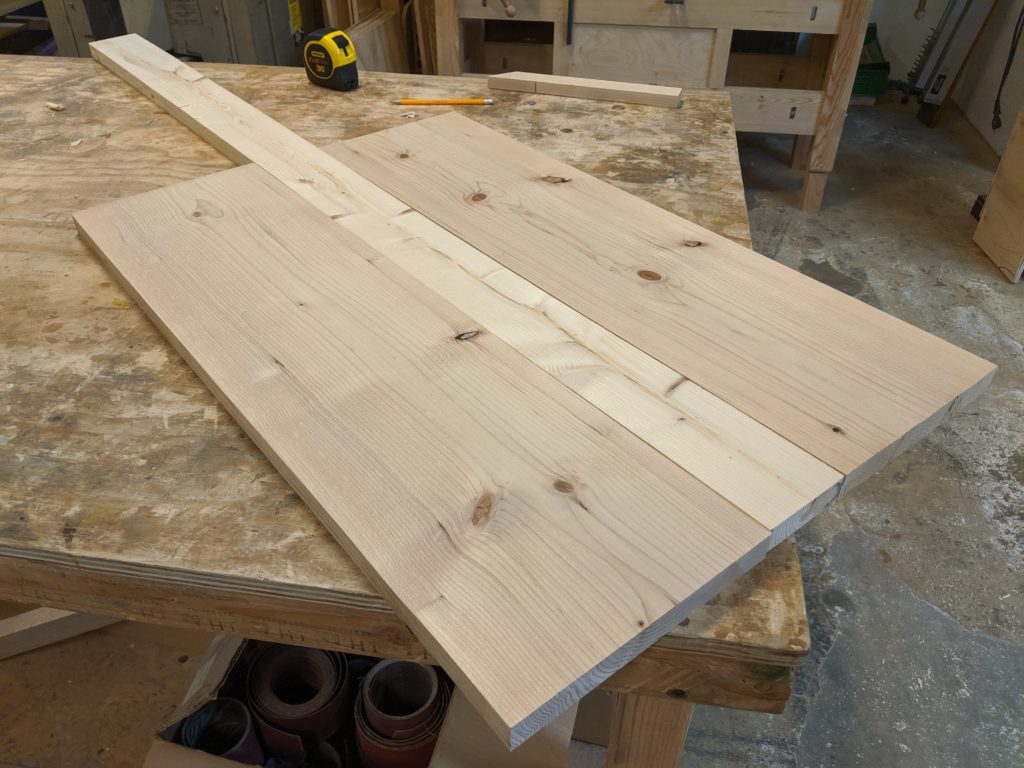
The 9 inch wide piece would be perfect for the top, so I arranged to pick the wood up and then cut that board into two pieces that were 32 inches long each, giving me 18 inches in width. I then got a 2×4 and cut it down to 2 inches wide, which gave me the full 20 inches I needed across the top when all three pieces were combined.

Looking good

Then I planed the three top pieces to 1″ tall each (so the total stand height would be 36 inches tall), cut the 2×4 down to 32 inches to match the length needed for the top, and joined them all together for a sweet-looking top.

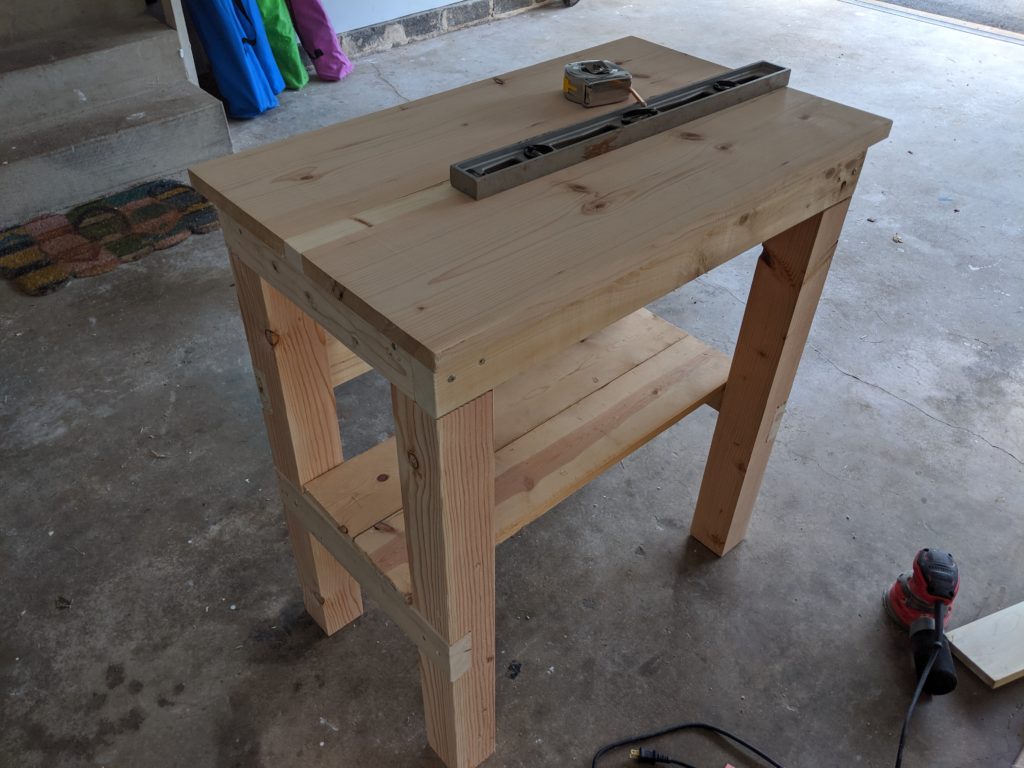
Top on.

I also realized I could add boards across the lower side supports pieces to serve as storage for things like bird food bags, toys, etc. There was just over 11 inches of space on the support between the legs, so I grabbed one of the 5.5 inch boards I’d gotten for free from the same Craigslist post (woot!) and cut two pieces off at 31 inches each. Now I had storage!

I might add doors and side/back boards for an enclosed storage space, but will wait and see how things go and whether it’s really necessary after we’ve had the parakeets for a while.

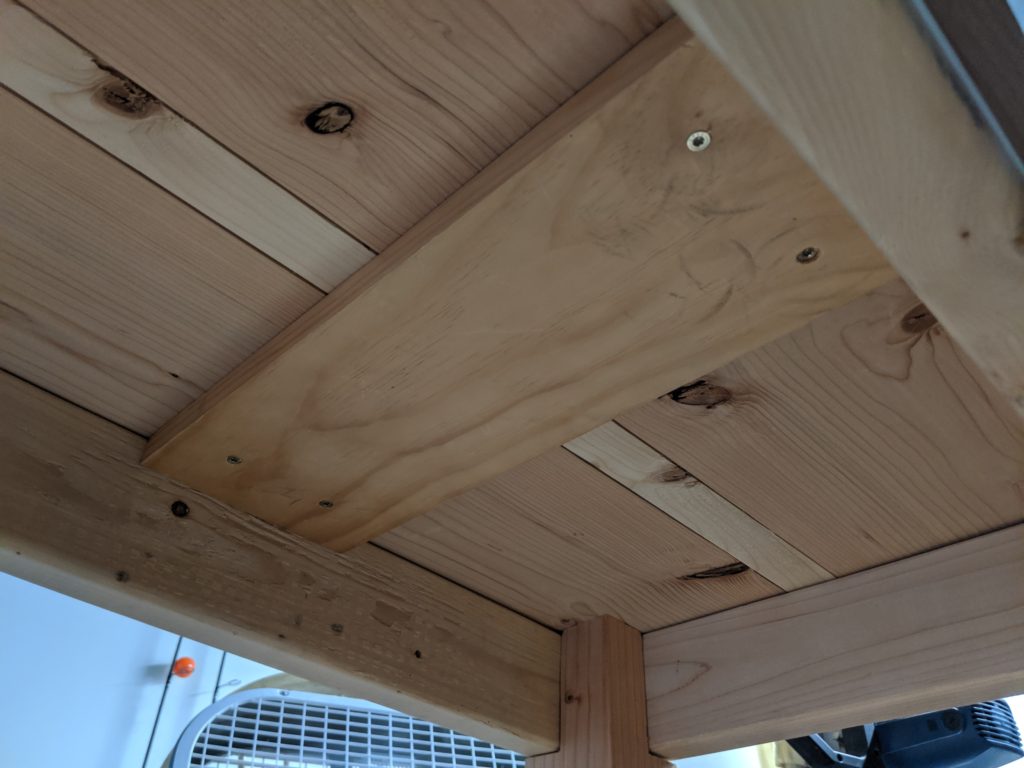
I also added a piece of wood going across the middle, underneath the top wood to serve as extra support.

Spax screws FTW

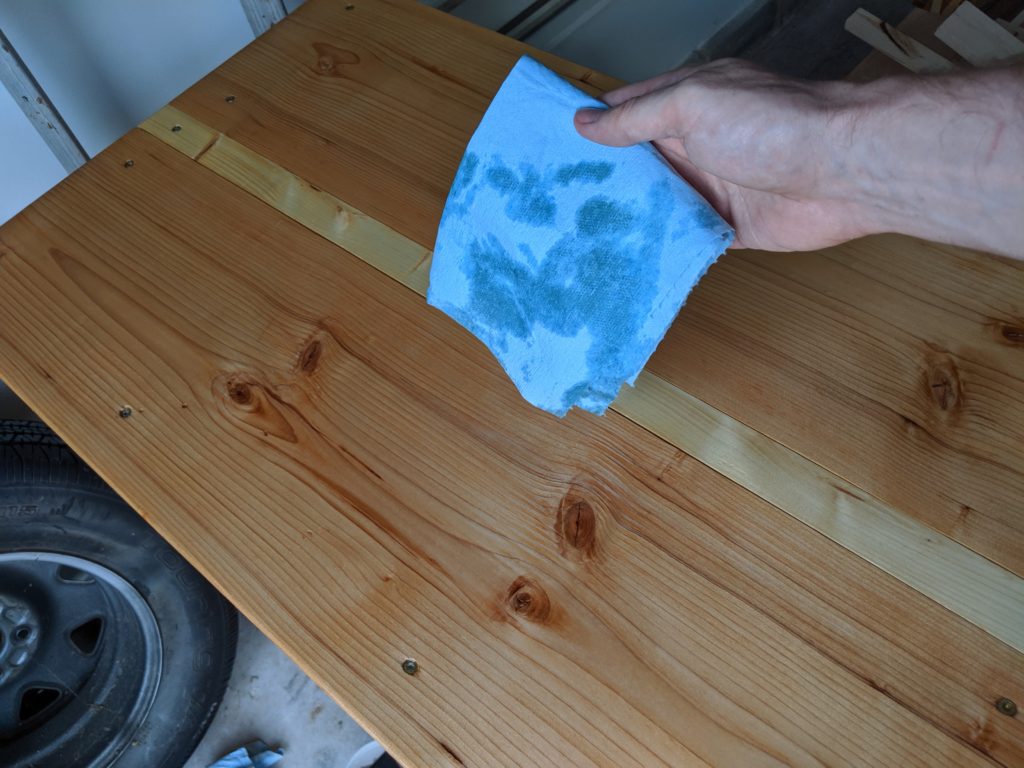
To finish it off[3], I made a mixture of equal parts boiled linseed oil, Minwax satin polyurethane, and mineral spirits. I applied three coats of that and then two coats of just the poly, and I love how it brought out the color in the wood:

Pro tip: wear gloves.

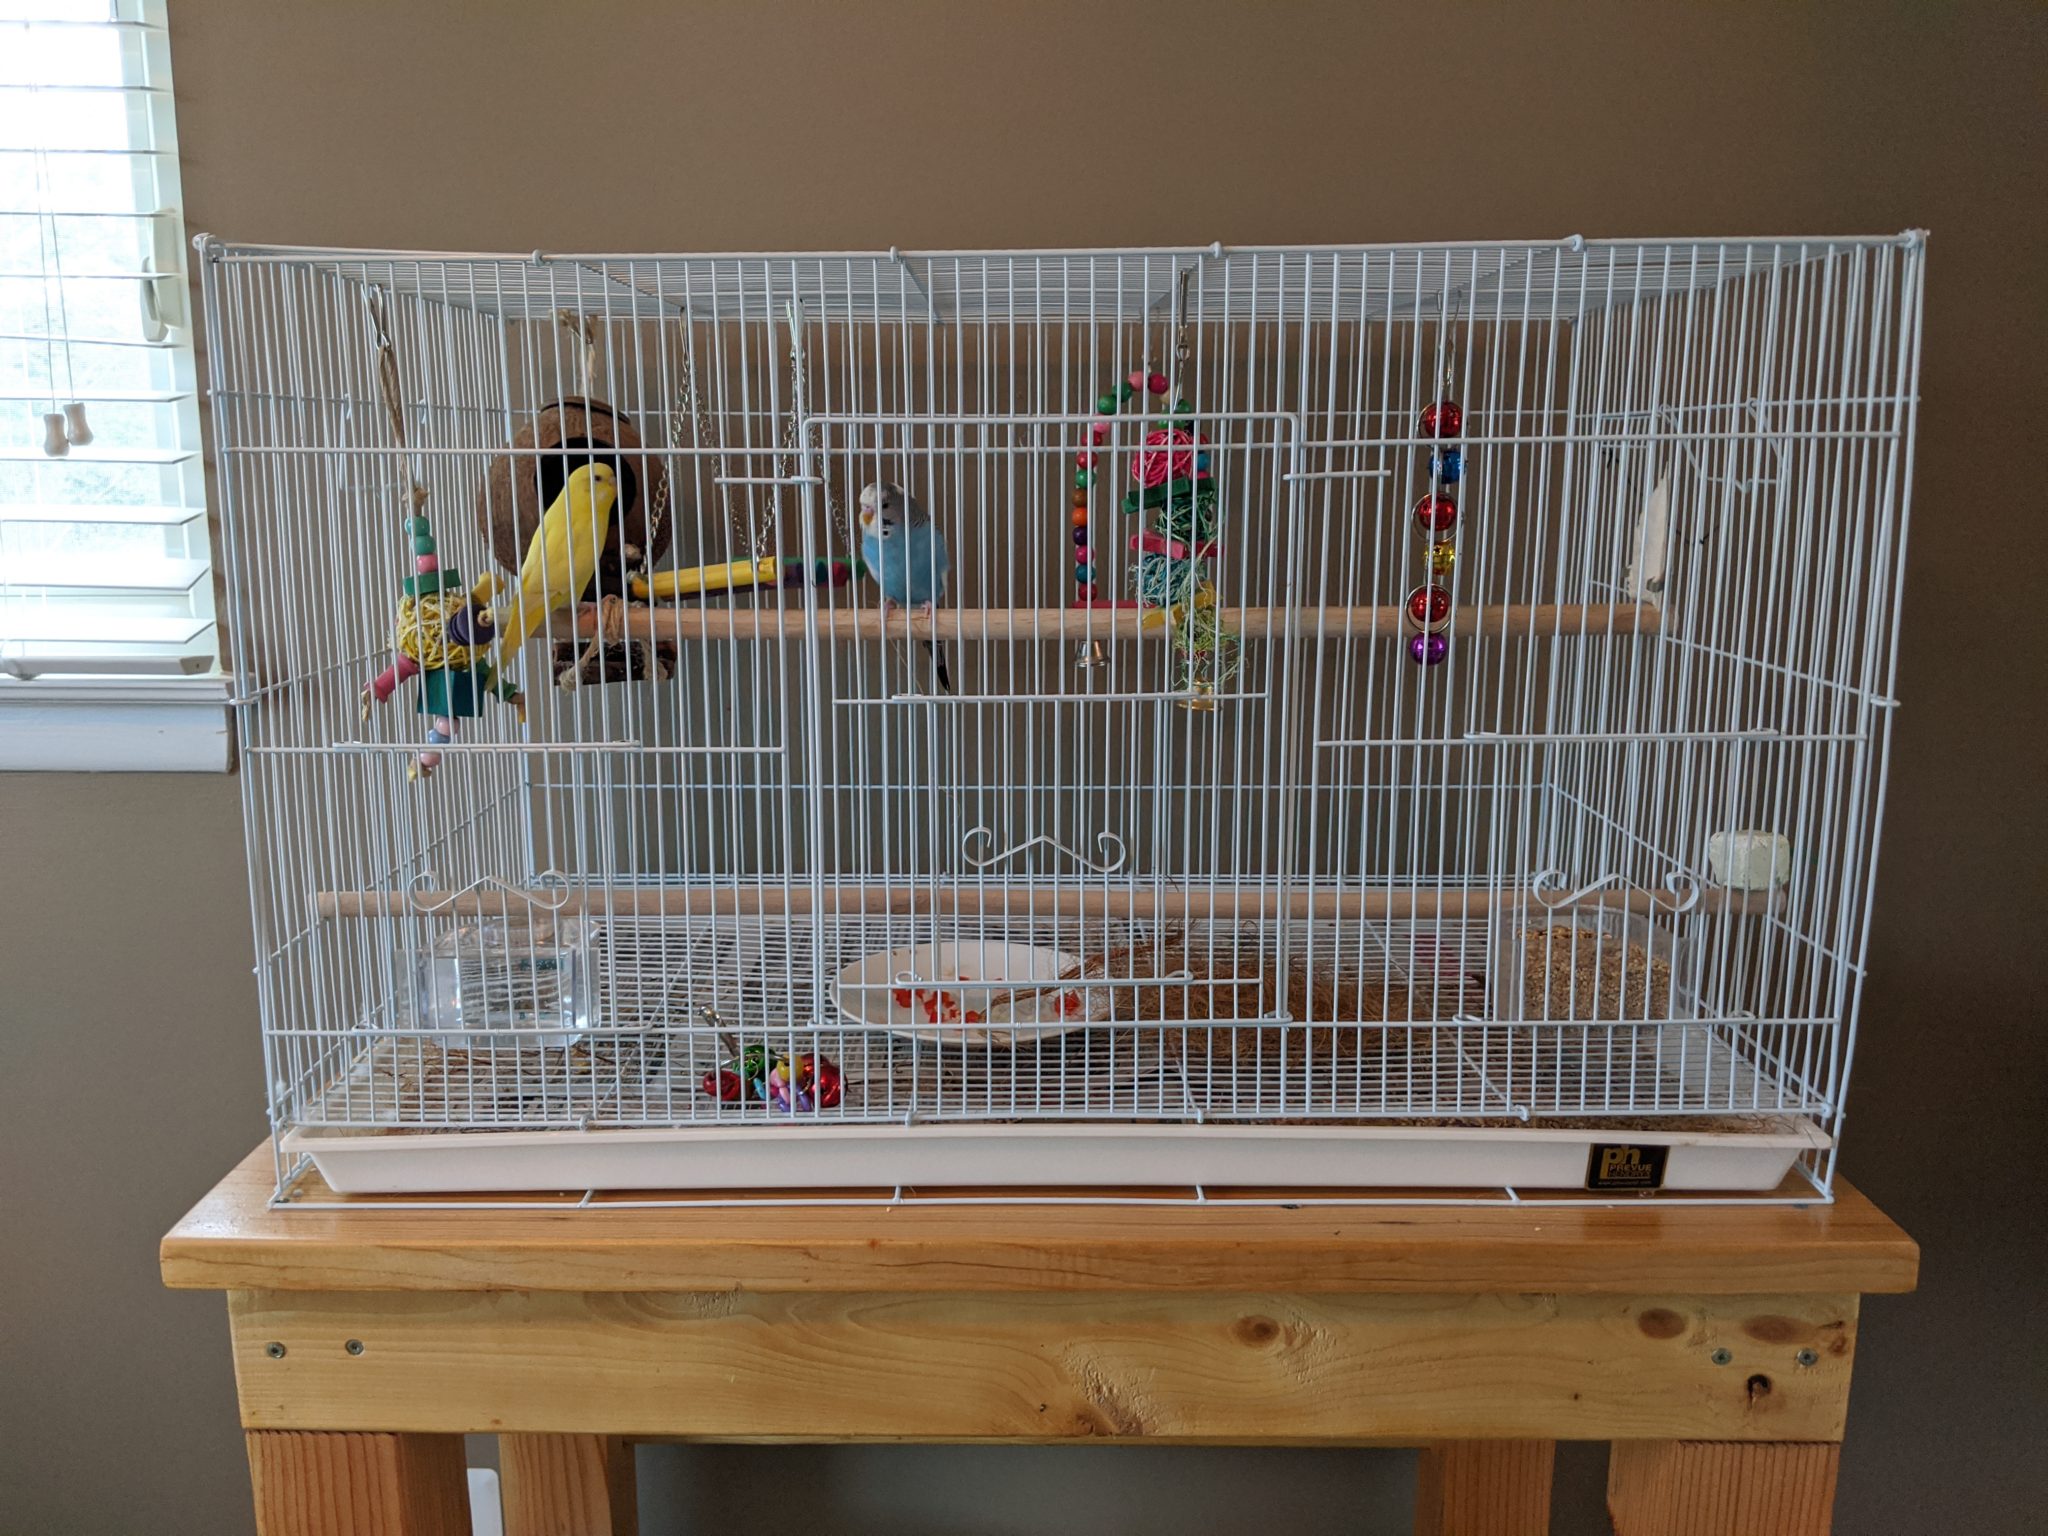
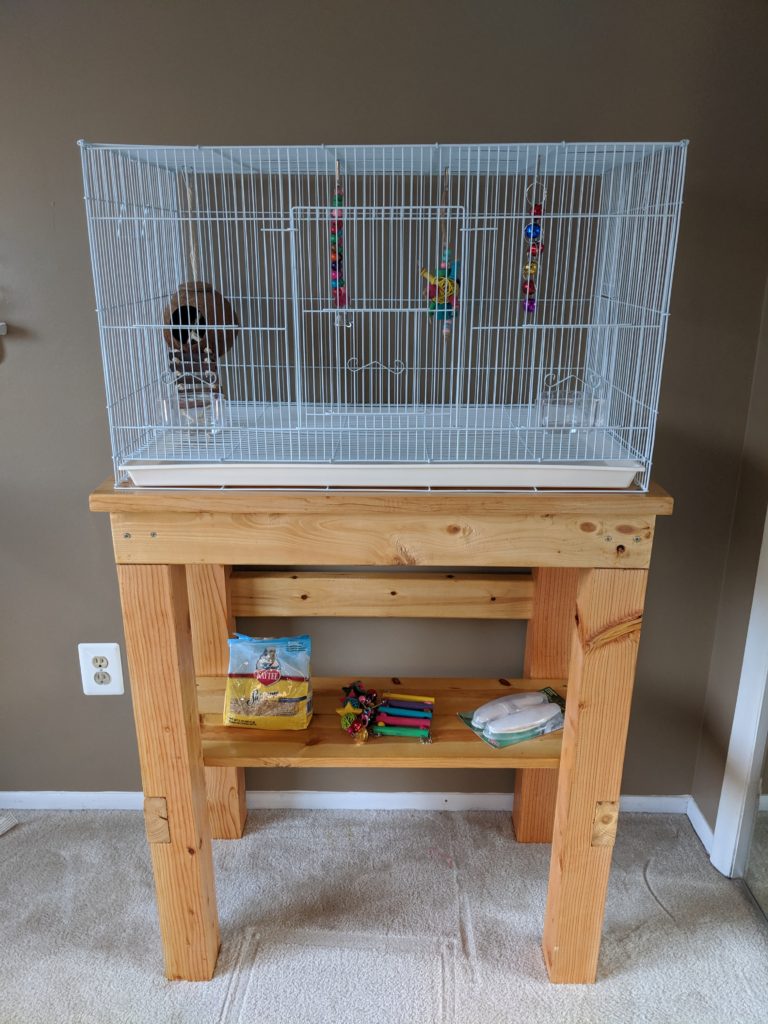
Once it was dried and we had let it air out for a few days (so as to not harm the birds), I moved it inside and set up the cage on the stand:

Ready for birds!

This was an awesome Ultimate Scrap Challenge project that didn’t cost anything other than electricity, screws (which I already had), and gas to pick up some free wood. The result was an amazing bird stand which should last a long time.

If you are interested in building this for yourself, here are the cuts you need to make (along with a column you can use to check off as you make each cut):

Cut to:#Part/Reason/Placement:Cut?
58in x 8.5in2Bottom part of stand
23.75in x 8in4Middle parts of the supports
?23.75in x 3in1Top of cable holder box on the back
3in x 4.25in2Side pieces for the cable holder box on the back
3in x 4.25in1Back piece for the cable holder box on the back

[1] Yep. My kids would catch bumblebees and make little homes for them. Adorable!

[2] I’m curious to know which store was there first, and why the second store decided to set up shop by the other.

[3] Pun intended