Remember when I built the sturdiest chair in the world, and then the subsequent tactical cancellation of that project? I was able to re-use a bunch of the wood from that project to make this bench!
When we bought our house the garage wasn’t finished. A few months after moving in I installed insulation batting, but it was a few years before we finally had the drywall done.
Once the drywall was up I started various organization improvements, like installing garage shelves from scrap wood and designing my own movable miter saw stand.
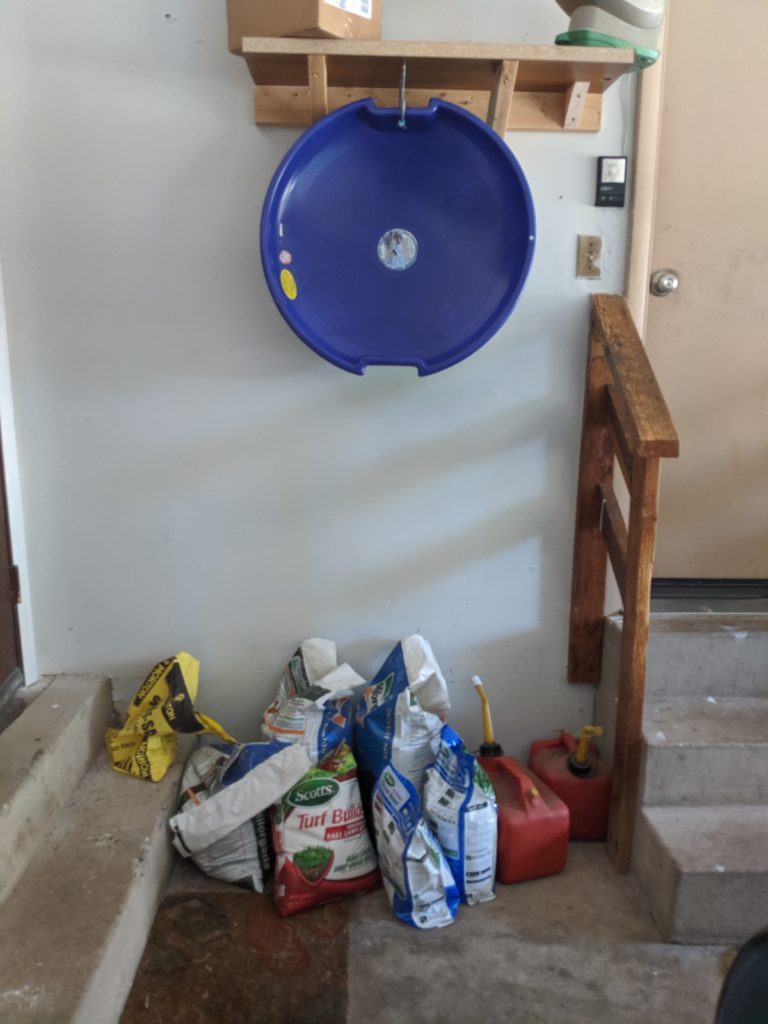
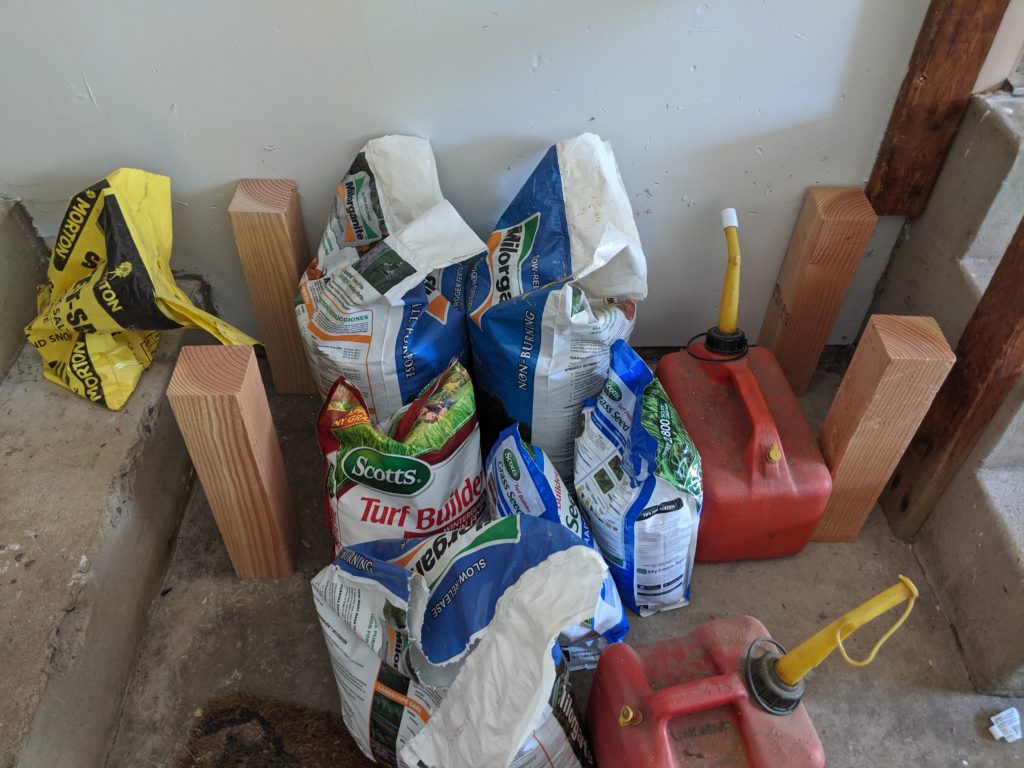
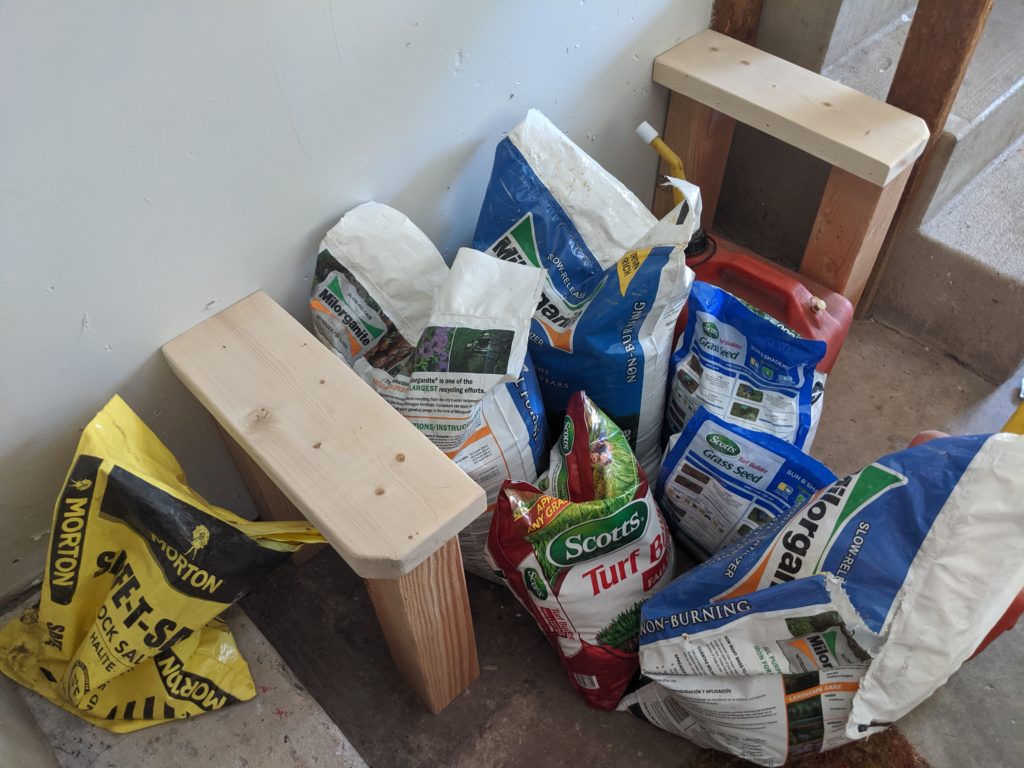
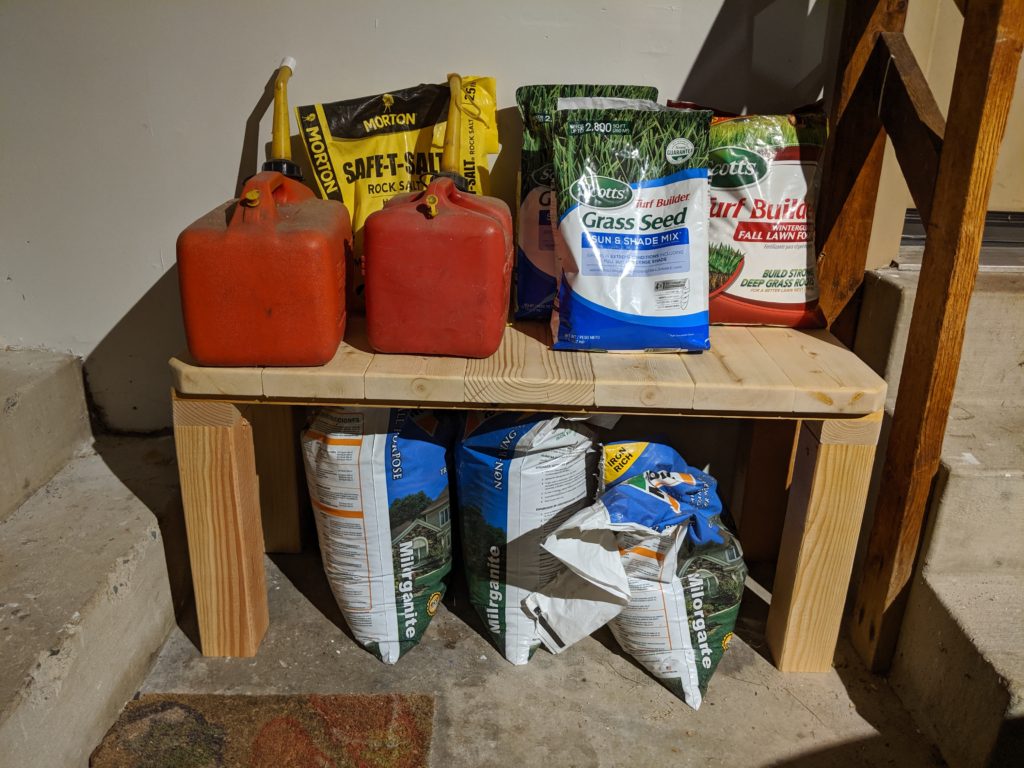
However, one area I’d overlooked was various outdoor supplies that were haphazardly grouped in one corner.[1] I decided to make something that would organize the space while looking nice (well, nice for a garage at least).
This was very soon after I had cancelled my kitchen chairs project and while I was in the early stages of building my custom-designed bird cage stand for our parakeets, so there was a ton of wood to choose from:
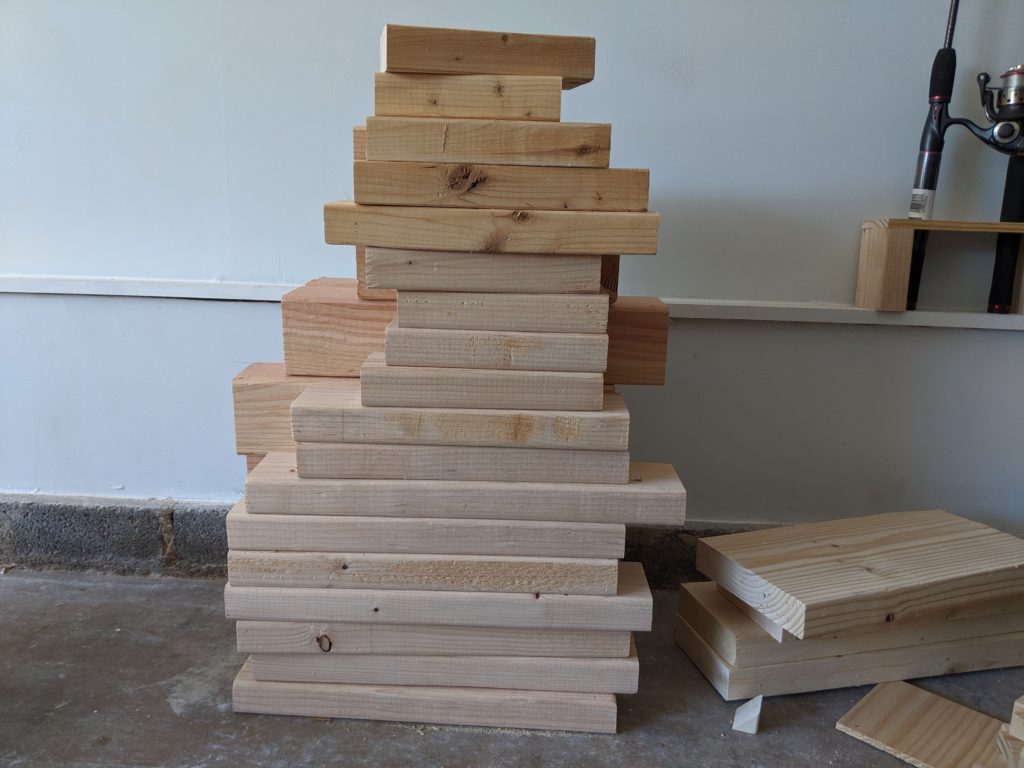
The leftover 4x4s from the kitchen chair project would serve as great legs for the bench, plus they were already cut to about the height I was thinking of.
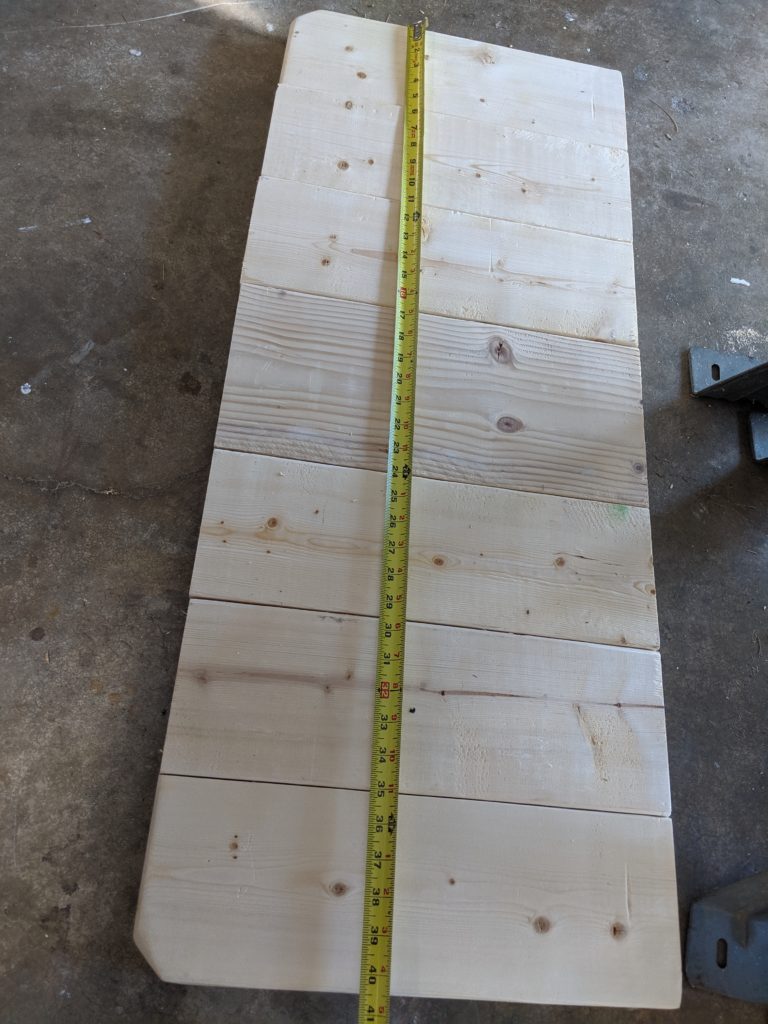
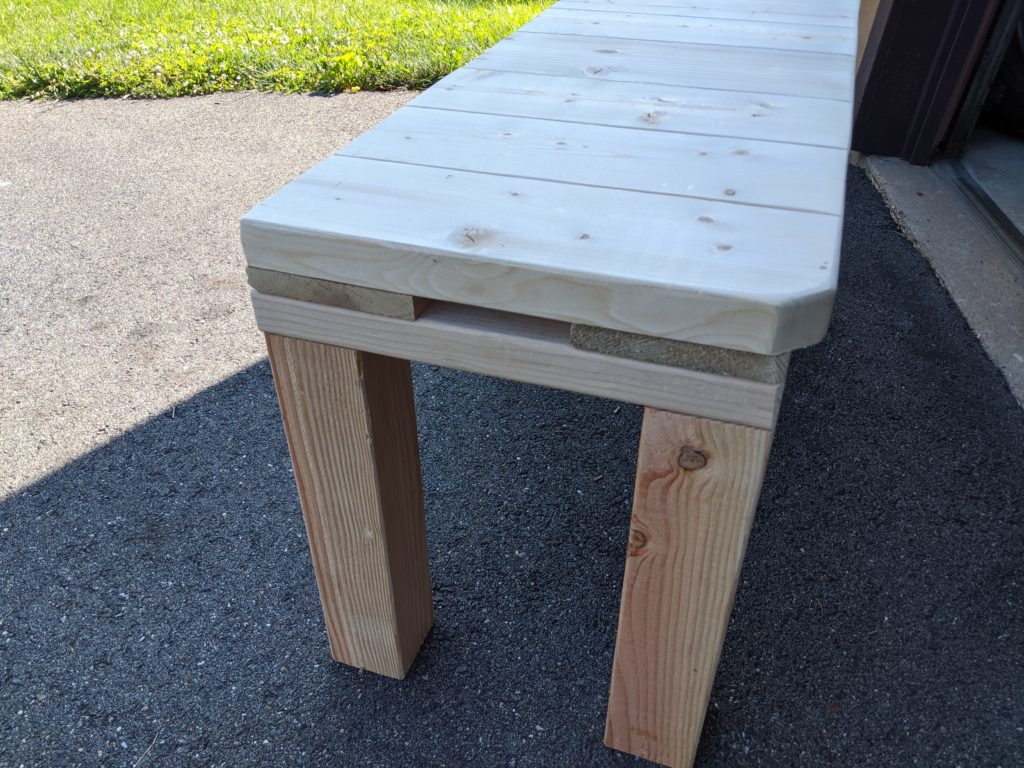
After dry fitting a few possible combinations, and debating the exact form and function I wanted, I settled on using six of the leftover 2x6s and one of the 2x8s from the chair project, since they were the perfect depth of 16.25 inches that I needed to fit in the space between the concrete stairs.
Spreading these pieces out gave me 40.5 inches in length, which was perfect since the maximum space was 45 inches.
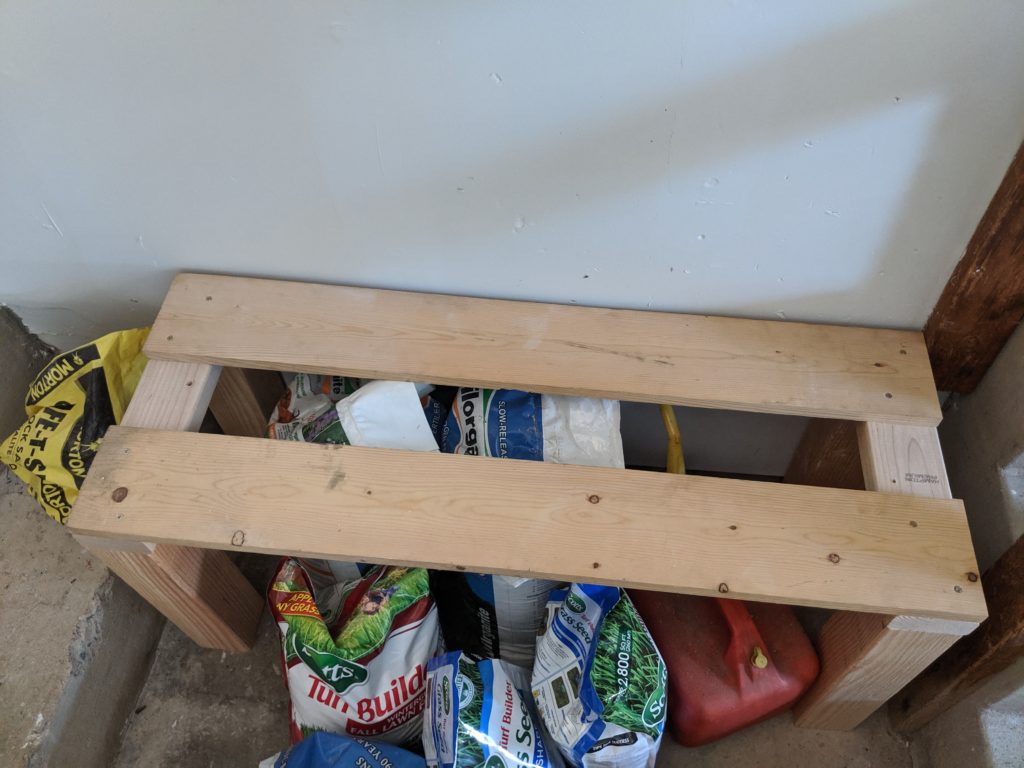
I decided to raise the bench’s top height a bit by adding 2x4s across the side corners, which also added stability:
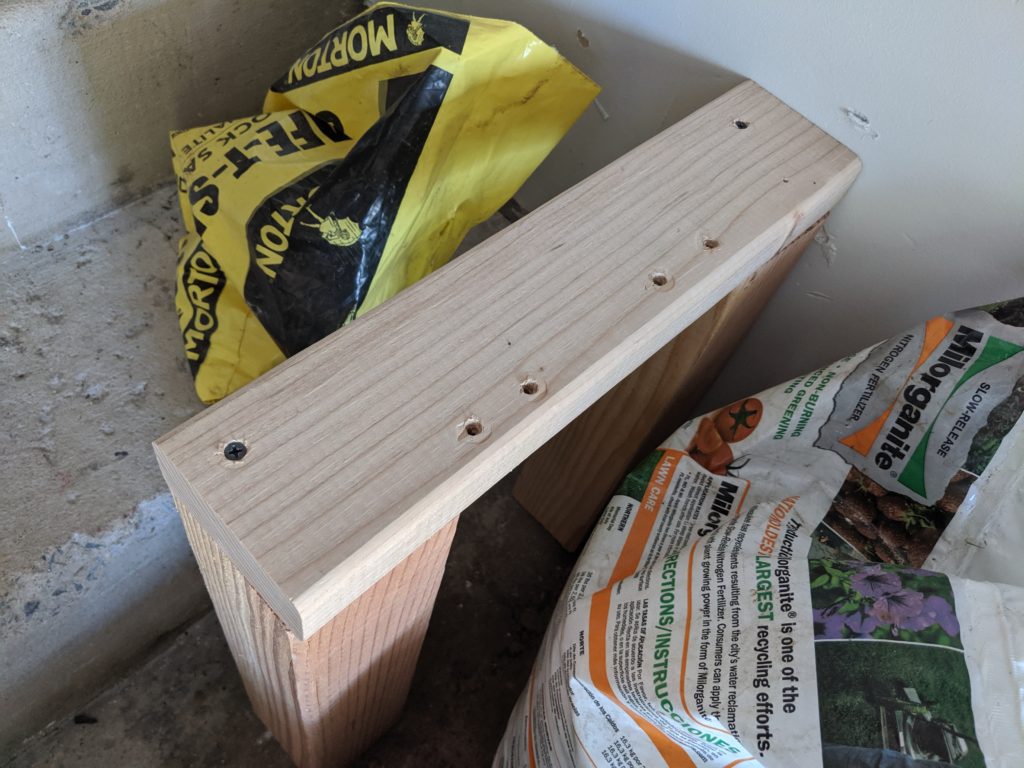
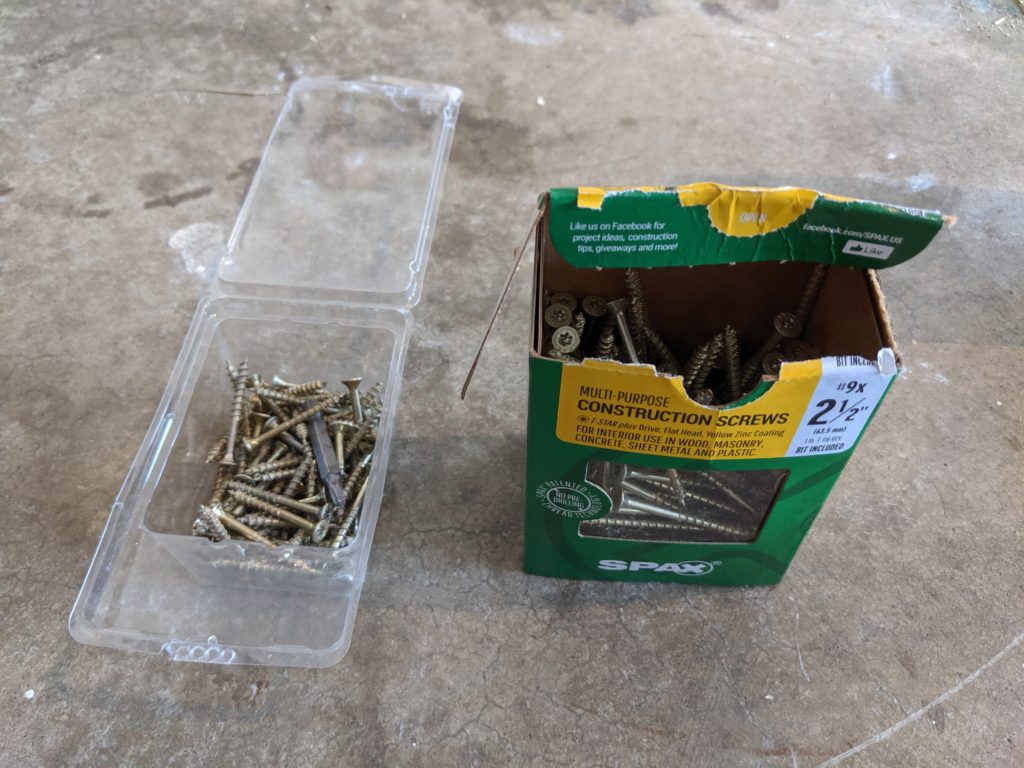
I screwed these in with 2.5 inch Spax T-Star drive screws. These require no pre-drilling, which makes projects like this a breeze.[2]
I then cut two 1×6 pieces (which I’d gotten for free on Craigslist) to 40.5 inches each to go across the front and back corners. This way I could put the top pieces on:
Then I placed all of the top pieces on for a dry fit:
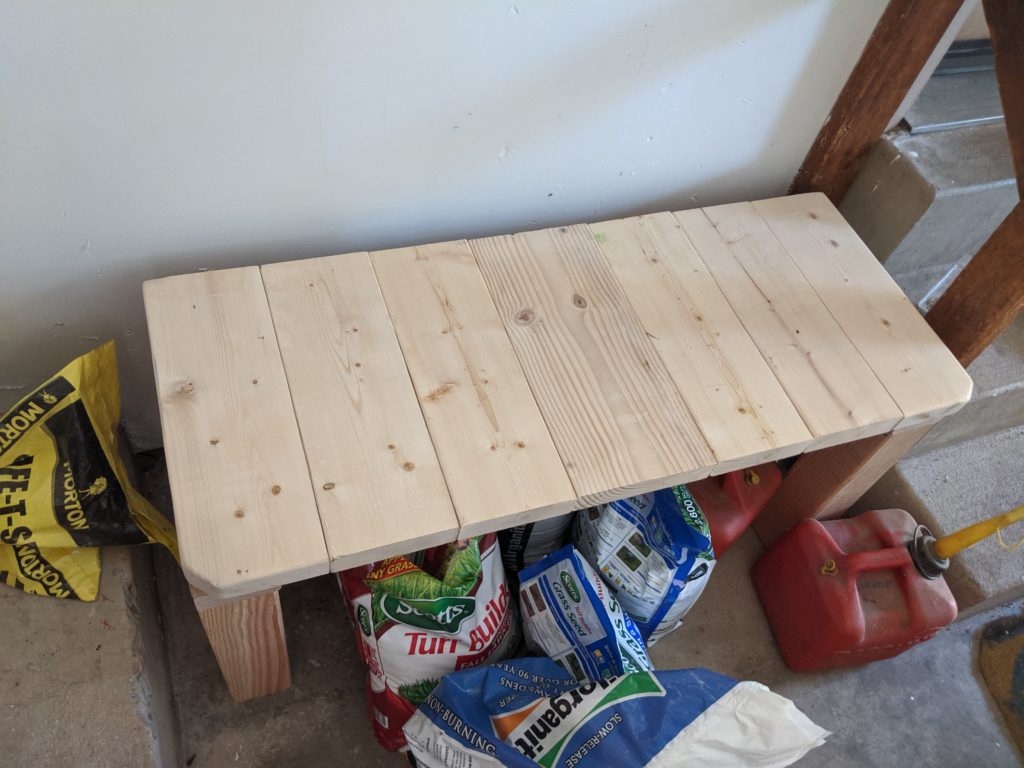
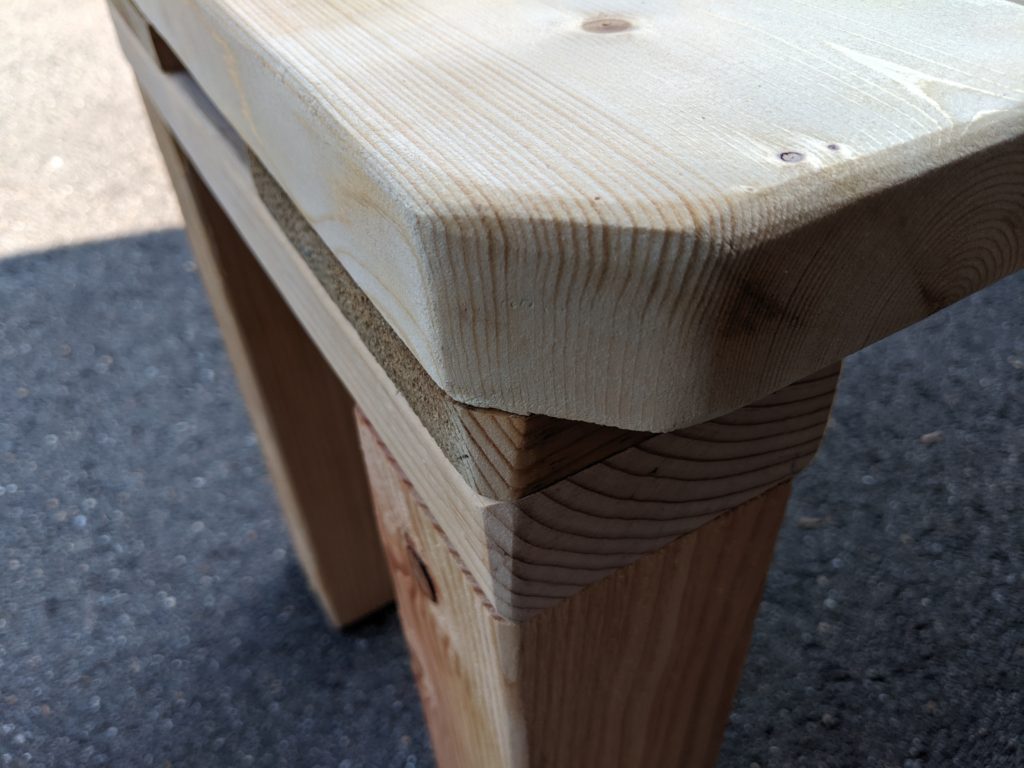
And notice the trimmed corners? These are the same two seat pieces from the prototype kitchen chair that I built! Plus I thought it was a nice touch design-wise.
I clamped 2x4s across the top to hold things in place so I could go underneath the bench and use 1.5 inch Spax T-Star drive screws to attach the top pieces to the front and back 1×6 supports without having the screws show on top.
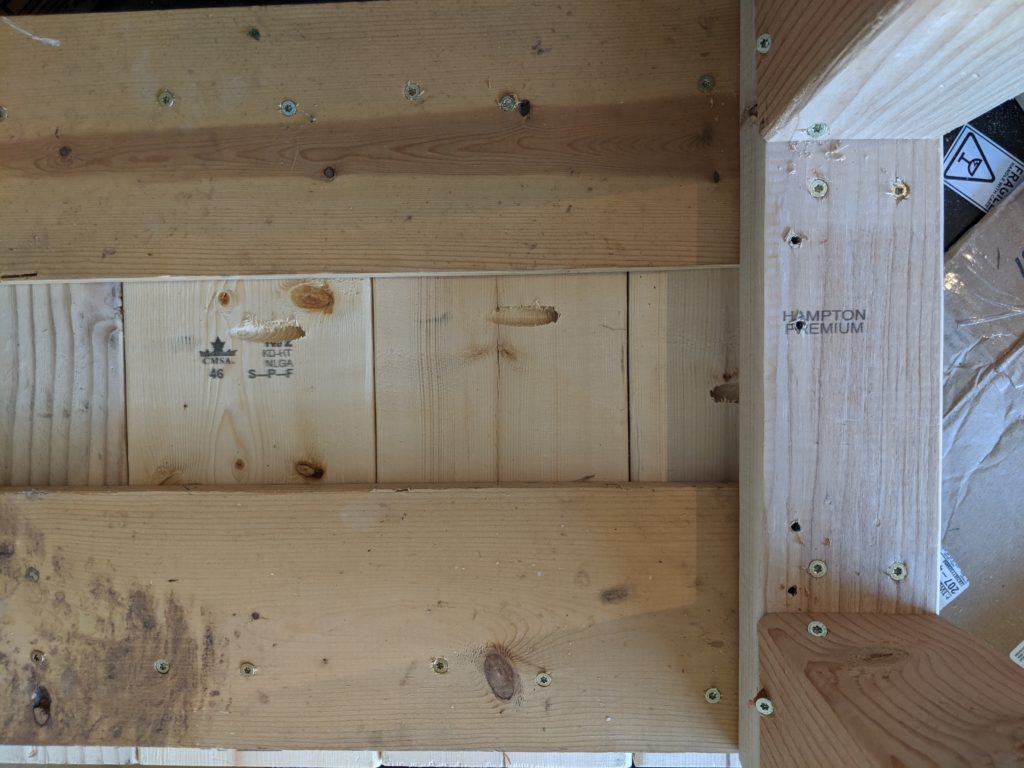
Note that I had considered using pocket hole screws to attach the top pieces[3], but ultimately decided it wasn’t necessary for a garage bench. I might have gone ahead with pocket hole screws for the whole project if the bench was destined for inside the house (e.g., front entryway or family room) but it’s fine for a garage.
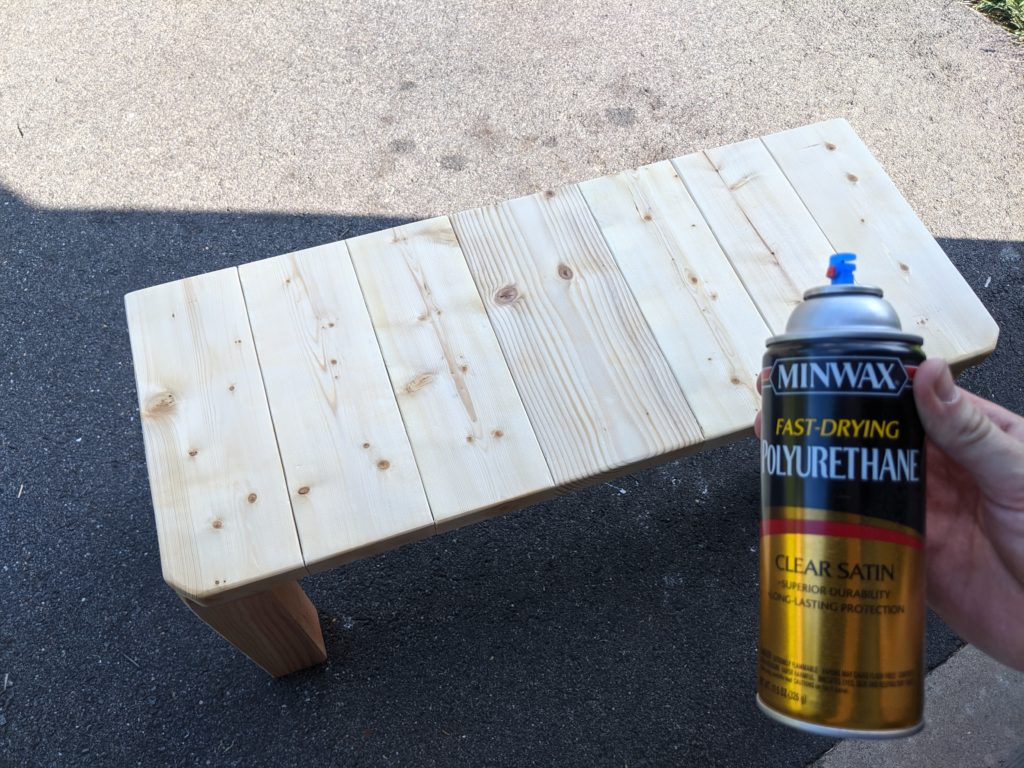
I then sanded everything down and prepared for finishing:
View from the side:
Note that I had to sand down the corner wood a bit since I didn’t account for the trimmed corners on the top pieces, but it looks fine to me!
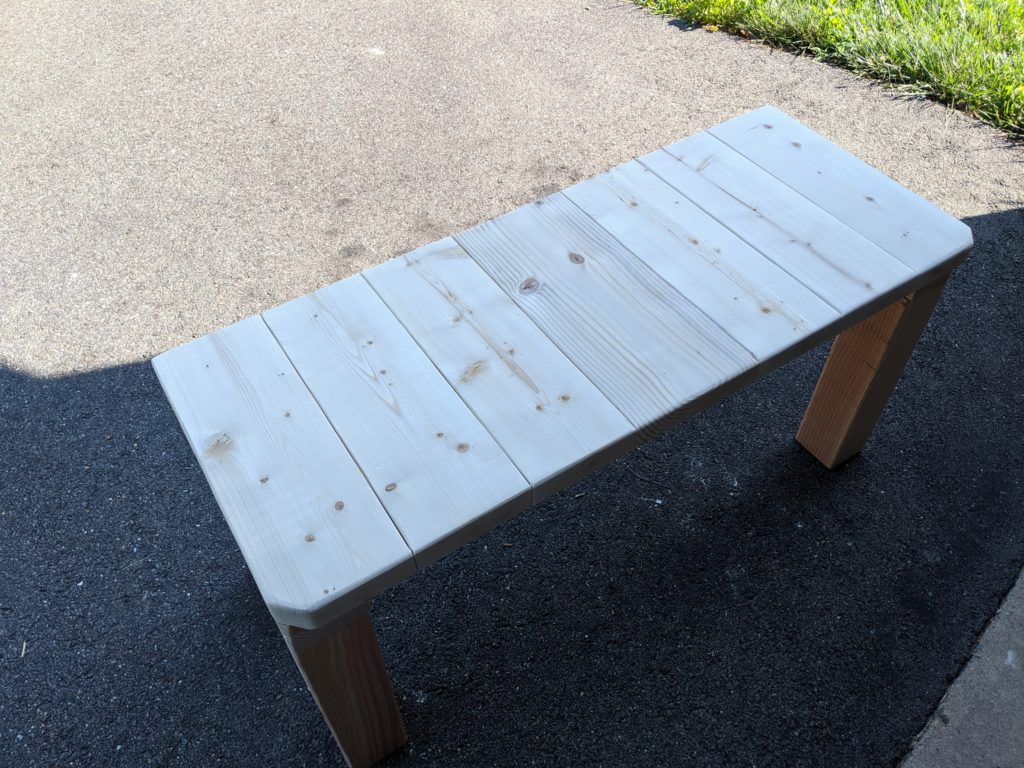
I finished it using some Minwax polyurethane spray I had laying around; if this was a more formal or interior piece I would have used something else.
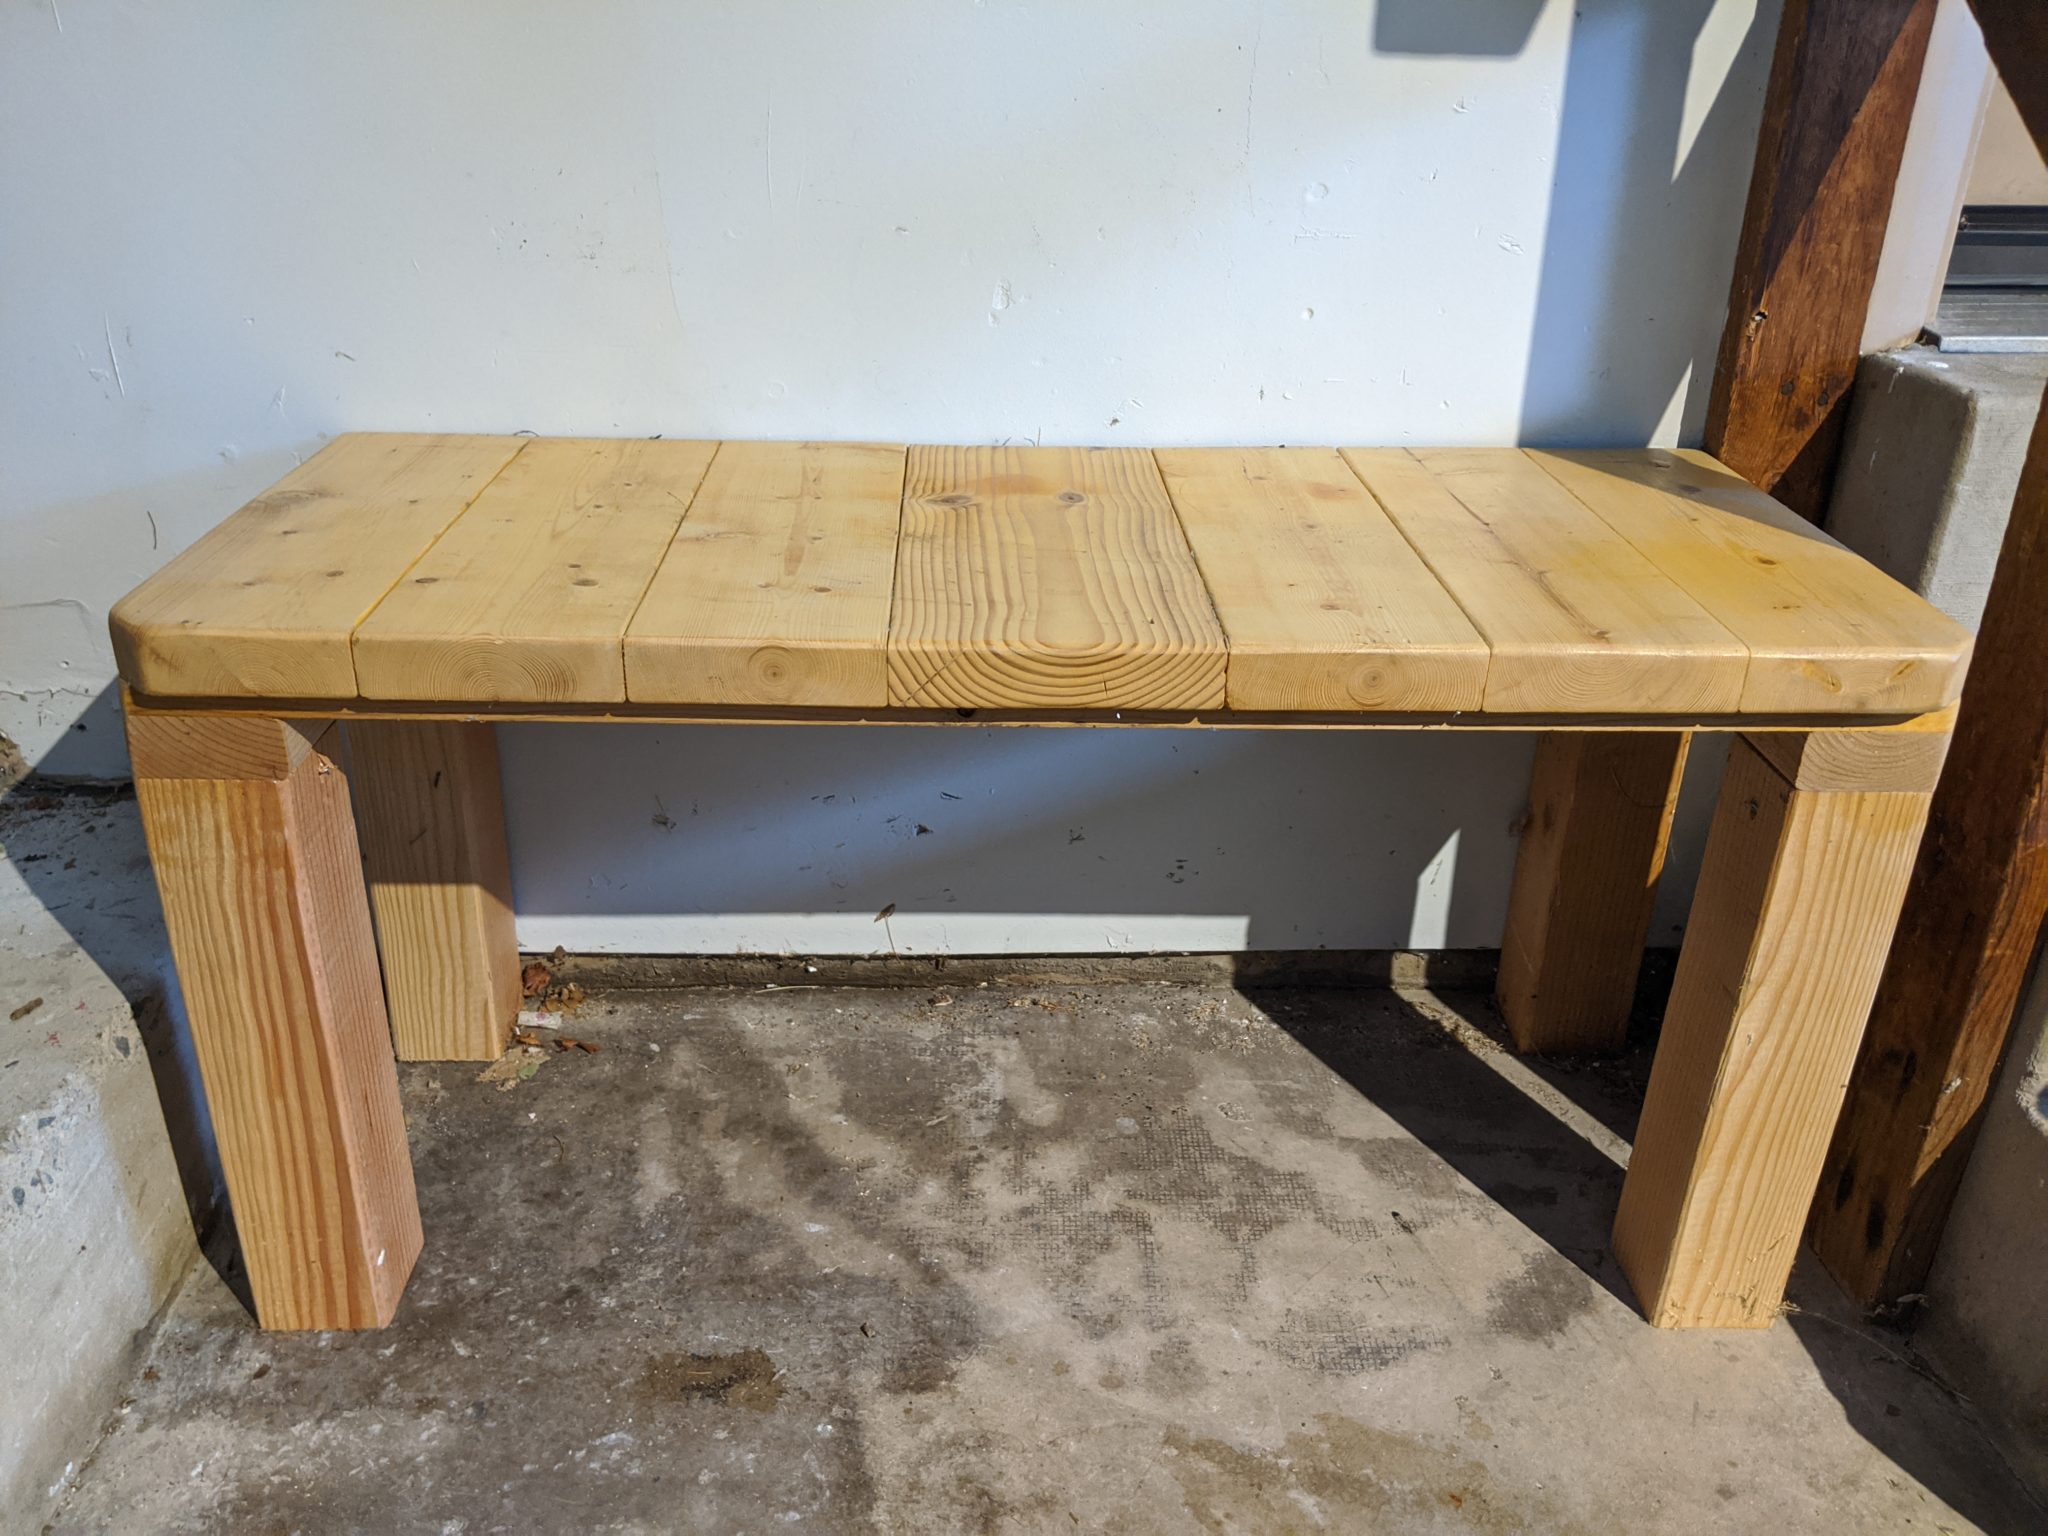
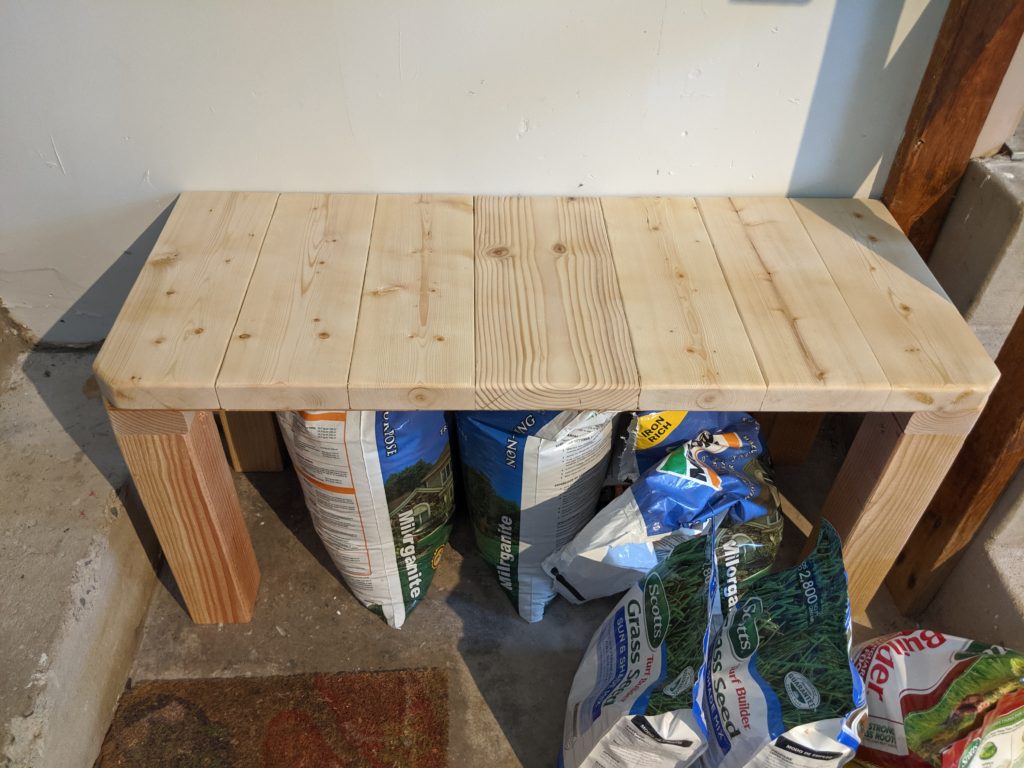
Test fit of the finished product!
And here it is in use:
If you are interested in building this for yourself, here are the cuts you need to make (along with a column you can use to check off as you make each cut):
| Cut to: | # | Part/Reason/Placement: | Cut? |
| 58in x 8.5in | 2 | Bottom part of stand | |
| 23.75in x 8in | 4 | Middle parts of the supports | |
| ?23.75in x 3in | 1 | Top of cable holder box on the back | |
| 3in x 4.25in | 2 | Side pieces for the cable holder box on the back | |
| 3in x 4.25in | 1 | Back piece for the cable holder box on the back |
[1] Yes, I know storing gasoline and fertilizer so close together isn’t a great idea. They’ve since been moved.
[2] Spax T-Star drive screws are my absolute favorite screws. No, I am not sponsored to say that…but I’d be open to it if you’re listening Spax!
[3] They’re so awesome, so why not?